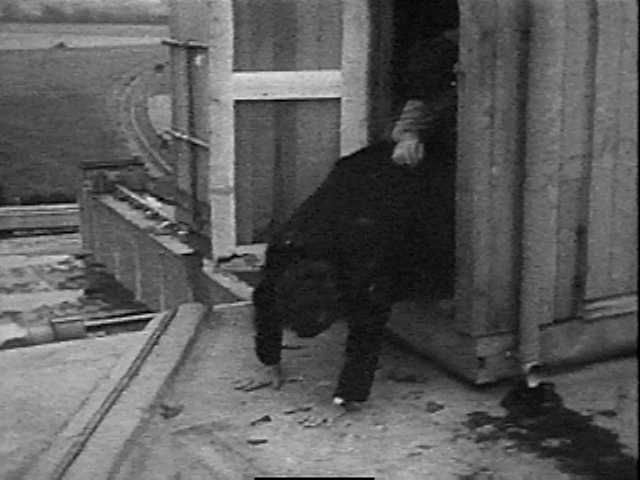
THE POWER OF THE DALEKS
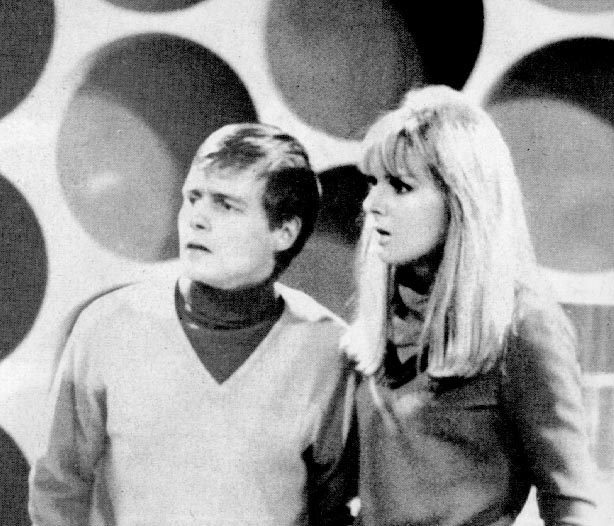
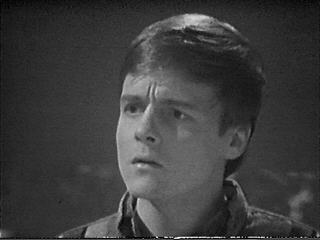
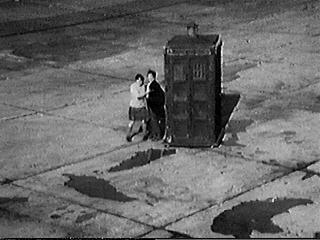
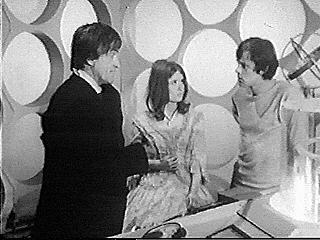
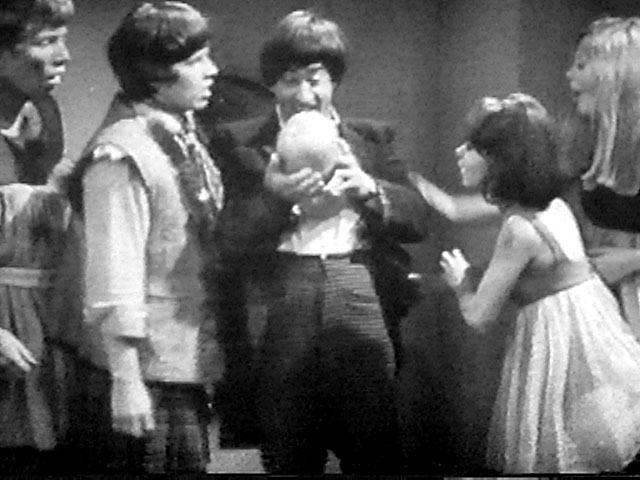
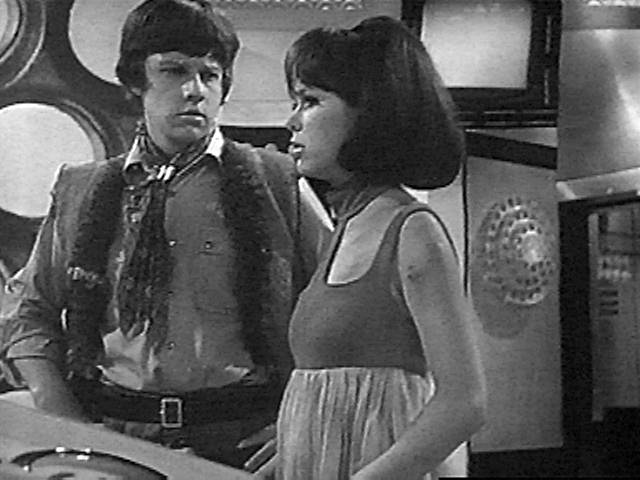
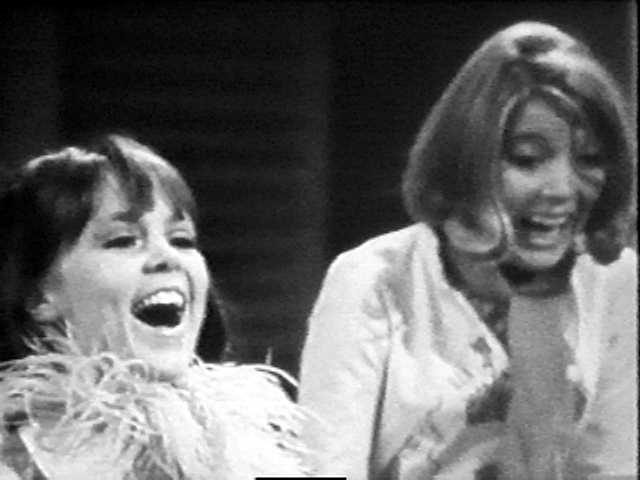
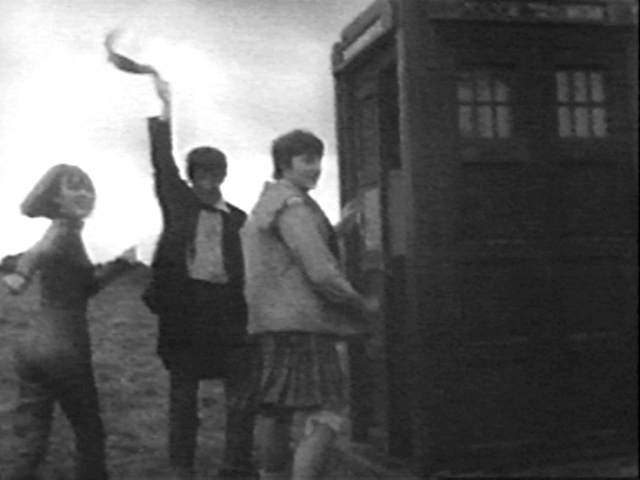
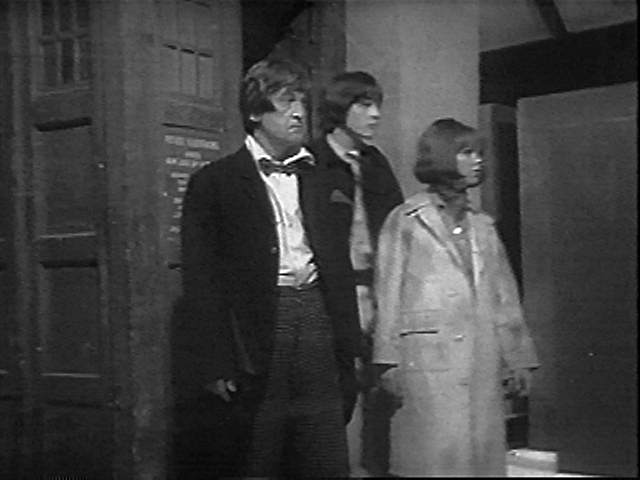
- st--2e01.jpg _74K B&W Ben and Polly in TARDIS (Craze, Wills) 28Aug98
-
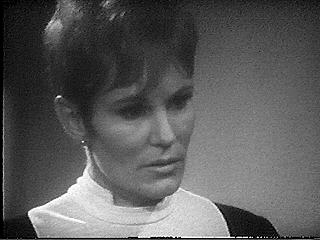
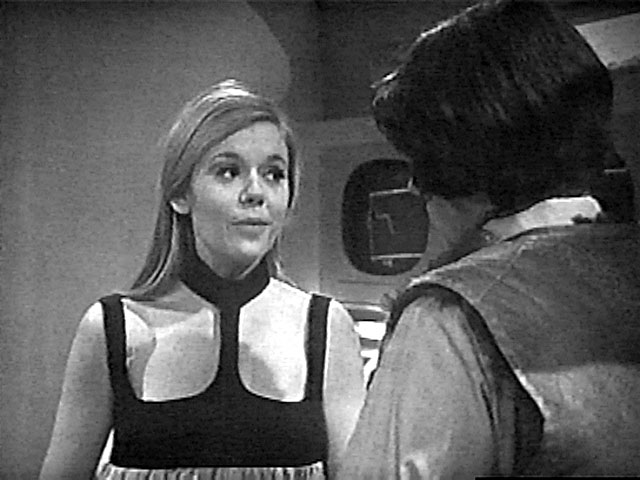
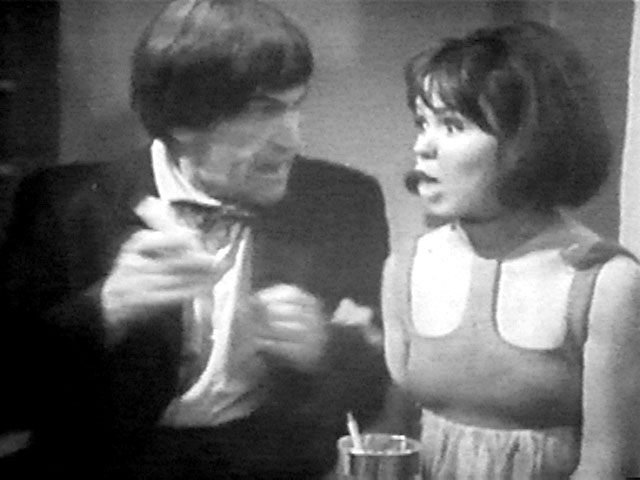
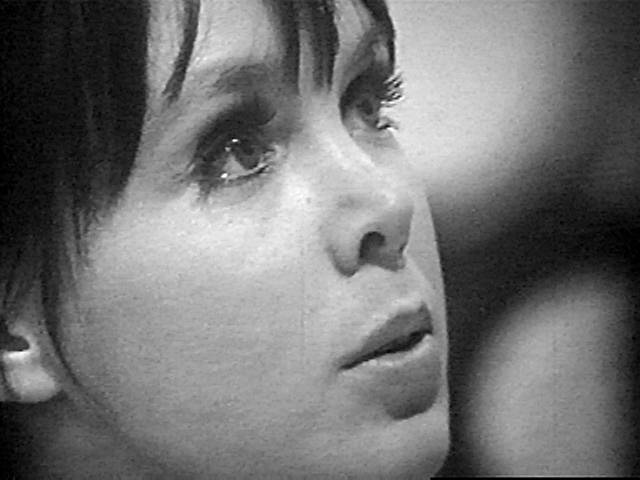
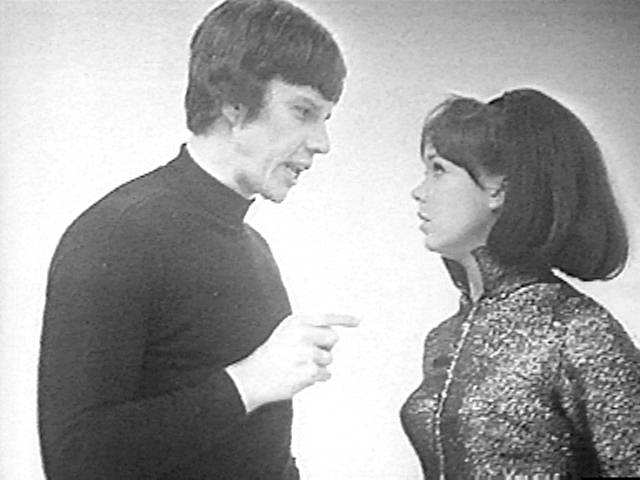
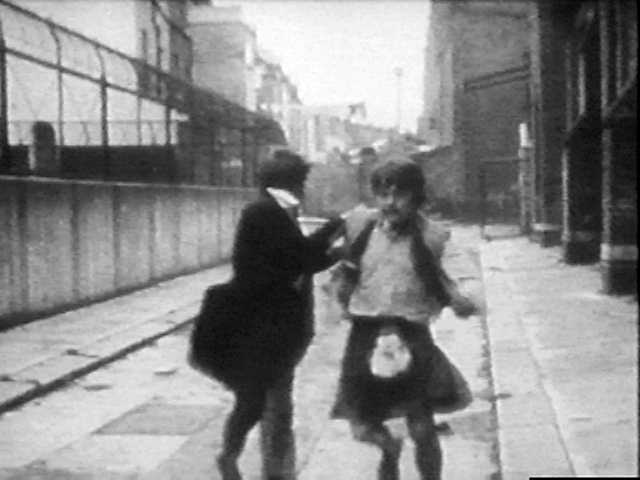
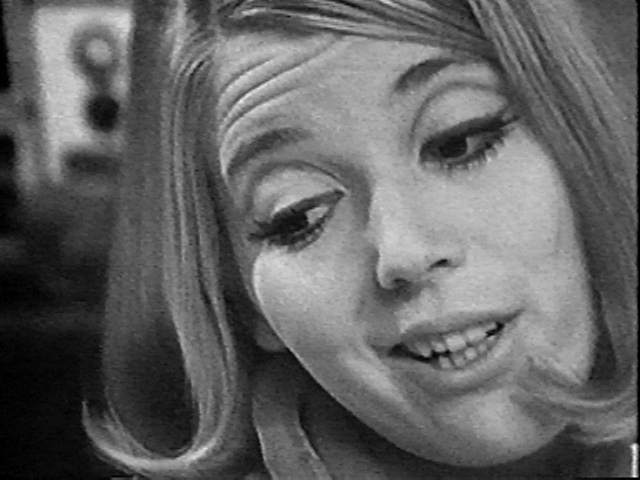
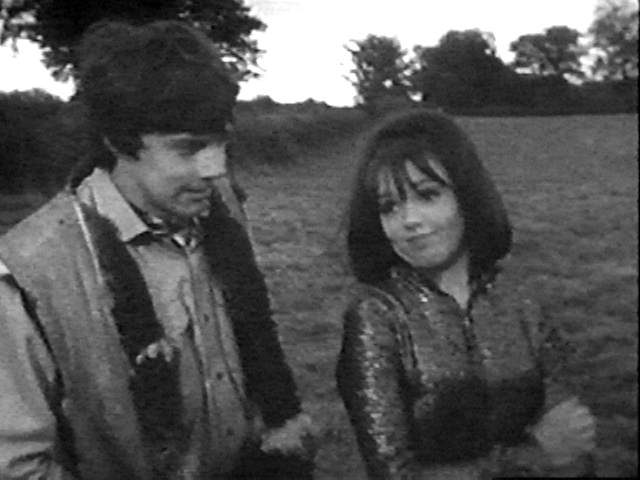
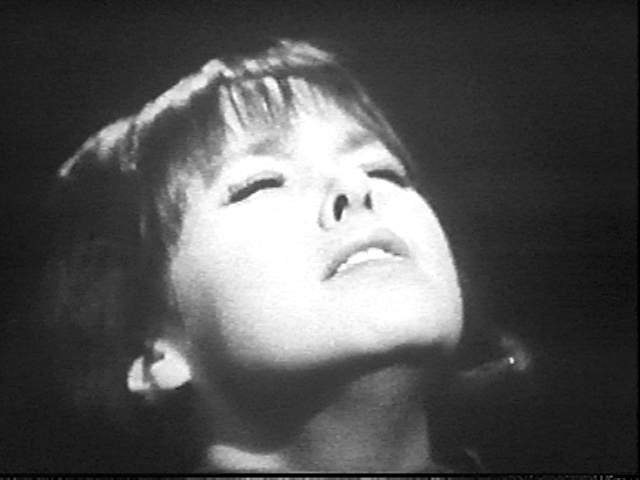
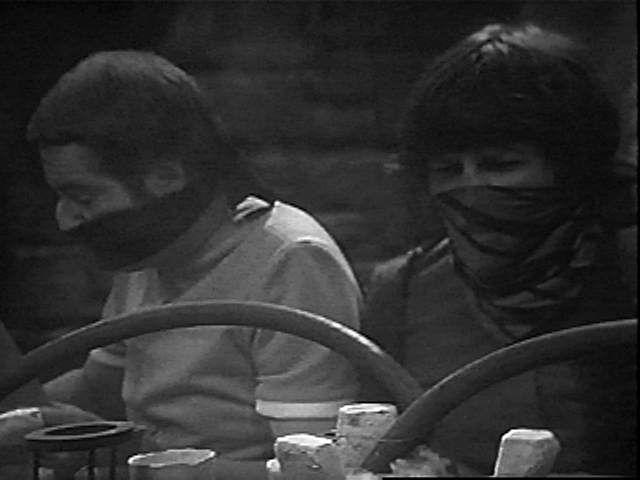
 st--2e02.jpg _12K B&W Polly, Ben (Wills, Craze) sc 21Mar99
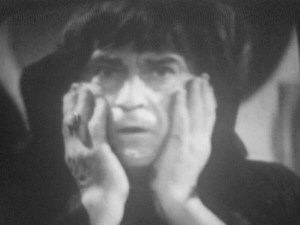
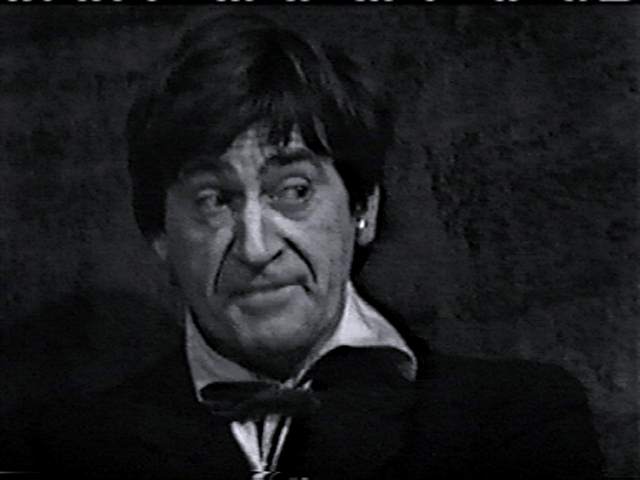
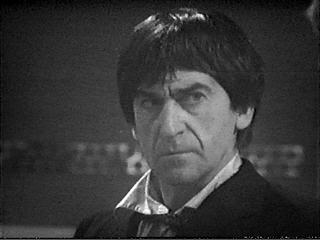
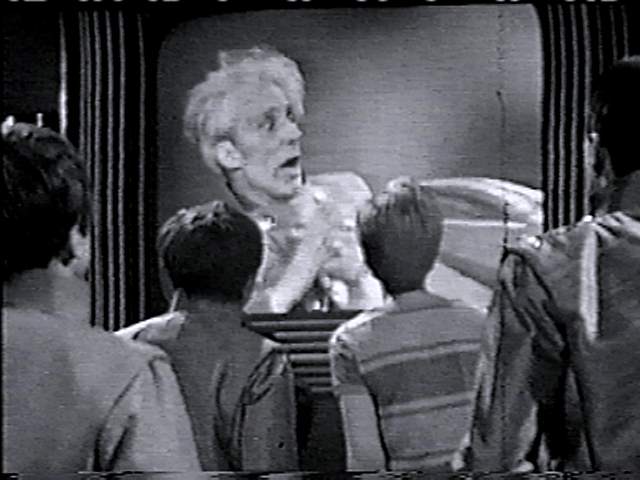
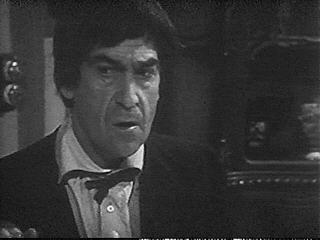
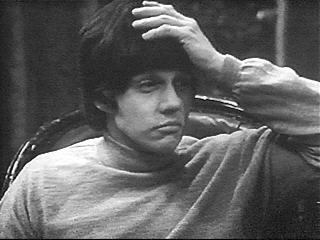
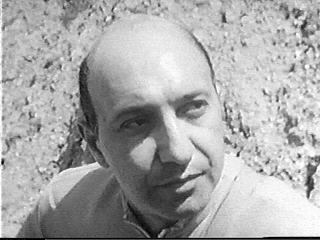
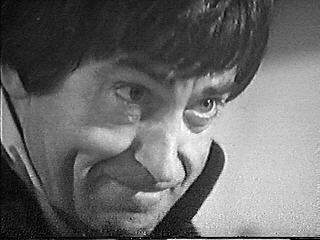
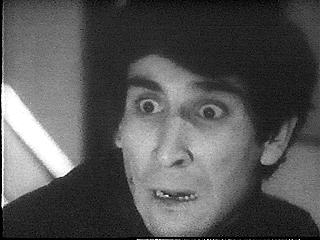
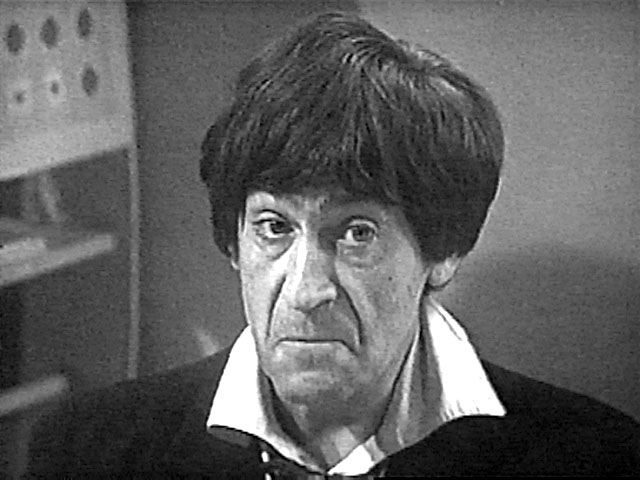
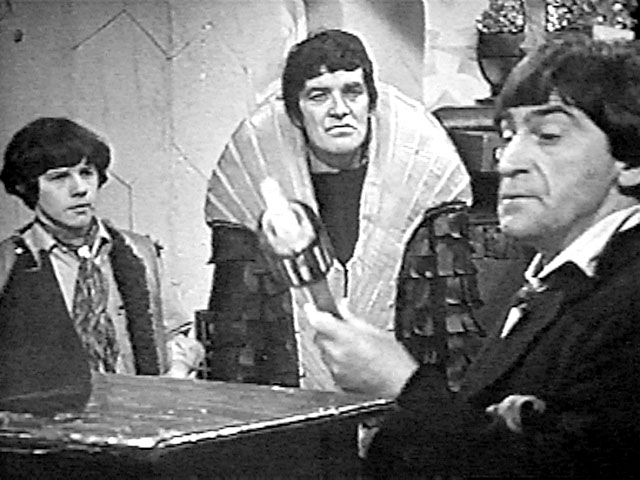
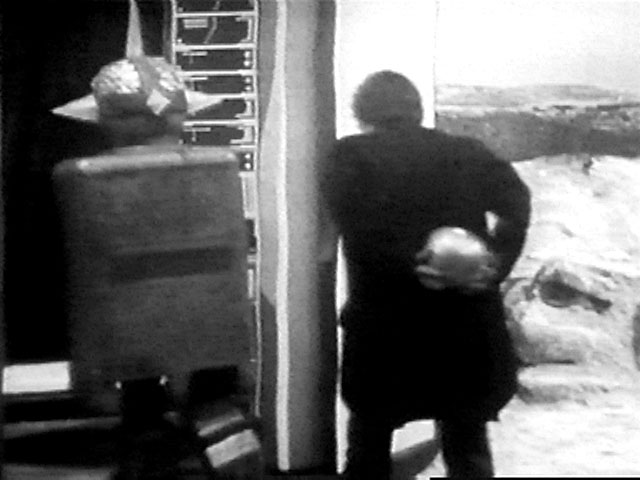
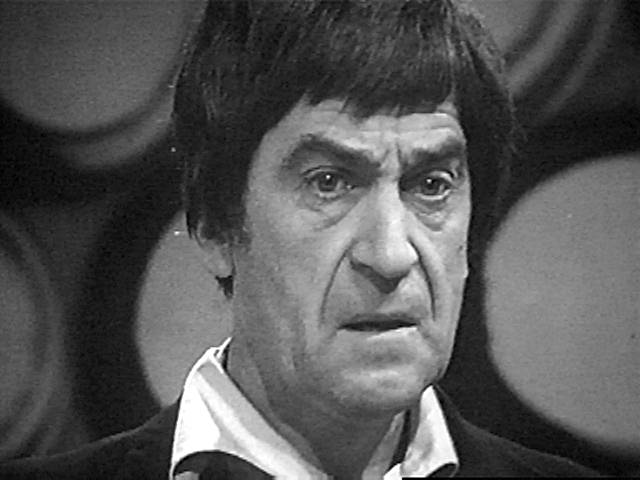
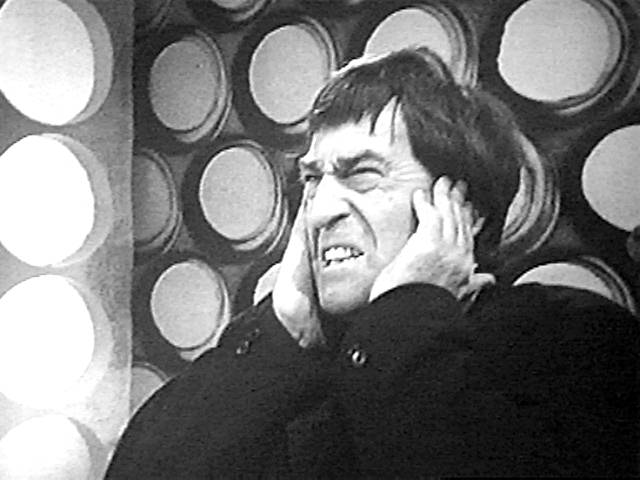
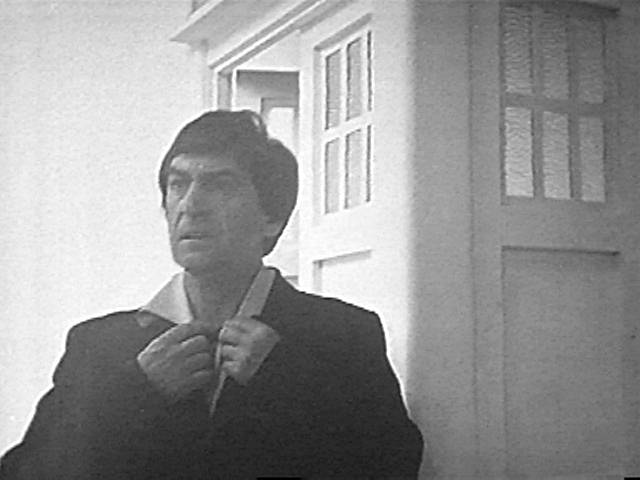
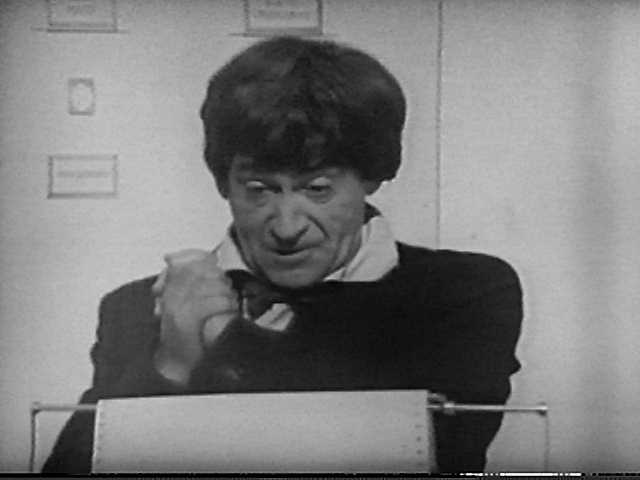
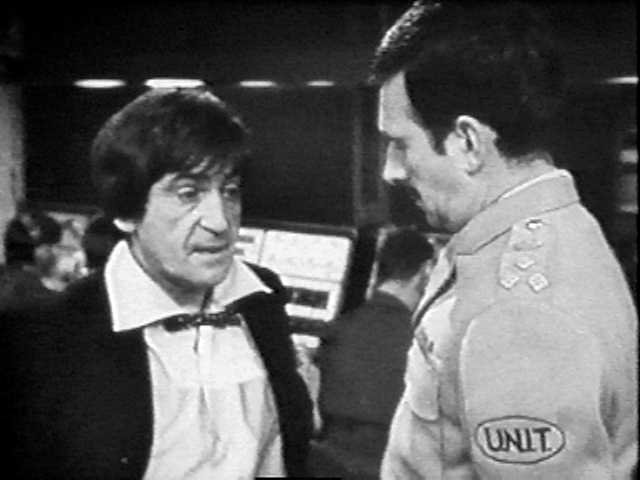
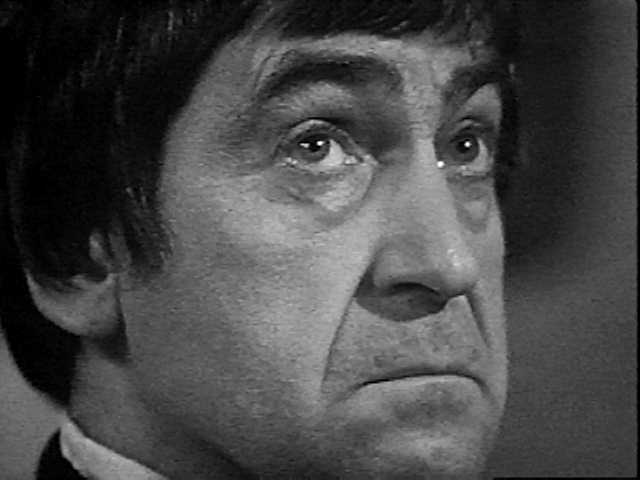
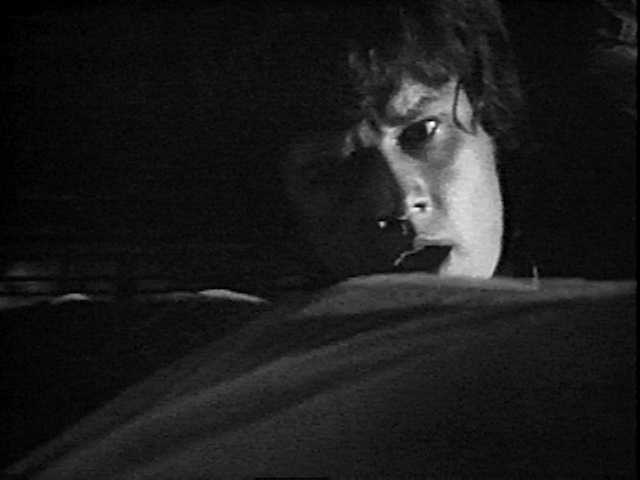
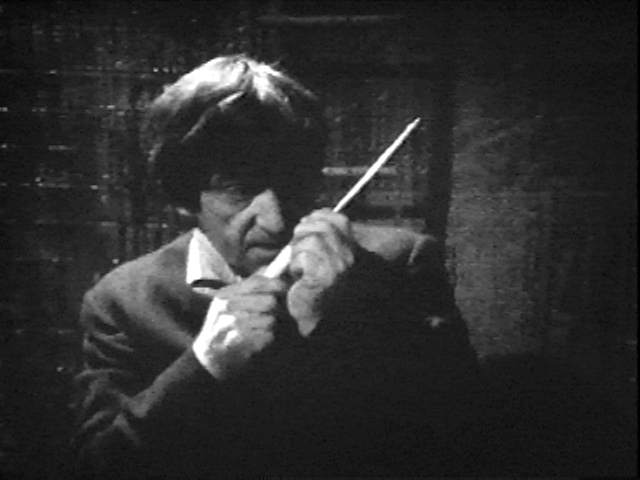
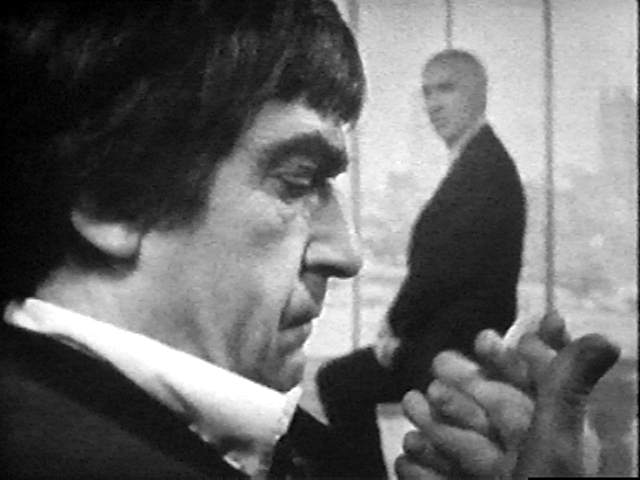
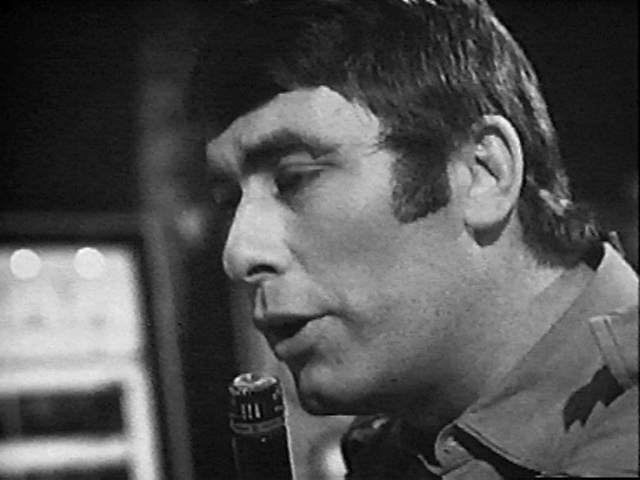
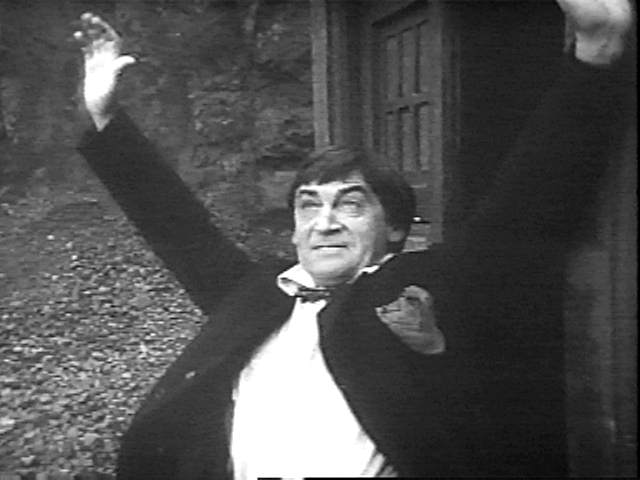
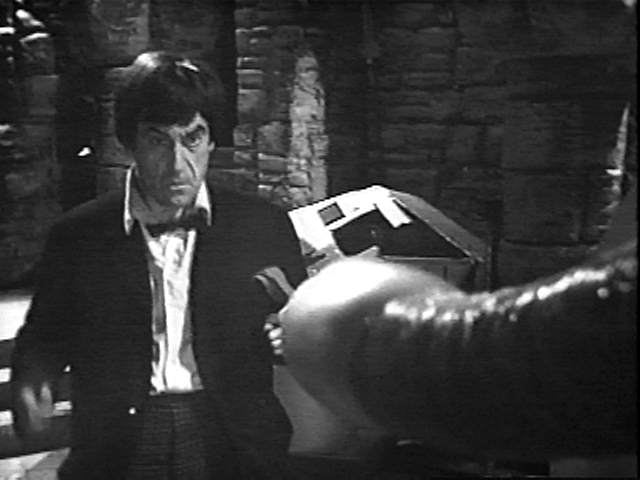
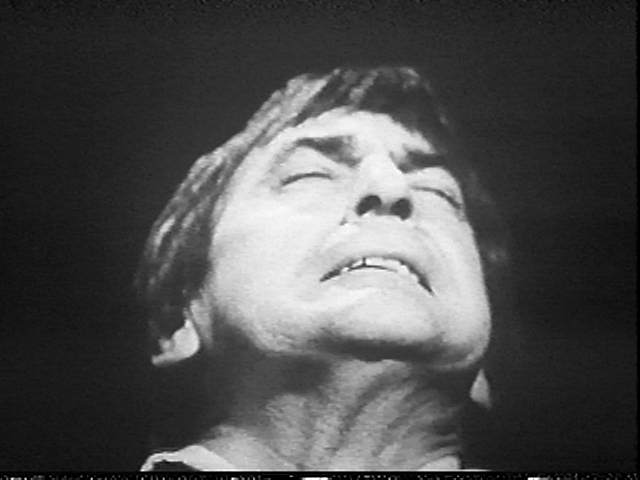
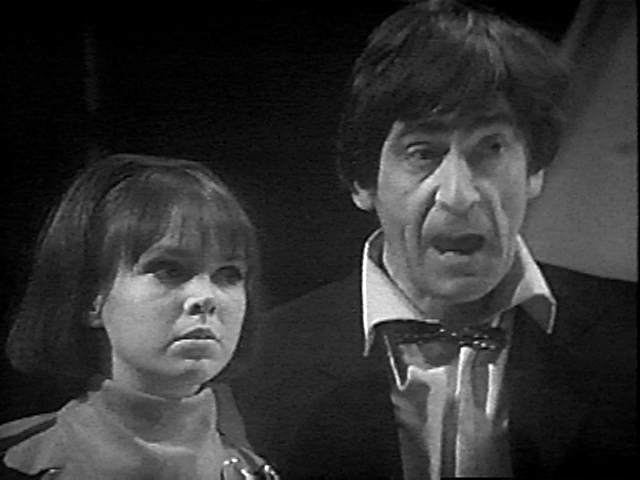
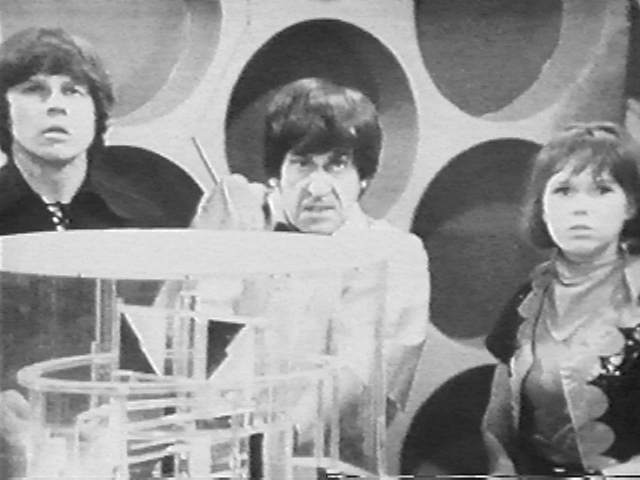
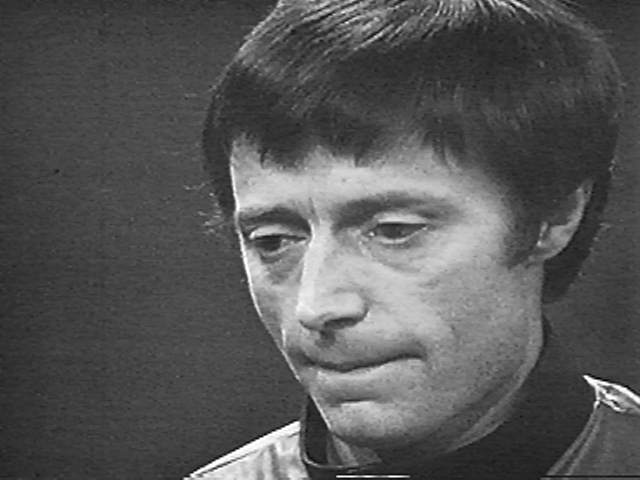
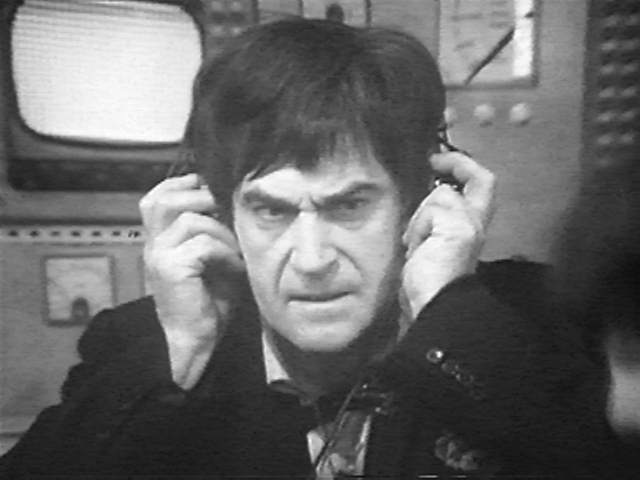
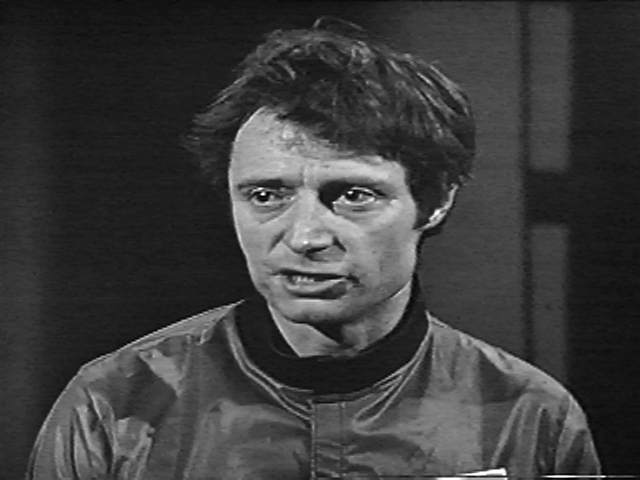
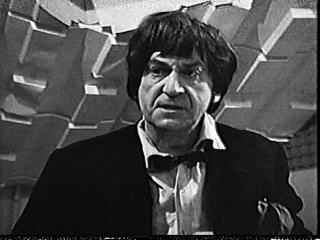
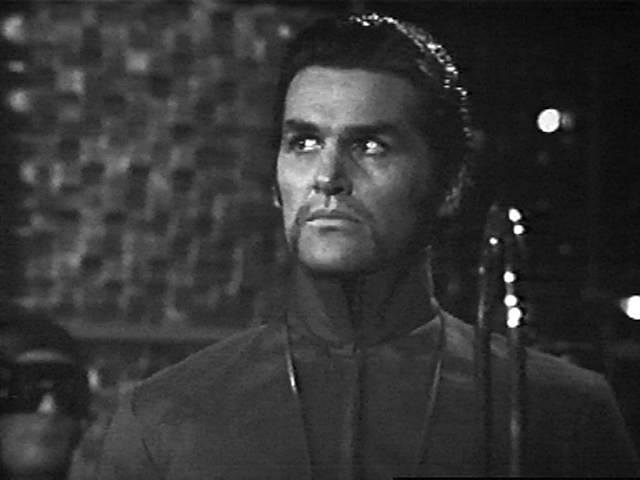
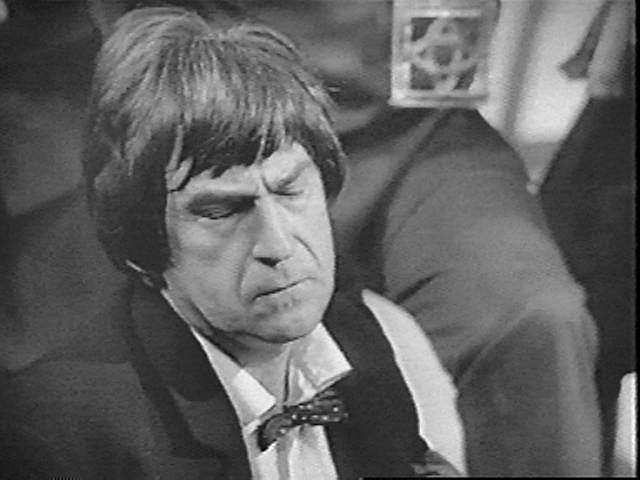
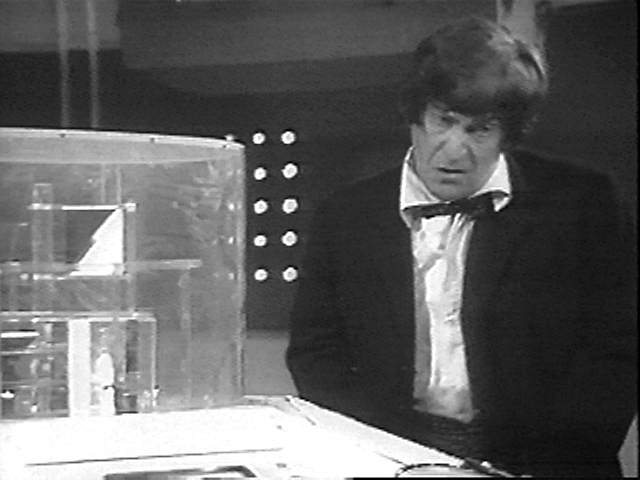
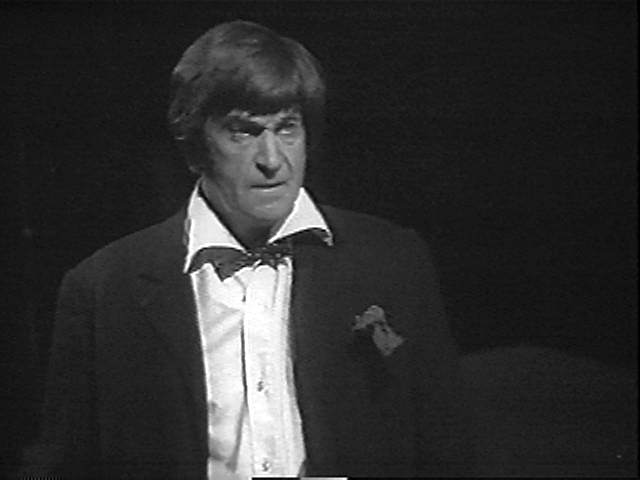
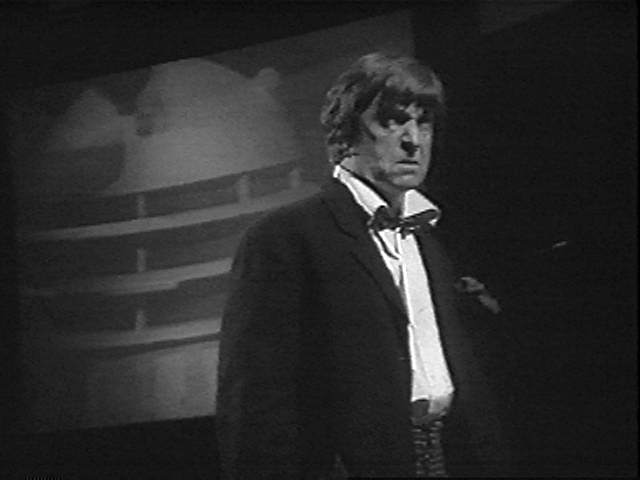
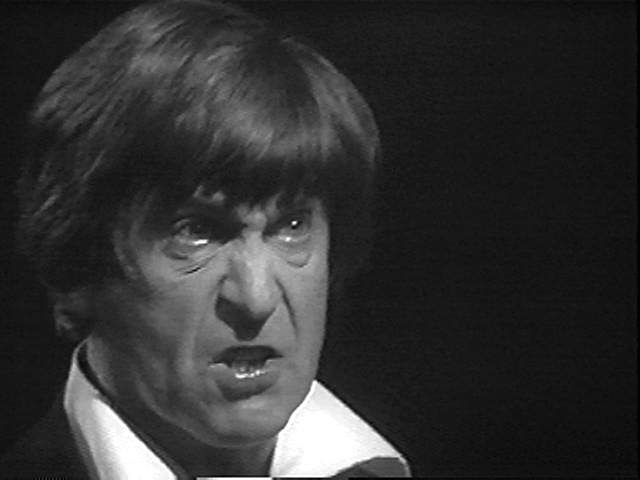
- st--2e03.jpg _13K B&W Doctor newly regenerated (Troughton) sc 21Mar99
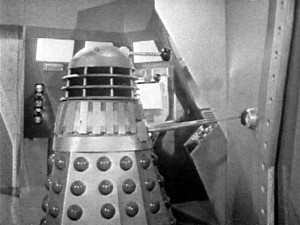
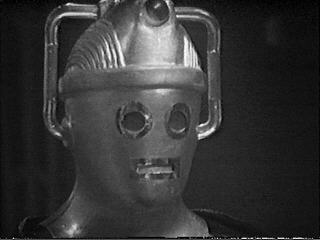
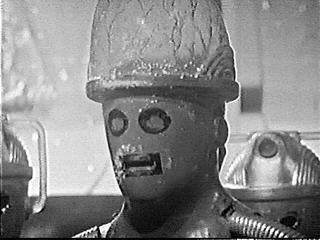
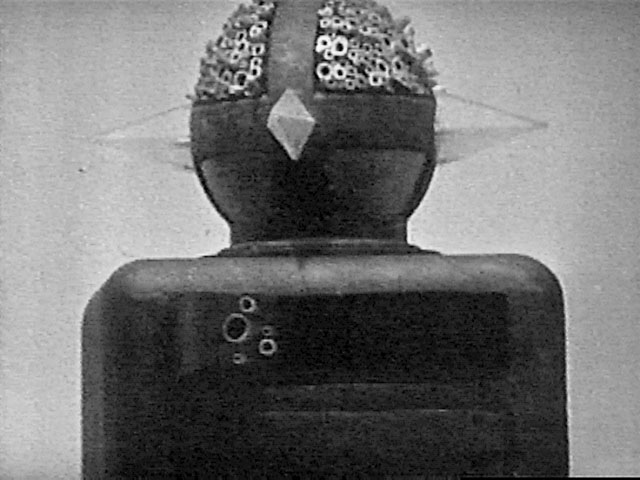
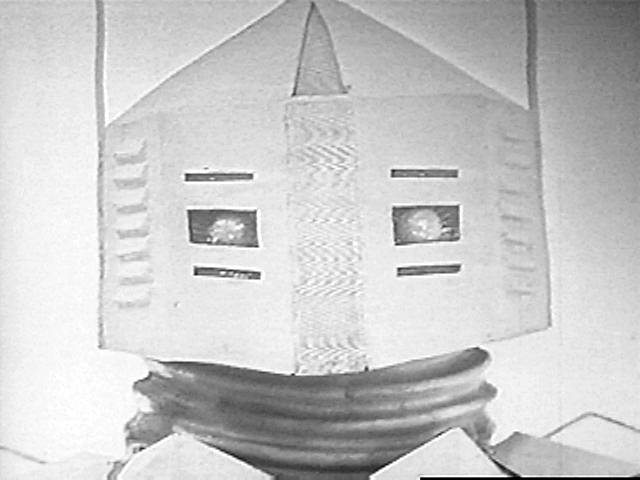
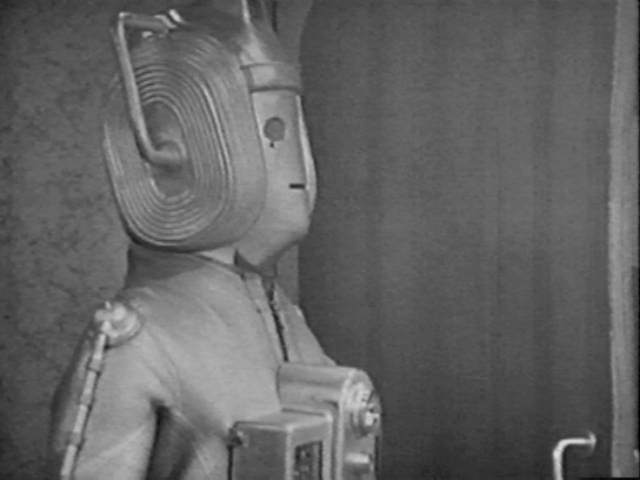
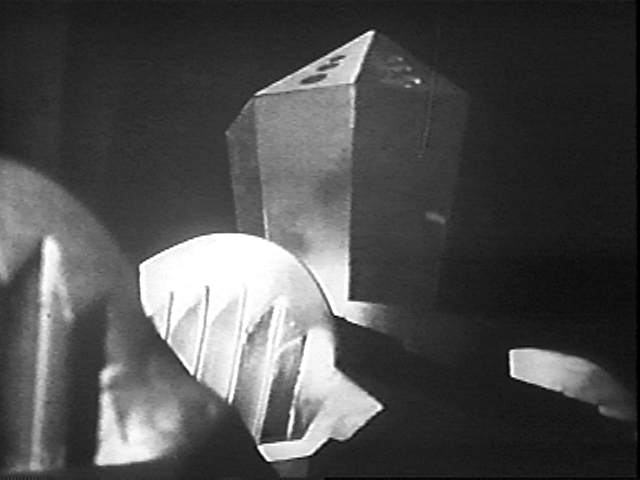
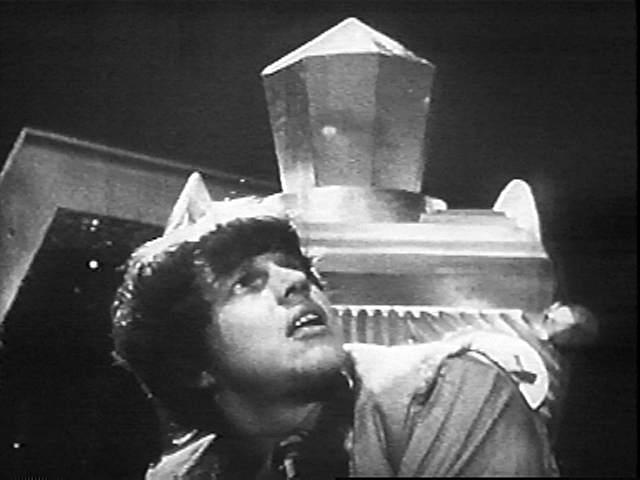
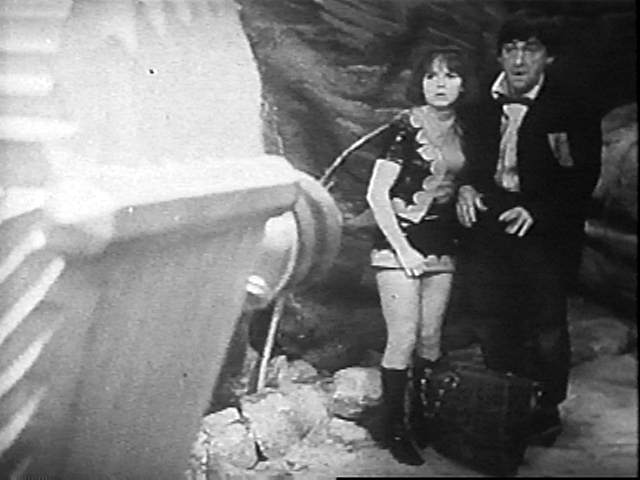
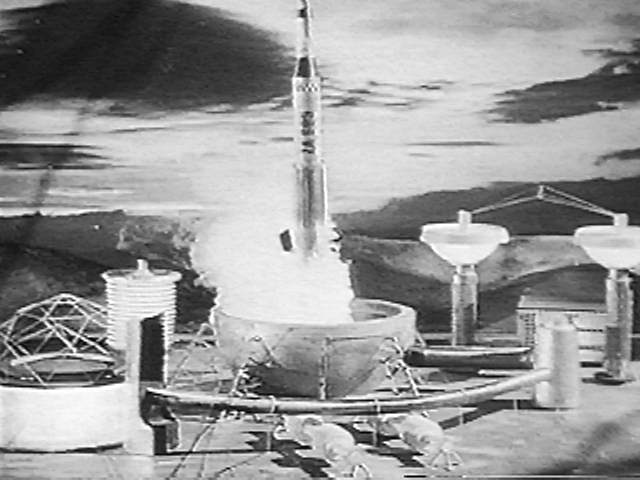
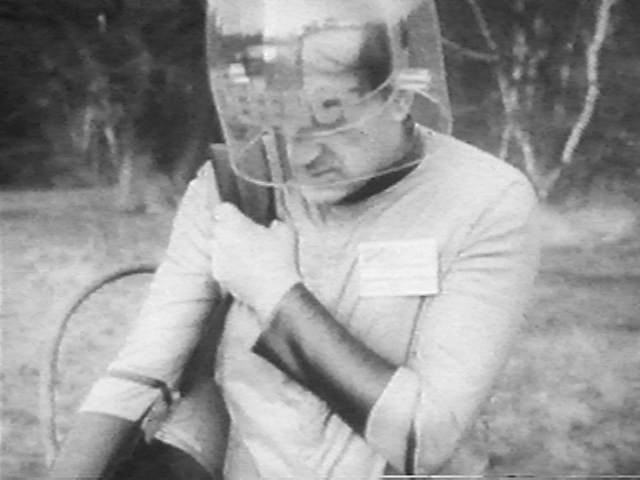
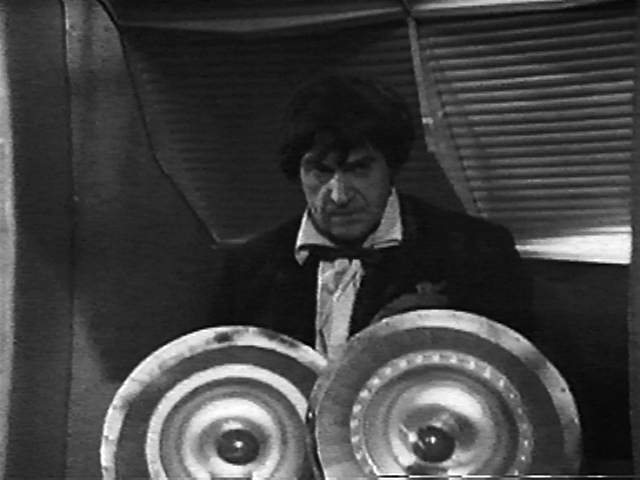
- st--2e04.jpg _13K B&W Dalek sc 21Mar99
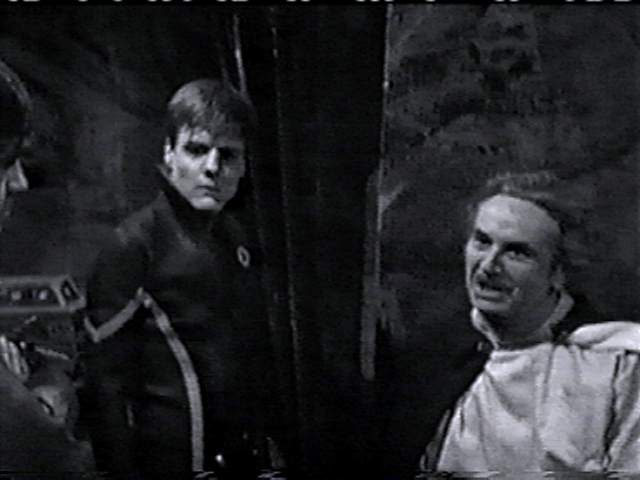
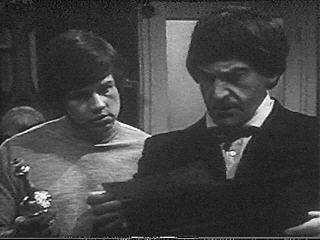
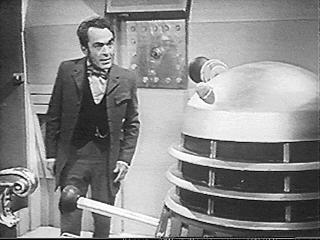
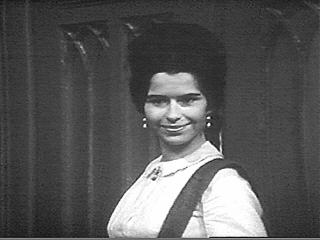
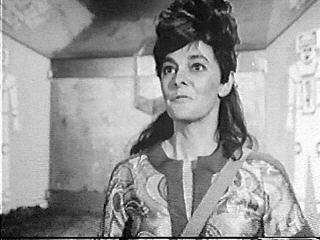
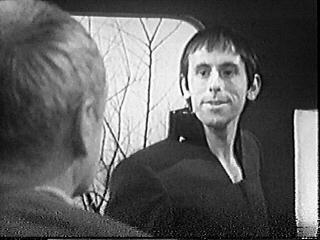
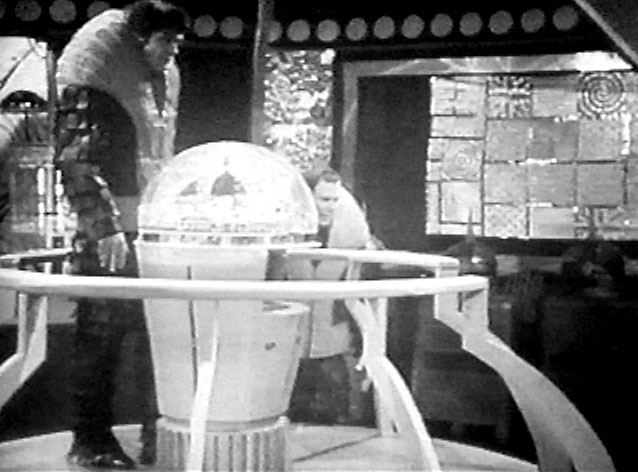
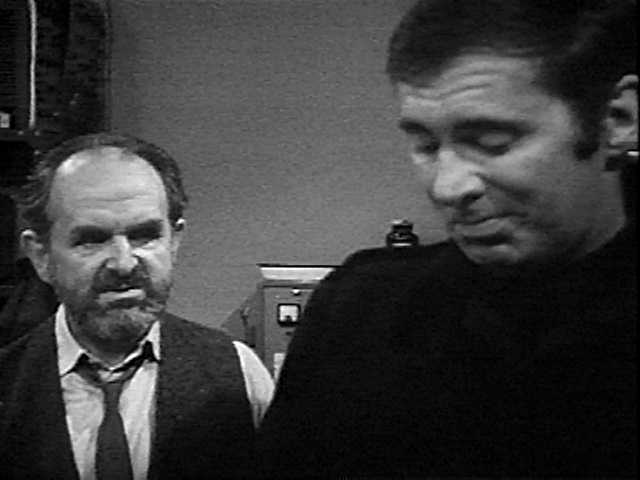
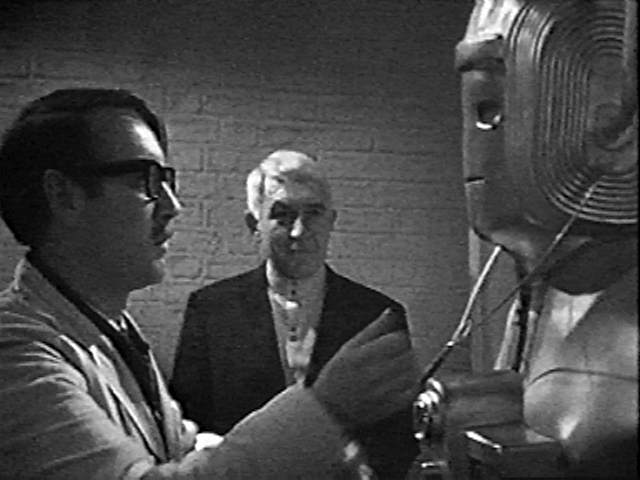
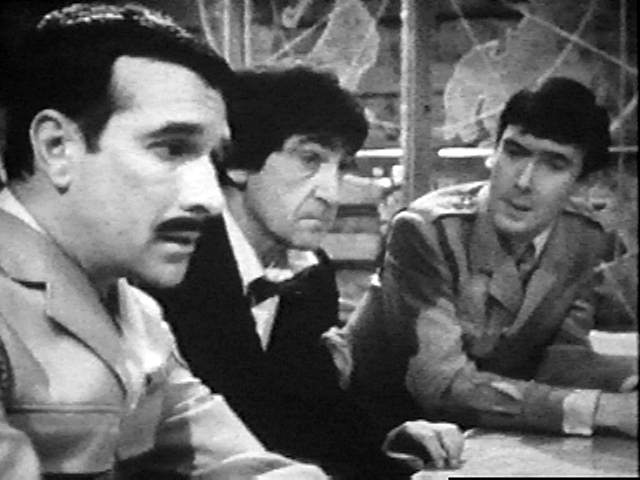
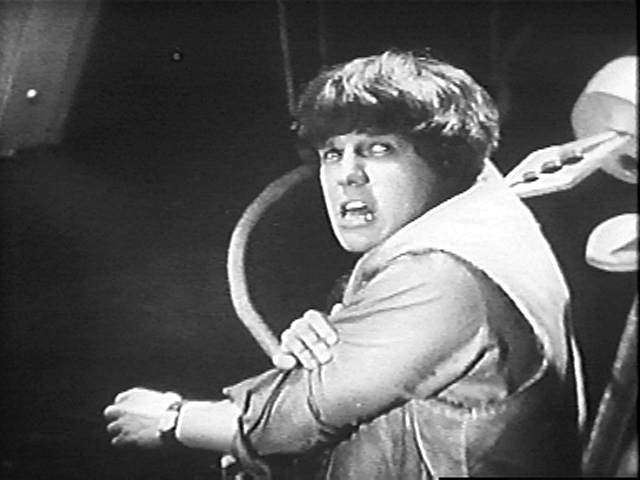
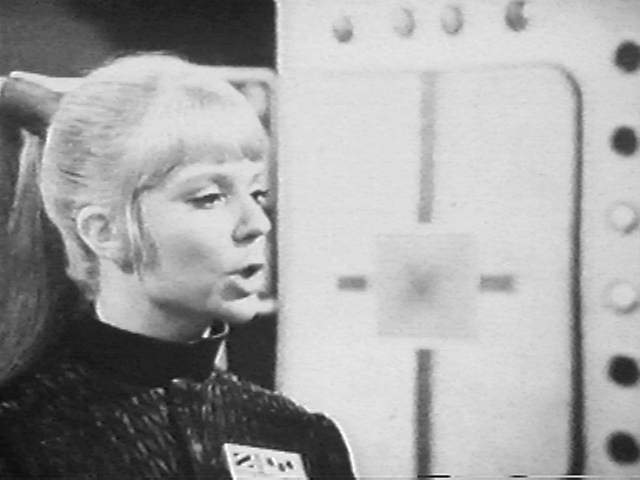
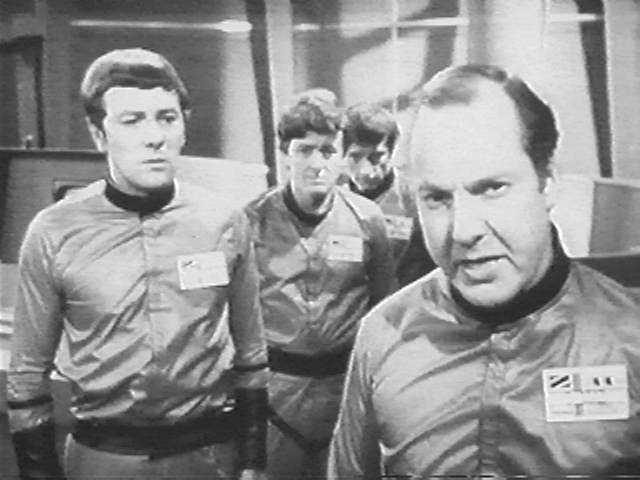
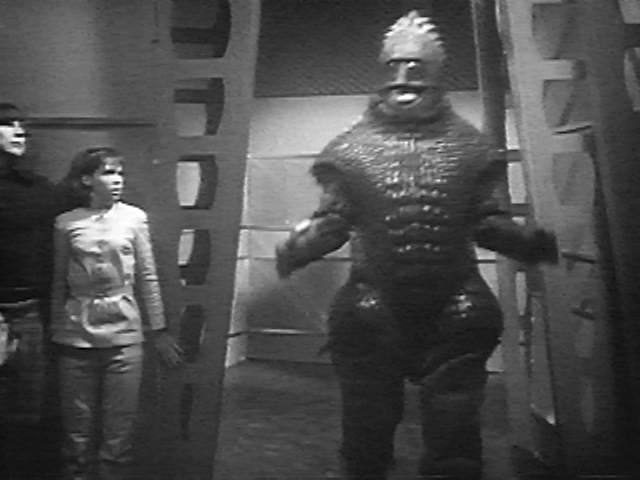
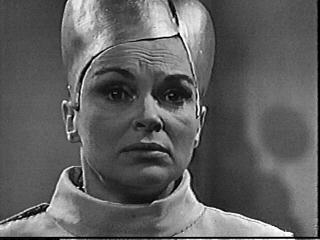
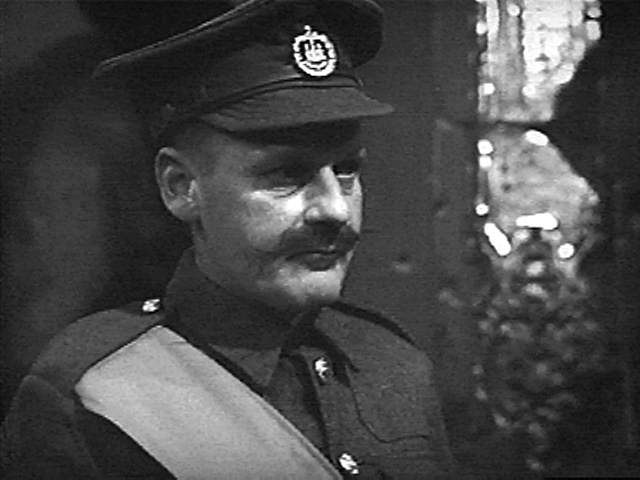
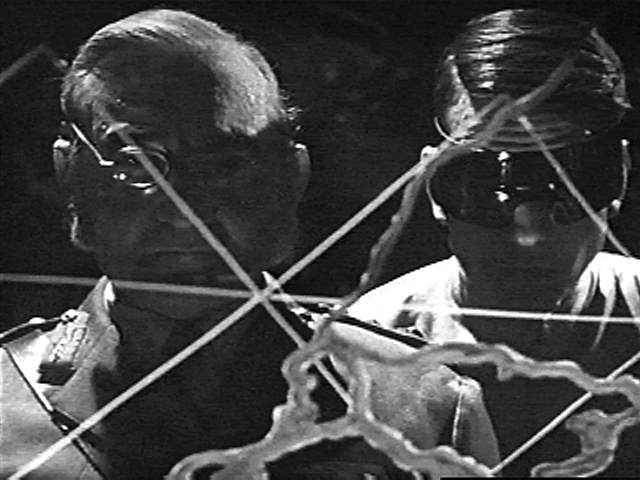
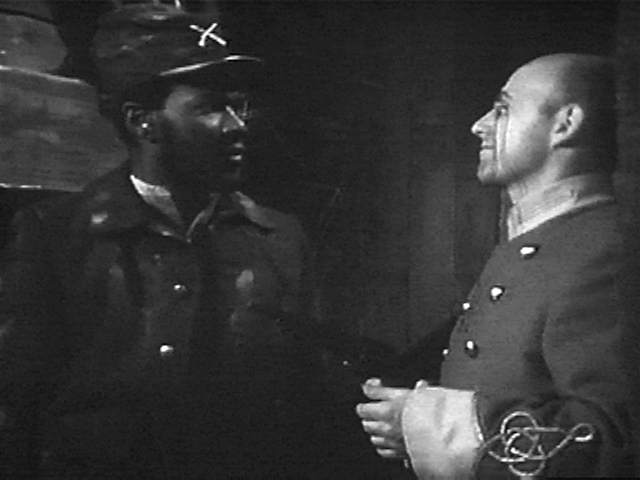
- st--2e05.jpg _13K B&W Dalek, Janley (Pamela Ann Davy) sc 21Mar99
- st--2e06.jpg _21K B&W Dalek sc 21Mar99
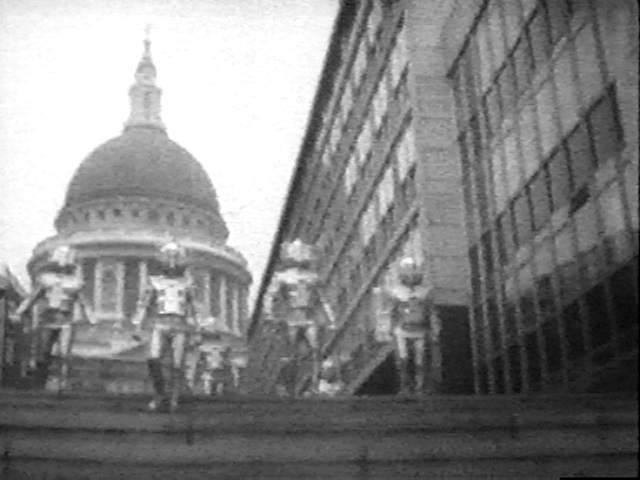
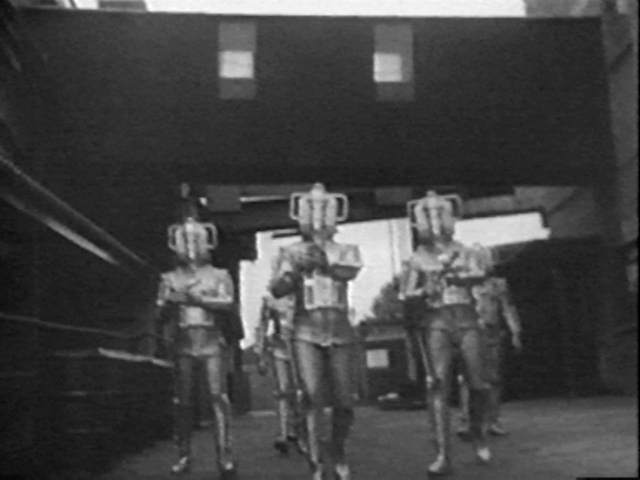
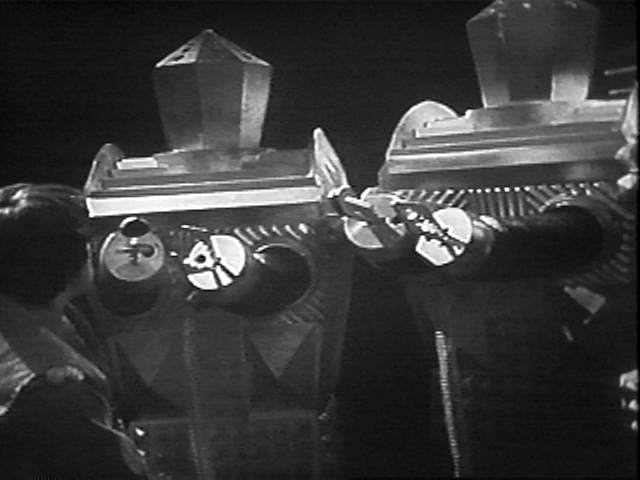
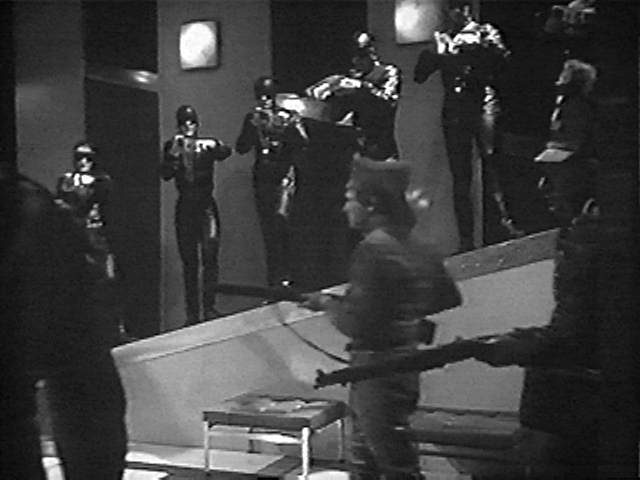
- st--2e07.jpg _26K B&W Daleks move down corridor sc 21Mar99
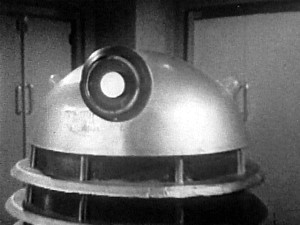
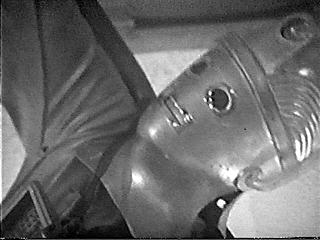
- st--2e08.jpg _18K B&W Dalek CU sc 21Mar99
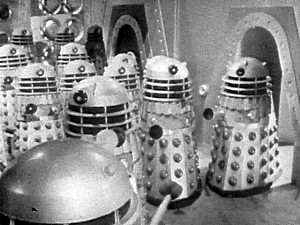
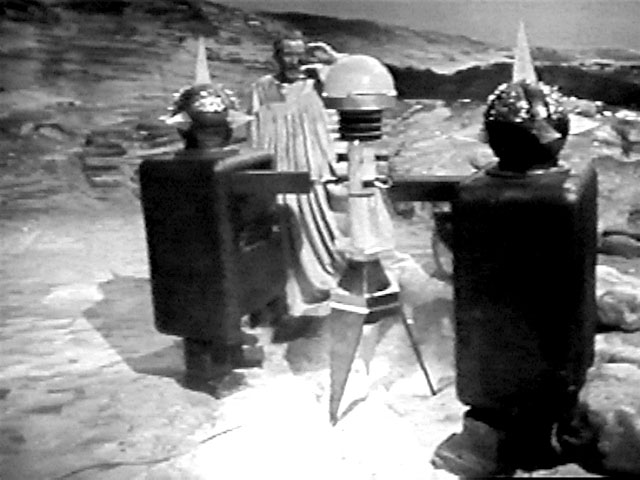
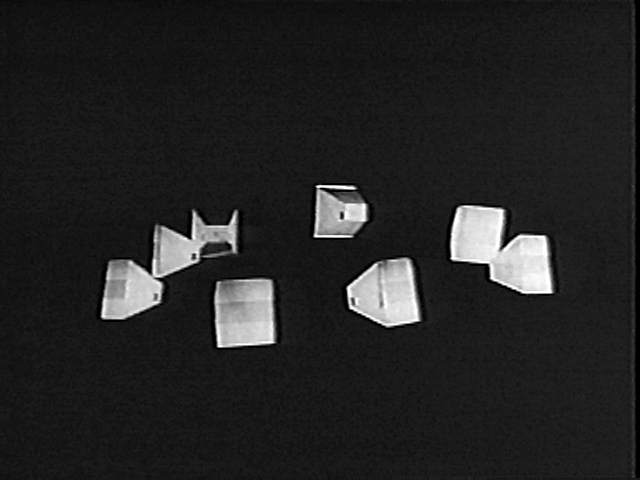
- st--2e09.jpg _29K B&W Many Daleks (the ones in the back are cardboard cutouts) sc 21Mar99
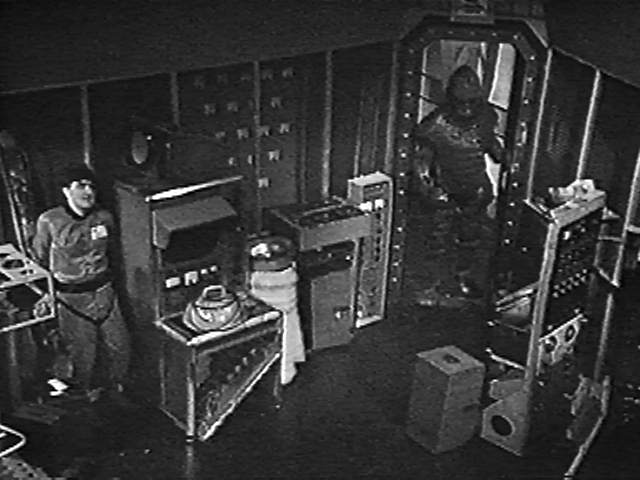
- st--2e10.jpg _23K B&W Dalek in Dalek door sc 21Mar99
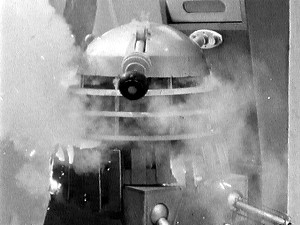
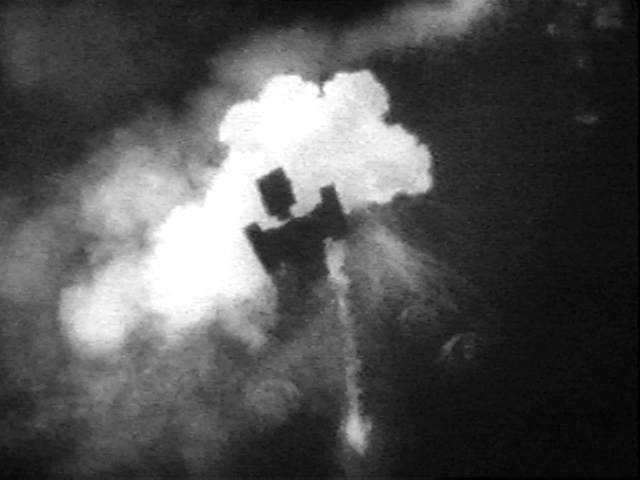
- st--2e11.jpg _21K B&W Dalek exploding sc 21Mar99
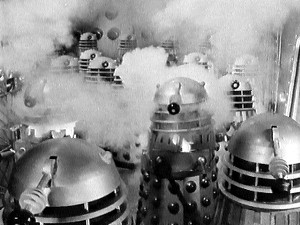
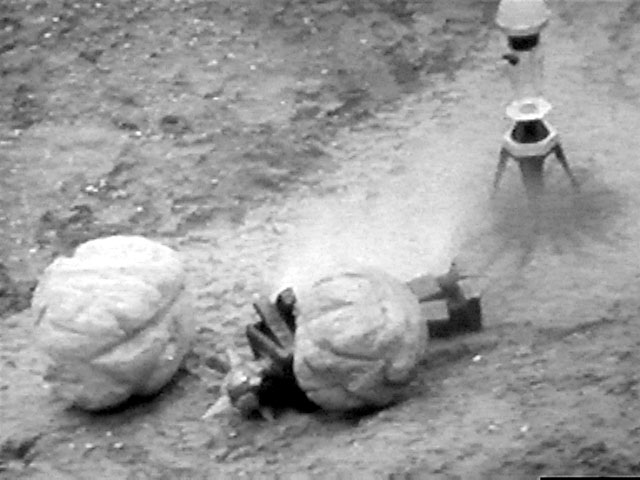
- st--2e12.jpg _25K B&W Many Daleks exploding sc 21Mar99
THE HIGHLANDERS
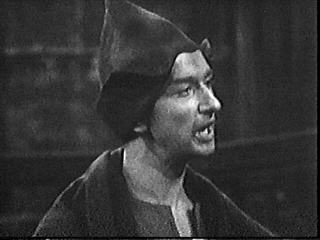
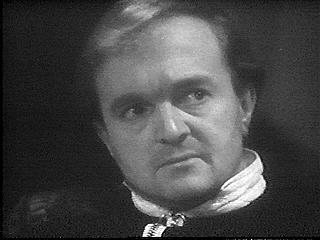
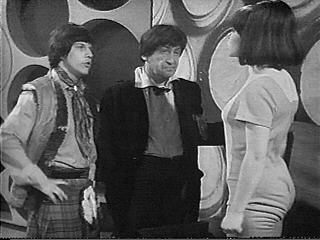
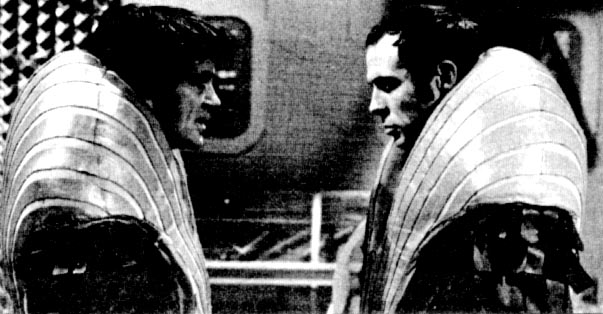
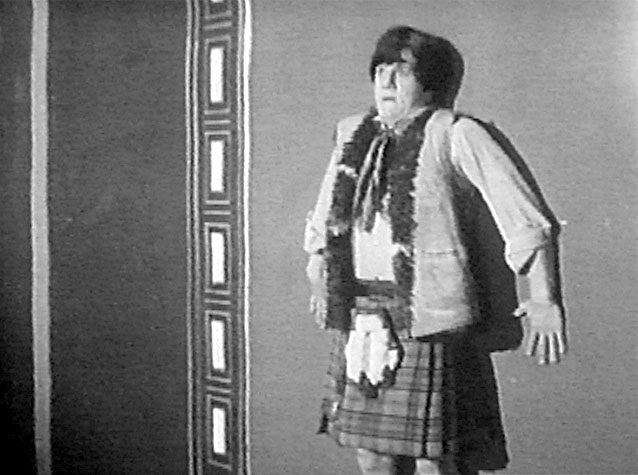
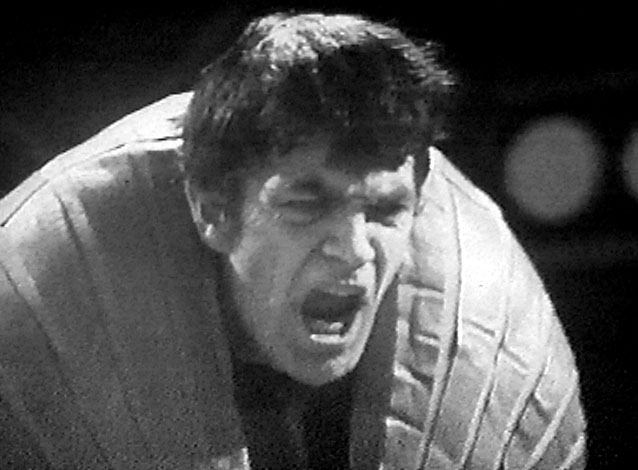
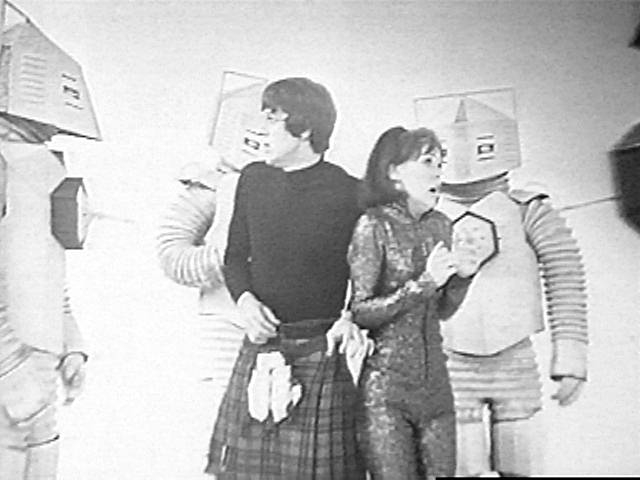
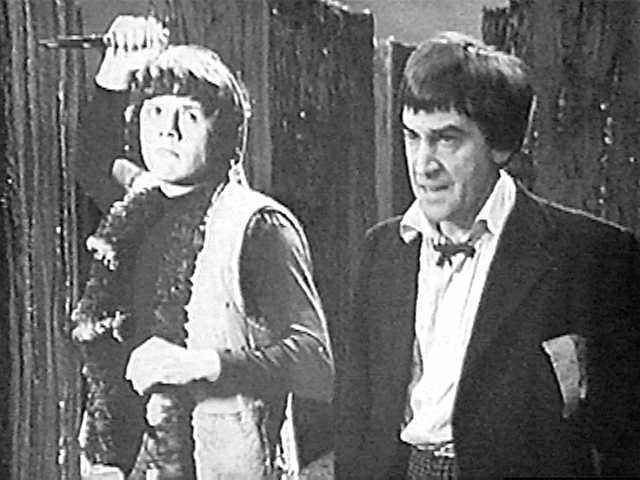
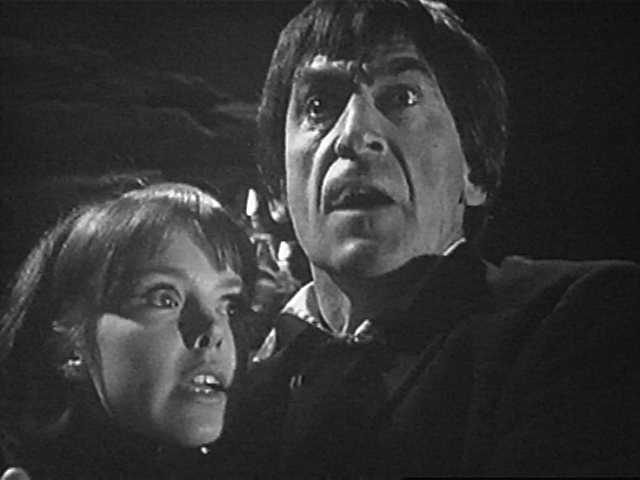
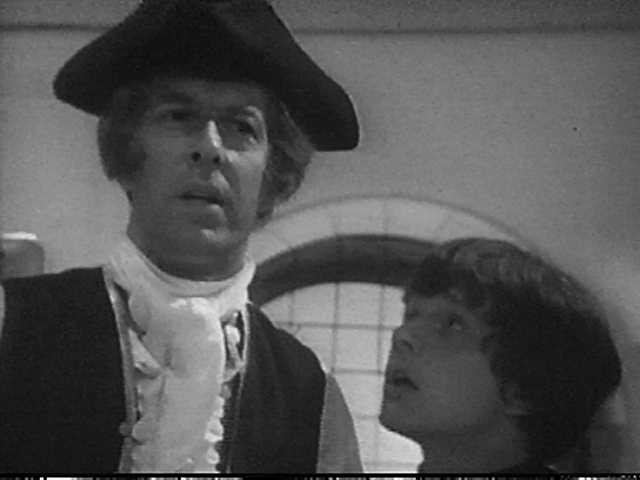
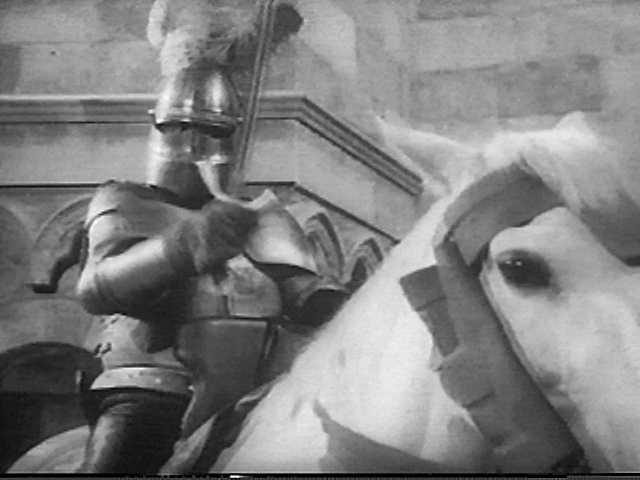
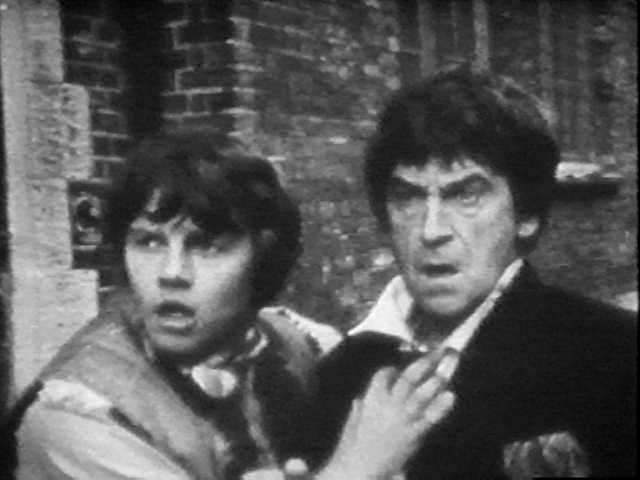
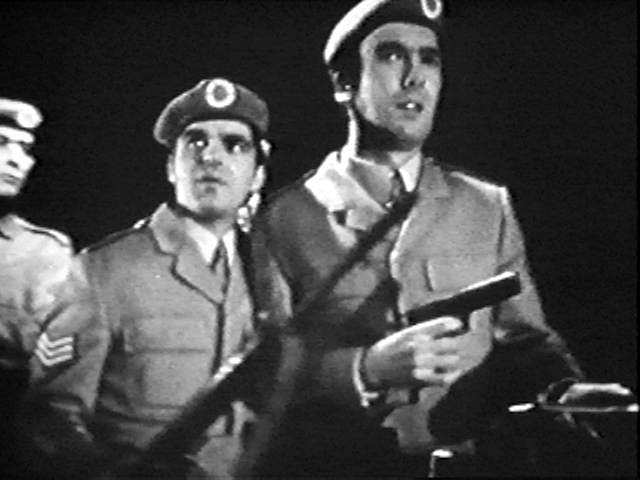
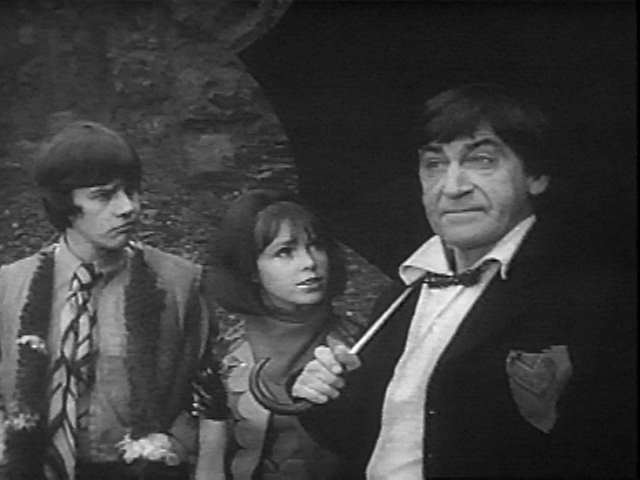
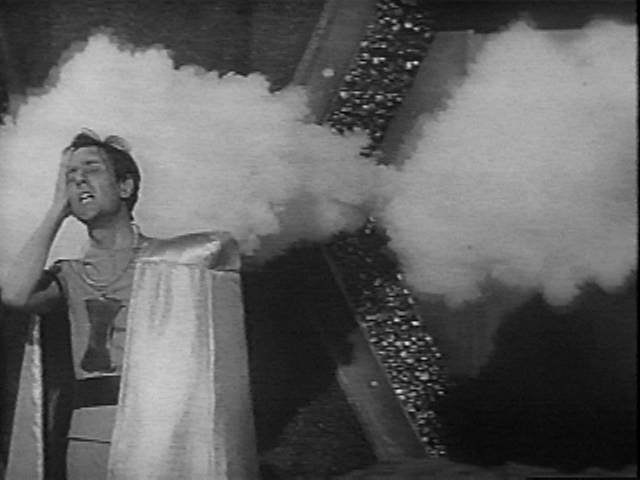
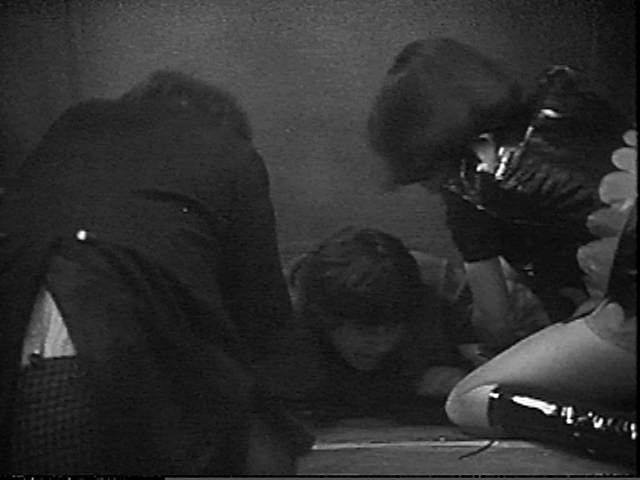
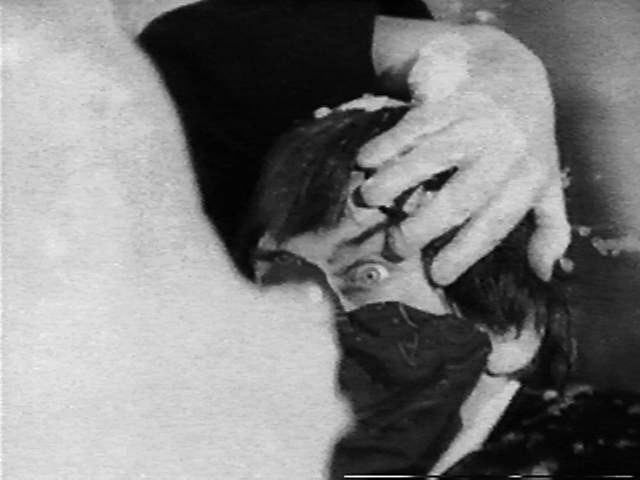
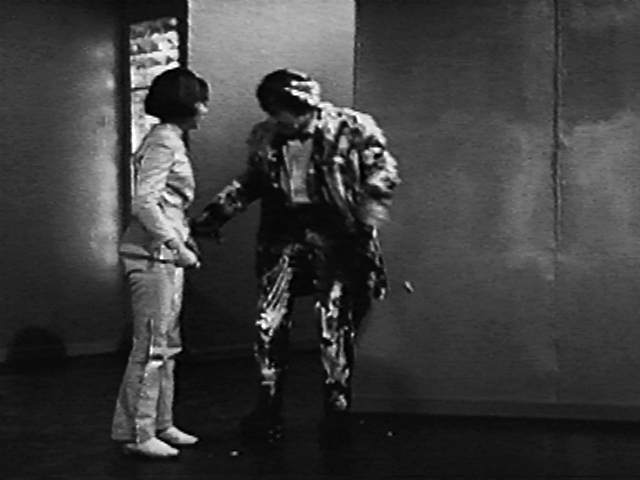
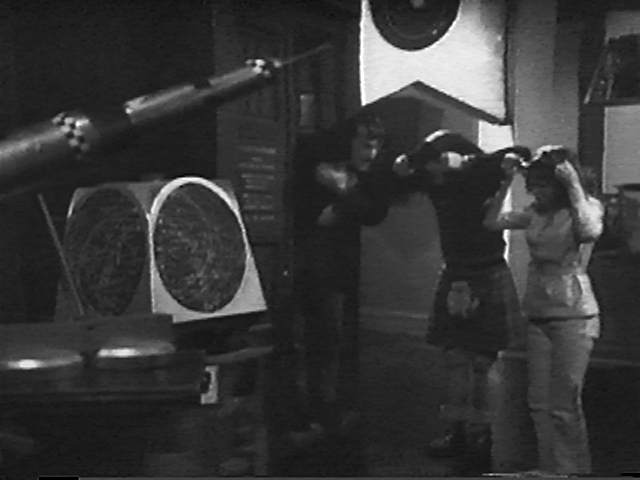
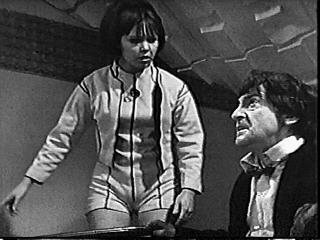
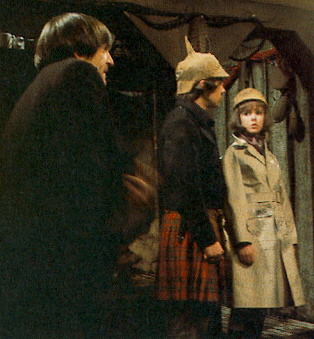
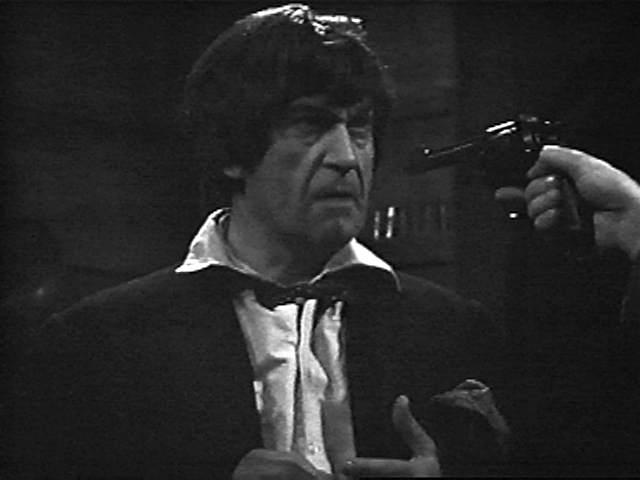
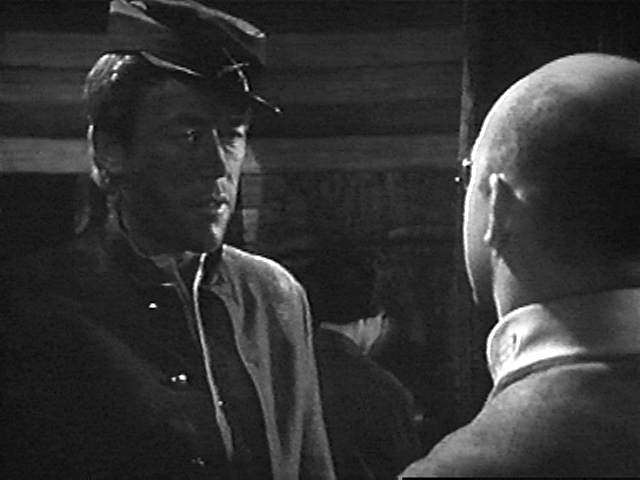
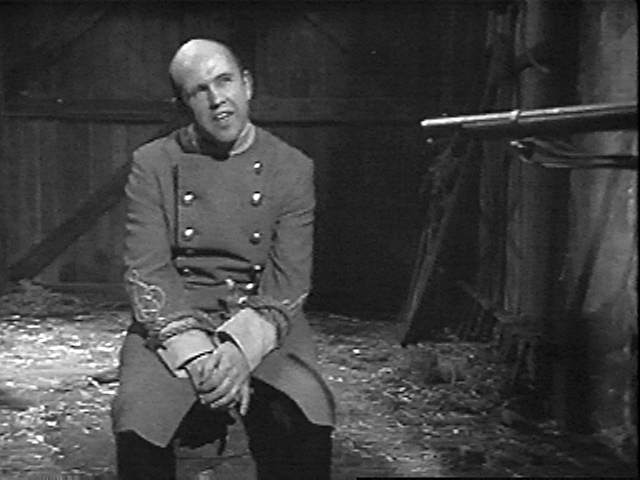
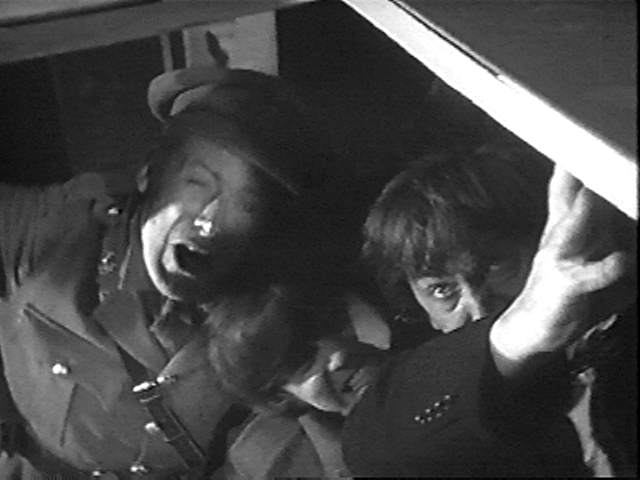
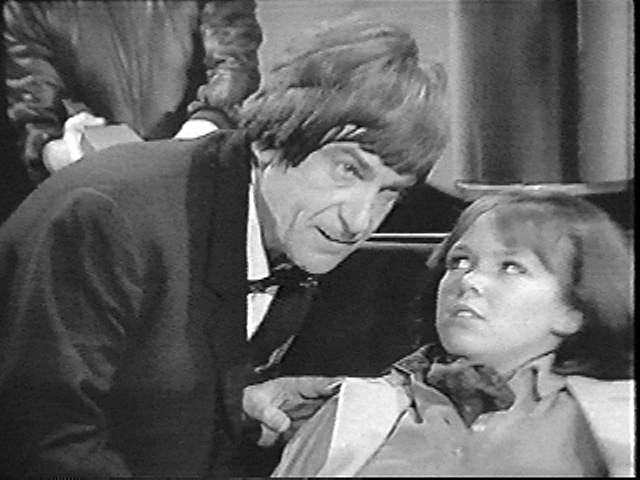
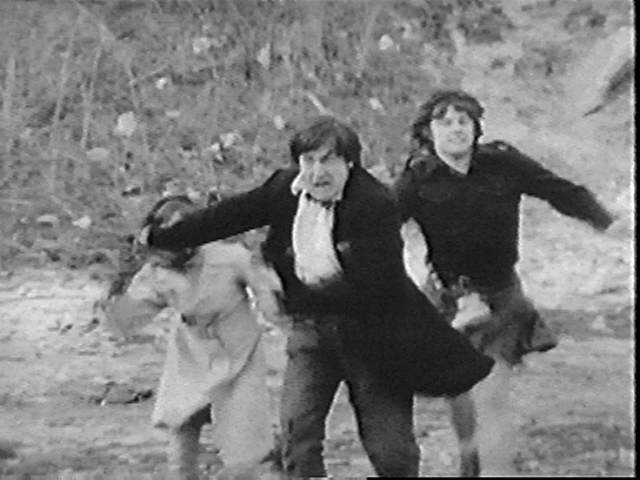
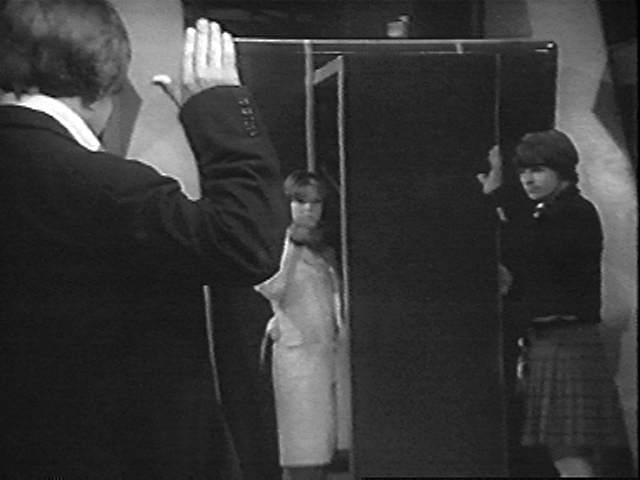
- st--2f01.jpg _48K B&W Jamie holds Doctor, Polly at knifepoint (Troughton, Wills, Hines)
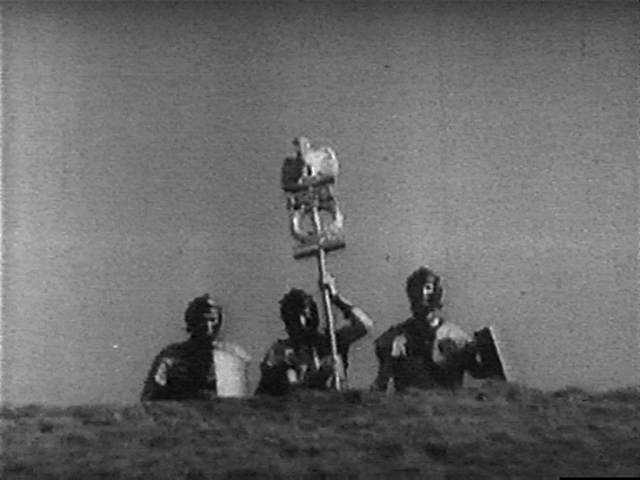
- st--2f02.jpg _25K B&W unknown sc 21Mar99
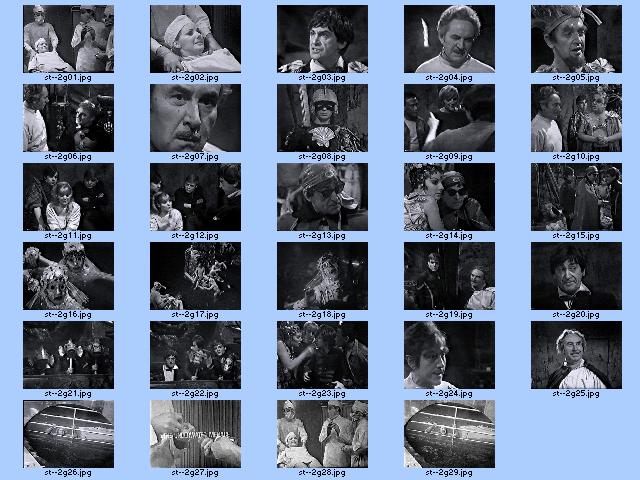
THE UNDERWATER MENACE
All images added 21Mar99
-
 st--2g-c.jpg _72K The Underwater Menace - CONTACT SHEET
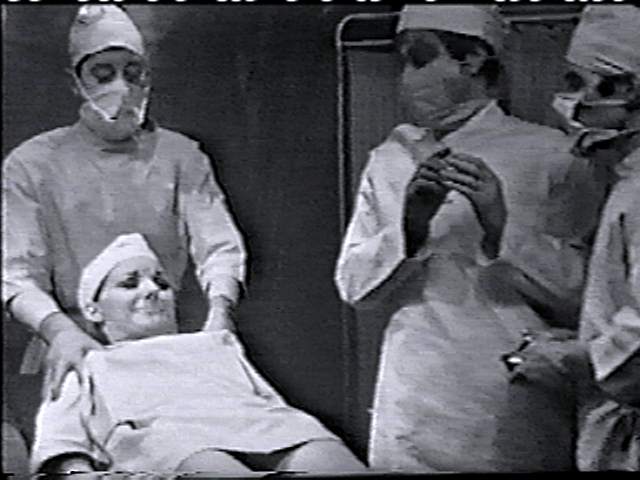
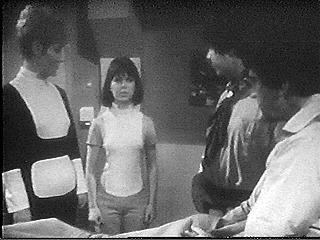
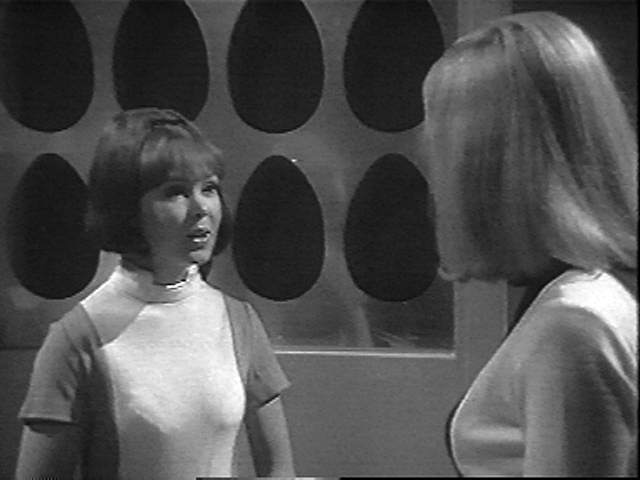
- st--2g01.jpg _37K B&W Polly on table, Damon with hypodermic (Wills, Colin Jeavons) sc
- st--2g02.jpg _32K B&W Polly restrained on table (Wills) sc
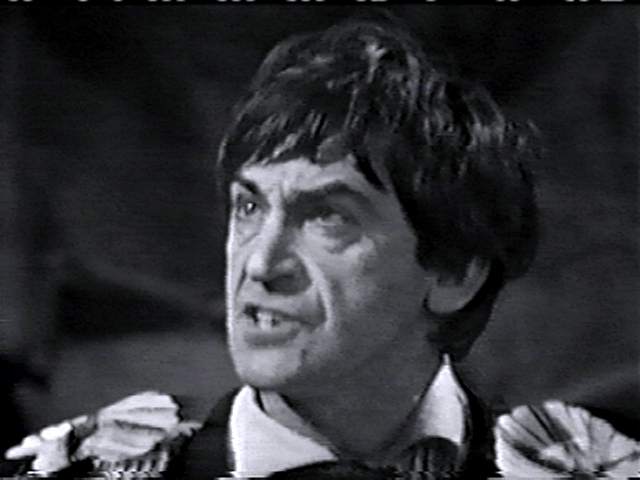
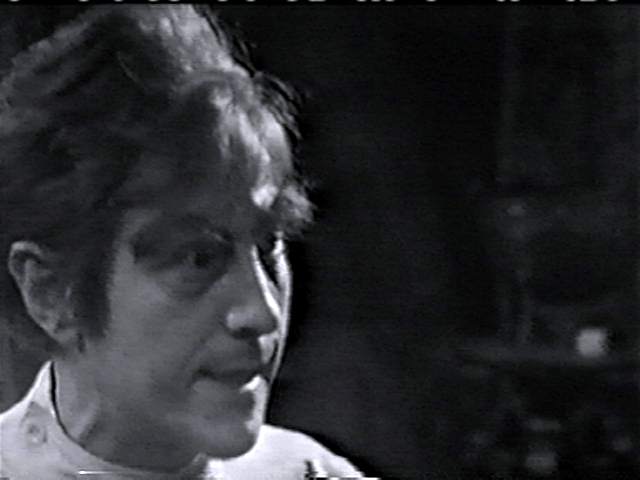
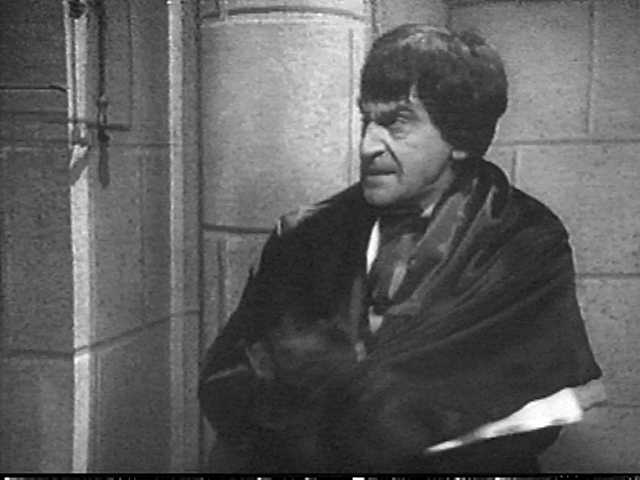
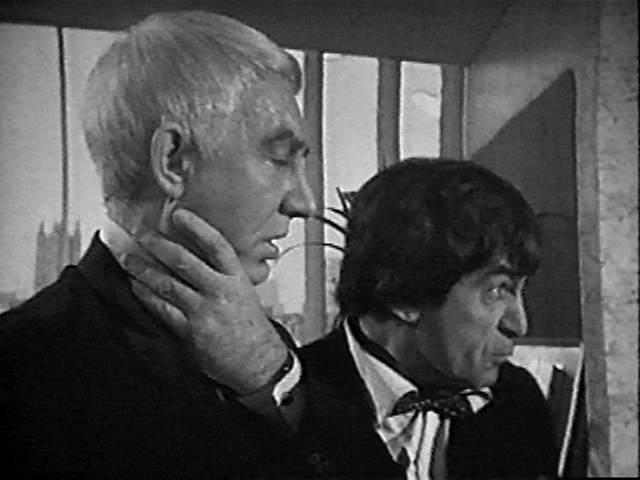
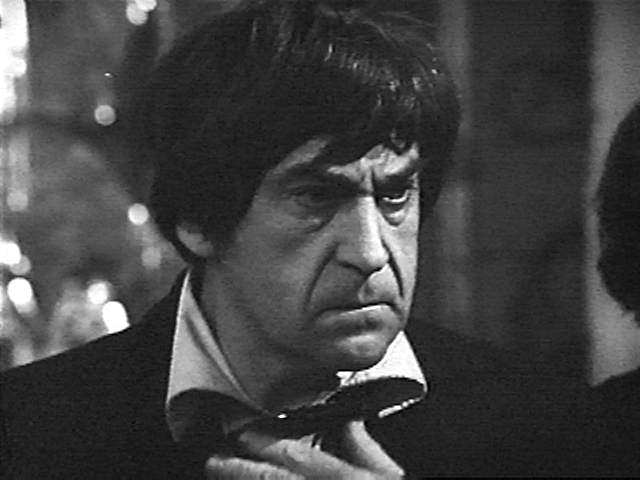
- st--2g03.jpg _27K B&W Doctor (Troughton) sc
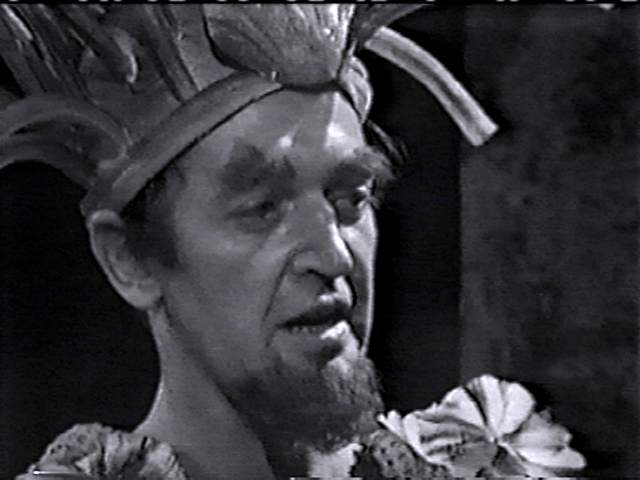
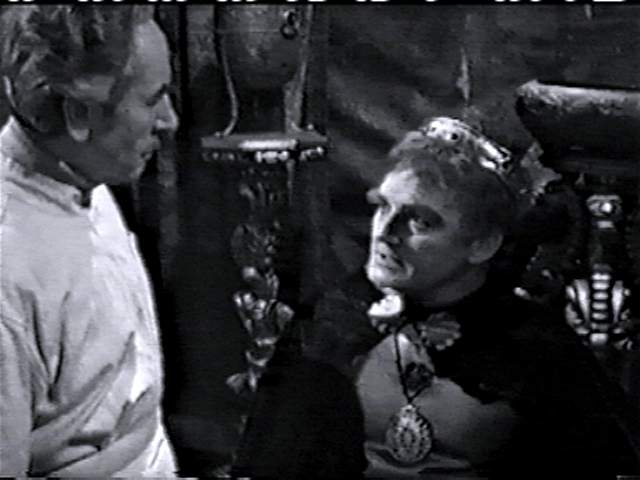
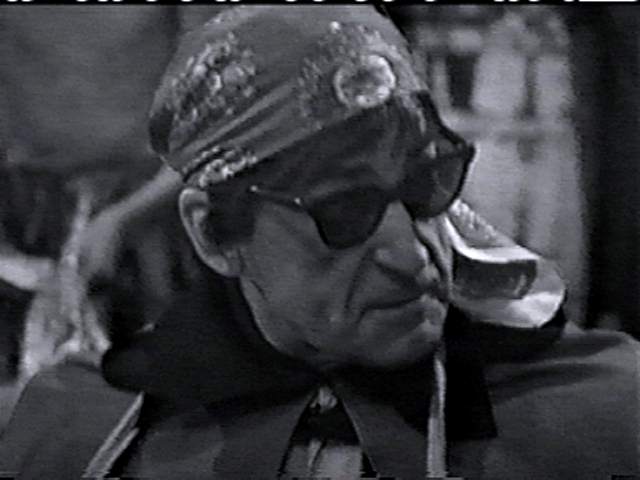
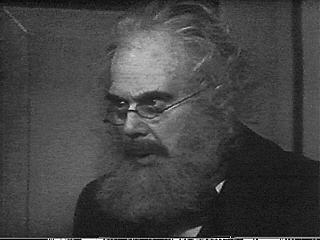
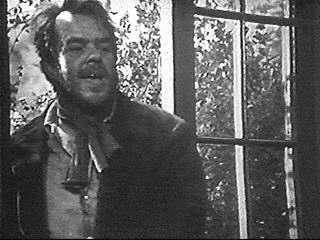
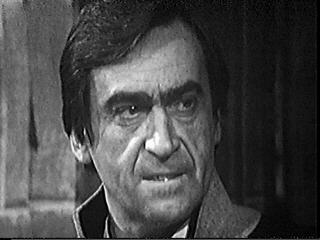
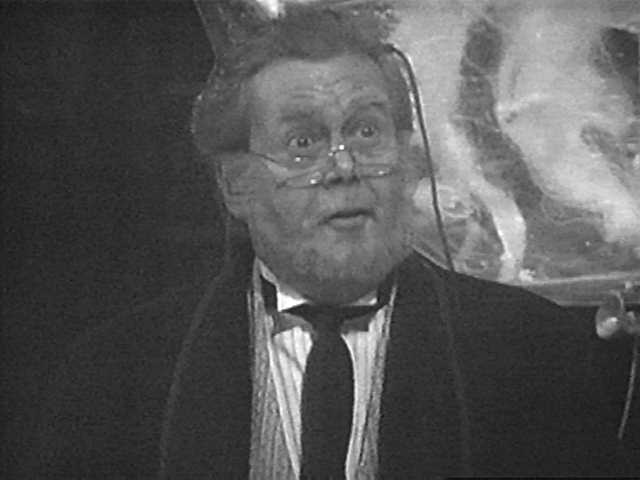
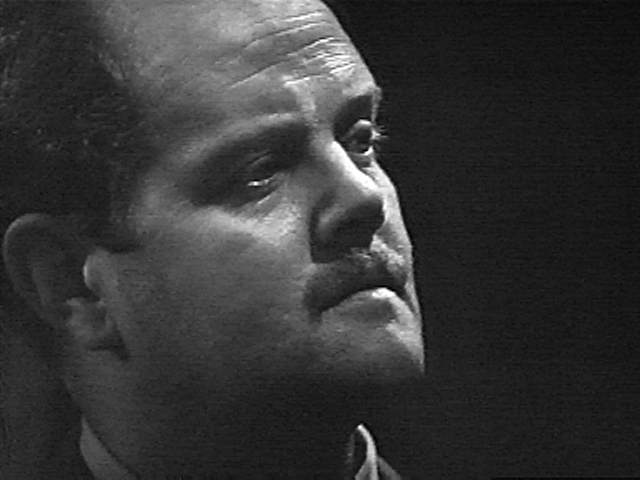
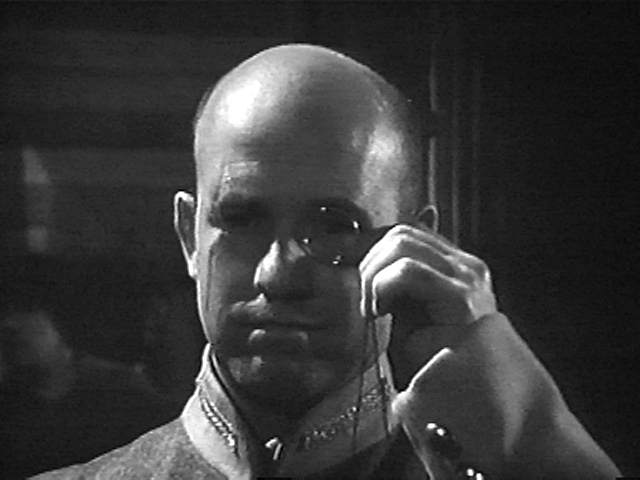
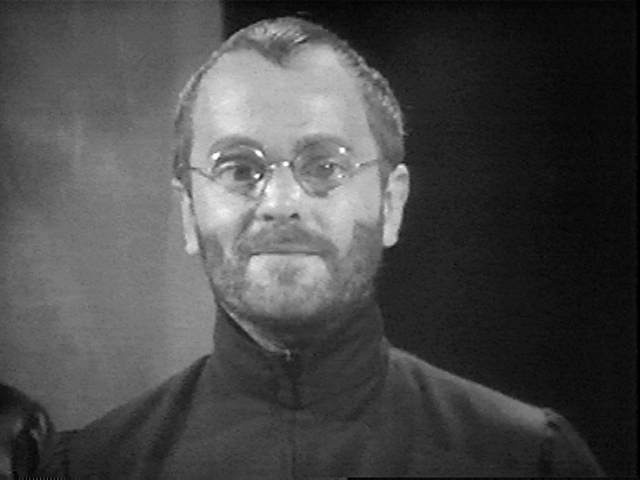
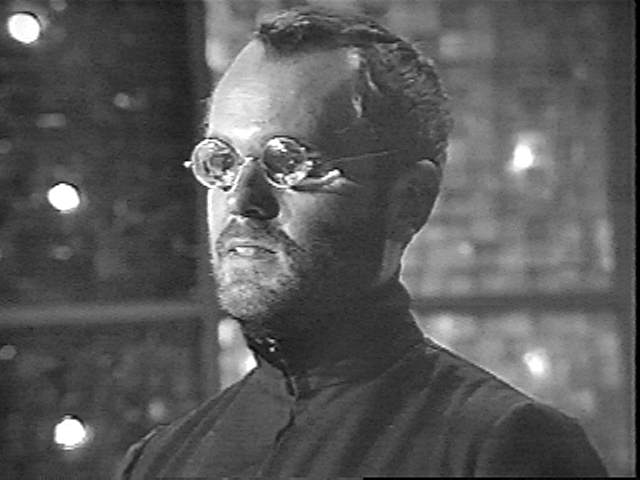
- st--2g04.jpg _26K B&W Professor Zaroff (Joseph Furst) sc
- st--2g05.jpg _30K B&W Ramo (Tom Watson) sc
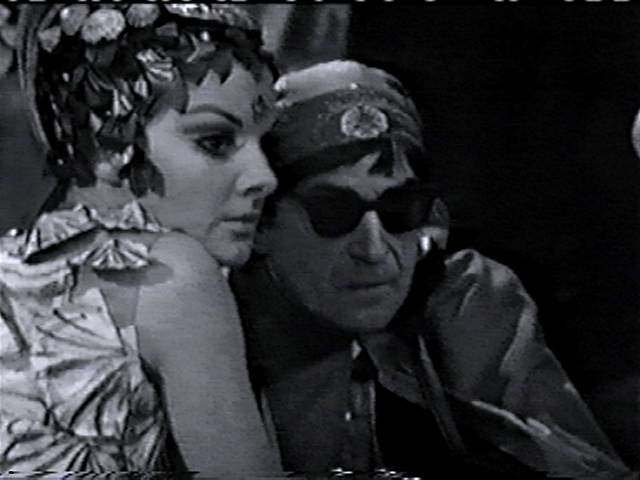
- st--2g06.jpg _32K B&W Zaroff, Ramo (Joseph Furst, Tom Watson) sc
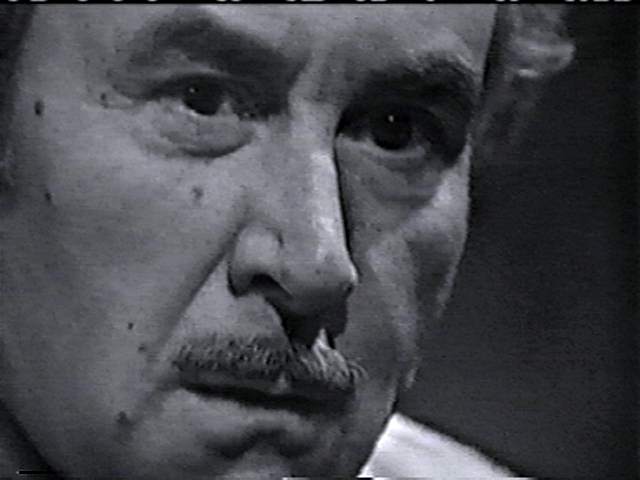
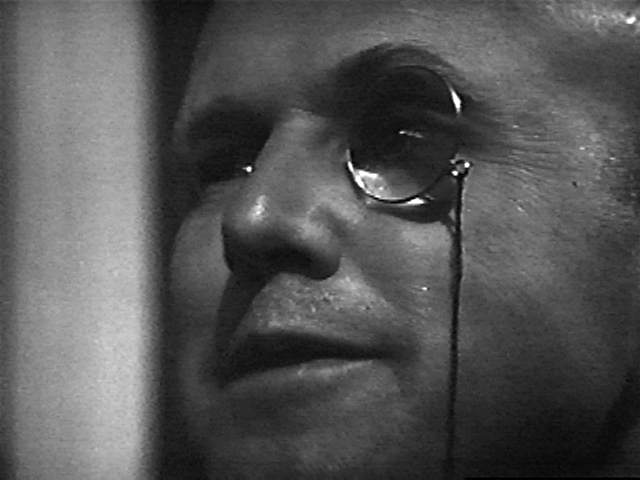
- st--2g07.jpg _27K B&W Zaroff CU (Joseph Furst) sc
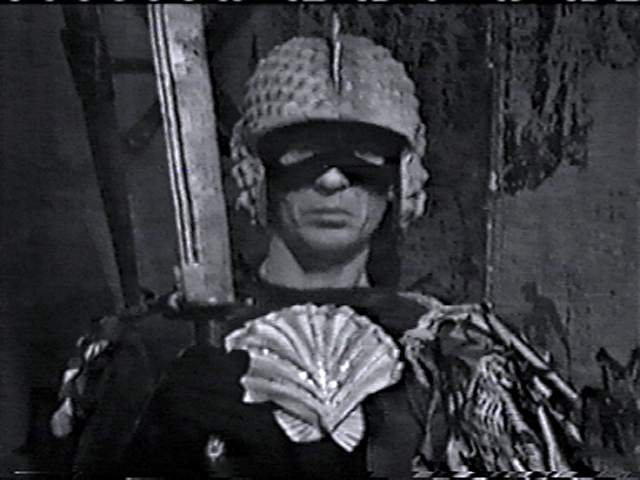
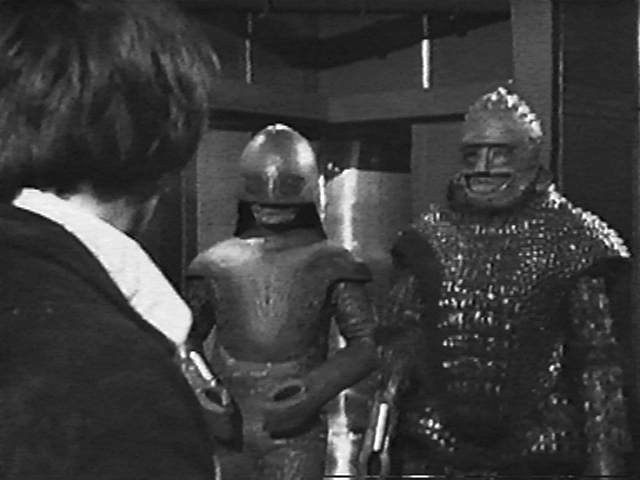
- st--2g08.jpg _35K B&W Atlantean guard sc
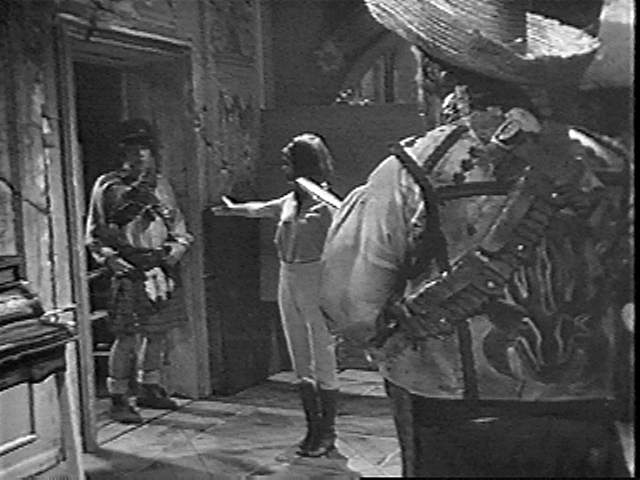
- st--2g09.jpg _26K B&W Jacko, Sean, Jamie (Paul Anil, P G Stephens, Hines) sc
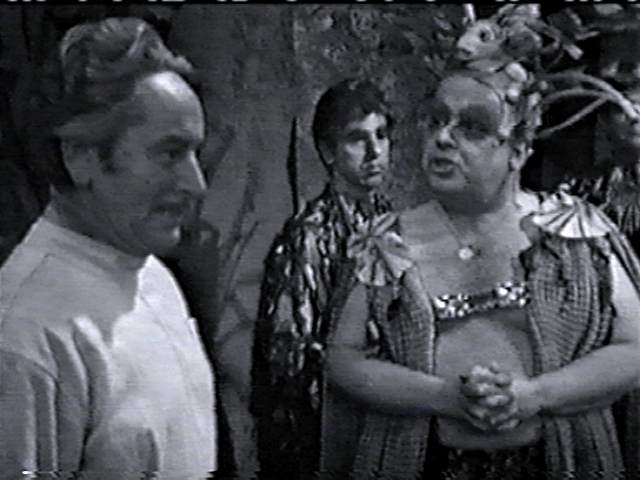
- st--2g10.jpg _37K B&W Zaroff, guard, King Thous (Joseph Furst, Noel Johnson) sc
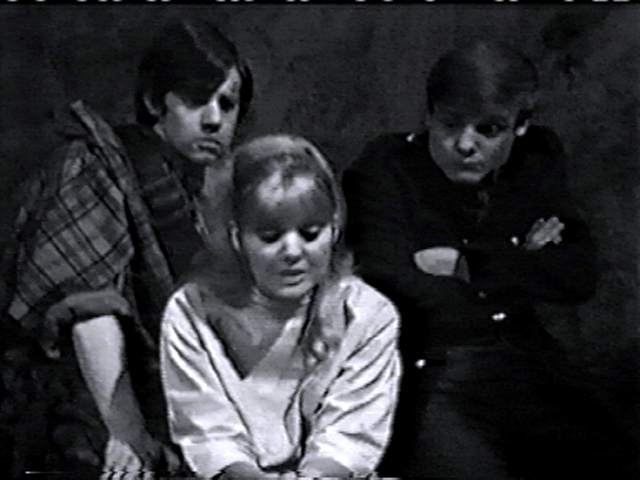
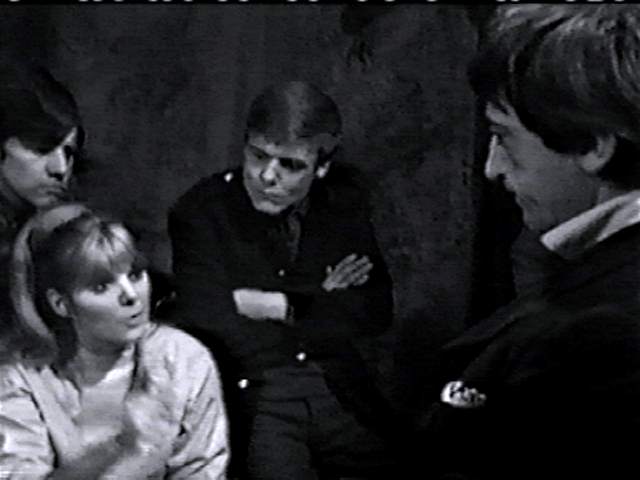
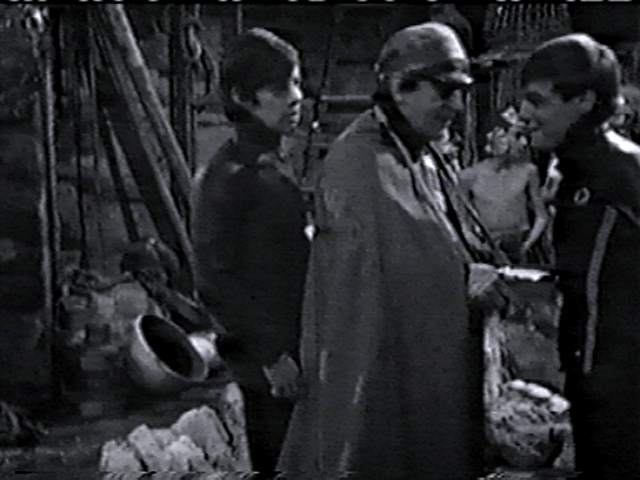
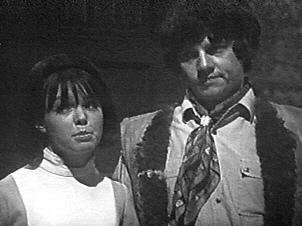
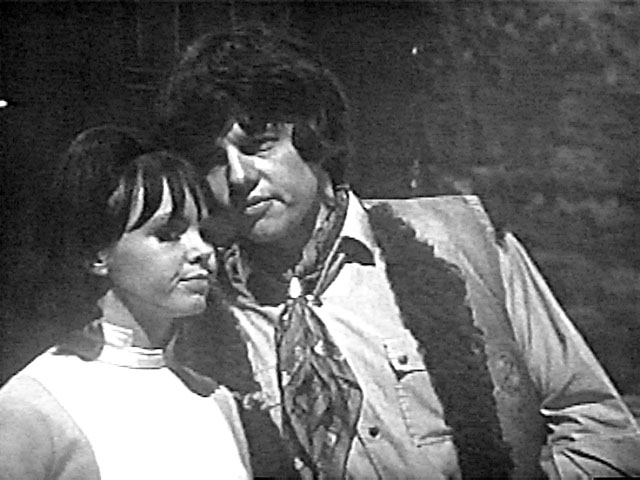
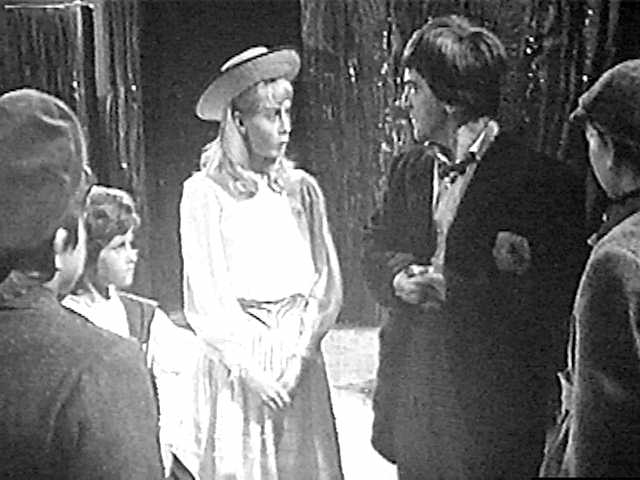
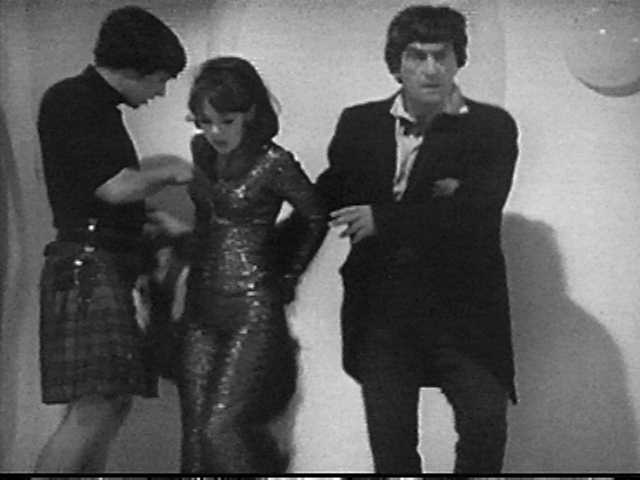
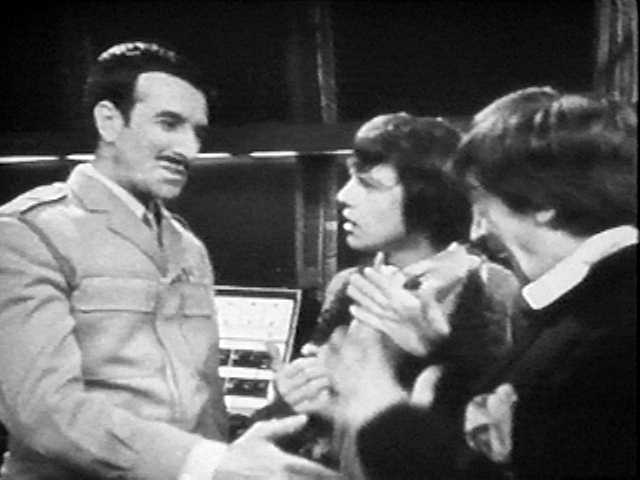
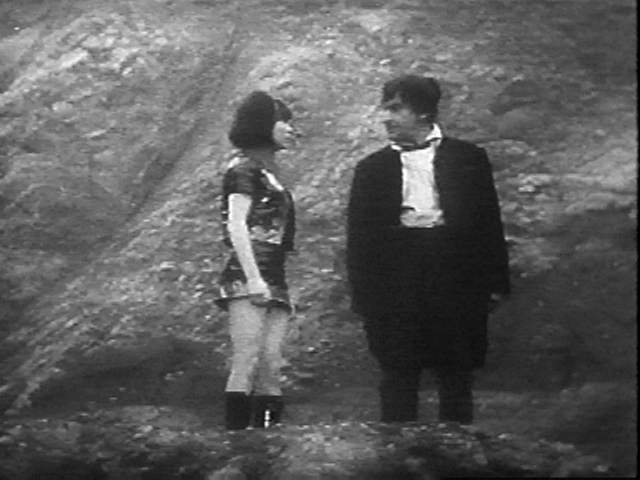
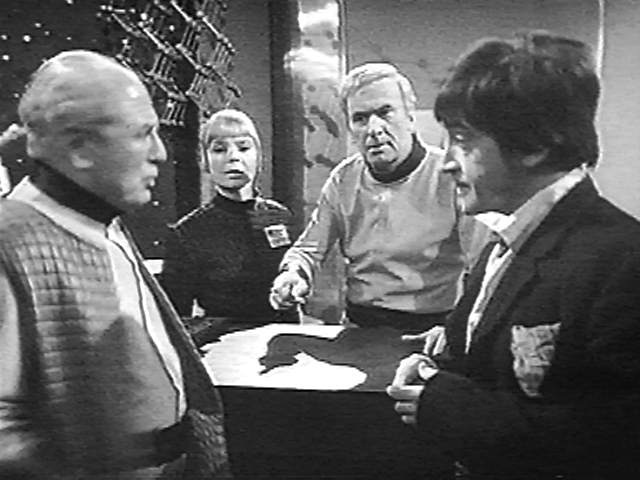
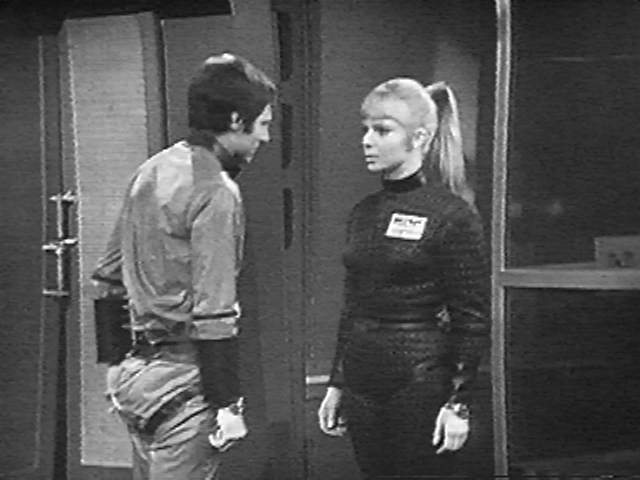
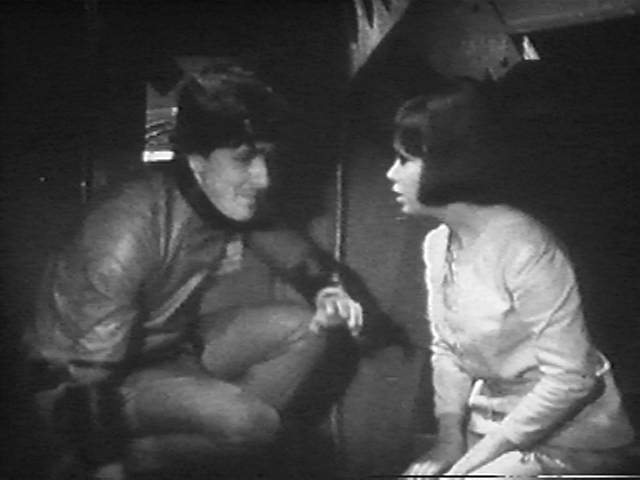
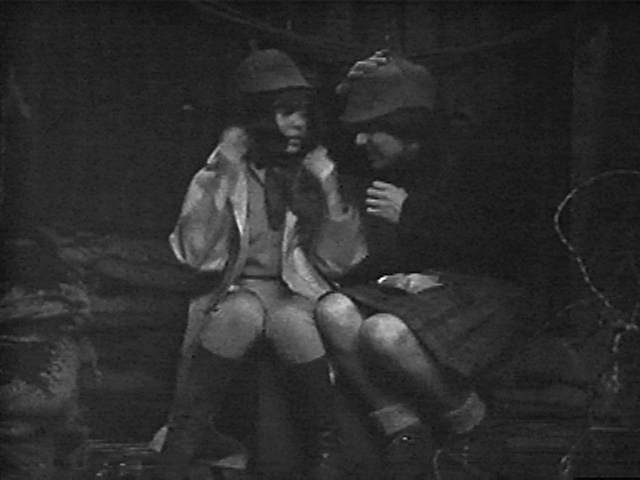
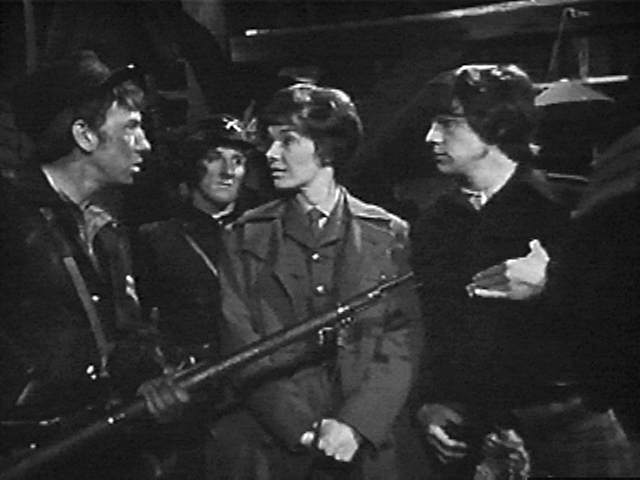
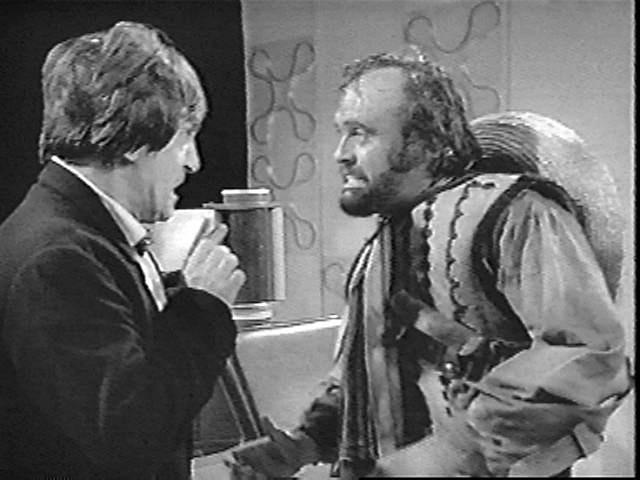
- st--2g11.jpg _30K B&W Jamie, Polly, Ben (Hines, Wills, Craze) sc
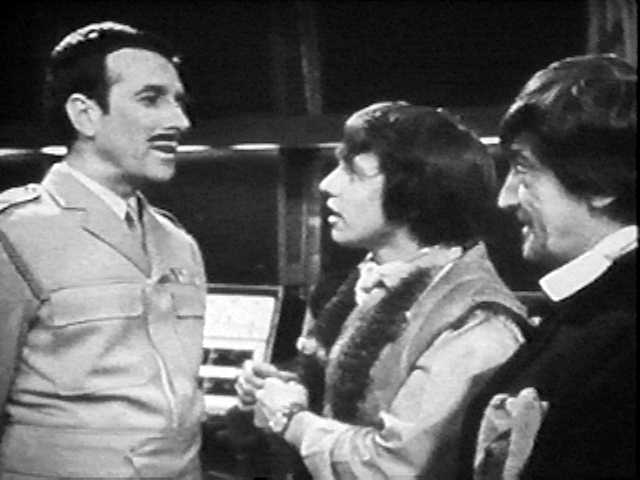
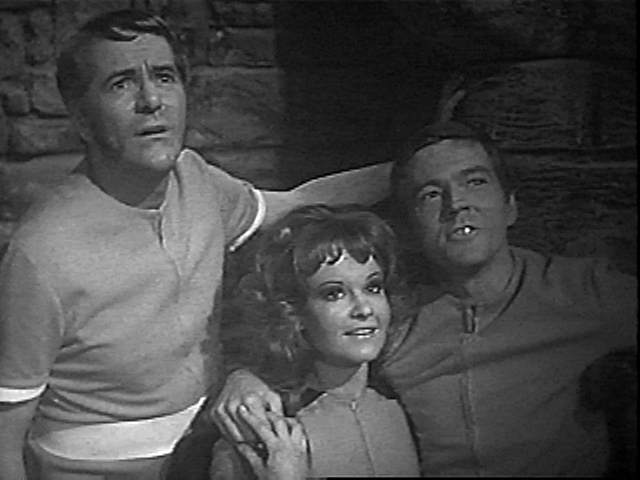
- st--2g12.jpg _27K B&W Jamie, Polly, Ben, Doctor (Hines, Wills, Craze, Troughton) sc
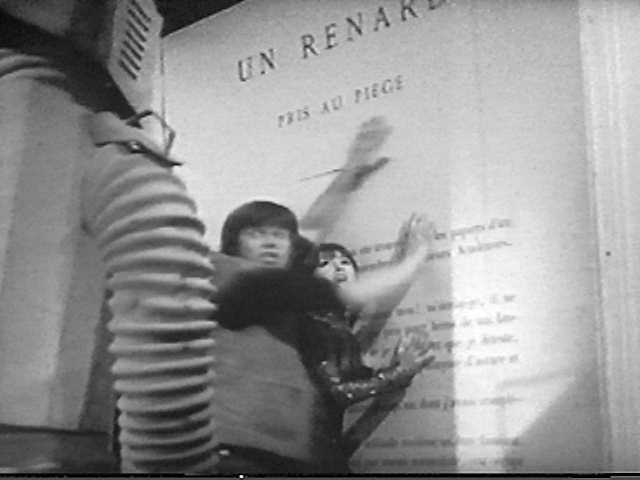
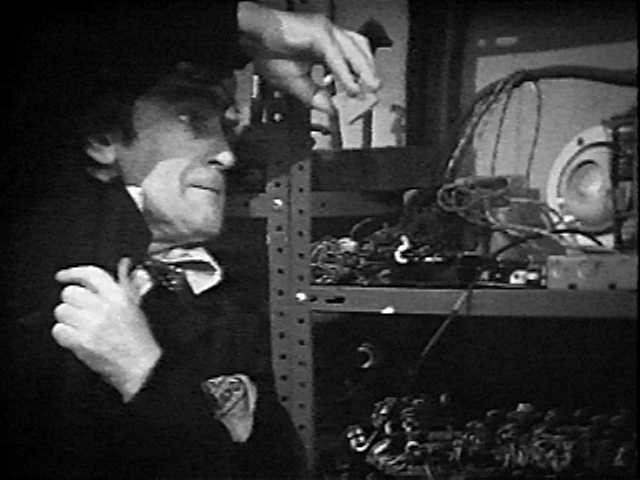
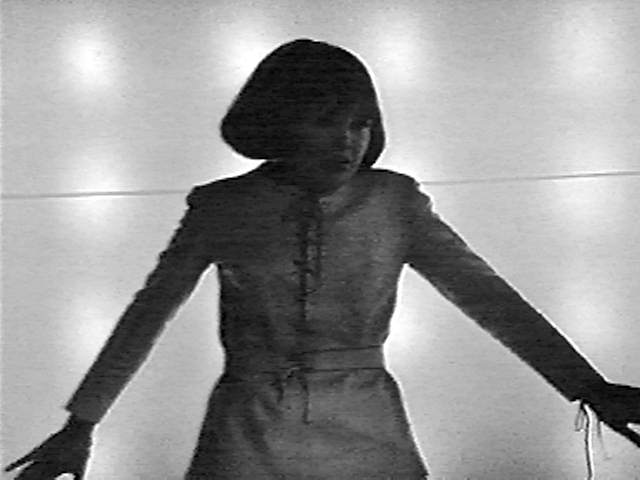
- st--2g13.jpg _29K B&W Doctor disguised as gypsy woman (Troughton) sc
- st--2g14.jpg _31K B&W Polly, Doctor as gypsy woman (Wills, Troughton) sc
- st--2g15.jpg _33K B&W Jamie, Doctor as gypsy woman, Ben (Hines, Troughton, Craze) sc
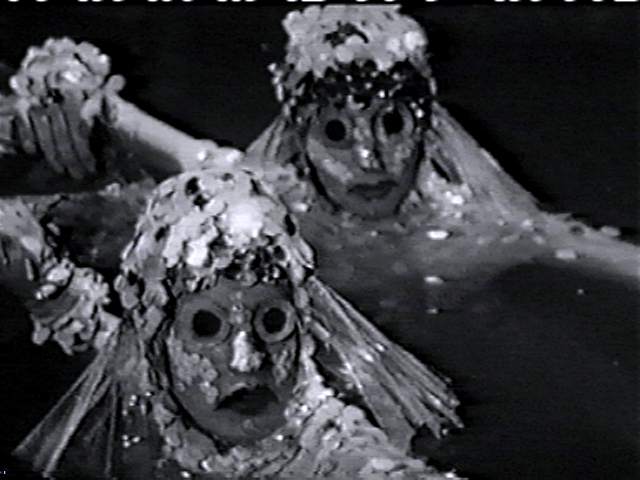
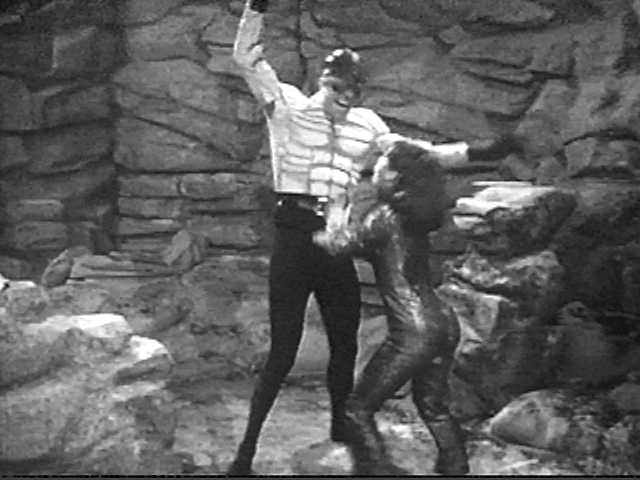
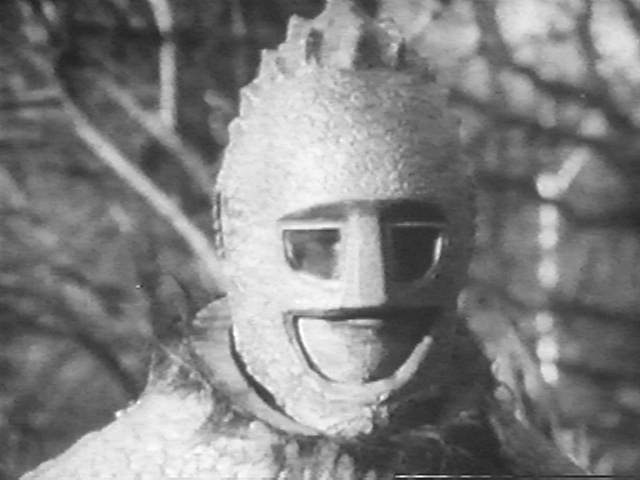
- st--2g16.jpg _36K B&W Fish people MCU sc
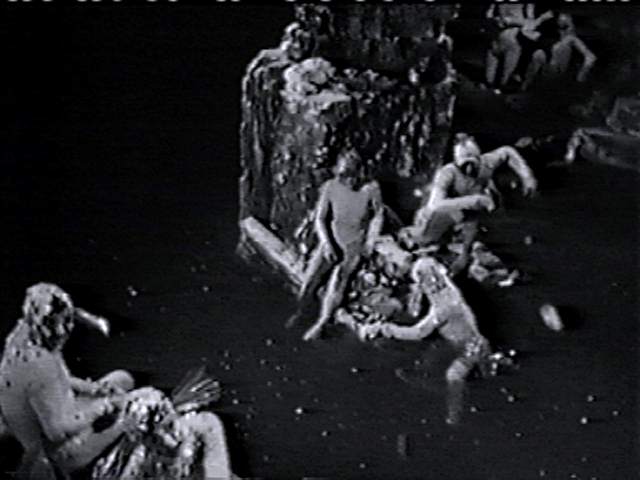
- st--2g17.jpg _32K B&W Fish people long shot sc
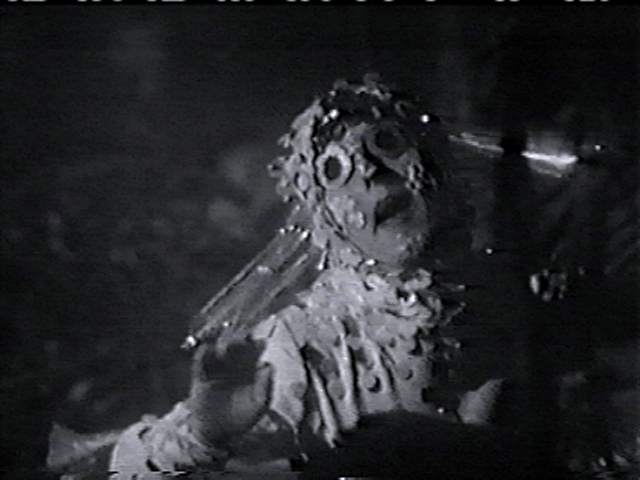
- st--2g18.jpg _27K B&W Fish person sc
- st--2g19.jpg _27K B&W Ben, Zaroff (Craze, Joseph Furst) sc
- st--2g20.jpg _24K B&W Doctor (Troughton) sc
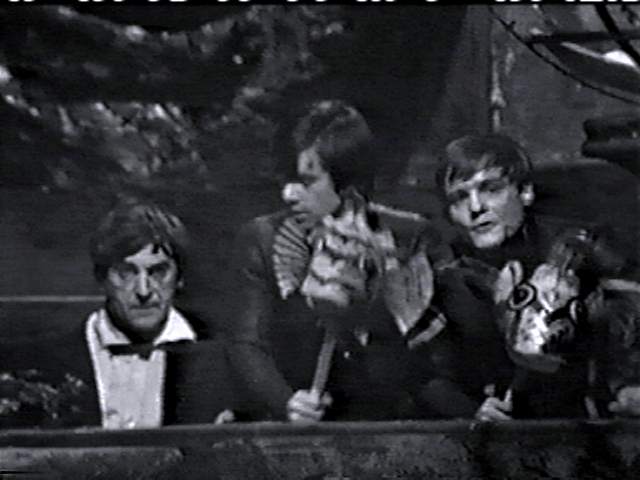
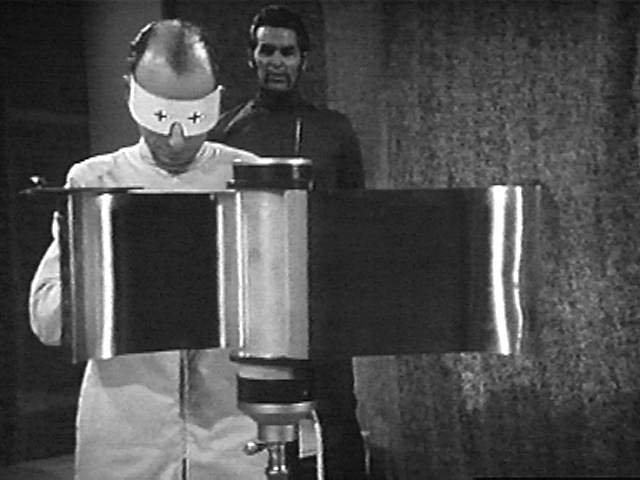
- st--2g21.jpg _30K B&W Doctor, Jamie, Ben with fish masks (Troughton, Hines, Craze) sc
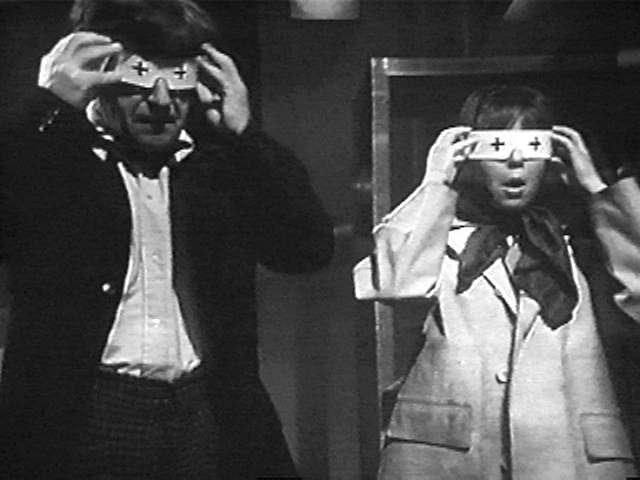
- st--2g22.jpg _32K B&W Doctor, Jamie, Ben remove fish masks (Troughton, Hines, Craze) sc
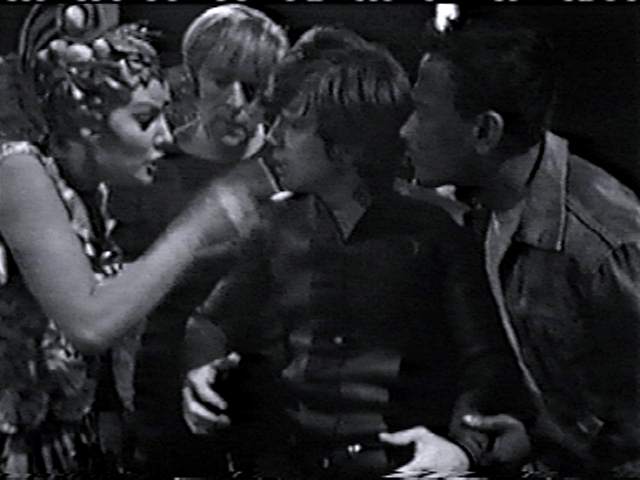
- st--2g23.jpg _30K B&W Polly, Sean, Jamie, Jacko (Wills, P G Stephens, Hines, Paul Anil) sc
- st--2g24.jpg _23K B&W Damon (Colin Jeavons) sc
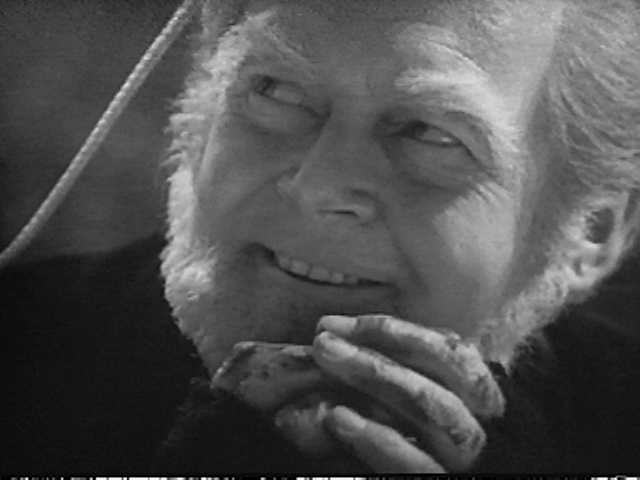
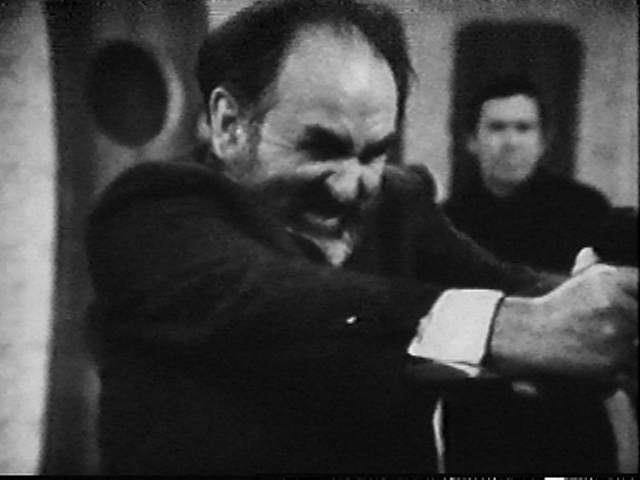
- st--2g25.jpg _30K B&W Zaroff: "Nothing in the world can stop me now!" (Joseph Furst) sc
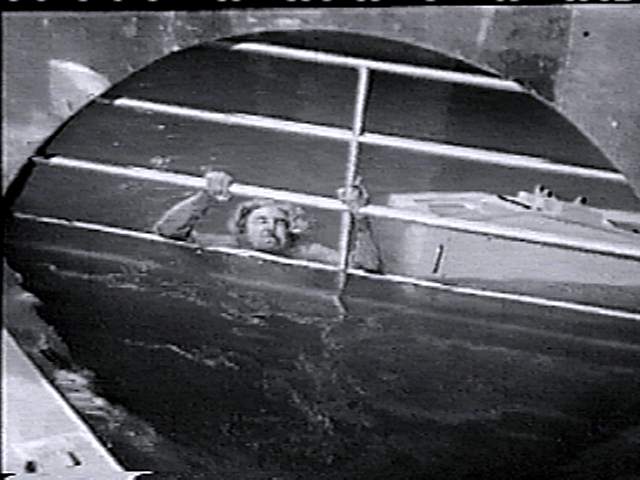
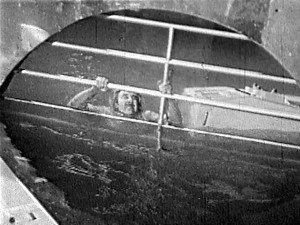
- st--2g26.jpg _38K B&W Zaroff drowns (Joseph Furst) sc
- st--2g27.jpg _23K B&W Title screen episode two: Damon prepares to inject Polly sc
- st--2g28.jpg _25K B&W Polly on table, Damon with hypodermic (Wills, Colin Jeavons) sc
- st--2g29.jpg _25K B&W Zaroff drowns (Joseph Furst) sc
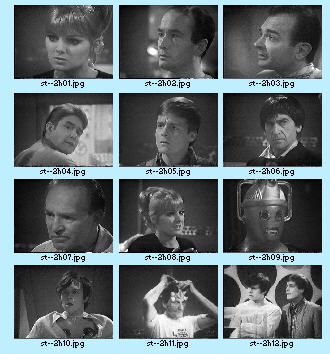
THE MOONBASE
- st--2h-c.jpg _29K The Moonbase - CONTACT SHEET
- st--2h01.jpg _10K B&W Polly (Wills) sc
- st--2h02.jpg __9K B&W Sam (John Rolfe) sc
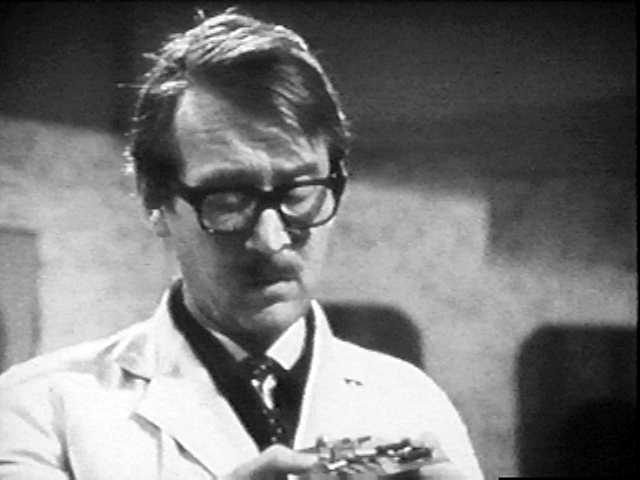
- st--2h03.jpg _11K B&W Benoit (Andre Maranne) sc
- st--2h04.jpg _10K B&W Nils (Michael Wolf) (?) sc
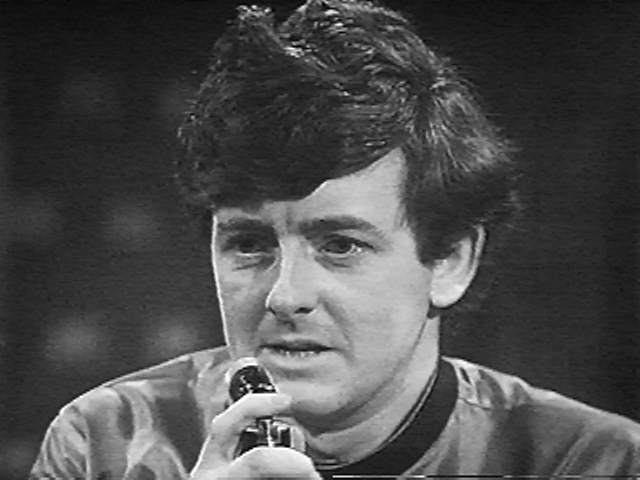
- st--2h05.jpg __9K B&W Ben (Craze) sc
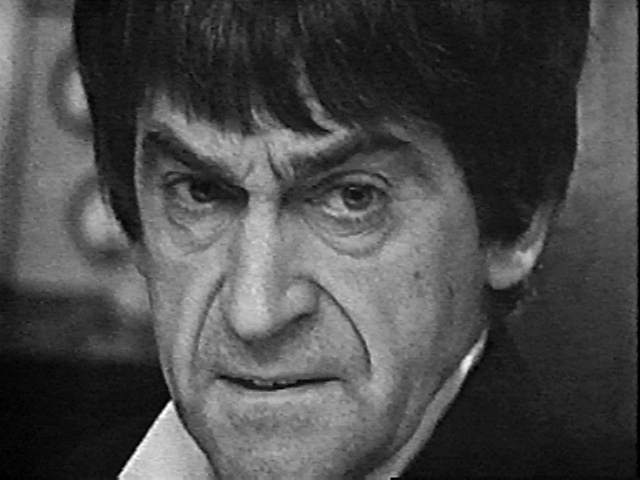
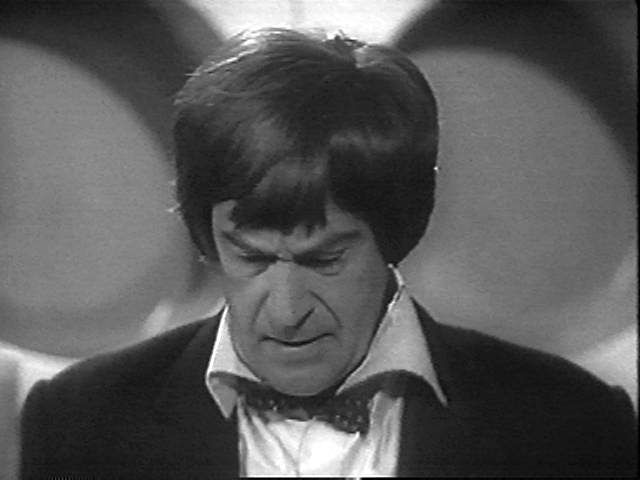
- st--2h06.jpg _10K B&W Doctor (Troughton) sc
- st--2h07.jpg __9K B&W Hobson (Patrick Barr) sc
- st--2h08.jpg _10K B&W Polly (Wills) sc
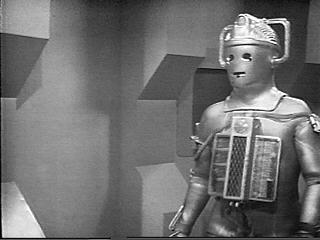
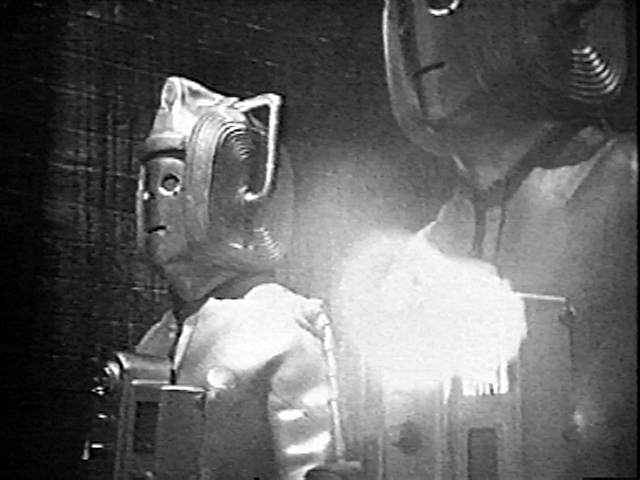
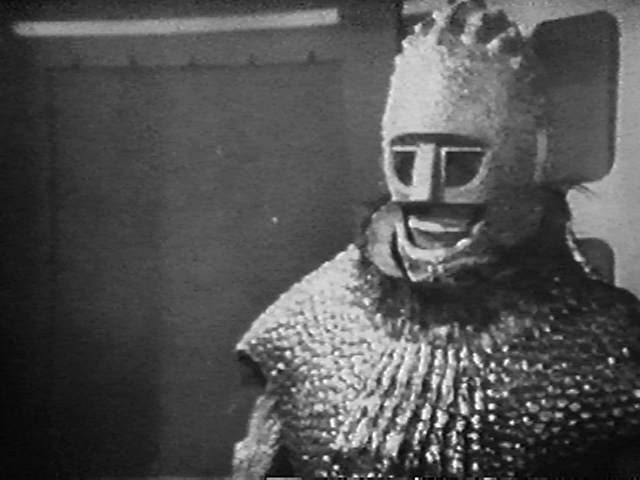
- st--2h09.jpg __9K B&W Cyberman sc
- st--2h10.jpg _11K B&W Jamie (Hines) sc
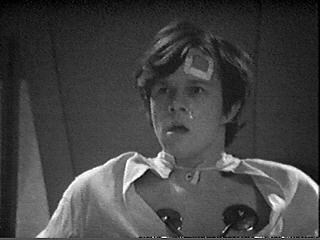
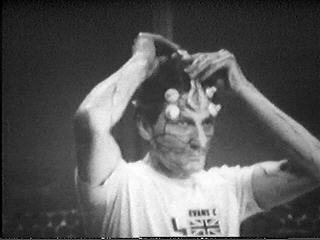
- st--2h11.jpg _10K B&W Evans, possessed by Cybermen (Alan Rowe) sc
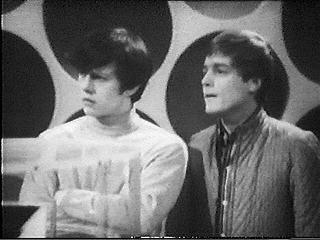
- st--2h12.jpg _14K B&W Jamie, Ben (Hines, Craze) sc
THE MACRA TERROR
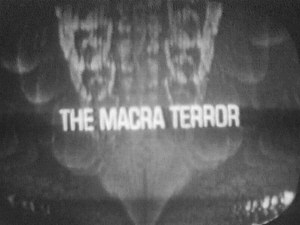
- st--2j01.jpg _19K B&W Title screen sc
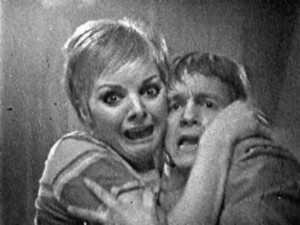
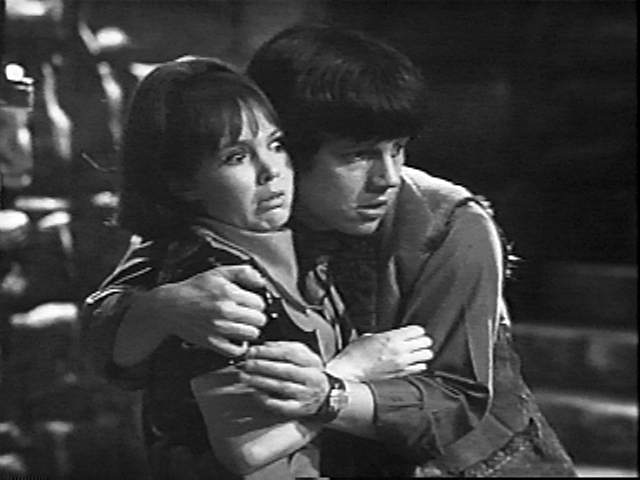
- st--2j02.jpg _19K B&W Polly clutches Ben in fear (Wills, Craze) sc
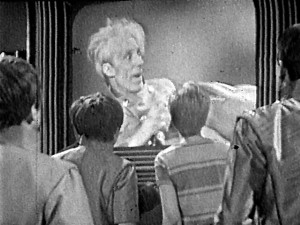
- st--2j03.jpg _23K B&W Young people watch screen showing man attacked by Macra sc
- st--2j04.jpg _18K B&W Jamie (Hines) sc
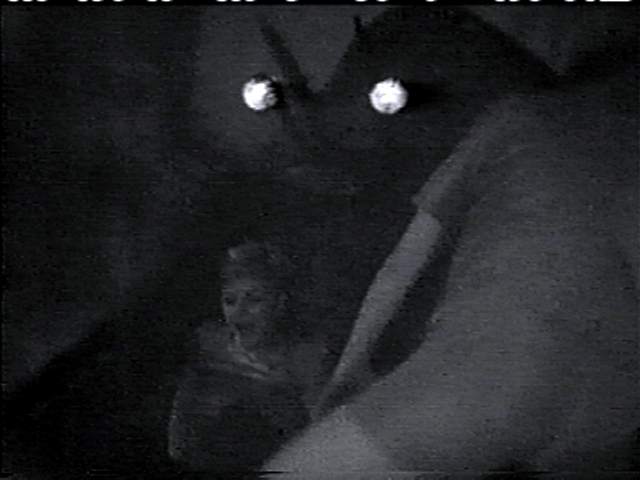
- st--2j05.jpg _25K B&W Polly caught in Macra clutches (Wills) sc
- st--2j06.jpg _37K B&W Young people watch screen showing man attacked by Macra sc
THE FACELESS ONES
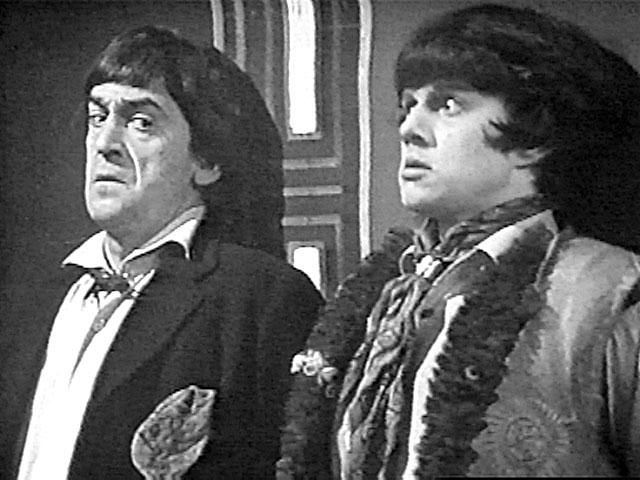
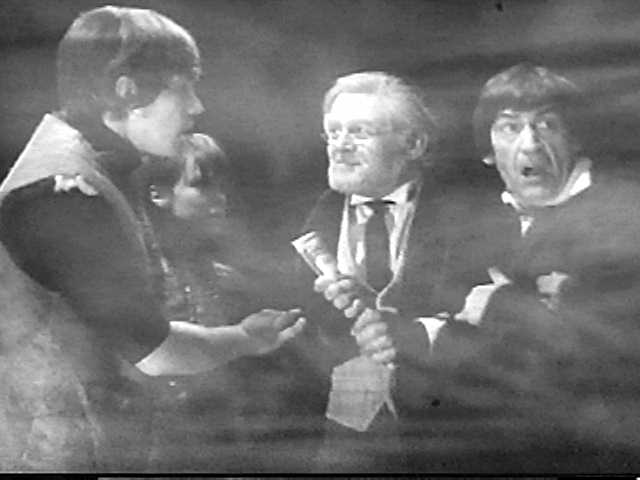
- st--2k01.jpg _22K B&W Polly, Jamie, Ben, Doctor (Wills, Hines, Craze, Troughton) sc 11Jun97
- st--2k02.jpg _16K B&W Jamie, Doctor come out of TARDIS on Gatwick runway (Hines, Troughton) sc 11Jun97
THE EVIL OF THE DALEKS
- st--2l-c.jpg _26K The Evil of the Daleks - CONTACT SHEET
- st--2l01.jpg _11K B&W Kennedy (Griffith Davies) sc
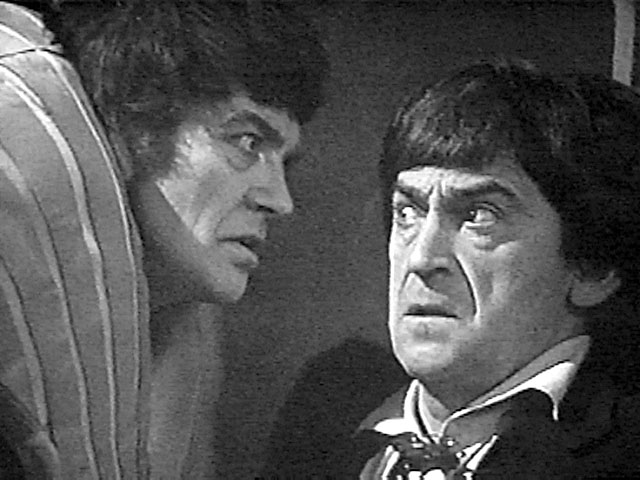
- st--2l02.jpg _12K B&W Jamie, Doctor (Hines, Troughton) sc
- st--2l03.jpg _16K B&W Edward Waterfield and Daleks (John Bailey) sc
- st--2l04.jpg _12K B&W Jamie, Perry (Hines, Geoffrey Colville) sc
- st--2l05.jpg _10K B&W Doctor (Troughton) sc
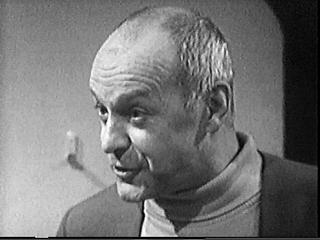
- st--2l06.jpg _11K B&W Theodore Maxtible (Marius Goring) sc
- st--2l07.jpg _15K B&W Mollie Dawson, Doctor (Jo Rowbottom, Troughton) sc
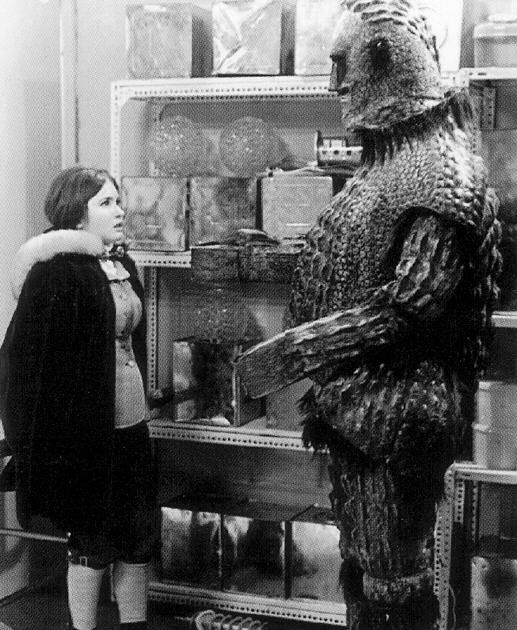
- st--2l08.jpg _15K B&W Victoria Waterfield (Watling) sc
- st--2l09.jpg _13K B&W Doctor (Troughton) sc
- st--2l10.jpg _14K B&W Jamie (Hines) sc
- st--2l11.jpg _11K B&W Ruth Maxtible (Brigit Forsyth) sc
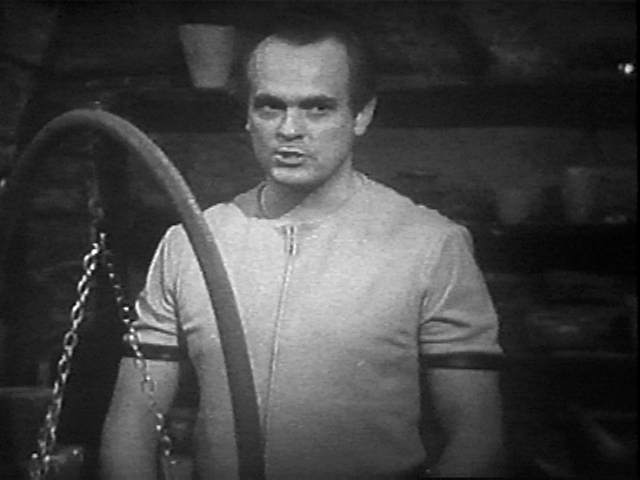
- st--2l12.jpg _11K B&W Toby (Windsor Davies) sc
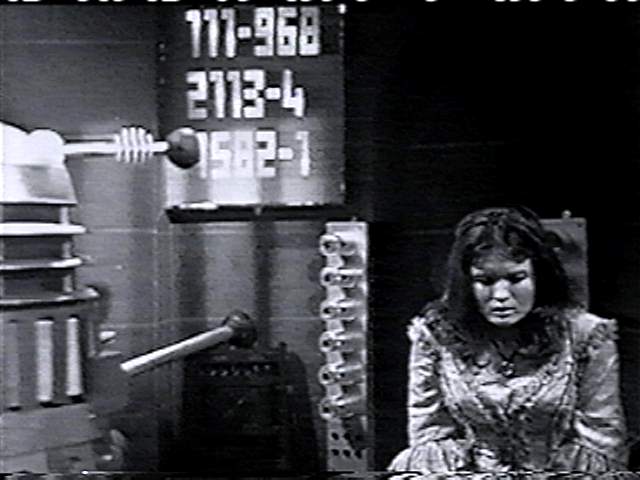
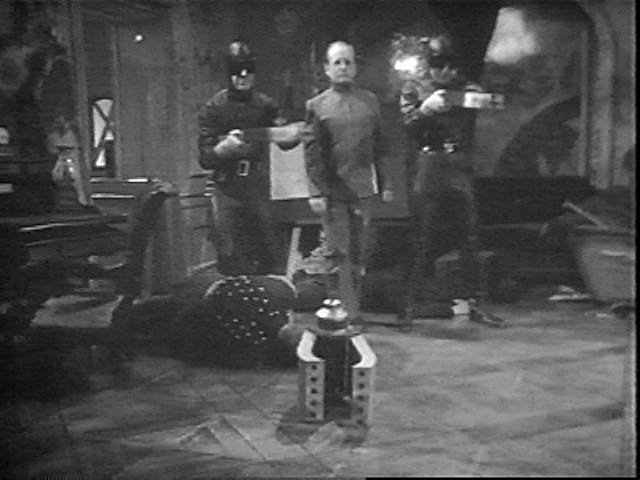
- st--2l13.jpg _37K B&W Dalek interrogates Victoria (Watling) sc
- st--2l14.jpg _30K B&W Victoria (Watling) sc
- st--2l15.jpg _33K B&W The climactic Dalek battle sc
THE TOMB OF THE CYBERMEN 
All images added 14 Jun 97
- st--2m-c.jpg _52K The Tomb of the Cybermen - CONTACT SHEET
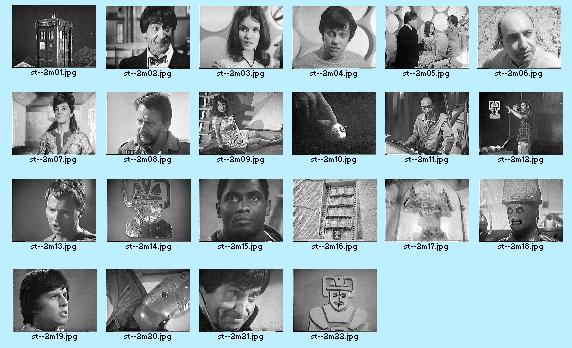
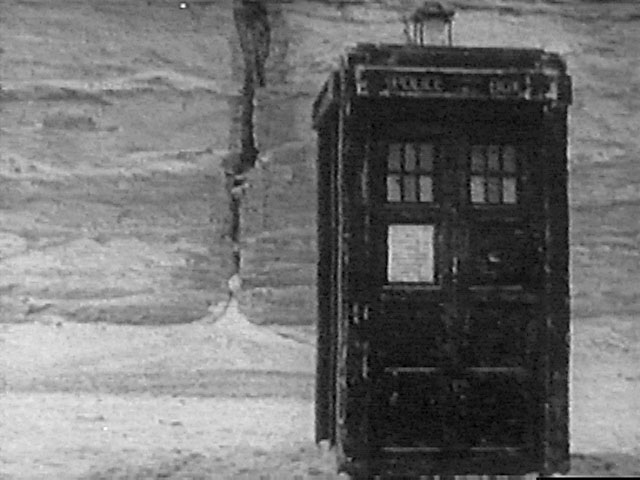
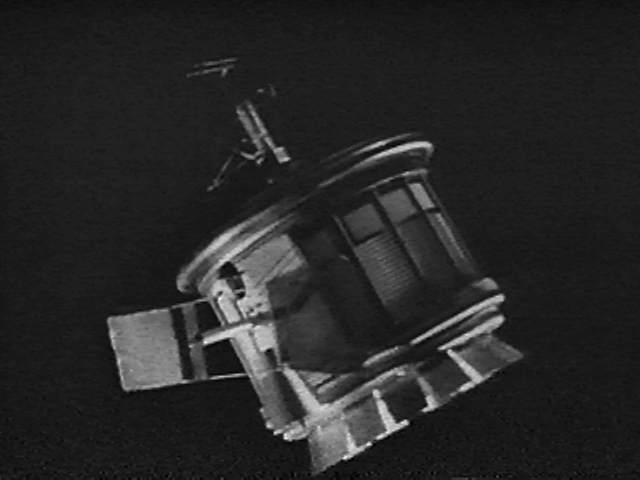
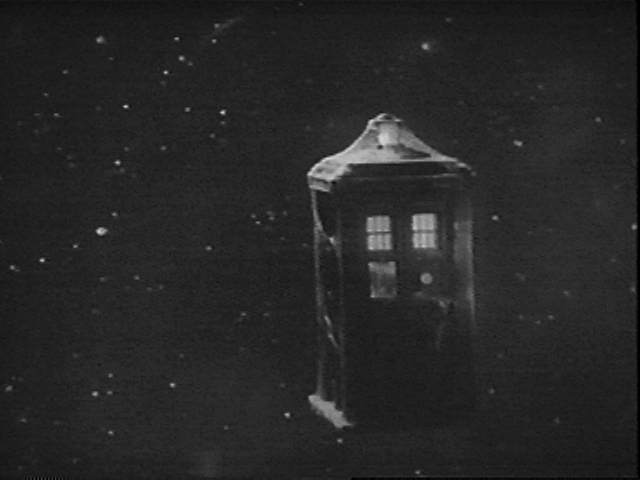
- st--2m01.jpg _13K B&W The TARDIS sc
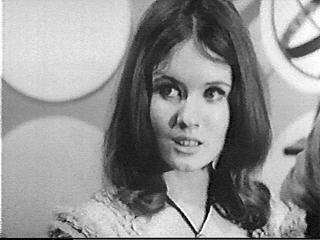
- st--2m02.jpg _14K B&W Doctor (Troughton) sc
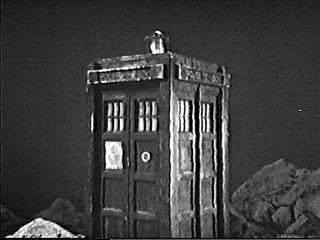
- st--2m03.jpg _12K B&W Victoria (Watling) sc
- st--2m04.jpg _12K B&W Jamie (Hines) sc
- st--2m05.jpg _18K B&W Doctor, Victoria, Jamie in console room (Troughton, Watling, Hines) sc
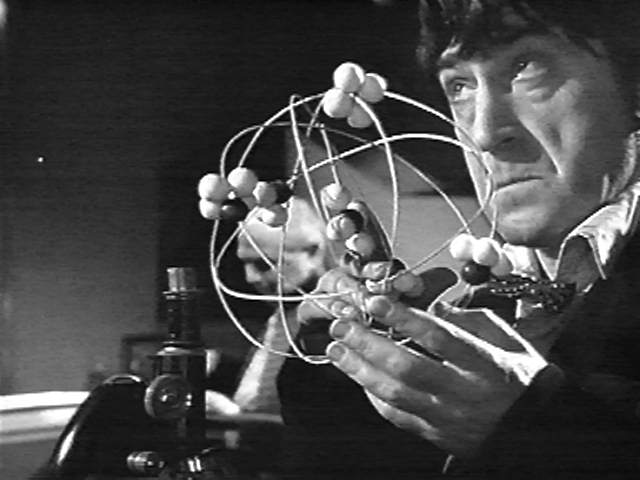
- st--2m06.jpg _15K B&W Eric Klieg (George Pastell) sc
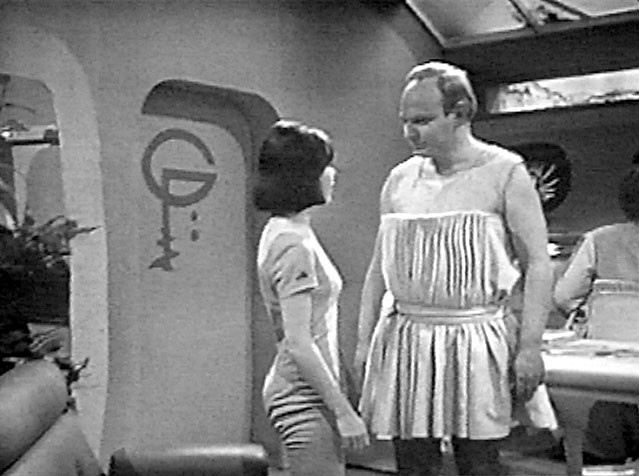
- st--2m07.jpg _15K B&W Kaftan (Shirley Cooklin) sc
- st--2m08.jpg _12K B&W Professor Parry (Aubrey Richards) sc
- st--2m09.jpg _20K B&W Victoria lying on floor (Watling) sc
- st--2m10.jpg _15K B&W Tiny cybermat sc
- st--2m11.jpg _17K B&W Viner (Cyril Shaps) sc
- st--2m12.jpg _13K B&W Haydon (Bernard Holley) sc
- st--2m13.jpg _12K B&W Captain Hopper (George Roubicek) sc
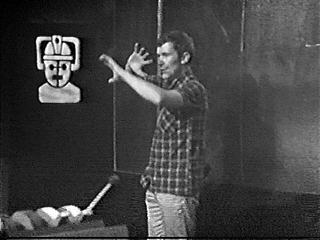
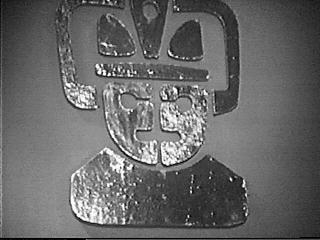
- st--2m14.jpg _14K B&W Cyber head icon decoration in tomb sc
- st--2m15.jpg _12K B&W Toberman (Roy Stewart) sc
- st--2m16.jpg _28K B&W Tombs thawing sc
- st--2m17.jpg _15K B&W Cyberman breaking free sc
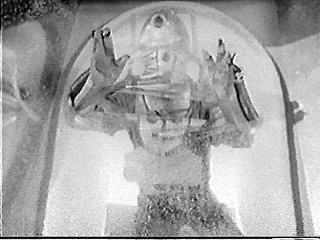
- st--2m18.jpg _14K B&W Cybercontroller (Michael Kilgarriff) sc
- st--2m19.jpg _12K B&W Jamie (Hines) sc
- st--2m20.jpg _13K B&W Cyberman trying to get through hatch sc
- st--2m21.jpg _13K B&W Doctor (Troughton) sc
- st--2m22.jpg _13K B&W Cyber icon outside of tomb sc
THE ABOMINABLE SNOWMEN
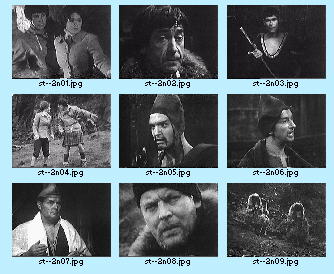
- st--2n-c.jpg _26K The Abominable Snowmen - CONTACT SHEET
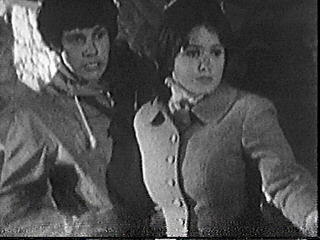
- st--2n01.jpg _15K B&W Jamie, Victoria (Hines, Watling) sc
- st--2n02.jpg _12K B&W Doctor (Troughton) sc
- st--2n03.jpg _10K B&W Thomni (David Spenser) sc
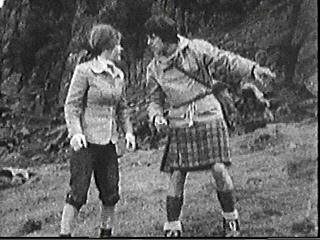
- st--2n04.jpg _20K B&W Jamie, Victoria (Hines, Watling) sc
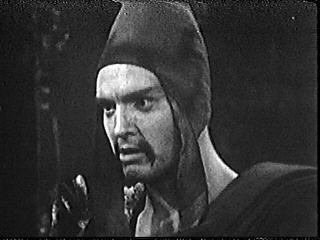
- st--2n05.jpg _12K B&W Khrisong (Norman Jones) sc
- st--2n06.jpg _10K B&W Sapan (Raymond Llewellyn) sc
- st--2n07.jpg _11K B&W Songsten (Charles Morgan) sc
- st--2n08.jpg _12K B&W Professor Travers (Jack Watling) sc
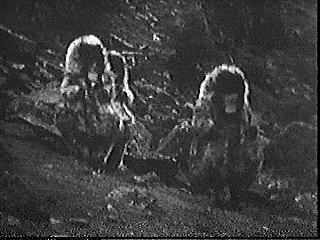
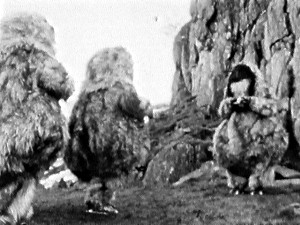
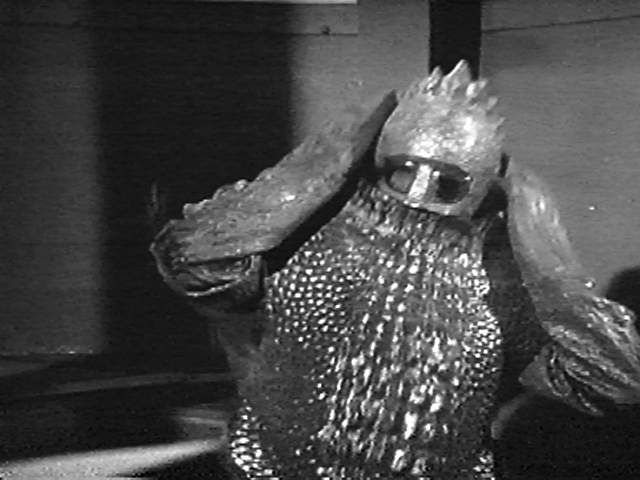
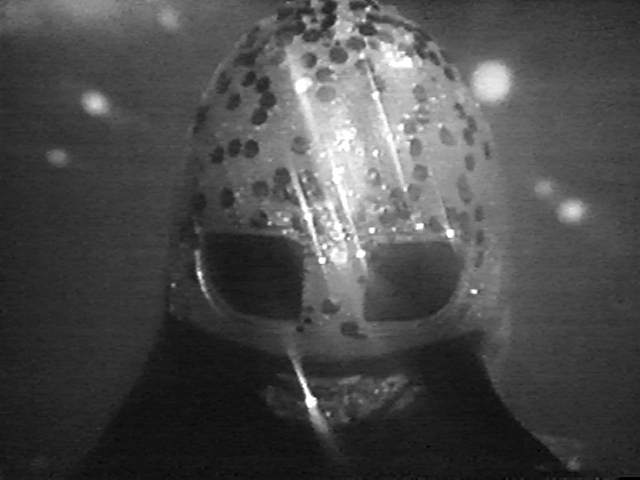
- st--2n09.jpg _19K B&W Yeti sc
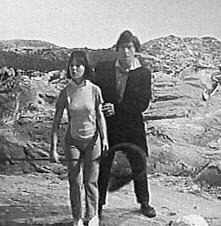
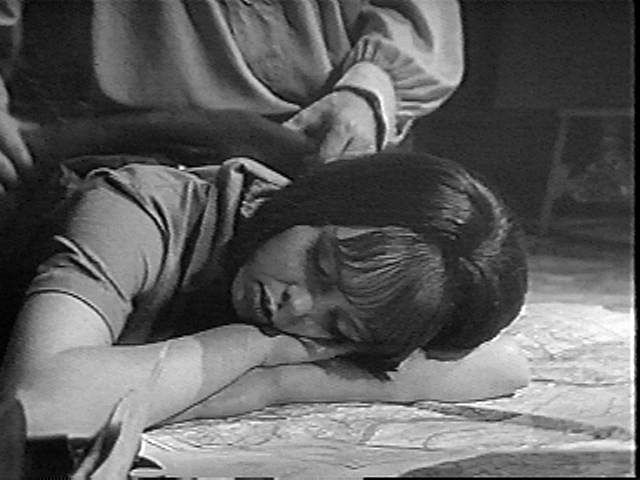
- st--2n10.jpg _76K B&W Victoria, Jamie (Watling, Hines)
- st--2n11.jpg _27K B&W Yeti gathering sc
- st--2n12.jpg _20K B&W Zoom in on Yeti sc
THE ICE WARRIORS
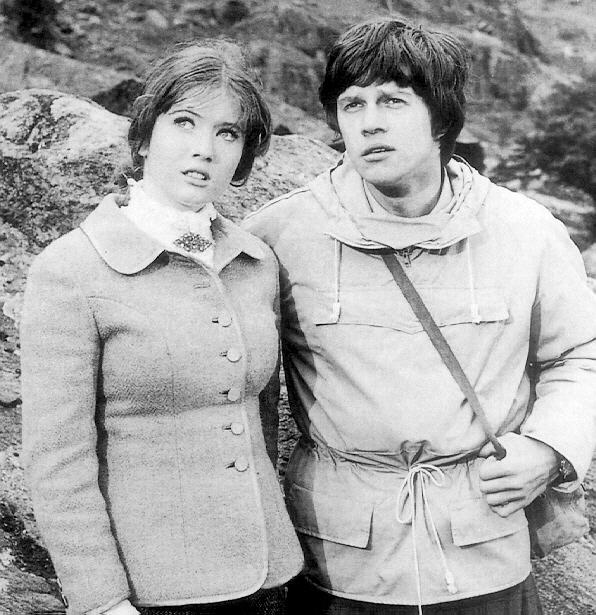
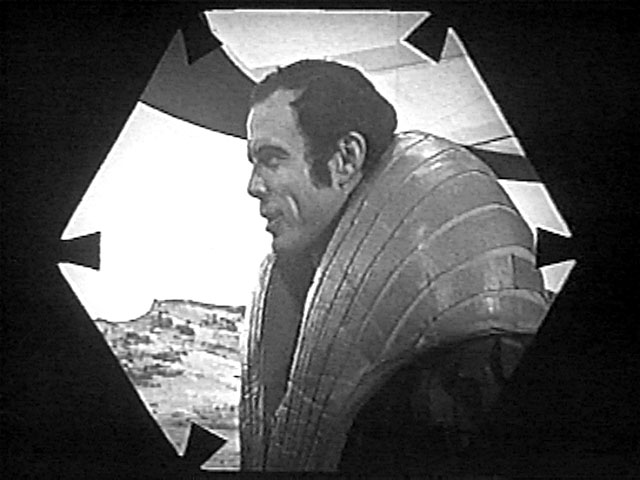
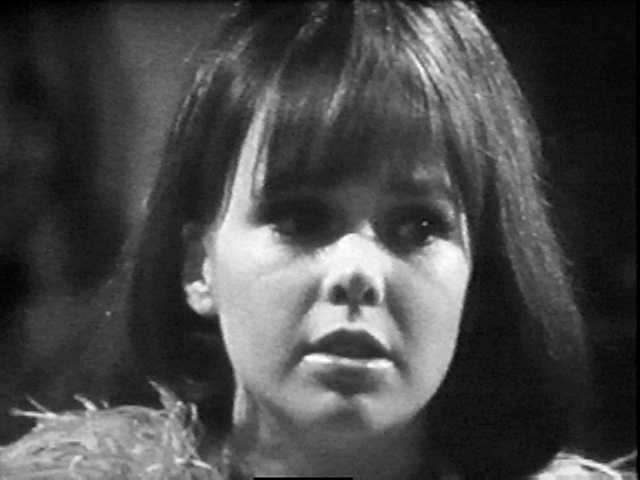
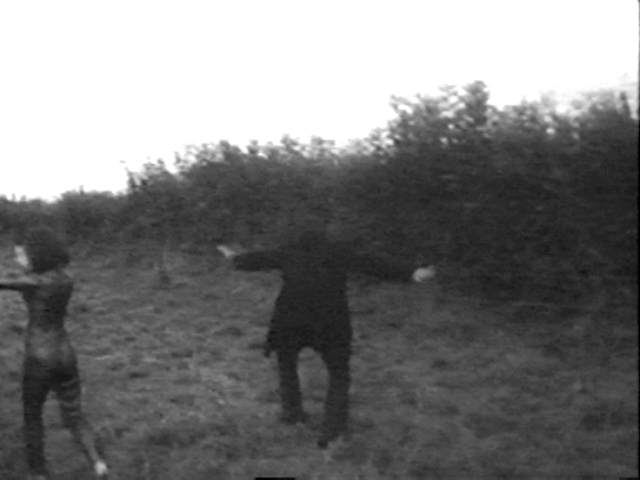
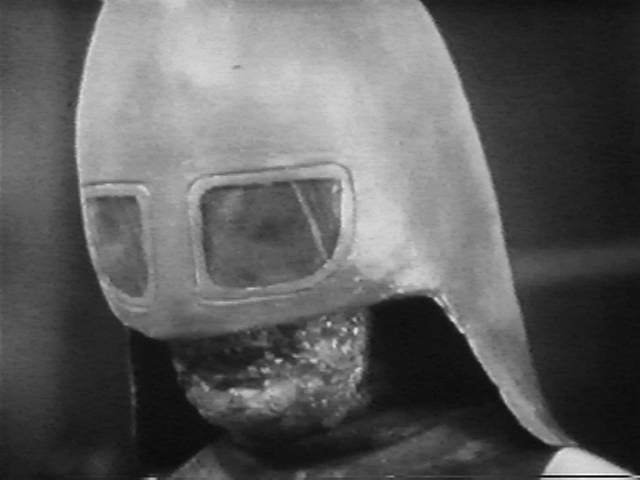
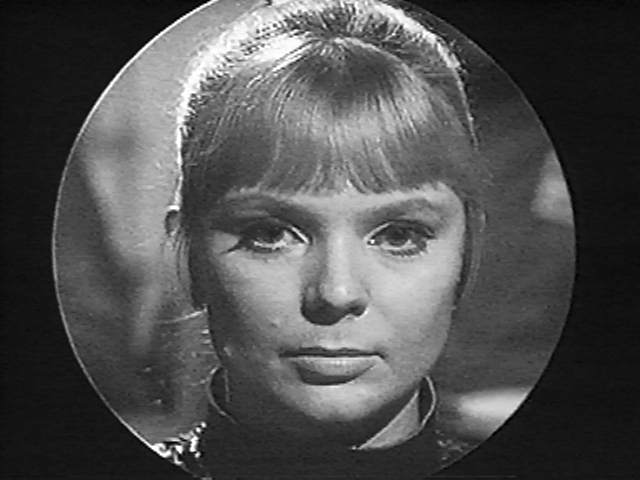
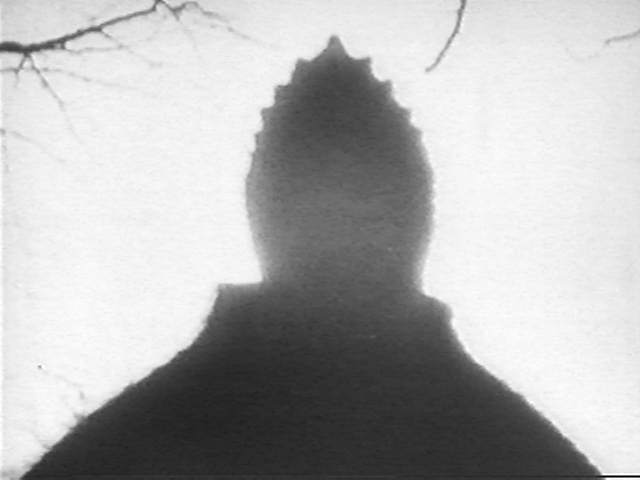
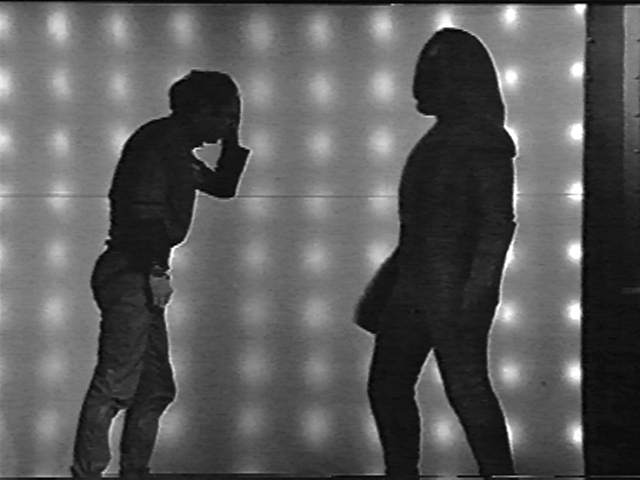
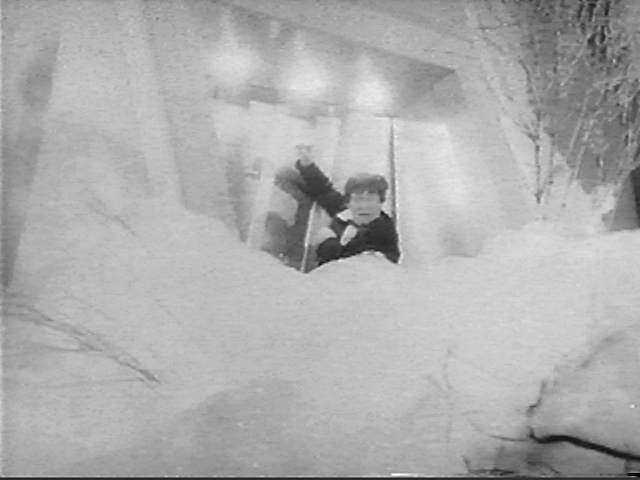
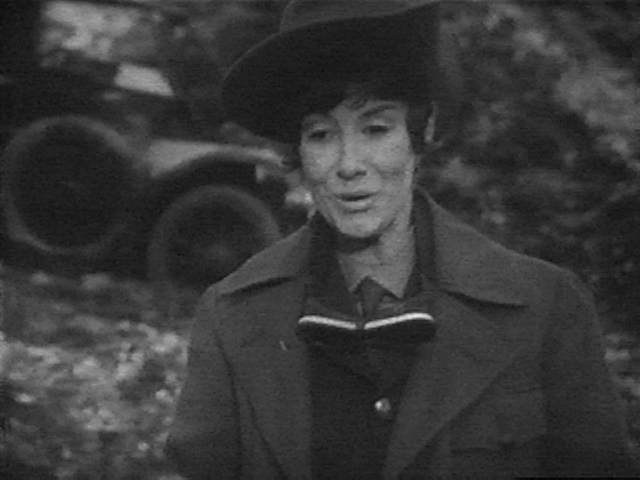
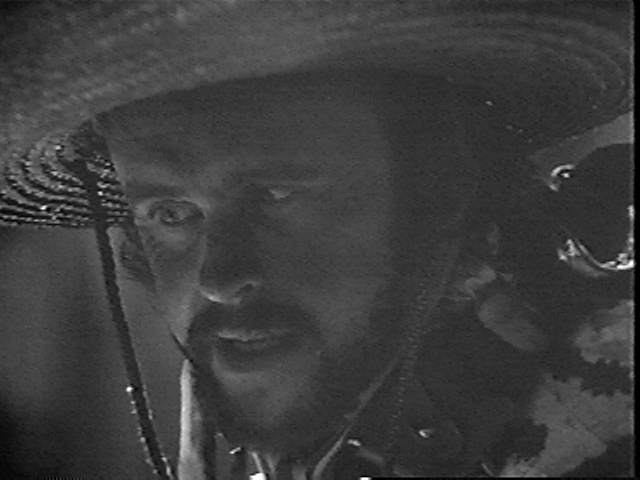
- st--2o01.jpg _75K B&W Victoria confronts a Martian (Watling)
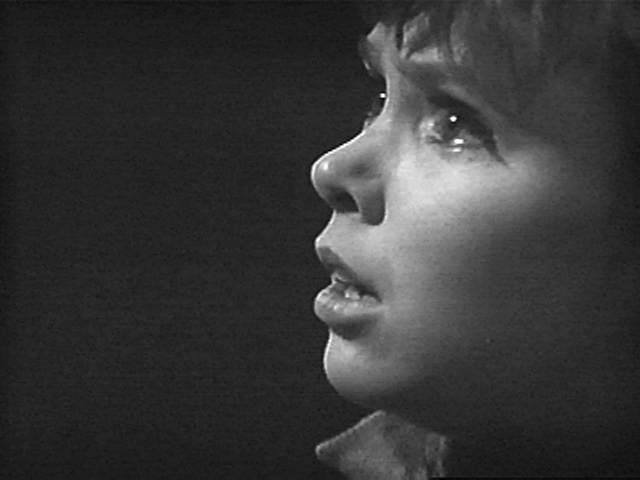
- st--2o02.jpg _50K B&W Victoria shouting for help as a Martian looms (Watling) 28Aug98
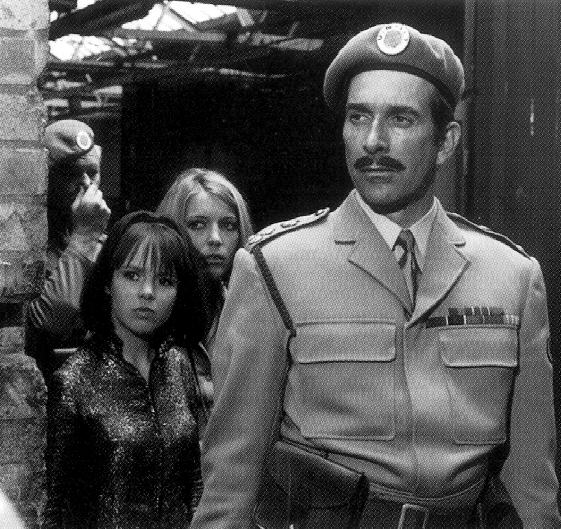
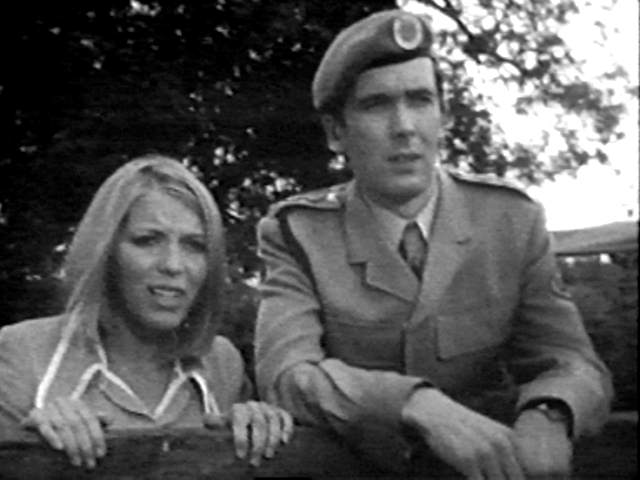
- st--2o03.jpg _31K B&W Miss Garrett (Wendy Gifford) 28Aug98
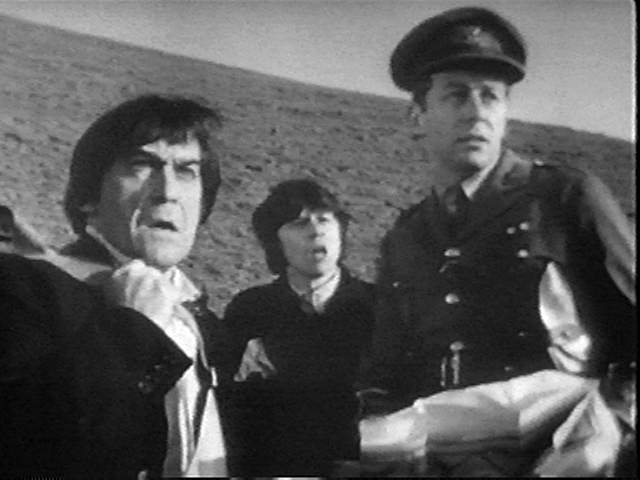
- st--2o04.jpg _66K B&W Miss Garrett, Jamie and Leader Clent (Wendy Gifford, Hines, Peter Barkworth) 28Aug98
THE ENEMY OF THE WORLD
- st--2p-c.jpg _37K The Enemy of the World - CONTACT SHEET
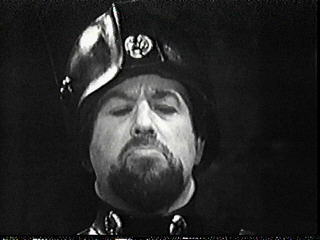
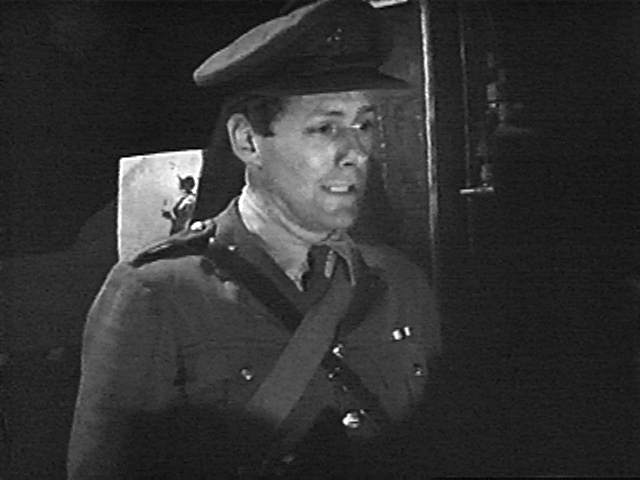
- st--2p01.jpg _11K B&W Guard Captain (Gordon Faith) sc
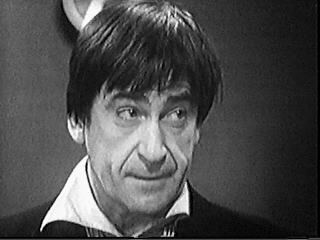
- st--2p02.jpg _12K B&W Doctor (Troughton) sc
- st--2p03.jpg _11K B&W Jamie (Hines) sc
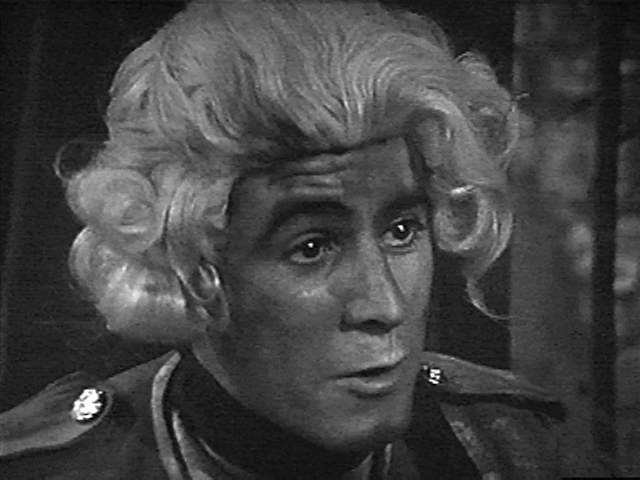
- st--2p04.jpg _10K B&W Victoria (Watling) sc
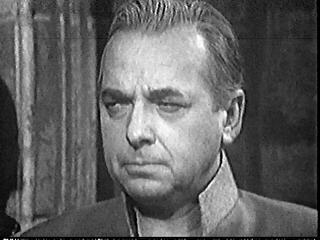
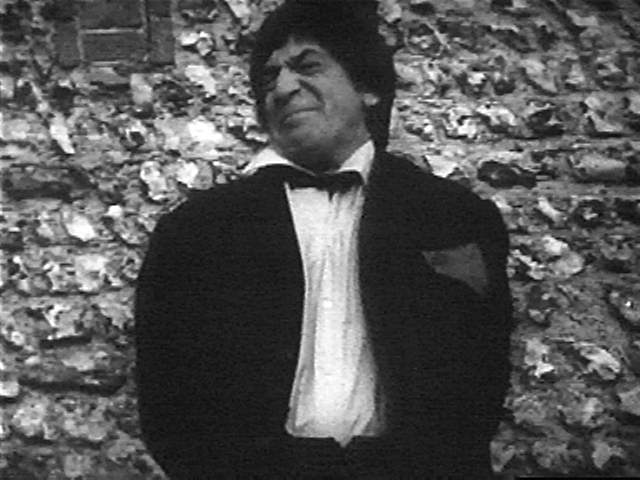
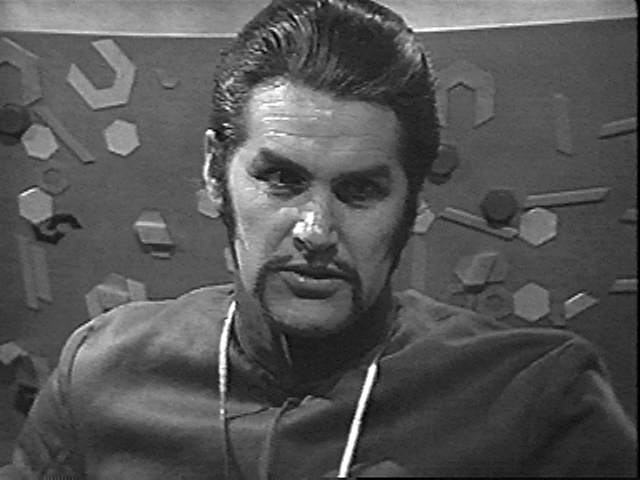
- st--2p05.jpg _12K B&W Salamander (Patrick Troughton) sc
- st--2p06.jpg _12K B&W Giles Kent (Bill Kerr) sc
- st--2p07.jpg _13K B&W Denes (George Pravda) sc
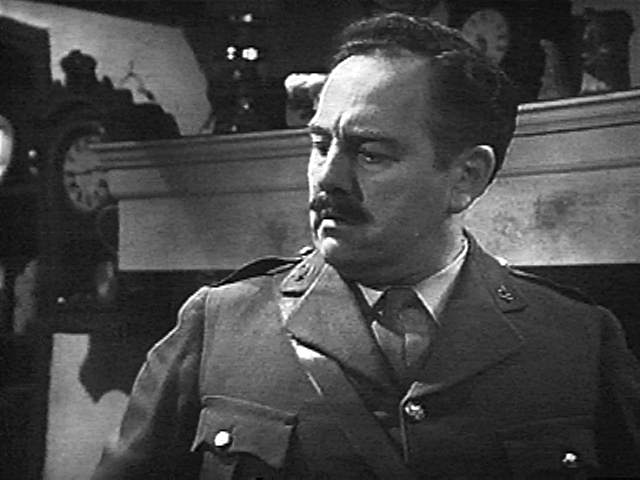
- st--2p08.jpg _12K B&W Donald Bruce (Colin Douglas) sc
- st--2p09.jpg _10K B&W Fedorin (David Nettheim) sc
- st--2p10.jpg _13K B&W Benik (Milton Johns) sc
- st--2p11.jpg _10K B&W Griffin (Reg Lye) sc
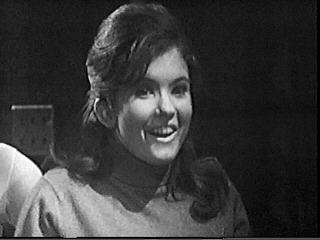
- st--2p12.jpg __9K B&W Fariah (Carmen Munroe) sc
- st--2p13.jpg _12K B&W Janos (Bill Lyons) sc
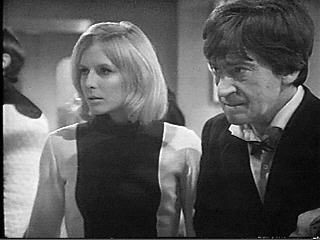
- st--2p14.jpg _14K B&W Astrid Ferrier (Mary Peach) sc
THE WEB OF FEAR
- st--2q01.jpg _17K B&W Doctor, Jamie (Troughton, Hines) sc
- st--2q02.jpg _19K B&W Victoria (Watling) sc
FURY FROM THE DEEP
All images added 21 Mar 99
- st--2r01.jpg _45K B&W Mr Oak, Mr Quill enter Maggie Harris' room (John Gill, Bill Burridge) sc
- st--2r02.jpg _34K B&W Maggie Harris (June Murphy) sc
- st--2r03.jpg _33K B&W Mr Quill (Bill Burridge) sc
- st--2r04.jpg _26K B&W The deadly mouths of Mr Oak and Mr Quill sc
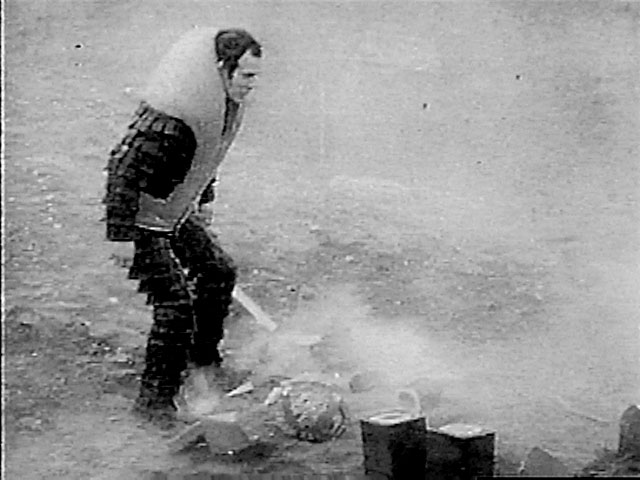
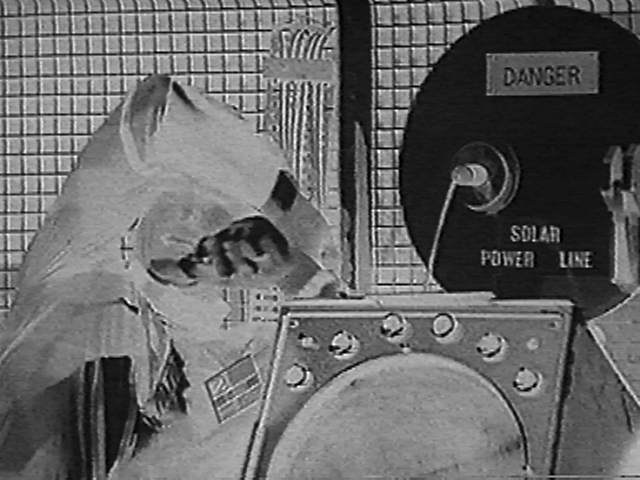
- st--2r05.jpg _29K B&W Doctor and gang climb to escape the rising foam (Troughton) sc
- st--2r06.jpg _23K B&W Mr Quill (Bill Burridge) sc
- st--2r07.jpg _24K B&W Guard, Robson (Roy Stevens, Victor Maddern) sc
- st--2r08.jpg _21K B&W Robson, Victoria (Victor Maddern, Watling) sc
THE WHEEL IN SPACE
- st--2s-c.jpg _45K The Wheel in Space - CONTACT SHEET
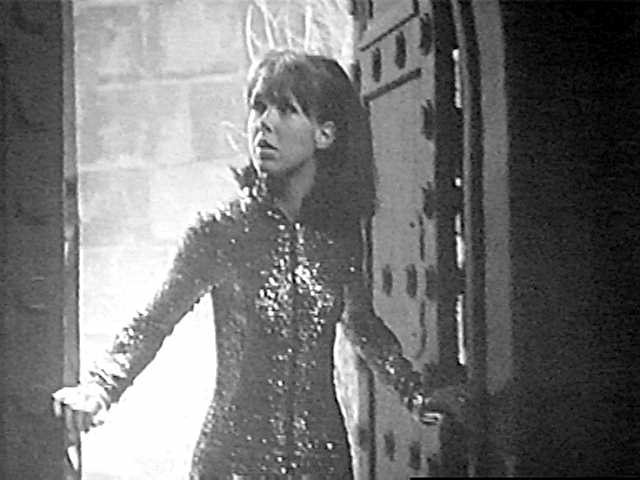
- st--2s01.jpg _51K B&W Zoe menaced by Cybermen (Padbury) - as seen on the back cover of Your Guide to the Best SF on the Internet, a WolffNewMedia publication, ISBN 0-679-77322-3, http://www.ypn.com
- st--2s02.jpg _12K B&W Doctor (Troughton) sc
- st--2s03.jpg _12K B&W Bill Duggan (Kenneth Watson) sc
- st--2s04.jpg _11K B&W Jarvis Bennett (Michael Turner) sc
- st--2s05.jpg _13K B&W Dr Gemma Corwyn (Anne Ridler) sc
- st--2s06.jpg _11K B&W Leo Ryan (Eric Flynn) sc
- st--2s07.jpg _15K B&W Jamie under guard (Hines) sc
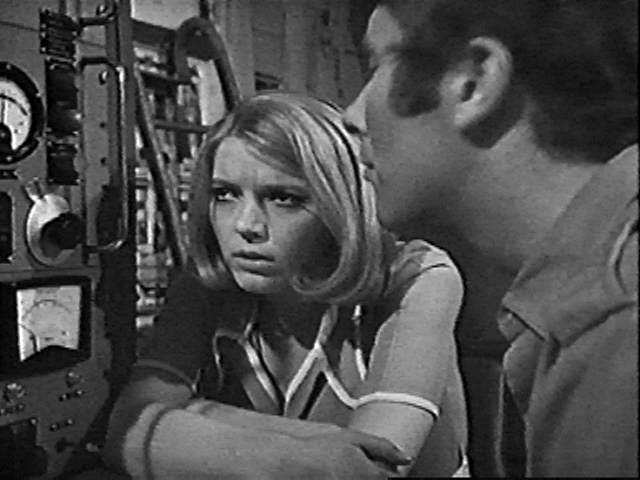
- st--2s08.jpg _15K B&W Dr Gemma Corwyn, Zoe (Anne Ridler, Padbury) sc
- st--2s09.jpg _14K B&W Enrico Casali (Donald Sumpter) sc
- st--2s10.jpg _18K B&W Cyberman, Armand Vallance (Derrick Gilbert) sc
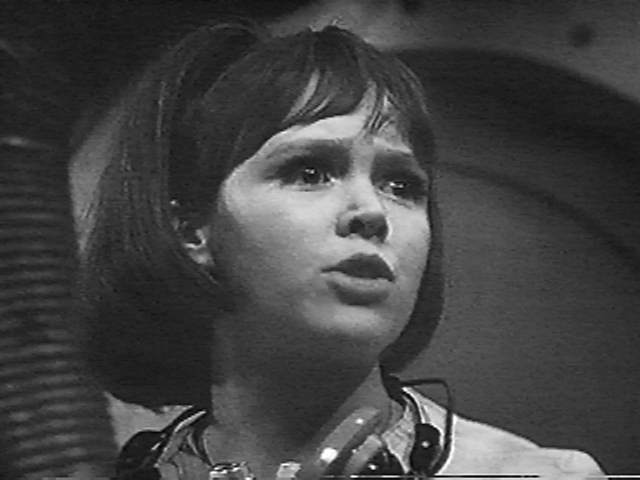
- st--2s11.jpg _15K B&W Zoe (Padbury) sc
- st--2s12.jpg _12K B&W Cyberman sc
- st--2s13.jpg _13K B&W Kemel Rudkin (Kevork Malikyan) sc
- st--2s14.jpg _16K B&W Dr Gemma Corwyn, Zoe, Jamie, Doctor (Anne Ridler, Padbury, Hines, Troughton) sc
- st--2s15.jpg _12K B&W Tanya Lernov (Clare Jenkins) sc
- st--2s16.jpg _13K B&W Tanya Lernov, Doctor (Clare Jenkins, Troughton) sc
- st--2s17.jpg _13K B&W Zoe (Padbury) sc
- st--2s18.jpg _16K B&W Jamie, Zoe in space suits (Hines, Padbury) sc
- st--2s19.jpg _13K B&W Sean Flanagan (James Mellor) sc
- st--2s20.jpg _15K B&W Jamie, Doctor, Zoe (Hines, Troughton, Padbury) sc
THE DOMINATORS
Images 6-50 added 13Dec98
- st--2t-c.jpg 115K The Dominators - CONTACT SHEET
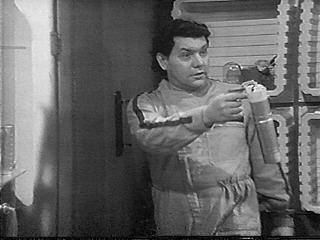
- st--2t01.jpg __9K B&W Kando (Felicity Gibson) sc
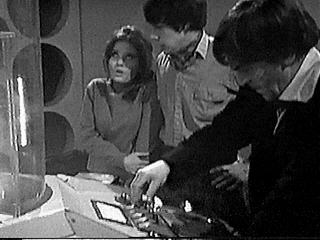
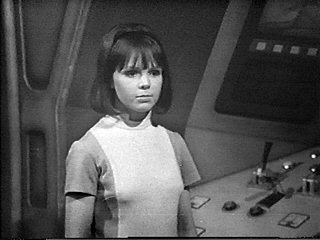
- st--2t02.jpg _10K B&W Zoe (Padbury) sc
- st--2t03.jpg _14K B&W Zoe, Doctor (Padbury, Troughton) sc
- st--2t04.jpg _12K B&W Zoe, Jamie (Padbury, Hines) sc
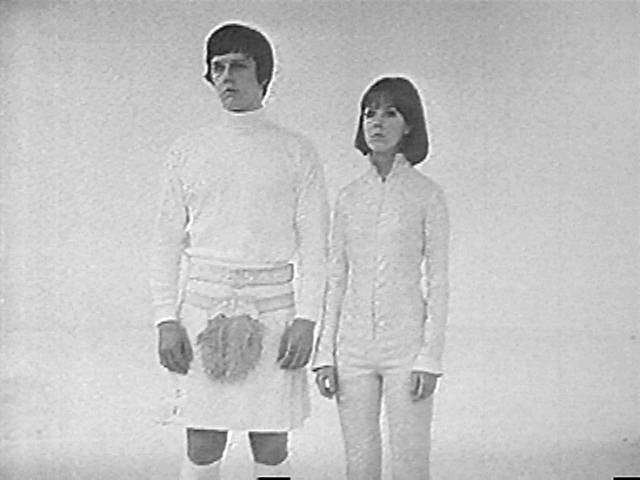
- st--2t05.jpg _50K B&W Navigator Rago and Probationer Toba argue (Ronald Allen, Kenneth Ives) 28Aug98
- st--2t06.jpg _44K B&W Dominator ship lands on the island sc
- st--2t07.jpg _54K B&W Rago and Toba (Ronald Allen, Kenneth Ives) sc
- st--2t08.jpg _68K B&W Wahed, Tolata, Etnin, Cully (Philip Voss, Nicolette Pendrell, Malcolm Terris, Arthur Cox) sc
- st--2t09.jpg _60K B&W Cully (Arthur Cox) sc
- st--2t10.jpg _57K B&W Toba on the viewscreen (Kenneth Ives) sc
- st--2t11.jpg _61K B&W The TARDIS materialises sc
- st--2t12.jpg _78K B&W Doctor, Zoe, Jamie outside the TARDIS (Troughton, Padbury, Hines) sc
- st--2t13.jpg _68K B&W Zoe and Jamie (Padbury, Hines) sc
- st--2t14.jpg _61K B&W Doctor, Zoe in the crumbling museum (Troughton, Padbury) sc
- st--2t15.jpg _82K B&W Jamie finds the gun, Doctor in background (Hines, Troughton) sc
- st--2t16.jpg _64K B&W Jamie, Zoe, Doctor (Hines, Padbury, Troughton) sc
- st--2t17.jpg _71K B&W The council headquarters on Dulkis sc
- st--2t18.jpg _59K B&W Doctor (Troughton) sc
- st--2t19.jpg _60K B&W Kando lectures to Jamie (Felicity Gibson, Hines) sc
- st--2t20.jpg _63K B&W Quarks with Toba (Kenneth Ives) sc
- st--2t21.jpg _60K B&W Quark CU sc
- st--2t22.jpg _60K B&W Jamie stuck to wall (Hines) sc
- st--2t23.jpg _59K B&W Rago examines Jamie (Ronald Allen) sc
- st--2t24.jpg _69K B&W Doctor, Jamie stuck fast (Troughton, Hines) sc
- st--2t25.jpg _65K B&W Rago leans close to the Doctor (Ronald Allen, Troughton) sc
- st--2t26.jpg _64K B&W Zoe, Cully make plans (Padbury, Arthur Cox) sc
- st--2t27.jpg _49K B&W The travel capsule sc
- st--2t28.jpg _56K B&W Cully, Zoe in the capsule (Arthur Cox, Padbury) sc
- st--2t29.jpg _52K B&W Bovem (Alan Gerrard) sc
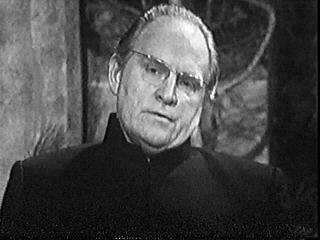
- st--2t30.jpg _54K B&W Director Senex (Walter Fitzgerald) sc
- st--2t31.jpg _73K B&W Jamie, Rago, Doctor pretending to not understand the gun (Hines, Ronald Allen, Troughton) sc
- st--2t32.jpg _71K B&W Quarks with arms extended sc
- st--2t33.jpg _69K B&W Zoe and Cully are trapped (Padbury, Arthur Cox) sc
- st--2t34.jpg _48K B&W Doctor (Troughton) sc
- st--2t35.jpg _76K B&W Teel, Zoe, Balan stumbling, Kando, Cully (Giles Block, Padbury, Johnson Bayly, Felicity Gibson, Arthur Cox) sc
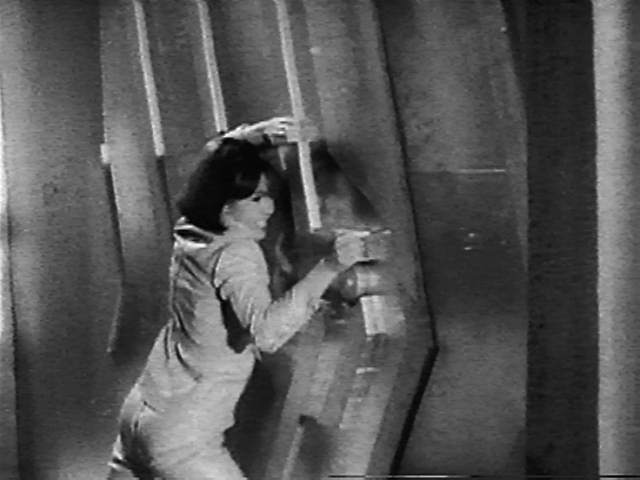
- st--2t36.jpg _70K B&W Zoe carrying rock (Padbury) sc
- st--2t37.jpg _59K B&W Toba finds destroyed Quark (Kenneth Ives) sc
- st--2t38.jpg _59K B&W Quarks operate drill while Balan looks on (Johnson Bayly) sc
- st--2t39.jpg _58K B&W Death of a Quark sc
- st--2t40.jpg _39K B&W Balan is killed (Johnson Bayly) sc
- st--2t41.jpg _57K B&W Jamie and Cully with periscope (Hines, Arthur Cox) sc
- st--2t42.jpg _47K B&W Doctor describes pill bomb while Zoe counts down (Troughton, Padbury) sc
- st--2t43.jpg _56K B&W Jamie, Doctor gleeful after his bomb explodes, Cully, Zoe (Hines, Troughton, Arthur Cox, Padbury) sc
- st--2t44.jpg _44K B&W Doctor anxious as Zoe looks through periscope (Troughton, Padbury) sc
- st--2t45.jpg _56K B&W The Dominators' bomb sc
- st--2t46.jpg _60K B&W Teel, Jamie, Doctor holding bomb, Zoe, Kando (Giles Block, Hines, Troughton, Padbury, Felicity Gibson) sc
- st--2t47.jpg _47K B&W Doctor preparing to plant bomb on Dominator ship (Troughton) sc
- st--2t48.jpg _64K B&W Rago and Toba see the bomb (Ronald Allen, Kenneth Ives) sc
- st--2t49.jpg _54K B&W Rago screams but it's too late (Ronald Allen) sc
- st--2t50.jpg _48K B&W Doctor, Jamie points out the imminent lava flow (Troughton, Hines) sc
THE MIND ROBBER
All images added 13Dec98
- st--2u-c.jpg 118K The Mind Robber - CONTACT SHEET
- st--2u01.jpg _41K B&W Doctor, Jamie see the lava coming (Troughton, Hines) sc
- st--2u02.jpg _40K B&W Doctor, Jamie, Zoe in console room (Troughton, Hines, Padbury) sc
- st--2u03.jpg _35K B&W Doctor CU (Troughton) sc
- st--2u04.jpg _26K B&W Zoe CU (Padbury) sc
- st--2u05.jpg _36K B&W Jamie CU (Hines) sc
- st--2u06.jpg _46K B&W TARDIS covered over in lava sc
- st--2u07.jpg _38K B&W Zoe CU (Padbury) sc
- st--2u08.jpg _42K B&W Jamie, Zoe in console room (Hines, Padbury) sc
- st--2u09.jpg _34K B&W Jamie sees his home on the scanner screen (Hines) sc
- st--2u10.jpg _34K B&W Zoe sees her home on the scanner screen (Padbury) sc
- st--2u11.jpg _60K B&W Zoe leaving TARDIS into white void (Padbury) sc
- st--2u12.jpg _39K B&W Doctor under mental attack (Troughton) sc
- st--2u13.jpg _43K B&W Doctor sits in chair in console room (Troughton) sc
- st--2u14.jpg _24K B&W Jamie, Zoe in white void (Hines, Padbury) sc
- st--2u15.jpg _35K B&W Jamie, Zoe argue (Hines, Padbury) sc
- st--2u16.jpg _32K B&W Face of White Robot sc
- st--2u17.jpg _36K B&W Jamie, Zoe surrounded by White Robots (Hines, Padbury) sc
- st--2u18.jpg _29K B&W Jamie, Zoe apparition dressed in white beckoning Doctor (Hines, Padbury) sc
- st--2u19.jpg _31K B&W Doctor in front of white TARDIS (Troughton) sc
- st--2u20.jpg _31K B&W Jamie, Zoe apparition all in white (Hines, Padbury) sc
- st--2u21.jpg _33K B&W The TARDIS breaks up sc
- st--2u22.jpg _27K B&W The console drifting while Jamie and Zoe cling to it (Hines, Padbury) sc
- st--2u23.jpg _26K B&W Jamie shot - becomes cardboard cutout (Hines) sc
- st--2u24.jpg _30K B&W Zoe enters mysterious door (Padbury) sc
- st--2u25.jpg _28K B&W Doctor encounters Gulliver (Troughton, Bernard Horsfall) sc
- st--2u26.jpg _35K B&W Doctor first encounters the children (Barbara Loft, Troughton, others) sc
- st--2u27.jpg _36K B&W Doctor preparing to fix Jamie's face (Troughton) sc
- st--2u28.jpg _29K B&W The pieces of Jamie's face sc
- st--2u29.jpg _35K B&W Doctor: "Oh, that's his nose, all right!" (Troughton) sc
- st--2u30.jpg _25K B&W Jamie has changed a bit (Hamish Wilson) sc
- st--2u31.jpg _28K B&W Doctor, Jamie (Troughton, Hamish Wilson) sc
- st--2u32.jpg _21K B&W Zoe in the glass jar (Padbury) sc
- st--2u33.jpg _30K B&W Jamie, Doctor, Zoe meet Gulliver again (Hamish Wilson, Troughton, Padbury, Bernard Horsfall) sc
- st--2u34.jpg _28K B&W Zoe, Doctor, Jamie see the unicorn (Padbury, Troughton, Hamish Wilson) sc
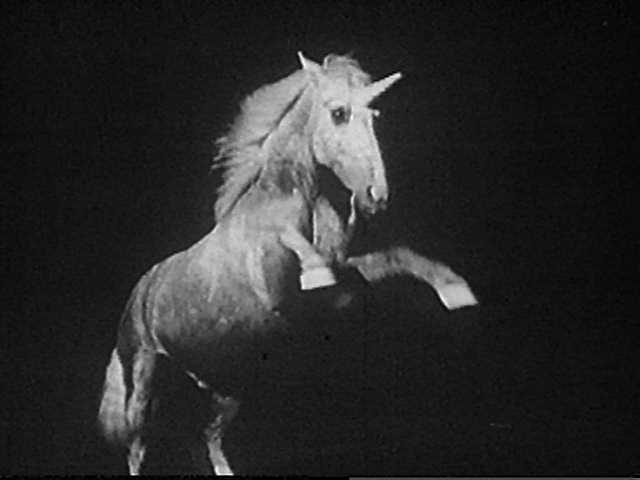
- st--2u35.jpg _18K B&W The unicorn (Goldy the Wonder Horse) sc
- st--2u36.jpg _17K B&W Doctor CU (Troughton) sc
- st--2u37.jpg _31K B&W Doctor and Zoe confront another Jamie puzzle (Troughton, Padbury) sc
- st--2u38.jpg _27K B&W Zoe, Doctor, Jamie enter the cave (Padbury, Troughton, Hines) sc
- st--2u39.jpg _20K B&W Zoe, Doctor frightened of the roar of the Minotaur (Padbury, Troughton) sc
- st--2u40.jpg _17K B&W The Minotaur (Richard Ireson) sc
- st--2u41.jpg _22K B&W Zoe (Padbury) sc
- st--2u42.jpg _24K B&W Clockwork Soldier sc
- st--2u43.jpg _31K B&W Jamie by the rock face (Hines) sc
- st--2u44.jpg _22K B&W Jamie meets Princess Rapunzel (Hines, Christine Pirie) sc
- st--2u45.jpg _20K B&W Jamie reads the ticker tape (Hines) sc
- st--2u46.jpg _23K B&W The tape tells the story sc
- st--2u47.jpg _20K B&W The Medusa (Sue Pulford) sc
- st--2u48.jpg _18K B&W Doctor with mirror, Zoe (Troughton, Padbury) sc
- st--2u49.jpg _25K B&W The castle sc
- st--2u50.jpg _30K B&W Karkus (Christopher Robbie) sc
- st--2u51.jpg _19K B&W Gulliver, Jamie (Bernard Horsfall, Hines) sc
- st--2u52.jpg _33K B&W Karkus fights Zoe (Christopher Robbie, Padbury) sc
- st--2u53.jpg _32K B&W Karkus about to be flipped by Zoe (Christopher Robbie, Padbury) sc
- st--2u54.jpg _36K B&W Karkus gets his butt kicked by Zoe (Christopher Robbie, Padbury) sc
- st--2u55.jpg _25K B&W Doctor, Zoe concealed in robe (Troughton, Padbury) sc
- st--2u56.jpg _23K B&W Jamie, Zoe, Doctor reunited in tower (Hines, Padbury, Troughton) sc
- st--2u57.jpg _22K B&W The Master (of the Land of Fiction) aka Charles Hamilton aka Frank Richards (Emrys Jones) sc
- st--2u58.jpg _26K B&W The Master etc. and his copy of The Ensign (Emrys Jones) sc
- st--2u59.jpg _22K B&W White Robot traps Jamie and Zoe inside the book (Hines, Padbury) sc
- st--2u60.jpg _20K B&W The Master etc. (Emrys Jones) sc
- st--2u61.jpg _25K B&W Doctor perched like a gargoyle on the battlements (Troughton) sc
- st--2u62.jpg _27K B&W Doctor, Princess Rapunzel, Karkus (Troughton, Christine Pirie, Christopher Robbie) sc
- st--2u63.jpg _18K B&W Doctor at typewriter (Troughton) sc
- st--2u64.jpg _29K B&W Doctor in control gear (Troughton) sc
- st--2u65.jpg _18K B&W Cyrano de Bergerac (David Cannon) sc
- st--2u66.jpg _23K B&W D'Artagnan (John Greenwood) sc
- st--2u67.jpg _23K B&W Blackbeard aka Edward Teach (Gerry Wain) sc
- st--2u68.jpg _25K B&W Sir Lancelot (John Greenwood) sc
- st--2u69.jpg _23K B&W Jamie, Zoe, the Master etc, Doctor (Hines, Padbury, Emrys Jones, Troughton) sc
THE INVASION
Images 7-73 added 13Dec98
- st--2v-c.jpg 130K The Invasion - CONTACT SHEET
- st--2v01.jpg _86K B&W Zoe, Isobel Watkins, Brigadier (Padbury, Sally Faulkner, Courtney)
- st--2v02.jpg _18K B&W Tobias Vaughn (Kevin Stoney) sc
- st--2v03.jpg _33K B&W Zoe closeup (Padbury) sc
- st--2v04.jpg _13K B&W Zoe medium closeup (Padbury) sc
- st--2v05.jpg _35K B&W Zoe posing for photos (Padbury) sc
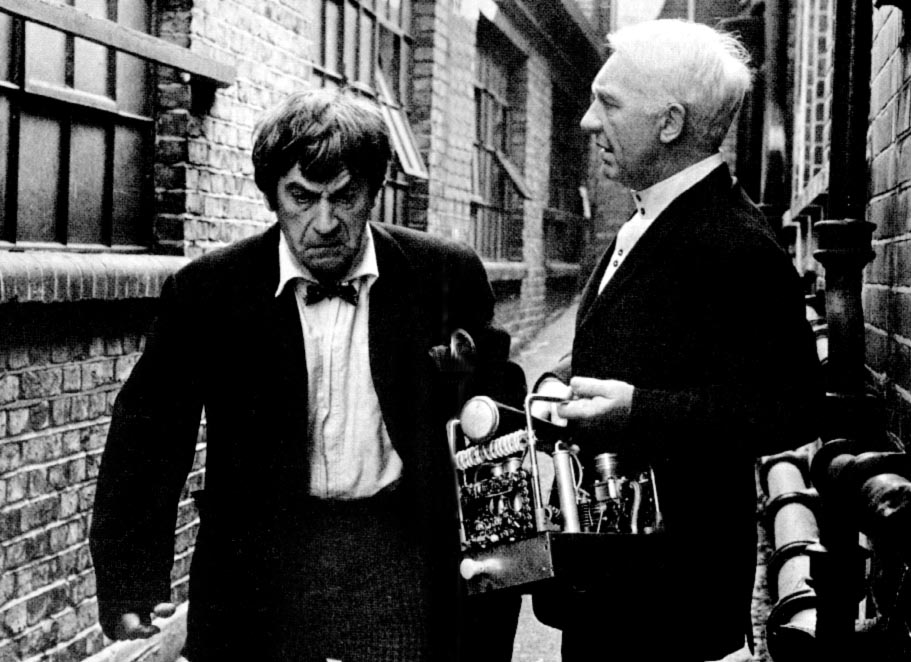
- st--2v06.jpg 112K B&W Doctor and Tobias Vaughn in alley (Troughton, Kevin Stoney) 28Aug98
- st--2v07.jpg _23K B&W Tobias Vaughn (Kevin Stoney) sc
- st--2v08.jpg _23K B&W Tracy and Corporal Benton in the car (Geoffrey Cheshire, Levene) sc
- st--2v09.jpg _23K B&W Isobel Watkins taking photographs (Sally Faulkner) sc
- st--2v10.jpg _22K B&W Zoe CU (Padbury) sc
- st--2v11.jpg _26K B&W Doctor and Jamie being chased (Troughton, Hines) sc
- st--2v12.jpg _25K B&W Jamie and Doctor surrounded by unknown forces (Hines, Troughton) sc
- st--2v13.jpg _23K B&W Gregory, Vaughn's Chief Researcher (Ian Fairbairn) sc
- st--2v14.jpg _25K B&W Brigadier, Jamie, Doctor reunited (Courtney, Hines, Troughton) sc
- st--2v15.jpg _22K B&W Doctor CU (Troughton) sc
- st--2v16.jpg _27K B&W Brigadier, Jamie, Doctor (Courtney, Hines, Troughton) sc
- st--2v17.jpg _28K B&W Isobel and Zoe at the IE computer (Sally Faulkner, Padbury) sc
- st--2v18.jpg _24K B&W Zoe and Isobel laugh breezily as they commit multi-million pound sabotage (Padbury, Sally Faulkner) sc
- st--2v19.jpg _23K B&W Tobias Vaughn laughs at it too (Kevin Stoney) sc
- st--2v20.jpg _24K B&W Doctor, Brigadier (Troughton, Courtney) sc
- st--2v21.jpg _25K B&W Packer, Tobias Vaughn (Peter Halliday, Kevin Stoney) sc
- st--2v22.jpg _24K B&W Jamie mocks Packer (Hines, Peter Halliday) sc
- st--2v23.jpg _22K B&W Brigadier CU (Courtney) sc
- st--2v24.jpg _24K B&W Doctor CU (Troughton) sc
- st--2v25.jpg _23K B&W Professor Watkins, Packer (Edward Burnham, Peter Halliday) sc
- st--2v26.jpg _23K B&W Doctor (Troughton) sc
- st--2v27.jpg _26K B&W Doctor disables hidden camera (Troughton) sc
- st--2v28.jpg _25K B&W Doctor and Jamie (Troughton, Hines) sc
- st--2v29.jpg _22K B&W Tobias Vaughn, a disheveled Packer (Kevin Stoney, Peter Halliday) sc
- st--2v30.jpg _23K B&W Jamie passes by where Kilroy once Was (Hines) sc
- st--2v31.jpg _28K B&W Doctor, Jamie piling out onto the roof (Troughton, Hines) sc
- st--2v32.jpg _17K B&W Jamie inside a case with...something (Hines) sc
- st--2v33.jpg _23K B&W Doctor, Jamie in canoe (Troughton, Hines) sc
- st--2v34.jpg _33K B&W Isobel Watkins CU (Sally Faulkner) sc
- st--2v35.jpg _30K B&W Captain Jimmy Turner (Robert Sidaway) sc
- st--2v36.jpg _31K B&W Doctor (Troughton) sc
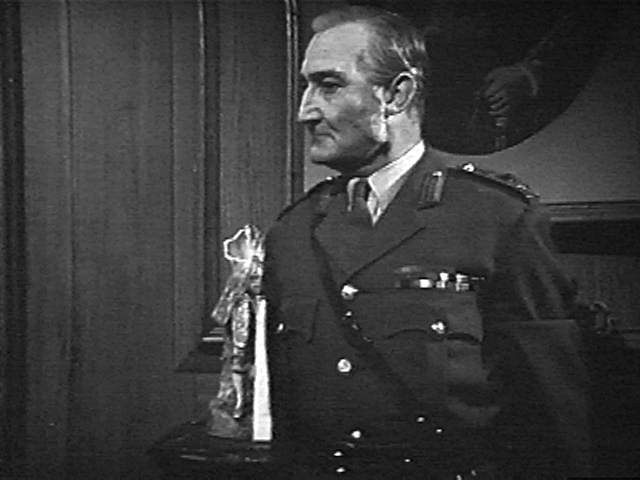
- st--2v37.jpg _31K B&W Major General Billy Rutlidge (Edward Dentith) sc
- st--2v38.jpg _31K B&W Cyberman emerging sc
- st--2v39.jpg _35K B&W Gregory, Tobias Vaughn experiment with Cyberman (Ian Fairbairn, Kevin Stoney) sc
- st--2v40.jpg _35K B&W Jamie, Zoe (Hines, Padbury) sc
- st--2v41.jpg _33K B&W Isobel entering sewer manhole (Sally Faulkner) sc
- st--2v42.jpg _32K B&W Cybermen in sewers firing weapons sc
- st--2v43.jpg _37K B&W Isobel, Zoe, Jamie in sewer (Sally Faulkner, Padbury, Hines) sc
- st--2v44.jpg _31K B&W Sergeant Walters, Captain Turner (James Thornhill, Robert Sidaway) sc
- st--2v45.jpg _29K B&W Cyberman follows Jamie and Captain Turner through manhole (Hines, Robert Sidaway) sc
- st--2v46.jpg _22K B&W Guard, Professor Watkins, Gregory, Tobias Vaughn (unknown, Edward Burnham, Ian Fairbairn, Kevin Stoney) sc
- st--2v47.jpg _24K B&W Professor Watkins fires at Vaughn (Edward Burnham) sc
- st--2v48.jpg _23K B&W Vaughn seems oblivious to the smoking bullet holes in his chest sc
- st--2v49.jpg _27K B&W Gregory (Ian Fairbairn) sc
- st--2v50.jpg _33K B&W Cyberman coming out of sewer manhole sc
- st--2v51.jpg _32K B&W Cybermen marching down the steps sc
- st--2v52.jpg _36K B&W Brigadier, Doctor, Captain Turner (Courtney, Troughton, Robert Sidaway) sc
- st--2v53.jpg _31K B&W Doctor driving the lorry (Troughton) sc
- st--2v54.jpg _24K B&W Doctor talking into two-way radio (Troughton) sc
- st--2v55.jpg _28K B&W Zoe CU (Padbury) sc
- st--2v56.jpg _29K B&W Doctor in Tobias Vaughn's office (Troughton, Kevin Stoney) sc
- st--2v57.jpg _25K B&W The Cybership in orbit is destroyed sc
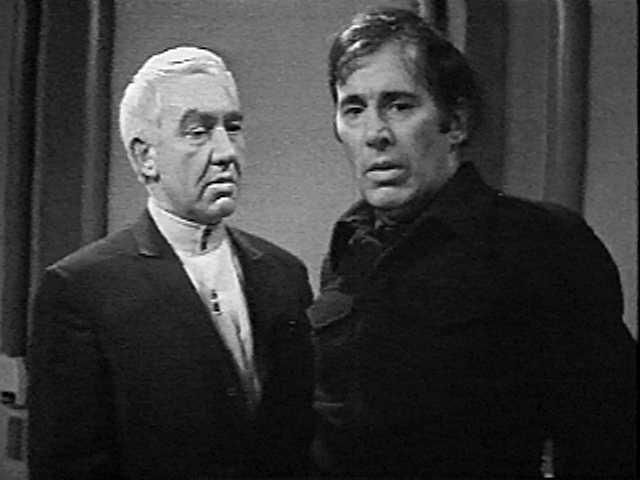
- st--2v58.jpg _31K B&W Tobias Vaughn, Doctor (Kevin Stoney, Troughton) sc
- st--2v59.jpg _35K B&W Isobel Watkins, Corporal Benton (Sally Faulkner, Levene) sc
- st--2v60.jpg _29K B&W Corporal Benton (Levene) sc
- st--2v61.jpg _34K B&W U.N.I.T. and the Brigadier celebrate Zoe who is much prettier than a computer (Courtney, Padbury) sc
- st--2v62.jpg _37K B&W Brigadier, Zoe (Courtney, Padbury) sc
- st--2v63.jpg _22K B&W Cyberman sc
- st--2v64.jpg _27K B&W Tobias Vaughn and the Doctor outside (Kevin Stoney, Troughton) sc
- st--2v65.jpg _24K B&W Cybermen advancing sc
- st--2v66.jpg _30K B&W Isobel, Brigadier, Zoe (Sally Faulkner, Courtney, Padbury) sc
- st--2v67.jpg _25K B&W Doctor (Troughton) sc
- st--2v68.jpg _23K B&W Doctor leaping crazily to avoid gunfire (Troughton) sc
- st--2v69.jpg _28K B&W Doctor photographed by Isobel (Troughton, Sally Faulkner) sc
- st--2v70.jpg _21K B&W Zoe and the Doctor try to find the invisible TARDIS (Padbury, Troughton) sc
- st--2v71.jpg _32K B&W Jamie, Zoe (Hines, Padbury) sc
- st--2v72.jpg _22K B&W Zoe, Doctor, Jamie wave goodbye (Padbury, Troughton, Hines) sc
- st--2v73.jpg _33K B&W Isobel and Captain Turner watch in surprise (Sally Faulkner, Robert Sidaway) sc
THE KROTONS
All images added 13Dec98
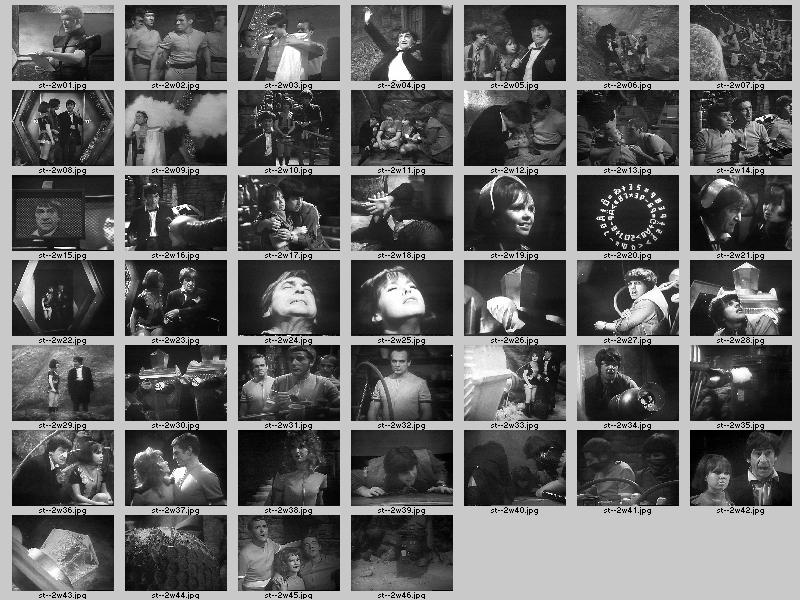
- st--2w-c.jpg 113K The Krotons - CONTACT SHEET
- st--2w01.jpg _30K B&W Selris reads the names (James Copeland) sc
- st--2w02.jpg _28K B&W Thara is angry that Vana was chosen (Gilbert Wynne) sc
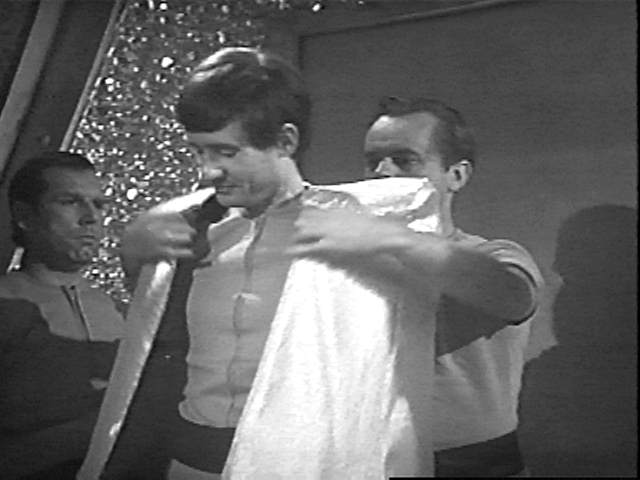
- st--2w03.jpg _30K B&W Abu is robed by Eelek (Terence Brown, Philip Madoc) sc
- st--2w04.jpg _30K B&W Doctor stretches after exiting TARDIS (Troughton) sc
- st--2w05.jpg _23K B&W Jamie, Zoe, Doctor with umbrella (Hines, Padbury, Troughton) sc
- st--2w06.jpg _34K B&W Doctor, Jamie, Zoe climb the hill (Troughton, Hines, Padbury) sc
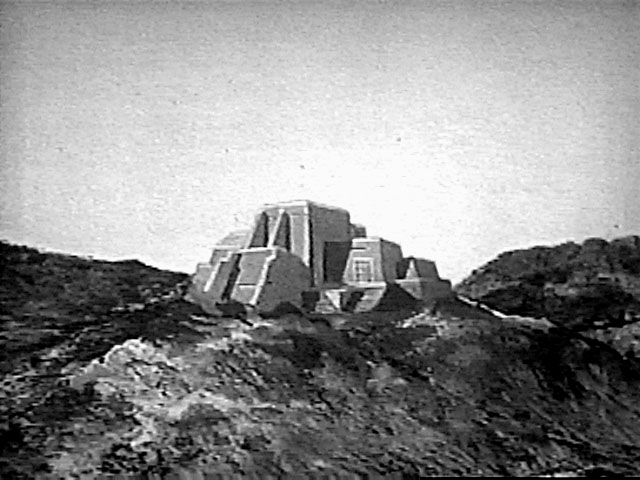
- st--2w07.jpg _37K B&W The Gond city sc
- st--2w08.jpg _34K B&W Zoe, Jamie and the Doctor: "It's a machine." (Padbury, Hines, Troughton) sc
- st--2w09.jpg _27K B&W Abu is hit by the acid (Terence Brown) sc
- st--2w10.jpg _31K B&W Doctor, Zoe, Jamie come in peace (Troughton, Padbury, Hines) sc
- st--2w11.jpg _31K B&W Doctor, Thara, Zoe, Jamie wait for Vana (Troughton, Gilbert Wynne, Padbury, Hines) sc
- st--2w12.jpg _28K B&W Doctor examines Vana with Thara (Troughton, Madeleine Mills, Gilbert Wynne) sc
- st--2w13.jpg _29K B&W Kroton Hall Custodian threatened by Thara (Maurice Selwyn, Gilbert Wynne) sc
- st--2w14.jpg _37K B&W Students wielding axes with Thara (Bronson Shaw, Gilbert Wynne) sc
- st--2w15.jpg _30K B&W The image of the Doctor on the Kroton monitor (Troughton) sc
- st--2w16.jpg _28K B&W Doctor confronted by the metal snake (Troughton) sc
- st--2w17.jpg _30K B&W Zoe, Jamie frightened (Padbury, Hines) sc
- st--2w18.jpg _26K B&W Doctor covers his face (Troughton) sc
- st--2w19.jpg _22K B&W Zoe smiles at the teaching machine (Padbury) sc
- st--2w20.jpg _29K B&W One of the teaching machine tests sc
- st--2w21.jpg _23K B&W Doctor has a go while Zoe tells him he's got it wrong (Troughton, Padbury) sc
- st--2w22.jpg _22K B&W Zoe, Doctor enter the Kroton machine (Padbury, Troughton) sc
- st--2w23.jpg _27K B&W Doctor tells Zoe to hold the chain as they sit (Padbury, Troughton) sc
- st--2w24.jpg _23K B&W Doctor in pain (Troughton) sc
- st--2w25.jpg _23K B&W Zoe in pain (Padbury) sc
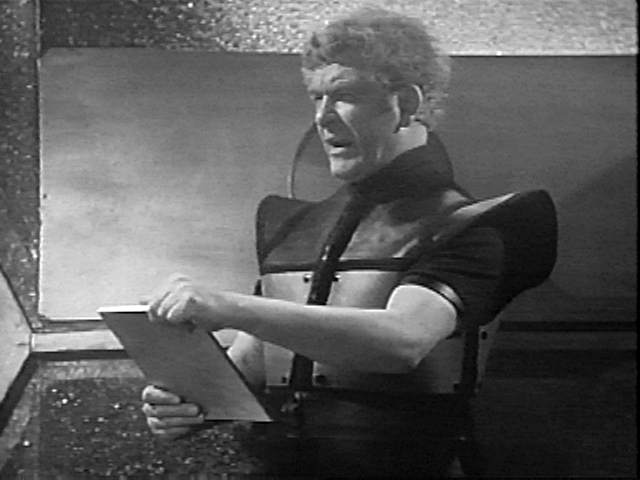
- st--2w26.jpg _23K B&W The Kroton sc
- st--2w27.jpg _30K B&W Jamie (Hines) sc
- st--2w28.jpg _29K B&W Jamie with Kroton looming over (Hines) sc
- st--2w29.jpg _35K B&W Zoe, Doctor in the wasteland looking for the TARDIS (Padbury, Troughton) sc
- st--2w30.jpg _28K B&W Two Krotons sc
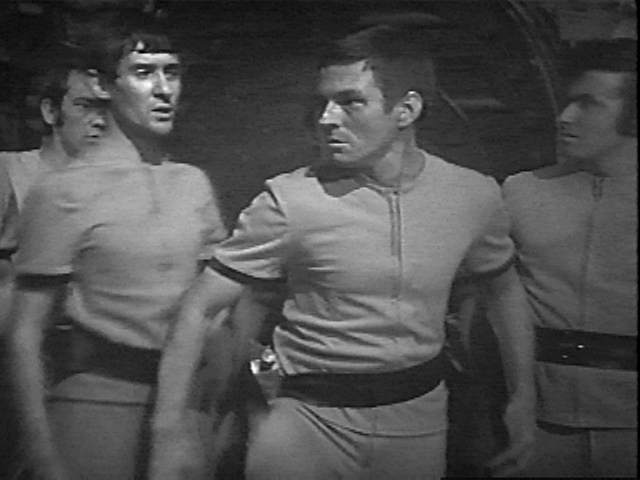
- st--2w31.jpg _29K B&W Eelek, Beta, Axus (Philip Madoc, James Cairncross, Richard Ireson) sc
- st--2w32.jpg _25K B&W Eelek (Philip Madoc) sc
- st--2w33.jpg _32K B&W Kroton threatens Zoe and the Doctor (Padbury, Troughton) sc
- st--2w34.jpg _26K B&W Jamie brandishes the Kroton weapon (Hines) sc
- st--2w35.jpg _23K B&W Kroton fires at the TARDIS sc
- st--2w36.jpg _33K B&W Doctor, Zoe in hiding (Troughton, Padbury) sc
- st--2w37.jpg _25K B&W Vana, Thara (Madeleine Mills, Gilbert Wynne) sc
- st--2w38.jpg _28K B&W Vana (Madeleine Mills) sc
- st--2w39.jpg _24K B&W Jamie stuck under the door (Hines) sc
- st--2w40.jpg _26K B&W Doctor and Zoe assist Jamie (Troughton, Hines, Padbury) sc
- st--2w41.jpg _24K B&W Beta and Jamie make acid (James Cairncross, Hines) sc
- st--2w42.jpg _27K B&W Zoe, Doctor (Padbury, Troughton) sc
- st--2w43.jpg _30K B&W Kroton disintegrates sc
- st--2w44.jpg _35K B&W The Dynatrope disintegrates sc
- st--2w45.jpg _30K B&W Beta, Vana, Thara watch the Dynatrope collapse (James Cairncross, Madeleine Mills, Gilbert Wynne) sc
- st--2w46.jpg _25K B&W The TARDIS dematerialises sc
THE SEEDS OF DEATH
Images 6-53 added 13Dec98
- st--2x-c.jpg 130K The Seeds of Death - CONTACT SHEET
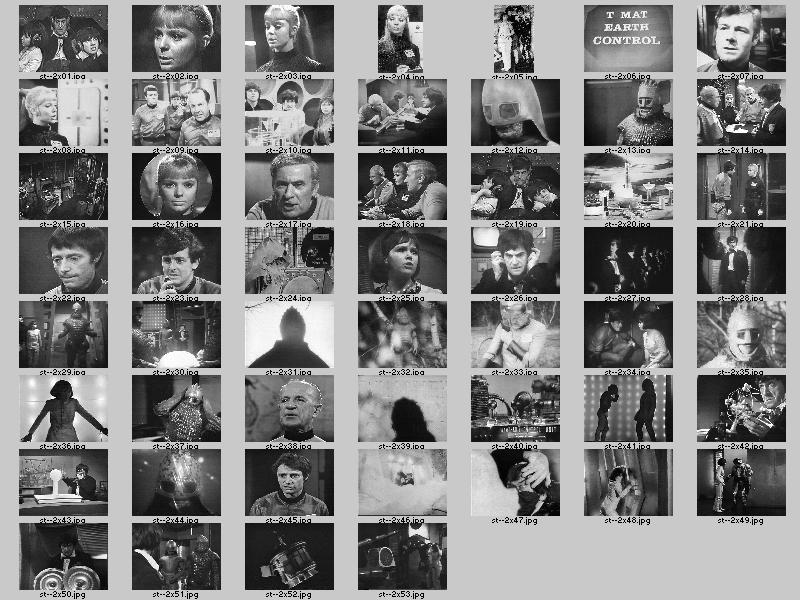
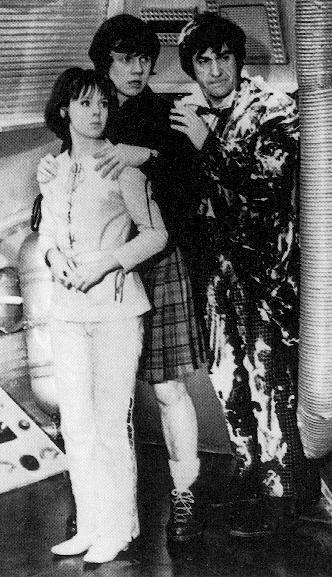
- st--2x01.jpg _12K B&W Zoe, Doctor, Jamie in space capsule sc (Padbury, Troughton, Hines)
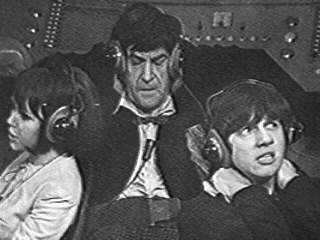
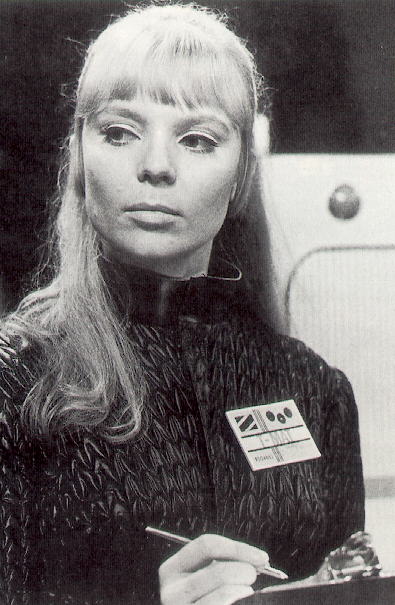
- st--2x02.jpg _11K B&W Gia Kelly closeup (Louise Pajo) sc
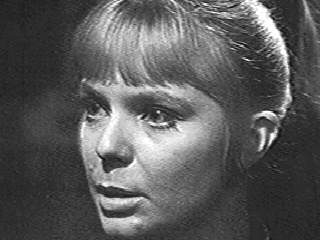
- st--2x03.jpg __9K B&W Gia Kelly medium shot (Louise Pajo) sc
- st--2x04.jpg _52K B&W Gia Kelly medium shot (Louise Pajo)
- st--2x05.jpg _54K B&W Zoe, Jamie, Doctor (Padbury, Hines, Troughton)
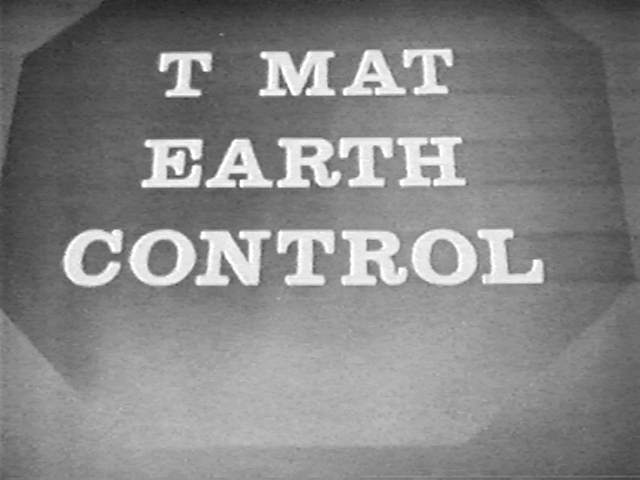
- st--2x06.jpg _27K B&W T MAT EARTH CONTROL sc
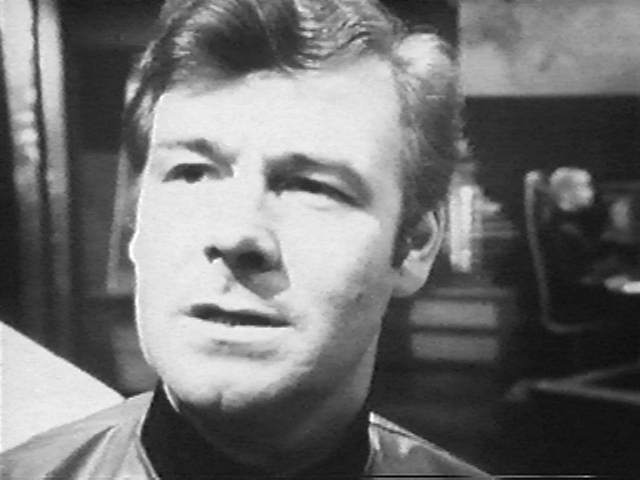
- st--2x07.jpg _27K B&W Brent (Ric Felgate) sc
- st--2x08.jpg _25K B&W Controller Gia Kelly (Louise Pajo) sc
- st--2x09.jpg _35K B&W Locke, Phipps, Fewsham, Osgood (Martin Cort, Christopher Coll, Terry Scully, Harry Towb) sc
- st--2x10.jpg _31K B&W Jamie, Doctor, Zoe in console room (Hines, Troughton, Padbury) sc
- st--2x11.jpg _27K B&W Professor Daniel Eldred, Jamie, Zoe, Doctor in the museum (Philip Ray, Hines, Padbury, Troughton) sc
- st--2x12.jpg _22K B&W Slaar (Alan Bennion) sc
- st--2x13.jpg _31K B&W Ice Warrior sc
- st--2x14.jpg _39K B&W Eldred, Gia Kelly, Commander Julian Radnor, Doctor discuss the rocket (Philip Ray, Louise Pajo, Ronald Leigh-Hunt, Troughton) sc
- st--2x15.jpg _39K B&W Phipps hides from the Ice Warrior (Christopher Coll) sc
- st--2x16.jpg _30K B&W Gia Kelly on viewscreen (Louise Pajo) sc
- st--2x17.jpg _33K B&W Commander Radnor (Ronald Leigh-Hunt) sc
- st--2x18.jpg _36K B&W Eldred, Gia Kelly, Radnor (Philip Ray, Louise Pajo, Ronald Leigh-Hunt) sc
- st--2x19.jpg _36K B&W Zoe, Doctor, Jamie braving the g-forces (Padbury, Troughton, Hines) sc
- st--2x20.jpg _39K B&W The rocket lifts off sc
- st--2x21.jpg _32K B&W Fewsham greets Gia Kelly on the moon (Terry Scully, Louise Pajo) sc
- st--2x22.jpg _30K B&W Fewsham (Terry Scully) sc
- st--2x23.jpg _30K B&W Phipps talks to the Doctor (Christopher Coll) sc
- st--2x24.jpg _44K B&W Ice Warrior is destroyed by Phipps sc
- st--2x25.jpg _27K B&W Zoe (Padbury) sc
- st--2x26.jpg _26K B&W Doctor (Troughton) sc
- st--2x27.jpg _17K B&W Doctor in mirrored hall (Troughton) sc
- st--2x28.jpg _22K B&W Doctor: "You can't kill me...I'm a genius." (Troughton) sc
- st--2x29.jpg _27K B&W Jamie, Zoe hide from Ice Warrior (Hines, Padbury) sc
- st--2x30.jpg _30K B&W Ice Warrior, Slaar, Doctor (Alan Bennion, Troughton) sc
- st--2x31.jpg _18K B&W Ice Warrior on Earth sc
- st--2x32.jpg _28K B&W Ice Warrior watches the foam crew sc
- st--2x33.jpg _28K B&W One of the foam removal crew sc
- st--2x34.jpg _24K B&W Phipps, Zoe (Christopher Coll, Padbury) sc
- st--2x35.jpg _29K B&W Ice Warrior sc
- st--2x36.jpg _27K B&W Zoe trapped (Padbury) sc
- st--2x37.jpg _35K B&W Ice Warrior gets a hot flash sc
- st--2x38.jpg _27K B&W Sir James Gregson (Hugh Morton) sc
- st--2x39.jpg _23K B&W Ice Warrior shadow falls over Weather Control sign sc
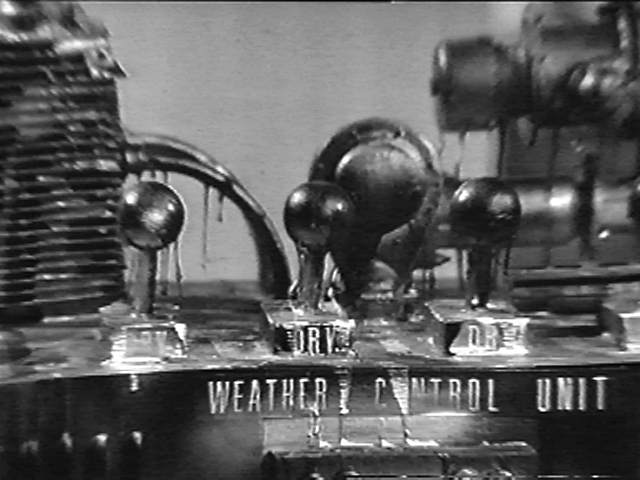
- st--2x40.jpg _38K B&W Weather control unit destroyed sc
- st--2x41.jpg _26K B&W Fewsham, Slaar in front of screen (Terry Scully, Alan Bennion) sc
- st--2x42.jpg _33K B&W Doctor thinks (Troughton) sc
- st--2x43.jpg _32K B&W Doctor discovers what stops the seeds (Troughton) sc
- st--2x44.jpg _25K B&W Grand Marshall (Graham Leaman) sc
- st--2x45.jpg _27K B&W Fewsham (Terry Scully) sc
- st--2x46.jpg _25K B&W Doctor stuck outside Weather Control in rising foam (Troughton) sc
- st--2x47.jpg _27K B&W Foam threatens to engulf the Doctor (Troughton) sc
- st--2x48.jpg _30K B&W Zoe struggles to open door (Padbury) sc
- st--2x49.jpg _26K B&W Zoe, Doctor covered in foam (Padbury, Troughton) sc
- st--2x50.jpg _29K B&W Doctor with a nice pair of solar lamps (Troughton) sc
- st--2x51.jpg _28K B&W Doctor, Slaar, Ice Warrior (Troughton, Alan Bennion) sc
- st--2x52.jpg _22K B&W The satellite beacon sc
- st--2x53.jpg _24K B&W Doctor, Jamie, Zoe return to the TARDIS (Troughton, Hines, Padbury) sc
THE SPACE PIRATES
- st--2y-c.jpg _60K The Space Pirates - CONTACT SHEET
- st--2y01.jpg _17K B&W Milo Clancey (Gordon Gostelow) sc
- st--2y02.jpg _14K B&W Nicolai Hermack (Jack May) sc
- st--2y03.jpg _15K B&W Penn (George Layton) sc
- st--2y04.jpg _12K B&W Ian Warne (Donald Gee) sc
- st--2y05.jpg _12K B&W Madeleine Issigri (Lisa Daniely) sc
- st--2y06.jpg _14K B&W Doctor (Troughton) sc
- st--2y07.jpg _12K B&W Jamie (Hines) sc
- st--2y08.jpg _11K B&W Zoe (Padbury) sc
- st--2y09.jpg _16K B&W Zoe, Doctor (Padbury, Troughton) sc
- st--2y10.jpg _15K B&W Zoe, Jamie (Padbury, Hines) sc
- st--2y11.jpg _15K B&W Zoe, Jamie (Padbury, Hines) sc
- st--2y12.jpg _15K B&W Zoe, Doctor (Padbury, Troughton) sc
- st--2y13.jpg _28K B&W The Minnow prepares to launch sc
- st--2y14.jpg _29K B&W Another angle on the Minnow sc
- st--2y15.jpg _35K B&W Madeleine Issigri, Nicolai Hermack (Lisa Daniely, Jack May) sc
- st--2y16.jpg _30K B&W Jamie is shot by Milo Clancey (Hines, Gordon Gostelow) sc
- st--2y17.jpg _31K B&W Doctor (Troughton) sc
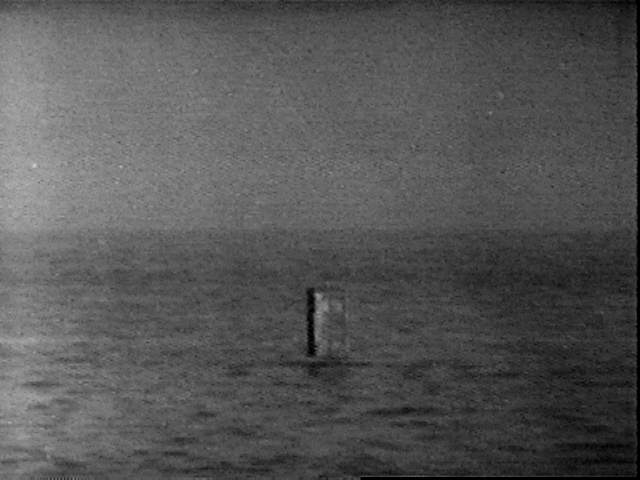
- st--2y18.jpg _20K B&W The beacon (or is that beacons) in space sc
THE WAR GAMES
Images 3-99 added 13Dec98
- st--2z-c.jpg 213K The War Games - CONTACT SHEET
- st--2z01.jpg _21K Doctor, Jamie, Zoe playing war (Troughton, Hines, Padbury)
- st--2z02.jpg _65K B&W Jamie, Zoe, Doctor confined in a wine cellar (Hines, Padbury, Troughton) 28Aug98
- st--2z03.jpg _32K B&W Zoe, Jamie, Doctor exit TARDIS after landing (Padbury, Hines, Troughton) sc
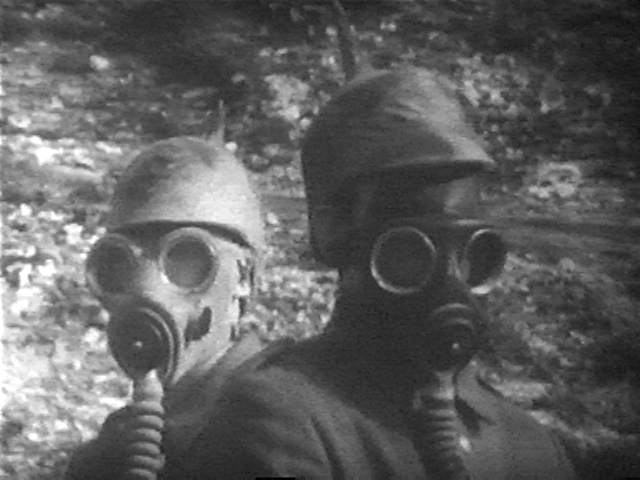
- st--2z04.jpg _34K B&W Soldiers in gas masks sc
- st--2z05.jpg _26K B&W Lady Jennifer Buckingham (Jane Sherwin) sc
- st--2z06.jpg _34K B&W Jamie, Doctor, Zoe in the "Clapham Junction" trench (Hines, Troughton, Padbury) sc
- st--2z07.jpg _26K B&W Major Barrington (Terence Bayler) sc
- st--2z08.jpg _27K B&W Lieutenant Jeremy Carstairs (David Savile) sc
- st--2z09.jpg _30K B&W General Smythe (Noel Coleman) sc
- st--2z10.jpg _30K B&W General Smythe (Noel Coleman) sc
- st--2z11.jpg _39K B&W Sergeant-Major Burns, Captain Ransom at table, Jamie, Doctor, Zoe (Esmond Webb, Hubert Rees, Hines, Troughton, Padbury) sc
- st--2z12.jpg _32K B&W Sergeant-Major Burns (Esmond Webb) sc
- st--2z13.jpg _27K B&W Captain Ransom (Hubert Rees) sc
- st--2z14.jpg _30K B&W Doctor (Troughton) sc
- st--2z15.jpg _47K B&W Firing squad lining up sc
- st--2z16.jpg _44K B&W Doctor in front of firing squad (Troughton) sc
- st--2z17.jpg _32K B&W Redcoat (Tony McEwan) sc
- st--2z18.jpg _34K B&W Commandant Gorton (Richard Steele) sc
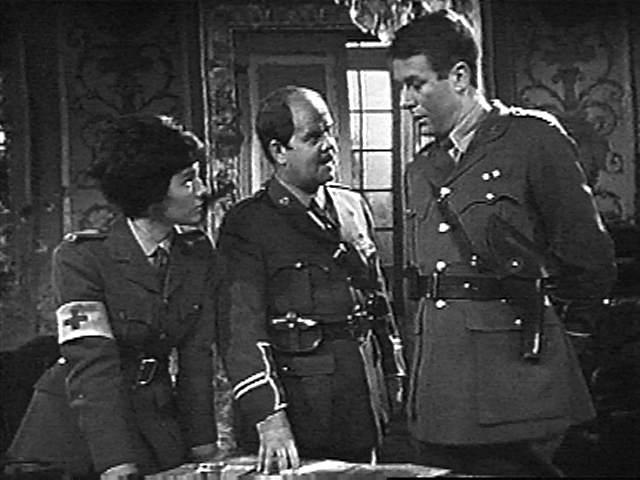
- st--2z19.jpg _41K B&W Lady Jennifer, Captain Ransom, Lieutenant Carstairs (Jane Sherwin, Hubert Rees, David Savile) sc
- st--2z20.jpg _39K B&W General Smythe and technician (Noel Coleman, Derek Crick) sc
- st--2z21.jpg _30K B&W Romans coming over the hill sc
- st--2z22.jpg _23K B&W Jamie, Doctor wait for the explosives to blow the safe (Hines, Troughton) sc
- st--2z23.jpg _23K B&W Doctor, Lieutenant Lucke (Troughton, Gregg Palmer) sc
- st--2z24.jpg _24K B&W Doctor at gunpoint (Troughton) sc
- st--2z25.jpg _25K B&W Zoe and Jamie in German helmets (Padbury, Hines) sc
- st--2z26.jpg _31K B&W Doctor removes screw from gun with sonic screwdriver sc
- st--2z27.jpg _28K B&W Kapitan Von Weich (David Garfield) sc
- st--2z28.jpg _25K B&W The War Chief (Edward Brayshaw) sc
- st--2z29.jpg _25K B&W The SIDRAT appears sc
- st--2z30.jpg _30K B&W Soldiers waiting for activation sc
- st--2z31.jpg _29K B&W Soldiers take Lady Jennifer and Jamie (unknown, Jane Sherwin, Hines) sc
- st--2z32.jpg _27K B&W Corporal Leroy Thompson, Von Weich incognito (Leslie Schofield, David Garfield) sc
- st--2z33.jpg _26K B&W Von Weich as an American (David Garfield) sc
- st--2z34.jpg _33K B&W Scientist prepares the conditiioner while the War Chief looks on (Vernon Dobtcheff, Edward Brayshaw) sc
- st--2z35.jpg _31K B&W Doctor, Zoe in cool glasses (Troughton, Padbury) sc
- st--2z36.jpg _25K B&W Russell, Von Weich (Graham Weston, David Garfield) sc
- st--2z37.jpg _27K B&W Scientist (Vernon Dobtcheff) sc
- st--2z38.jpg _26K B&W Jamie, Russell, Lady Jennifer (Hines, Graham Weston, Jane Sherwin) sc
- st--2z39.jpg _29K B&W Zoe in glasses, Doctor is recognised by the War Chief (Padbury, Troughton) sc
- st--2z40.jpg _30K B&W The War Chief shouts as he recognises the Doctor (Edward Brayshaw) sc
- st--2z41.jpg _22K B&W Zoe under interrogation (Padbury) sc
- st--2z42.jpg _30K B&W The Security Chief in his stylish interrogation hat (James Bree) sc
- st--2z43.jpg _32K B&W Doctor (Troughton) sc
- st--2z44.jpg _26K B&W Doctor (Troughton) sc
- st--2z45.jpg _32K B&W Doctor, Lieutenant Carstairs, Zoe (Troughton, David Savile, Padbury) sc
- st--2z46.jpg _30K B&W Alien soldiers ambush the humans sc
- st--2z47.jpg _27K B&W Jamie unconscious (Hines) sc
- st--2z48.jpg _29K B&W War Chief (Edward Brayshaw) sc
- st--2z49.jpg _27K B&W Private Moor (David Troughton) sc
- st--2z50.jpg _32K B&W Von Weich under guard by Moor (David Garfield) sc
- st--2z51.jpg _30K B&W Private Moor CU (David Troughton) sc
- st--2z52.jpg _33K B&W Lieutanant Carstairs, Zoe, Jamie, Doctor in army coats (David Savile, Padbury, Hines, Troughton) sc
- st--2z53.jpg _32K B&W Zoe and Doctor in uniform (Padbury, Troughton) sc
- st--2z54.jpg _32K B&W War Chief (Edward Brayshaw) sc
- st--2z55.jpg _27K B&W Lieutenant Carstairs, Jamie, Doctor being crushed (David Savile, Hines, Troughton) sc
- st--2z56.jpg _24K B&W The War Lord (Philip Madoc) sc
- st--2z57.jpg _32K B&W Doctor, Jamie, Lieutenant Carstairs consult map in Roman zone (Troughton, Hines, David Savile) sc
- st--2z58.jpg _32K B&W Alien soldiers attack, led by Security Chief (James Bree) sc
- st--2z59.jpg _33K B&W Ivan Petrov (Stephen Hubay) sc
- st--2z60.jpg _35K B&W War Chief, Doctor (Edward Brayshaw, Troughton) sc
- st--2z61.jpg _37K B&W Zoe sleeps (Padbury) sc
- st--2z62.jpg _27K B&W Arturo Villar (Michael Napier-Brown) sc
- st--2z63.jpg _37K B&W Jamie, Zoe argue while Arturo Villar waits outside (Hines, Padbury) sc
- st--2z64.jpg _41K B&W Jamie introduced by Zoe to Arturo Villar (Hines, Padbury, Michael Napier-Brown) sc
- st--2z65.jpg _41K B&W Jamie swaggering in, Zoe, Arturo Villar (Hines, Padbury, Michael Napier-Brown) sc
- st--2z66.jpg _31K B&W War Lord (Philip Madoc) sc
- st--2z67.jpg _49K B&W The map being maintained by Zoe sc
- st--2z68.jpg _48K B&W Jamie, Petrov, Zoe, Lieutenant Carstairs (Hines, Stephen Hubay, Padbury, David Savile) sc
- st--2z69.jpg _38K B&W Security Chief, Doctor, War Chief (James Bree, Troughton, Edward Brayshaw) sc
- st--2z70.jpg _32K B&W Zoe, Jamie are betrayed (Padbury, Hines) sc
- st--2z71.jpg _32K B&W Doctor (Troughton) sc
- st--2z72.jpg _34K B&W Doctor demonstrates conditioning of Jamie to the War Chief (Troughton, Hines, Edward Brayshaw) sc
- st--2z73.jpg _35K B&W Doctor, Zoe in conditioning chair (Troughton, Padbury) sc
- st--2z74.jpg _39K B&W Doctor, Arturo Villar (Troughton, Michael Napier-Brown) sc
- st--2z75.jpg _40K B&W Petrov, War Chief, Arturo Villar watch the Doctor preparing to contact the Time Lords (Stephen Hubay, Edward Brayshaw, Troughton, Michael Napier-Brown) sc
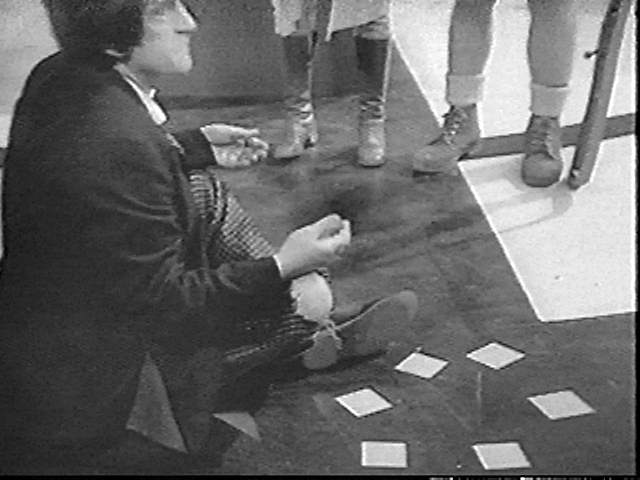
- st--2z76.jpg _35K B&W Doctor sitting with squares on floor (Troughton) sc
- st--2z77.jpg _31K B&W Doctor sends the box (Troughton) sc
- st--2z78.jpg _37K B&W Zoe, Doctor, Jamie struggle to reach TARDIS (Padbury, Troughton, Hines) sc
- st--2z79.jpg _31K B&W Doctor struggles to turn the key sc
- st--2z80.jpg _33K B&W Jamie, Doctor, Zoe fighting to enter TARDIS (Hines, Troughton, Padbury) sc
- st--2z81.jpg _34K B&W Jamie, Zoe, Doctor enter console room at last (Hines, Padbury, Troughton) sc
- st--2z82.jpg _29K B&W Doctor at console (Troughton) sc
- st--2z83.jpg _33K B&W TARDIS hovering over water sc
- st--2z84.jpg _20K B&W TARDIS caught in space sc
- st--2z85.jpg _34K B&W Doctor, Zoe, Jamie in console room (Troughton, Padbury, Hines) sc
- st--2z86.jpg _25K B&W Doctor concedes defeat (Troughton) sc
- st--2z87.jpg _27K B&W Doctor, Jamie, Zoe on Gallifrey (Troughton, Jamie, Zoe) sc
- st--2z88.jpg _27K B&W Three Time Lords (Clyde Pollitt, Bernard Horsfall, Trevor Martin) sc
- st--2z89.jpg _26K B&W War Lord, Doctor (Philip Madoc, Troughton) sc
- st--2z90.jpg _21K B&W Doctor on trial (Troughton) sc
- st--2z91.jpg _21K B&W Doctor gives evidence with Dalek on screen (Troughton) sc
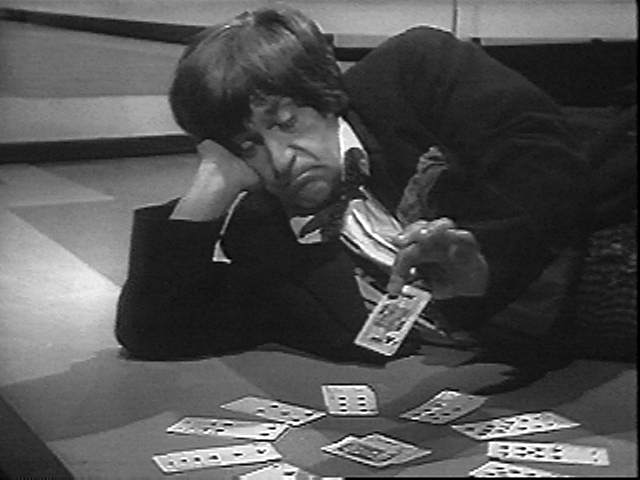
- st--2z92.jpg _31K B&W Doctor playing solitaire to pass the time (Troughton)sc
- st--2z93.jpg _25K B&W Doctor, Time Lord, Jamie saying goodbye (Troughton, Clyde Pollitt?, Hines) sc
- st--2z94.jpg _29K B&W Zoe, Doctor say goodbye (Padbury, Troughton) sc
- st--2z95.jpg _25K B&W Doctor waves to Zoe and Jamie (Troughton, Padbury, Hines) sc
- st--2z96.jpg _27K B&W Zoe, Tanya Lernov on the Wheel in Space (Padbury, Clare Jenkins) sc
- st--2z97.jpg _29K B&W Jamie in Scotland attacked by Redcoat (Hines, Denis Balcombe) sc
- st--2z98.jpg _21K B&W Doctor (Troughton) sc
- st--2z99.jpg _32K B&W Doctor being forced to regenerate... (Troughton) sc

