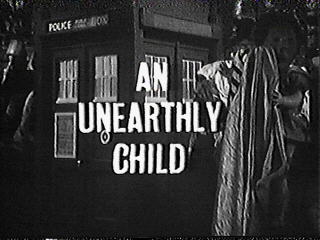
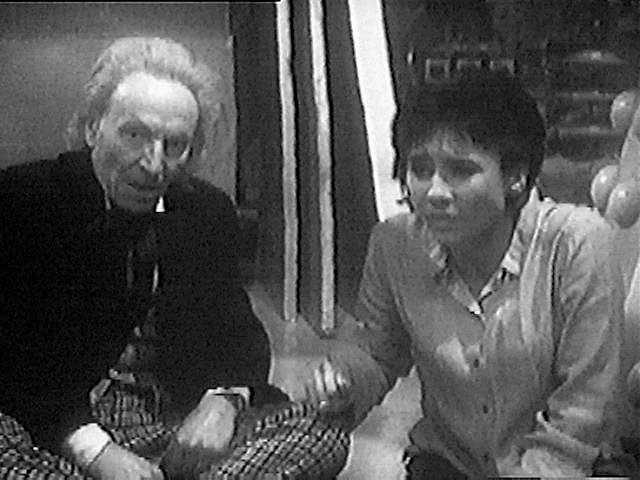
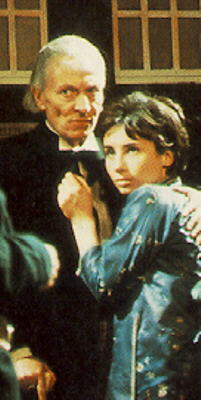
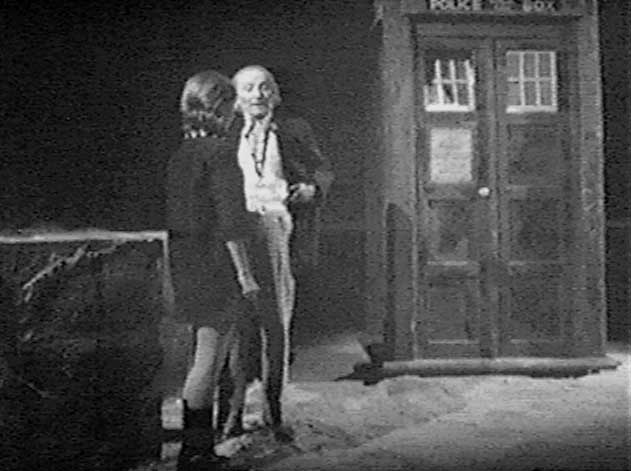
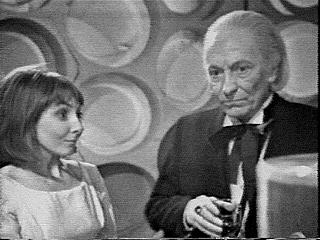
AN UNEARTHLY CHILD 
Images 12-47 added 03Apr99
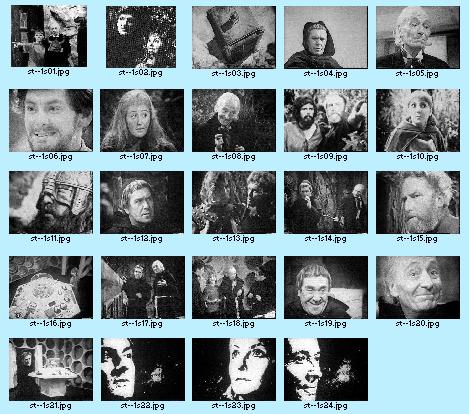
- st--1a-c.jpg 123K An Unearthly Child - CONTACT SHEET
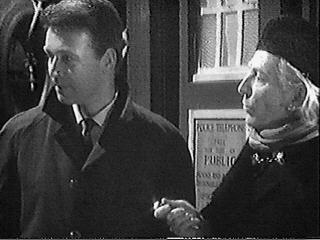
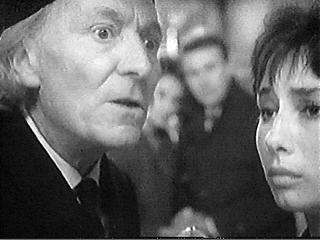
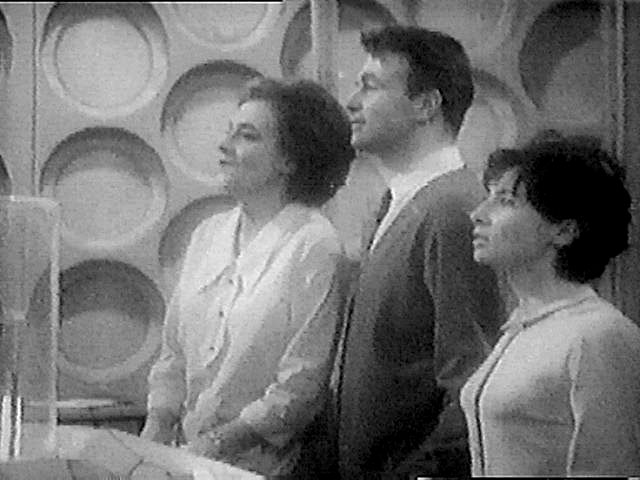
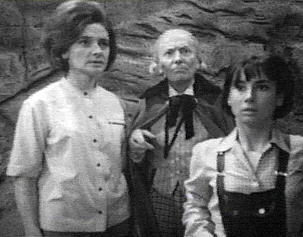
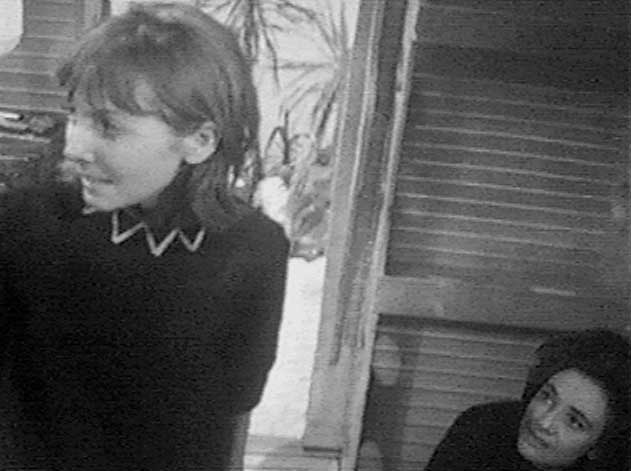
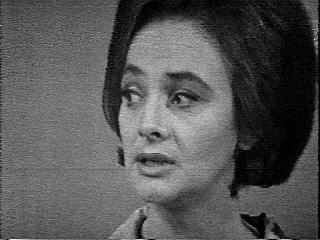
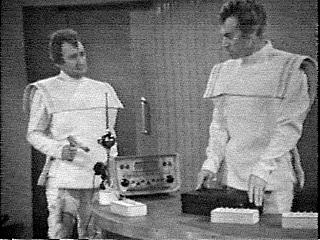
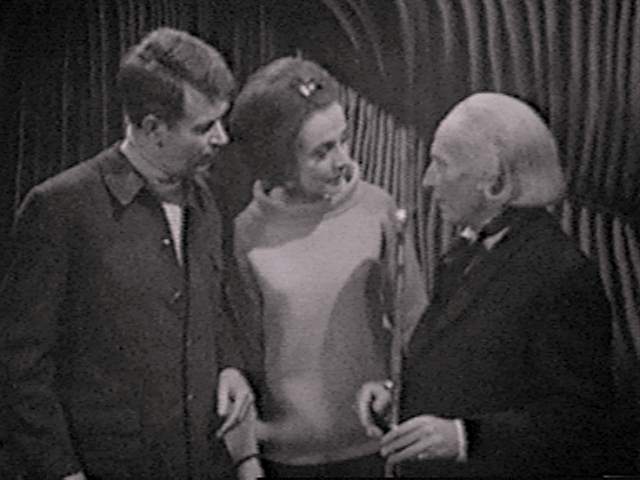
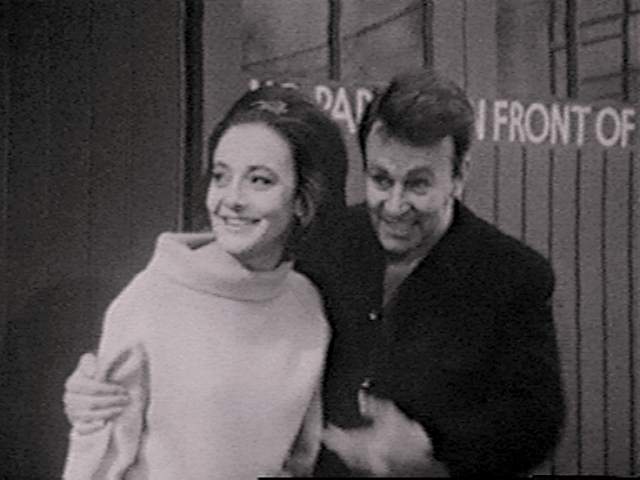
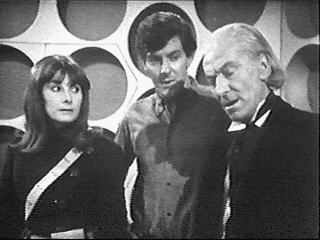
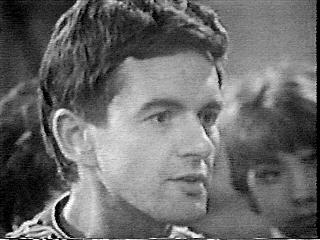
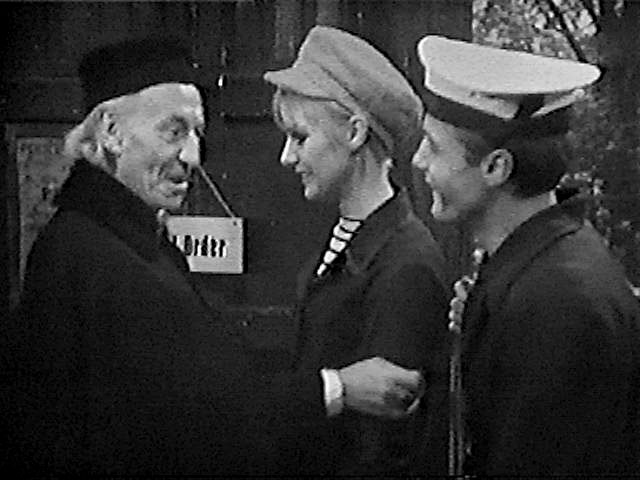
- st--1a01.jpg 111K B&W Barbara, Susan, Ian (JHill, Ford, Russell)
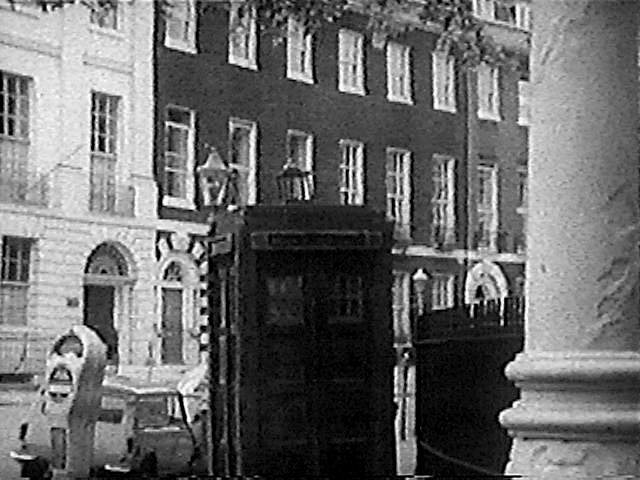
- st--1a02.jpg _17K B&W Title screen, TARDIS in background sc
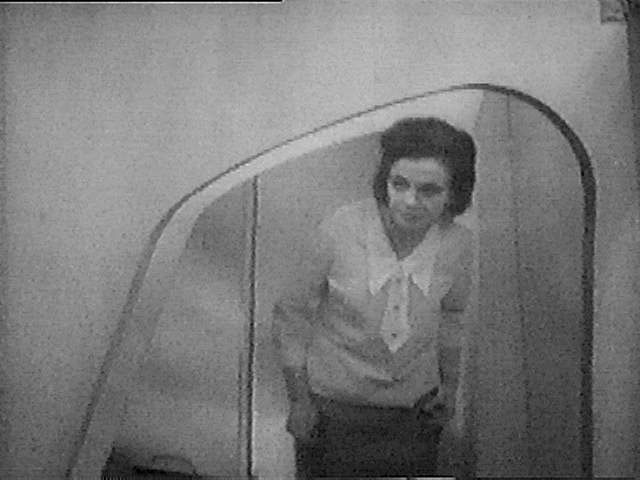
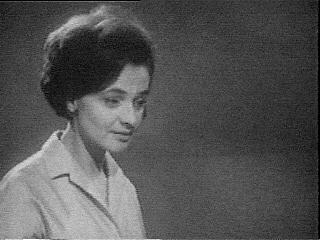
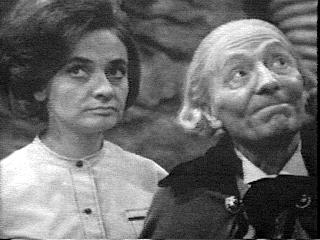
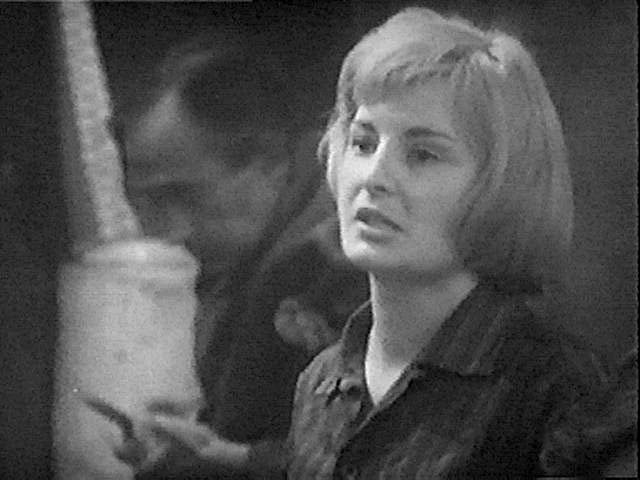
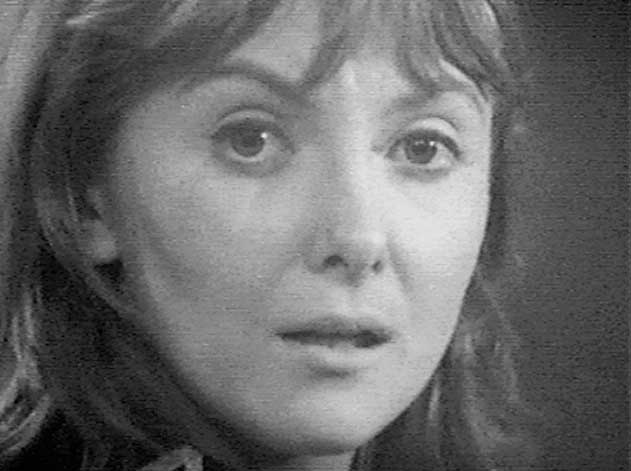
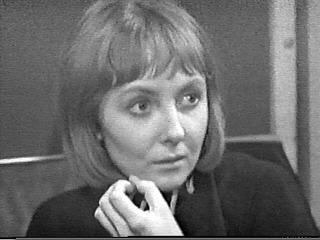
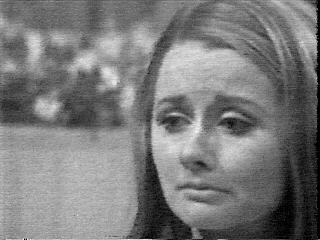
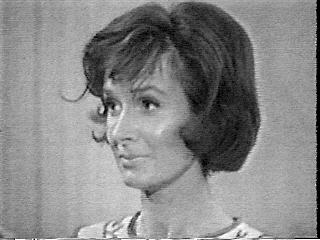
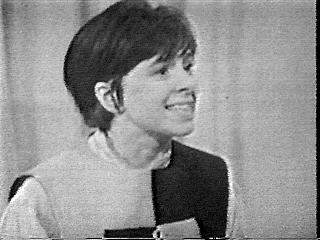
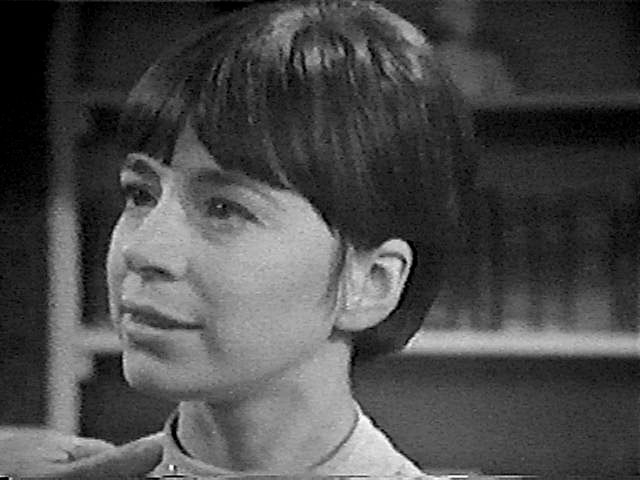
- st--1a03.jpg _12K B&W Barbara (JHill) sc
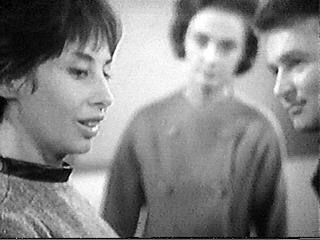
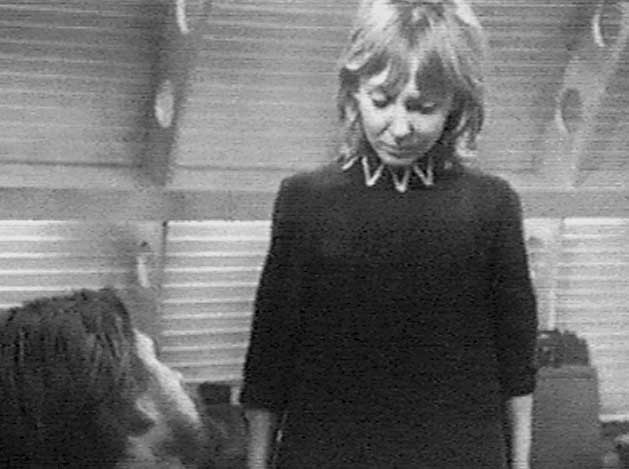
- st--1a04.jpg _13K B&W Susan, Barbara, Ian (Ford, JHill, Russell) sc
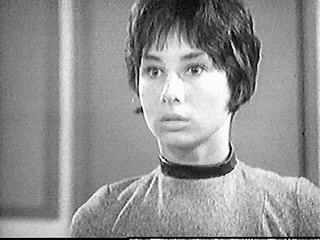
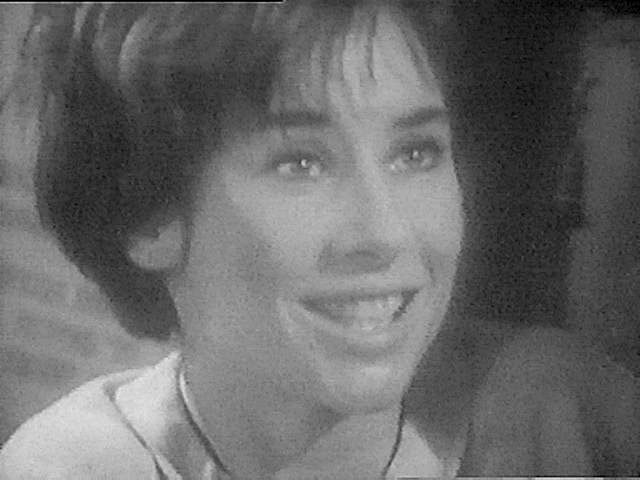
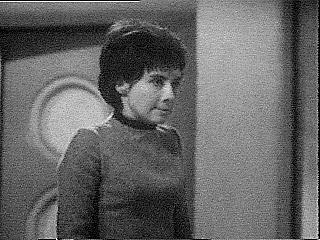
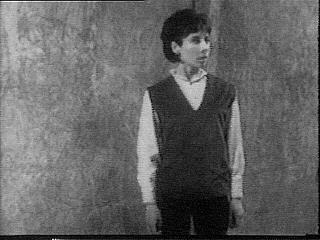
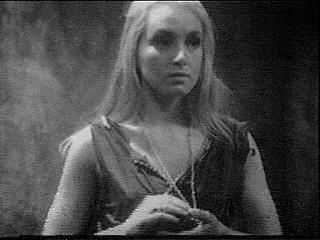
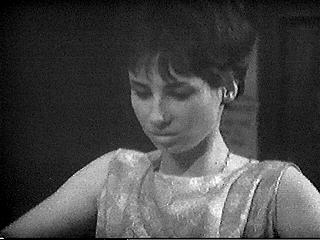
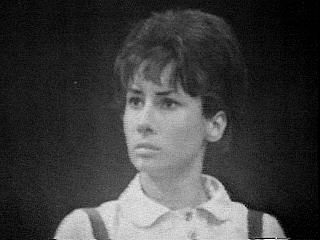
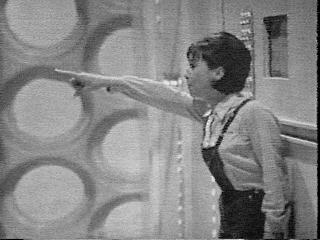
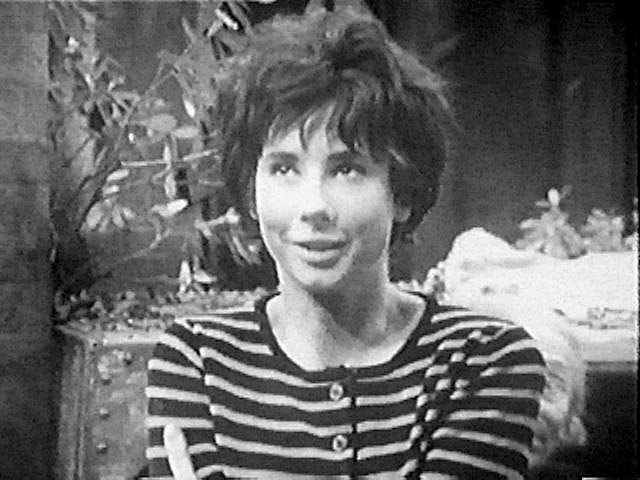
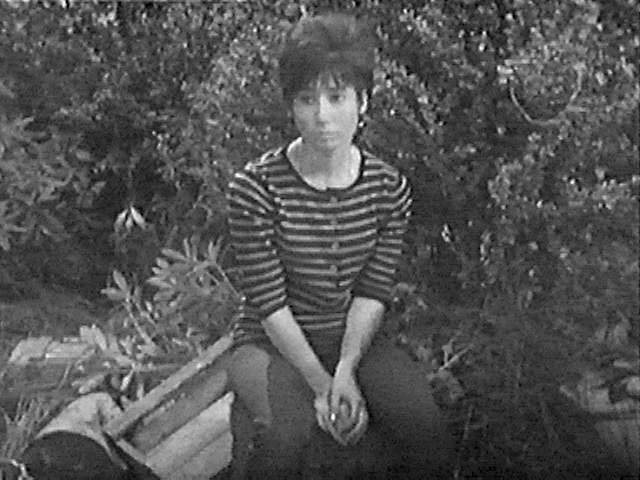
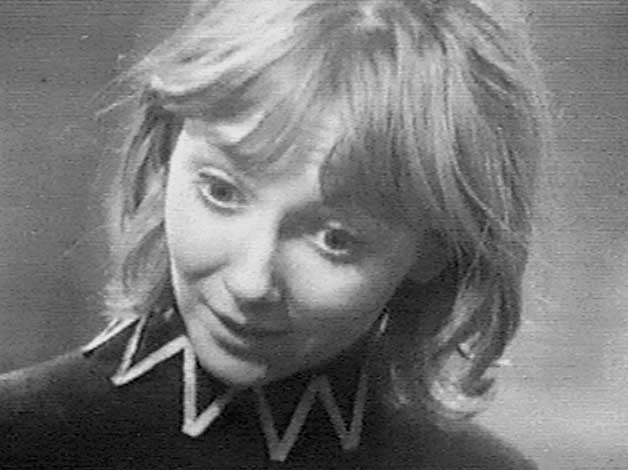
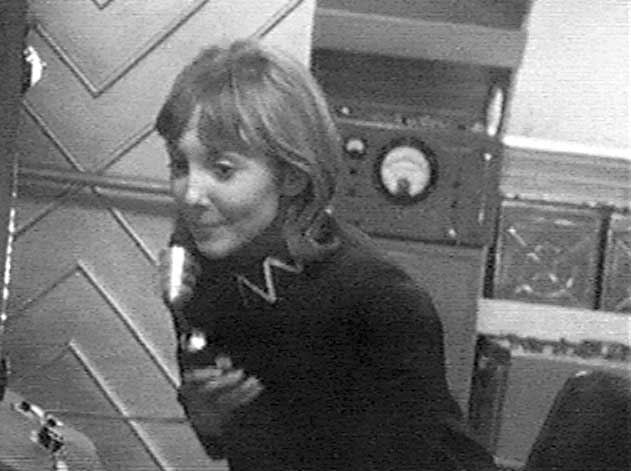
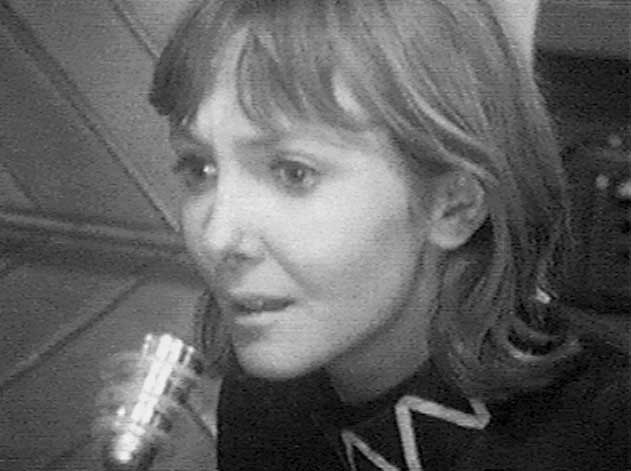
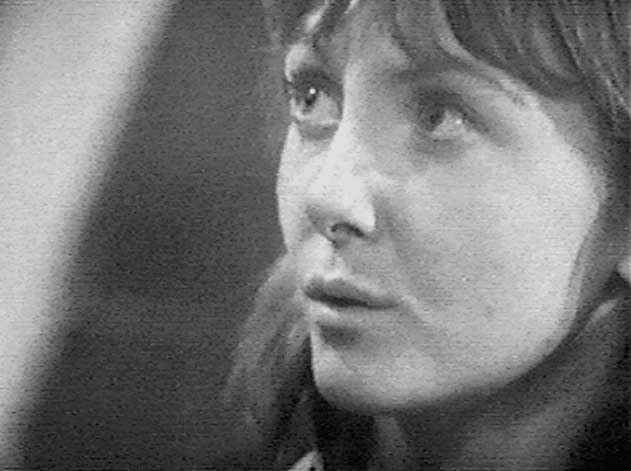
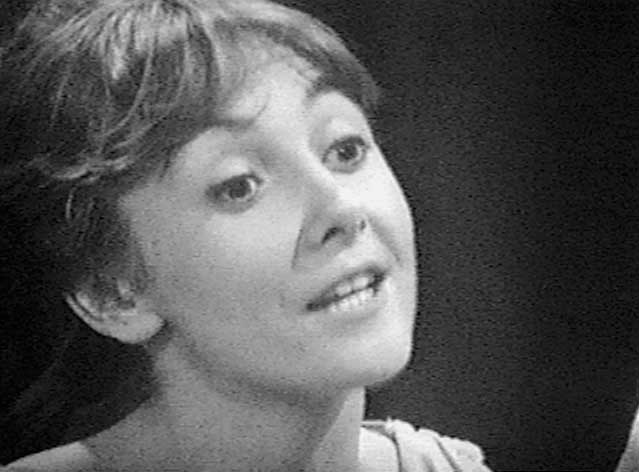
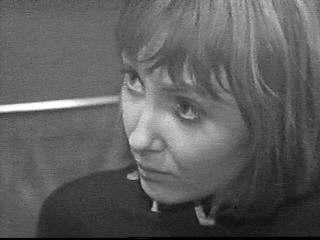
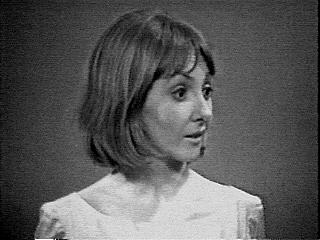
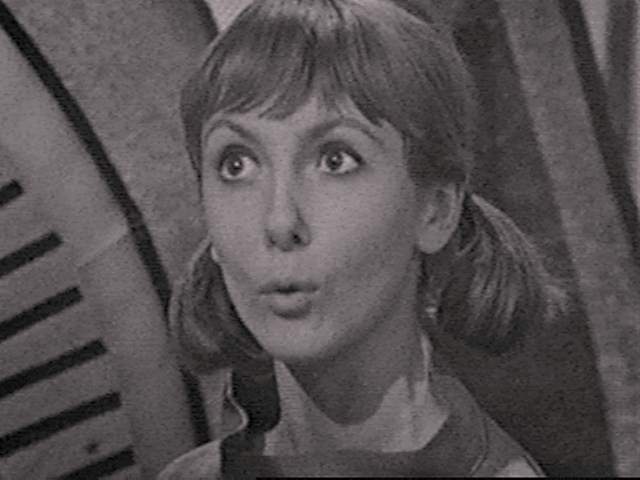
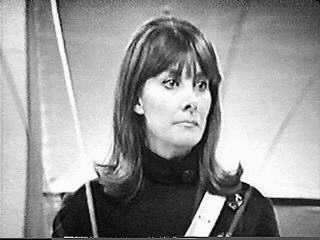
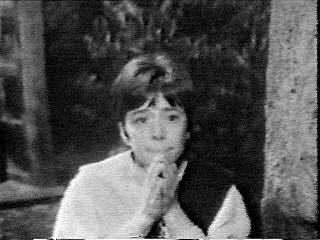
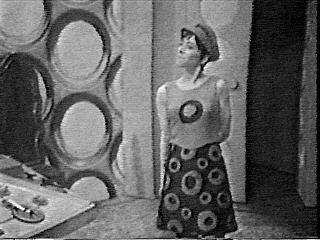
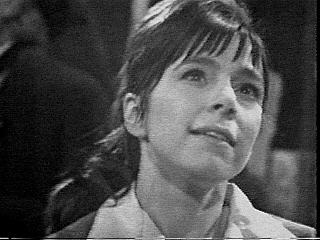
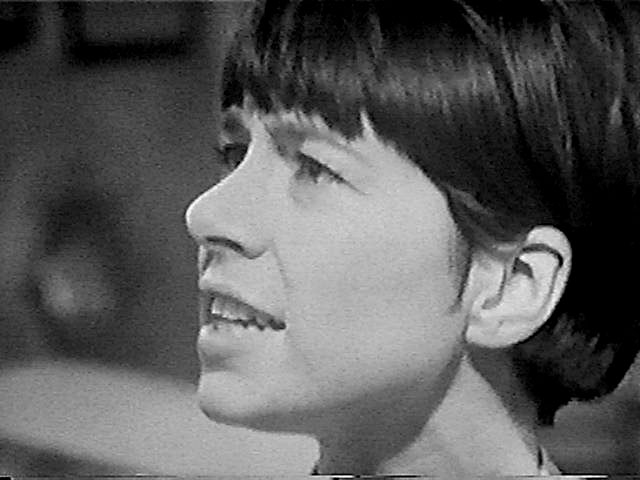
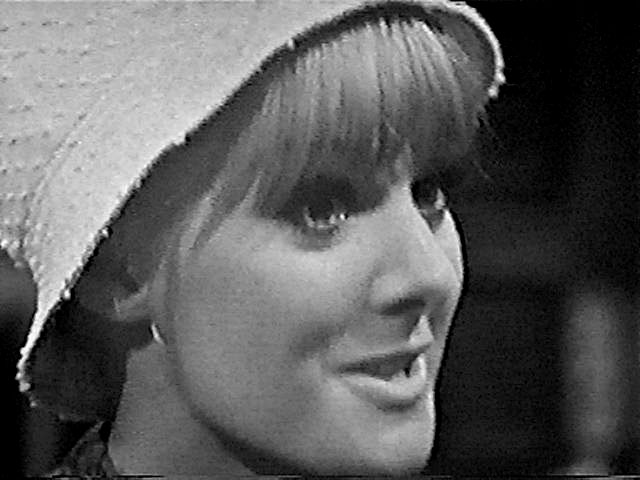
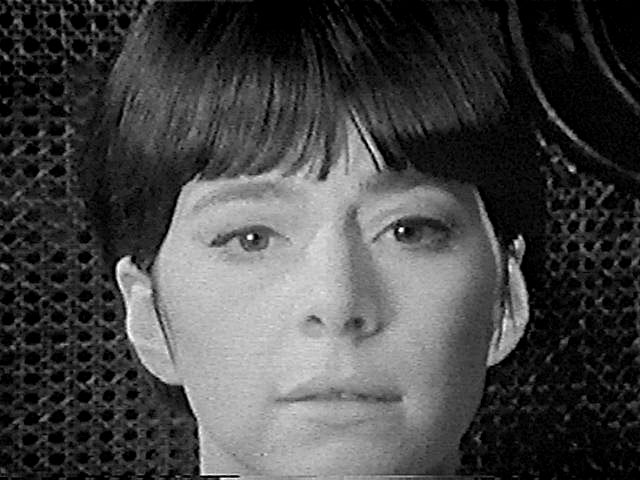
- st--1a05.jpg _14K B&W Susan (Ford) sc
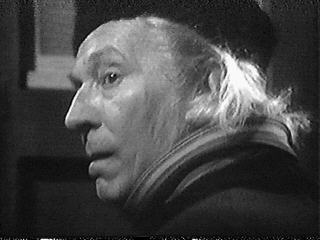
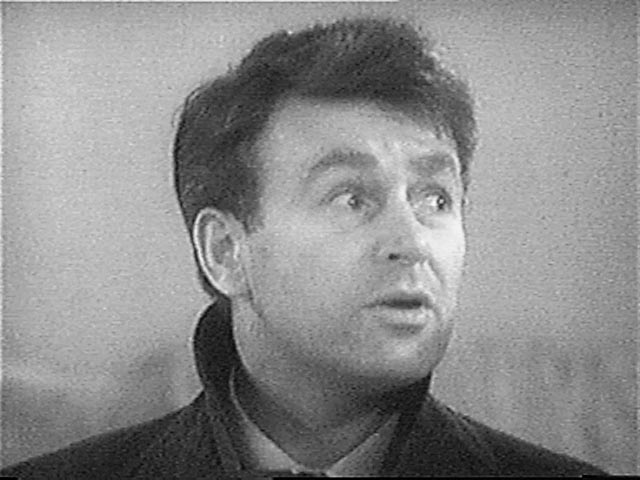
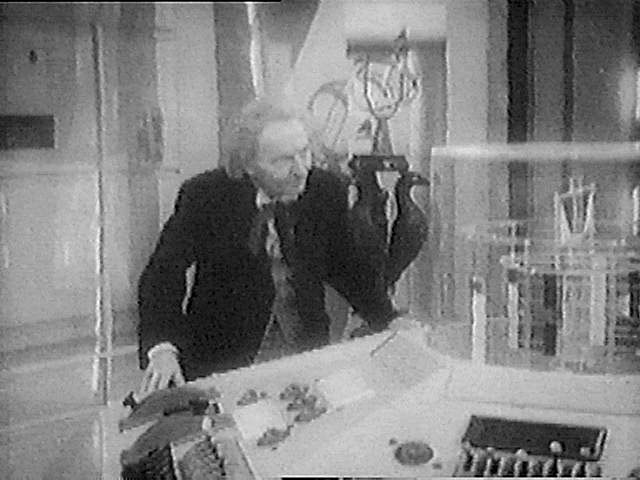
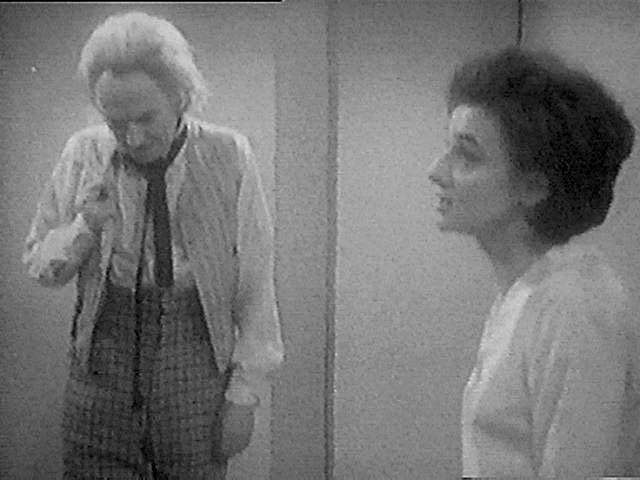
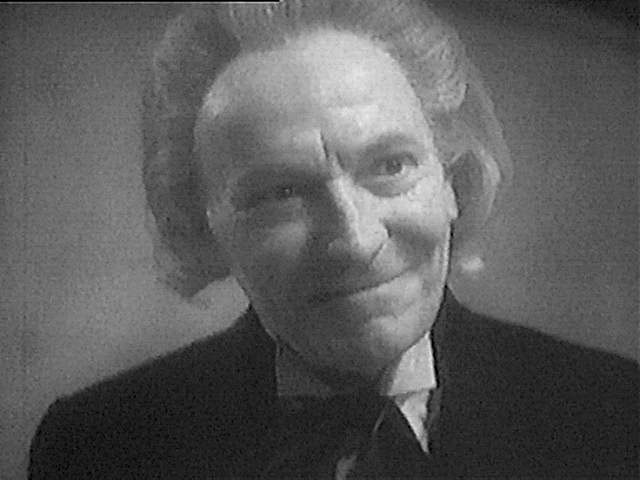
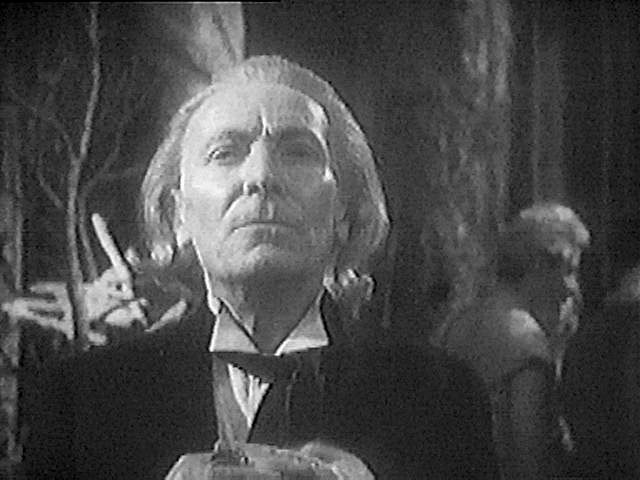
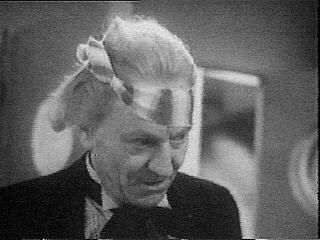
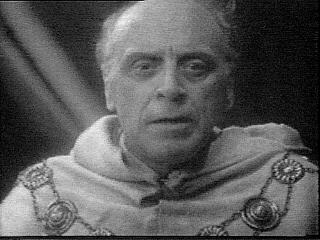
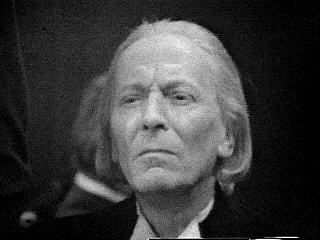
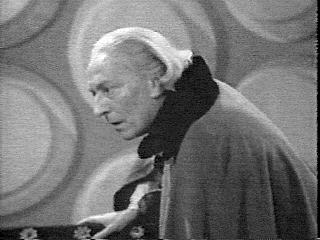
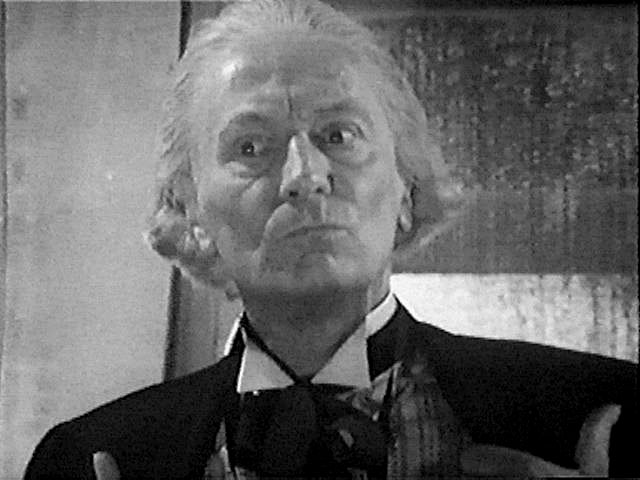
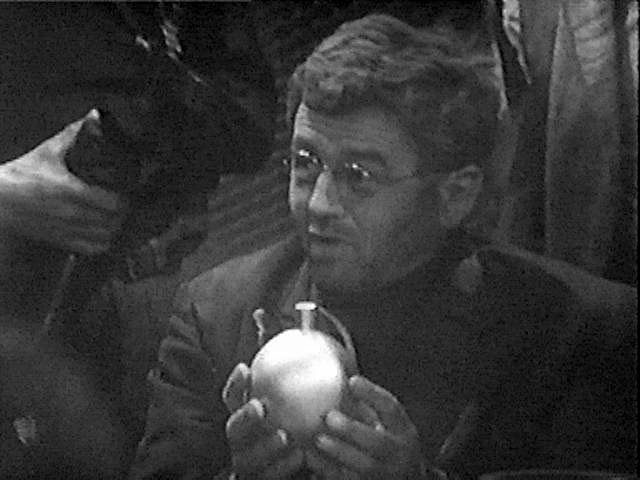
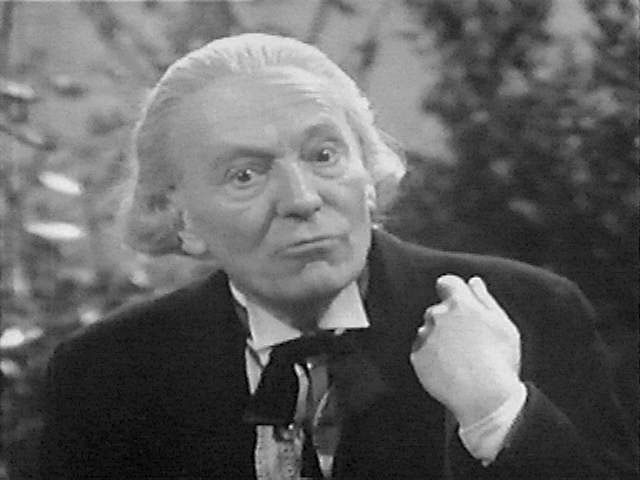
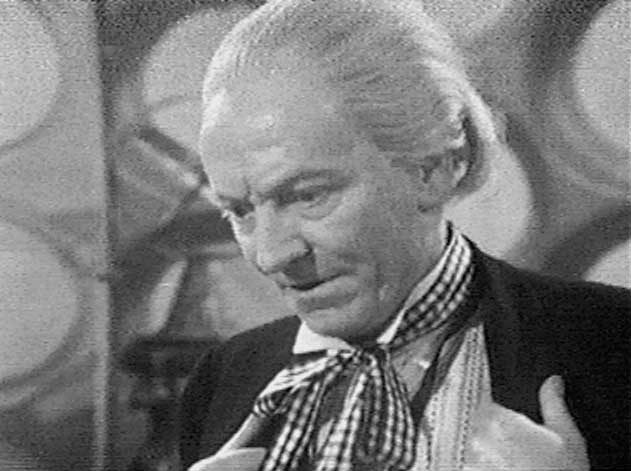
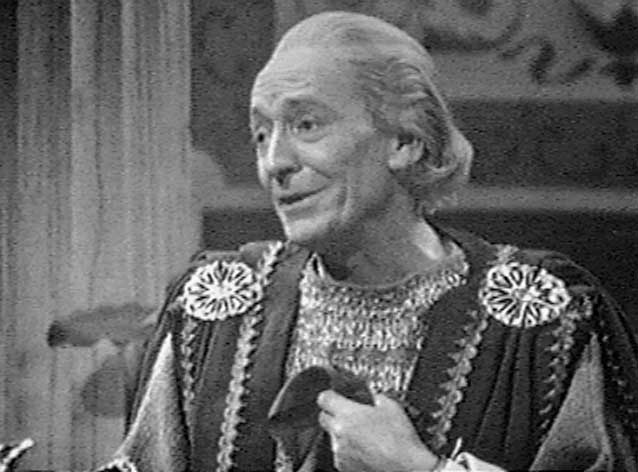
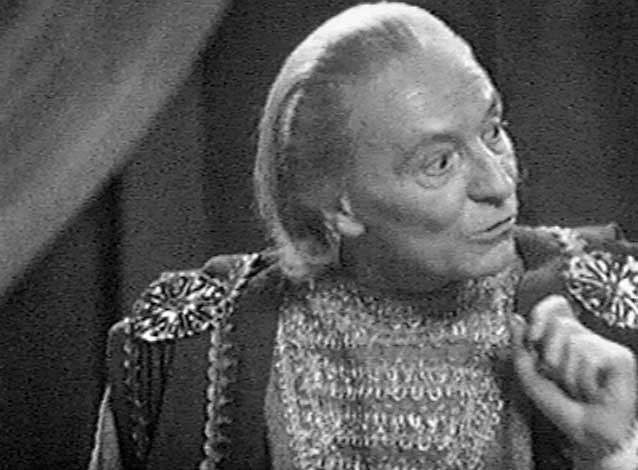
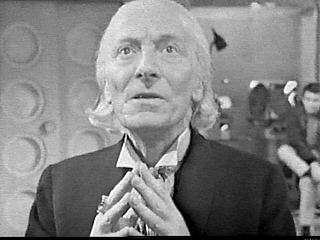
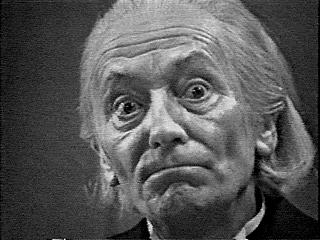
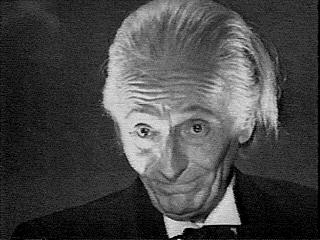
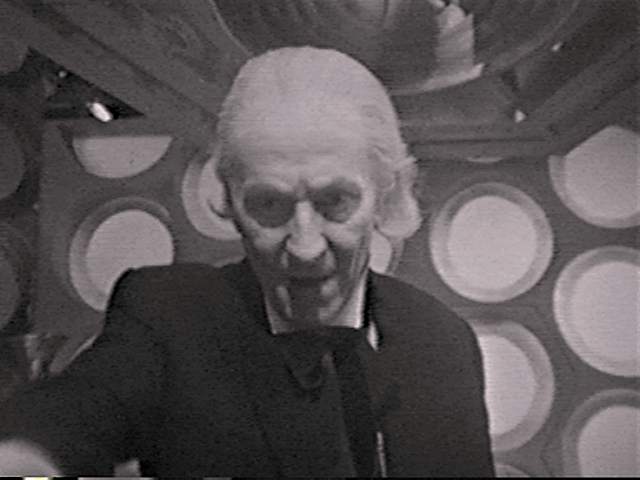
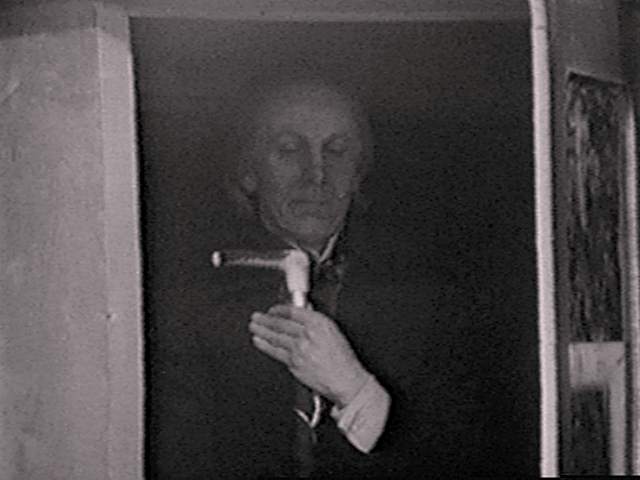
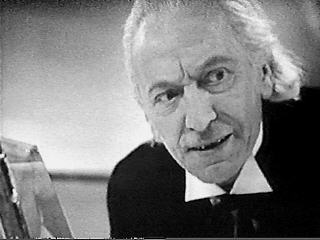
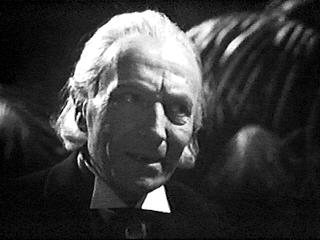
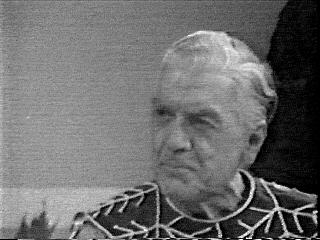
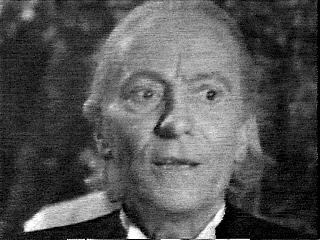
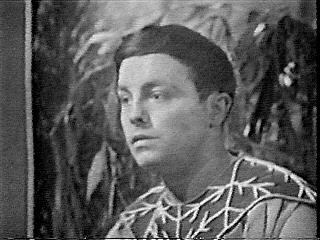
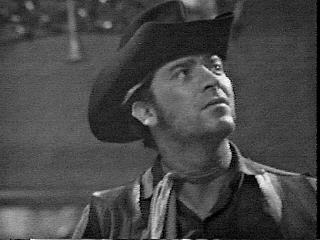
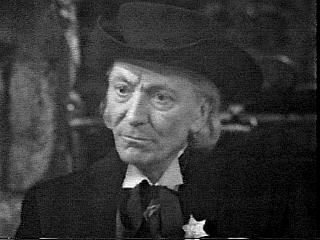
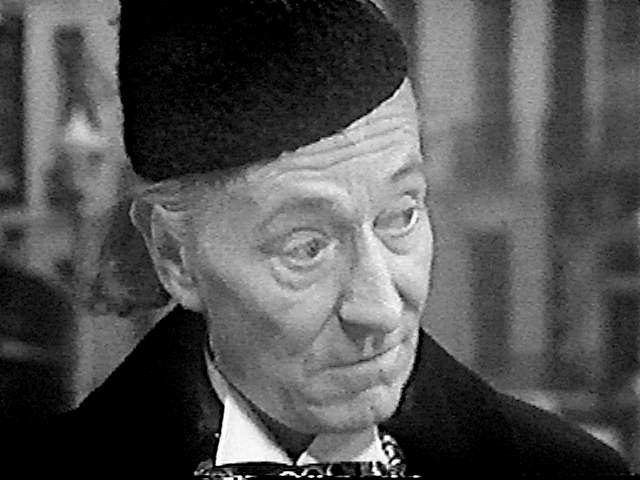
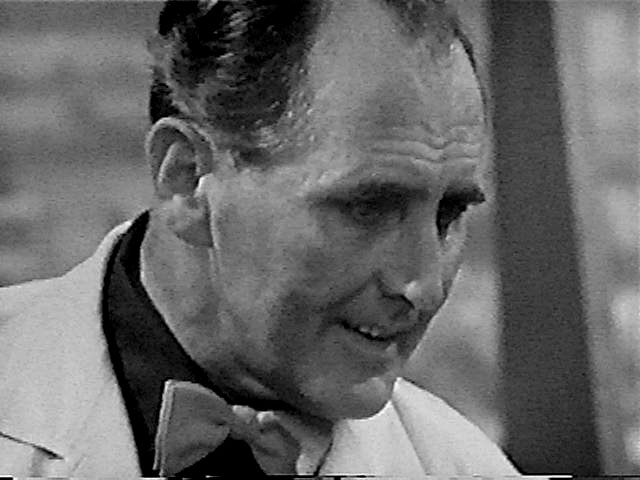
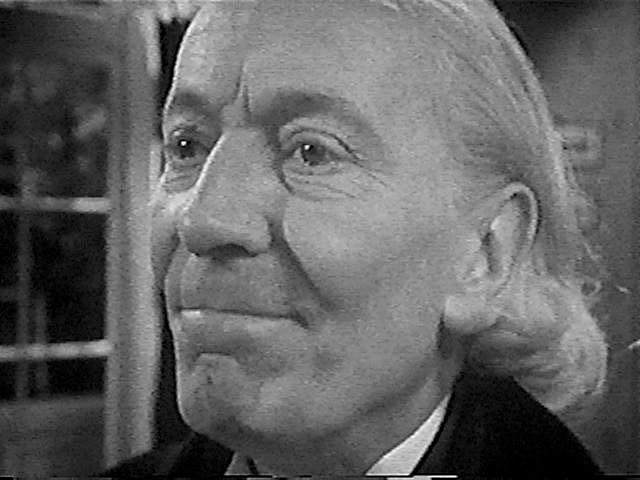
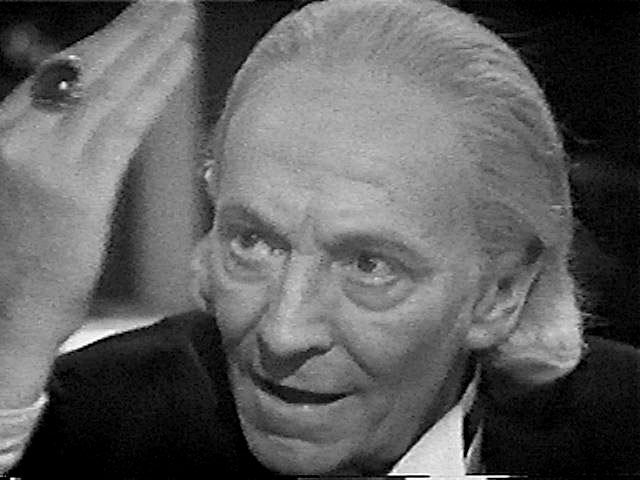
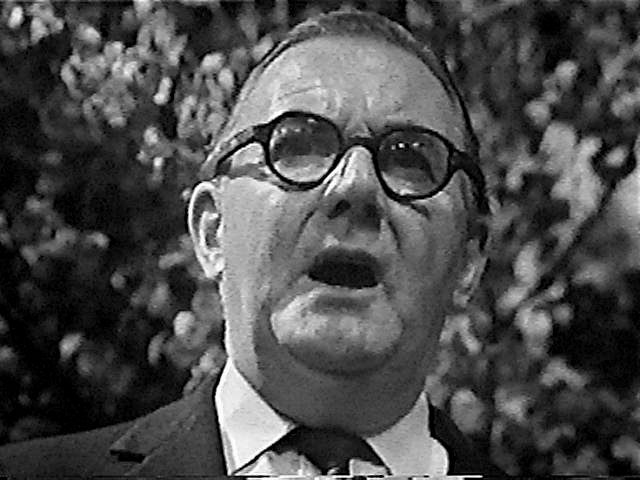
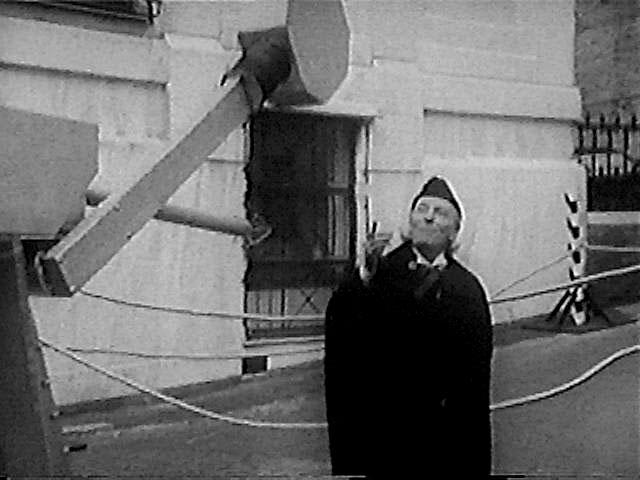
- st--1a06.jpg _11K B&W Doctor (Hartnell) sc
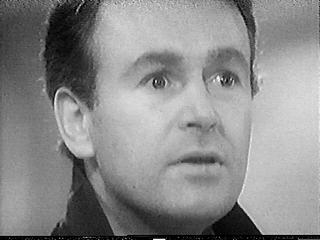
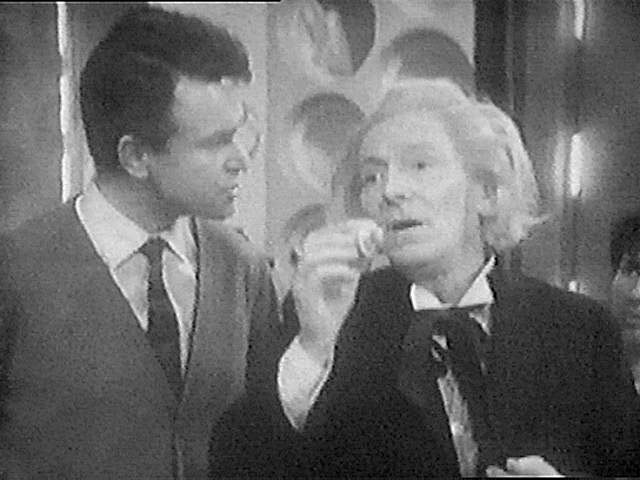
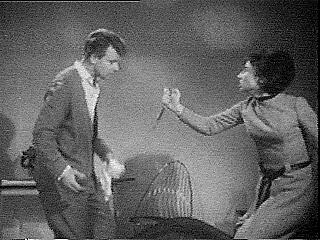
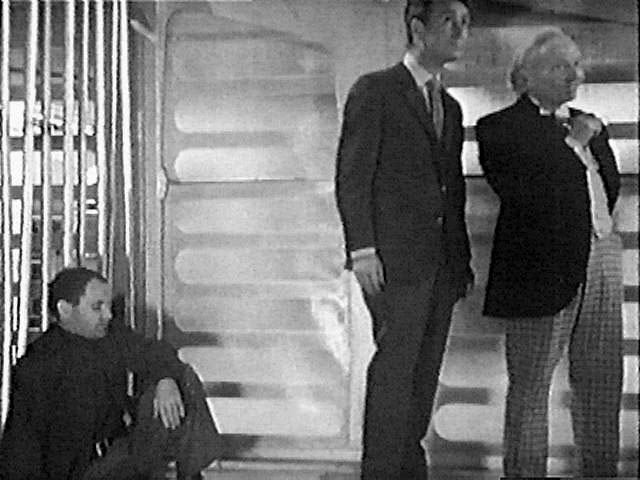
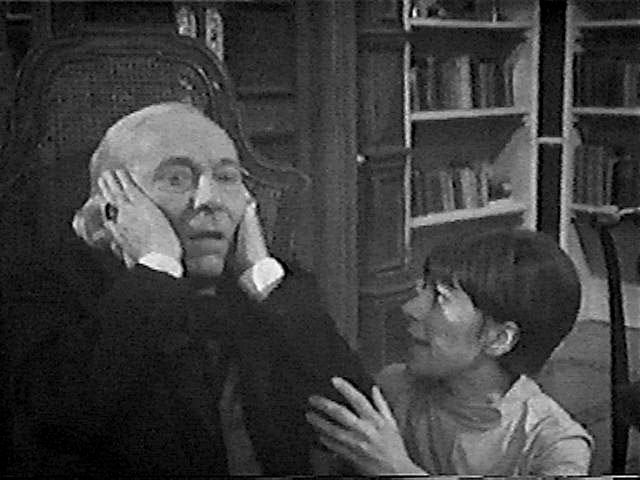
- st--1a07.jpg _14K B&W Ian, Doctor (Russell, Hartnell) sc
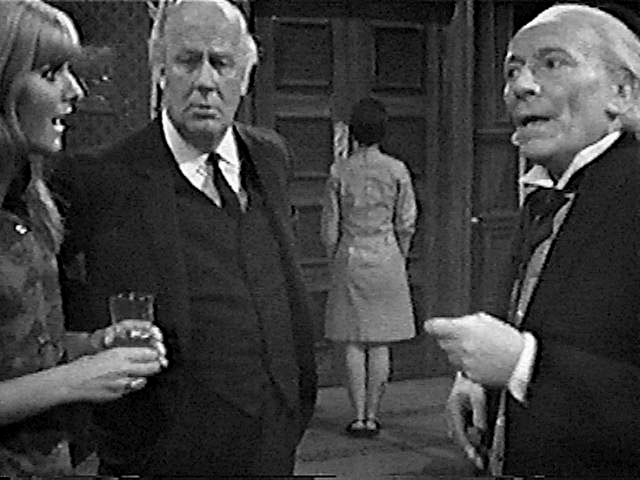
- st--1a08.jpg _14K B&W Doctor, Barbara, Ian (Hartnell, JHill, Russell) sc
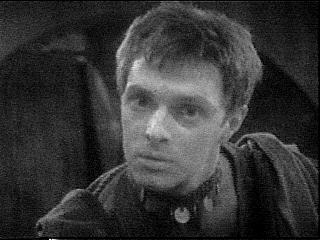
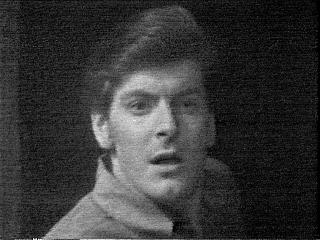
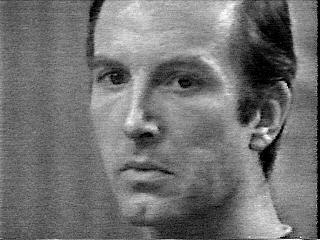
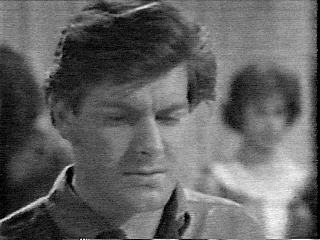
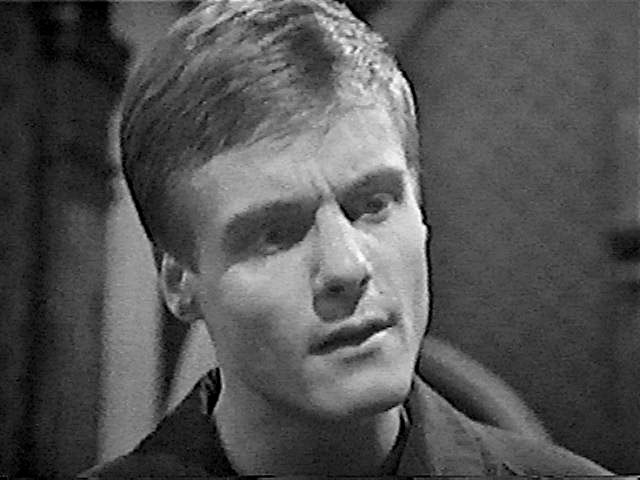
- st--1a09.jpg _11K B&W Ian (Russell) sc
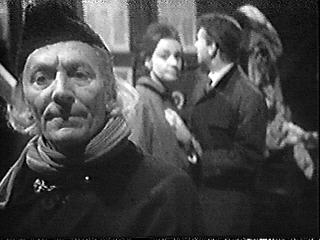
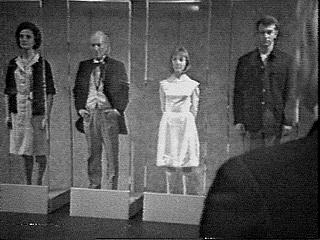
- st--1a10.jpg _13K B&W Doctor, Barbara, Ian, Susan (Hartnell, JHill, Russell, Ford) sc
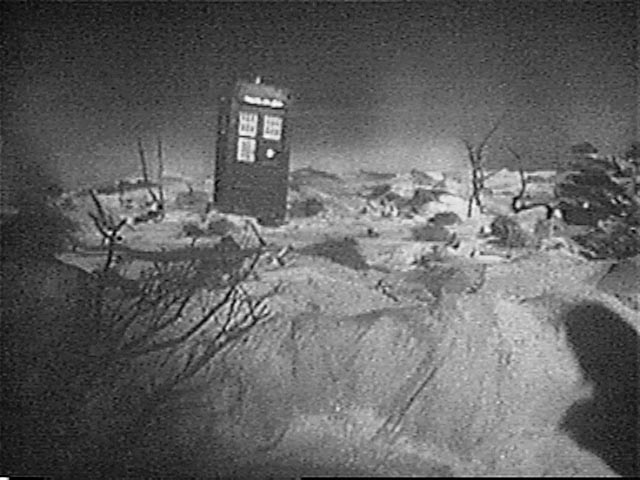
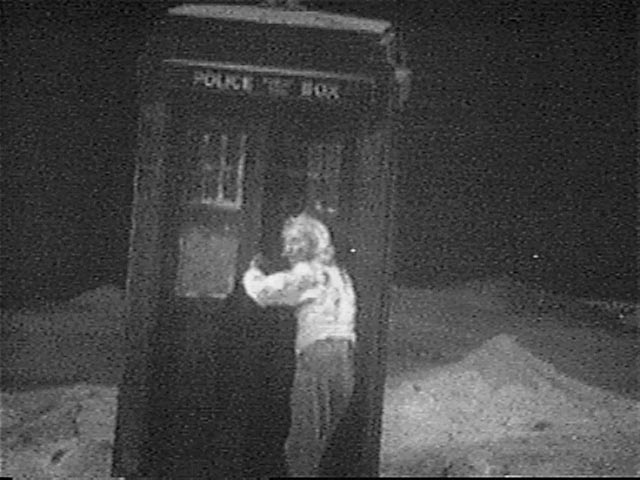
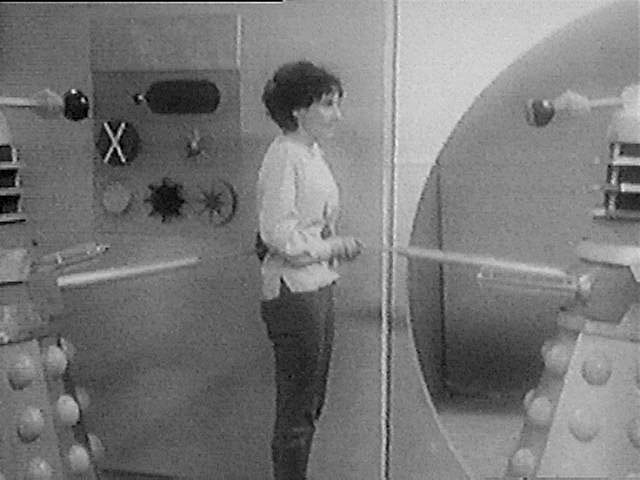
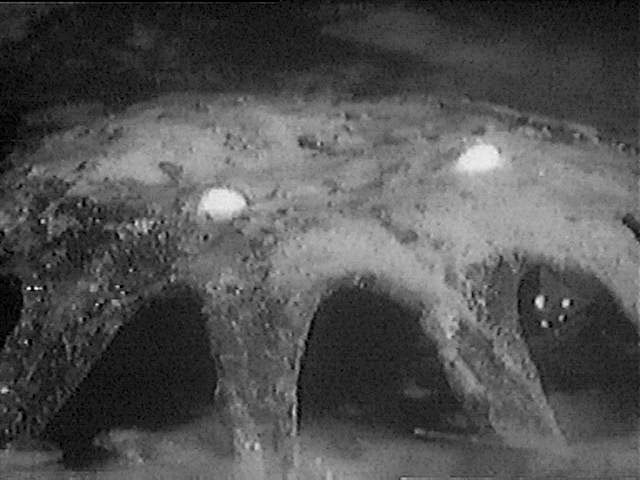
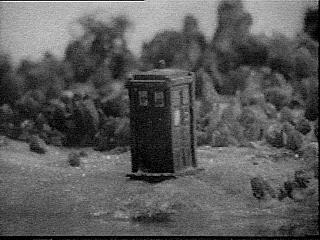
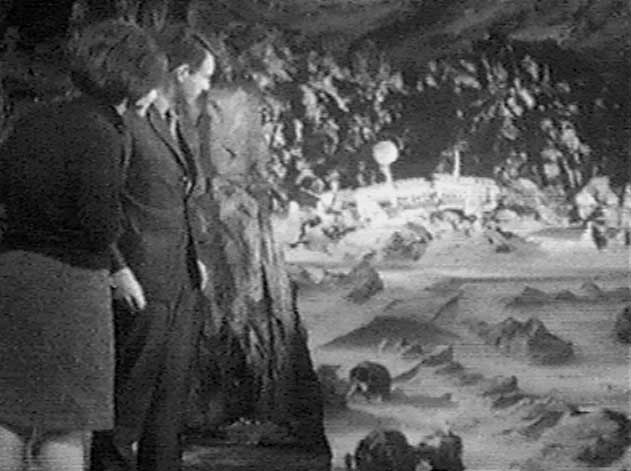
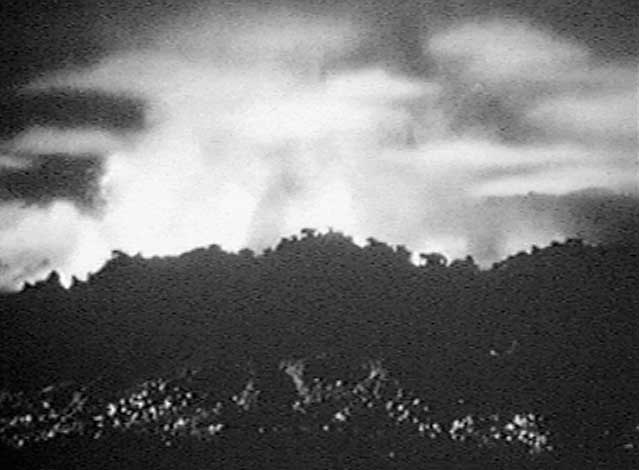
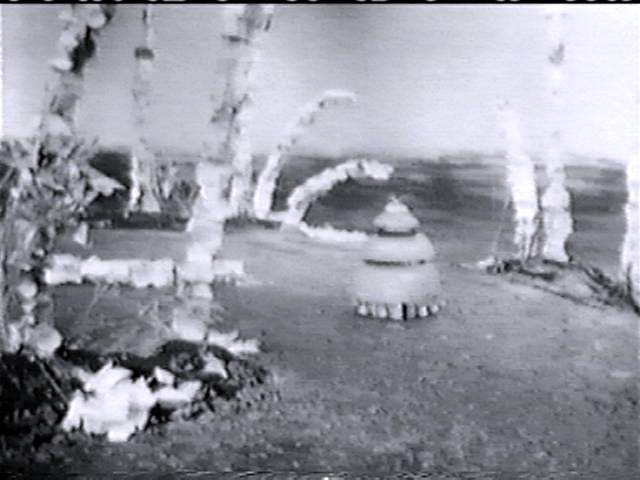
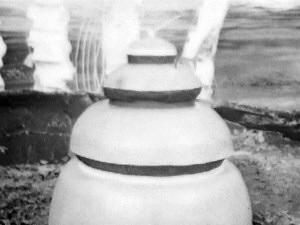
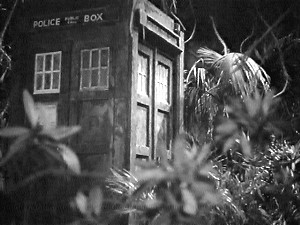
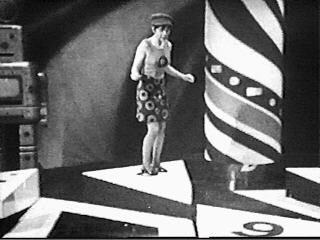
- st--1a11.jpg _15K B&W TARDIS on prehistoric landscape sc
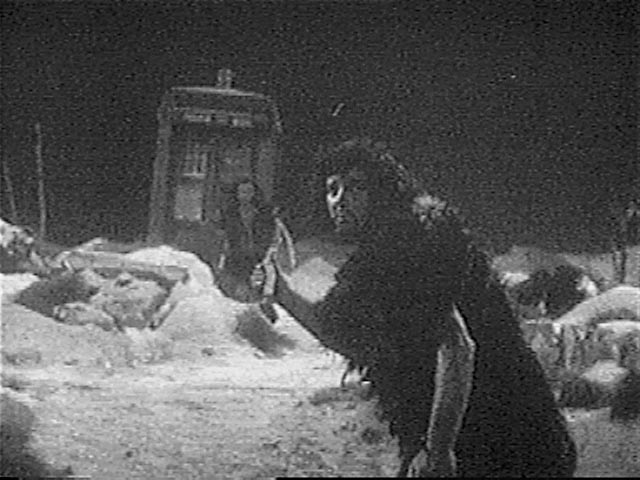
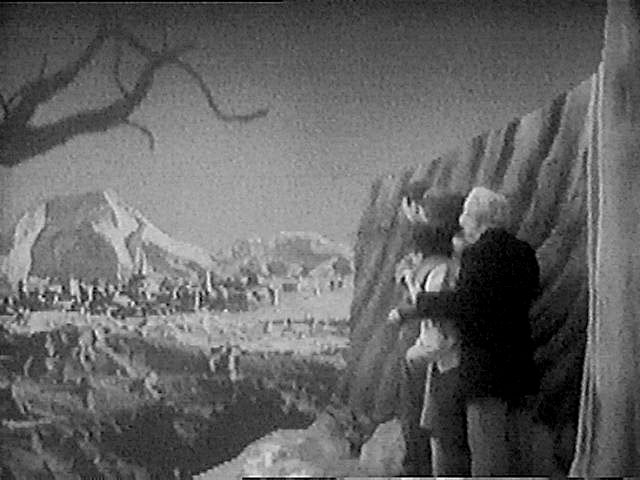
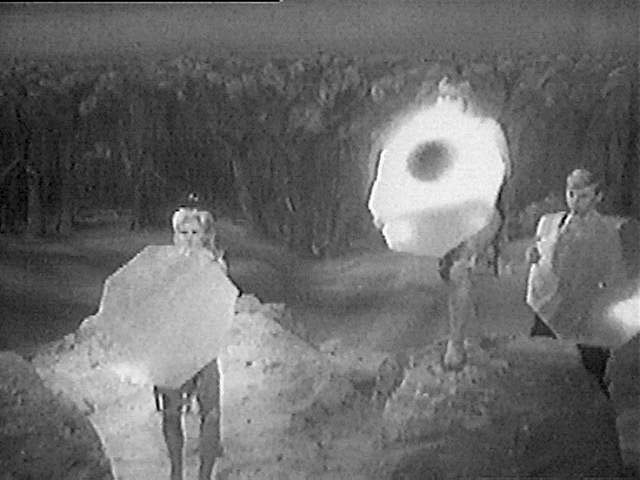
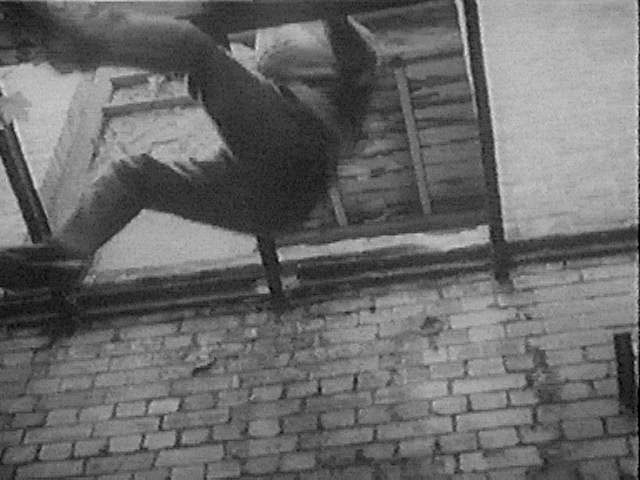
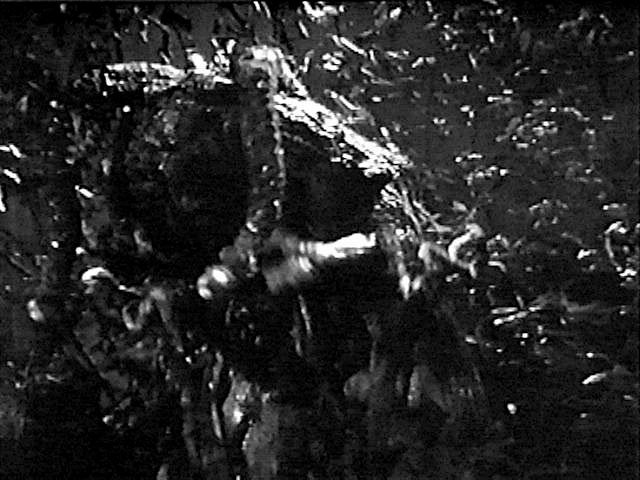
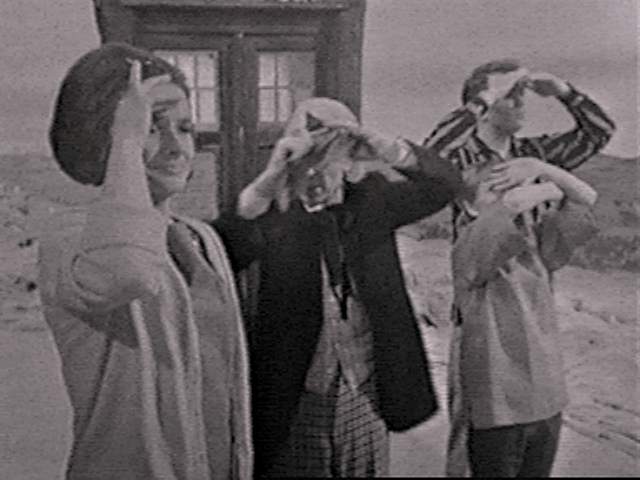
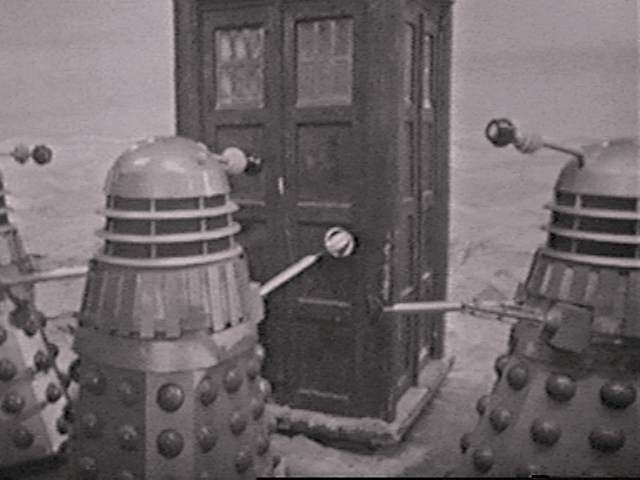
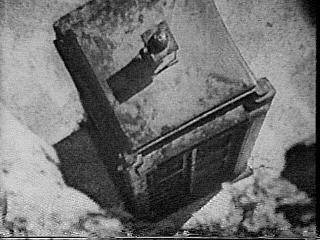
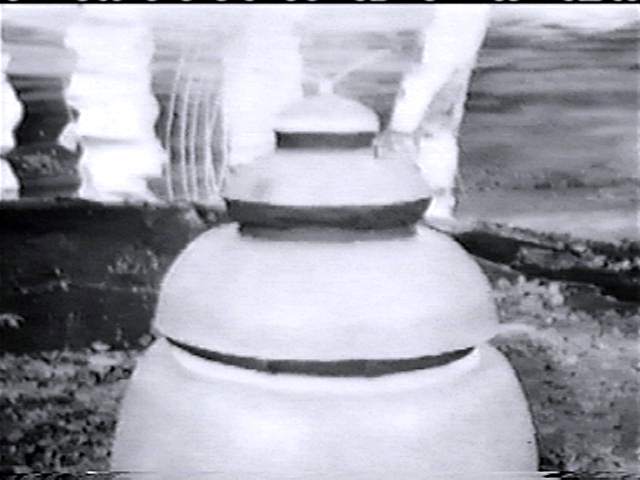
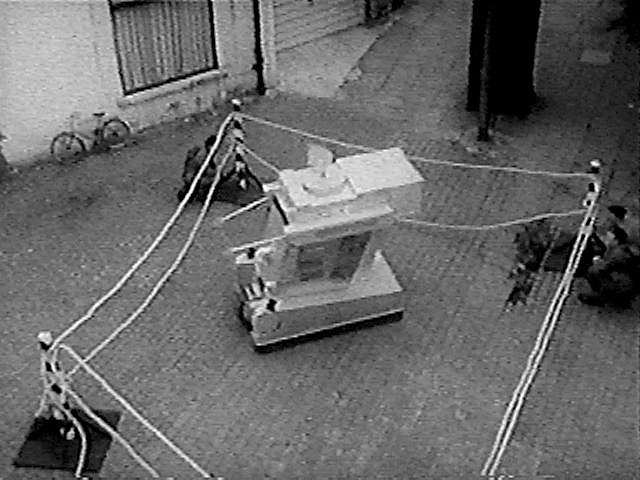
- st--1a12.jpg _63K B&W TARDIS on prehistoric landscape, shadow in foreground sc
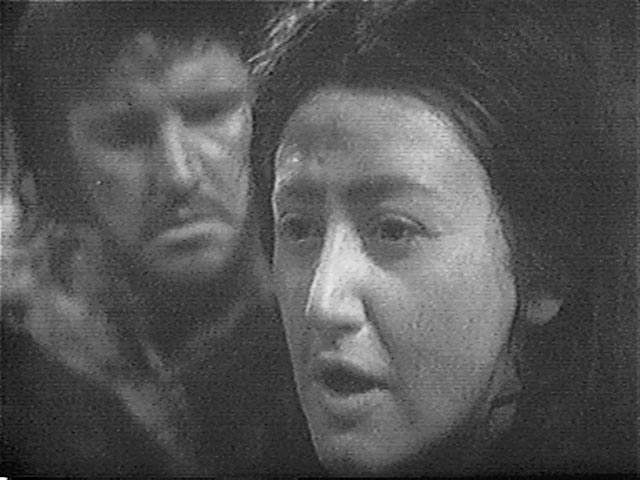
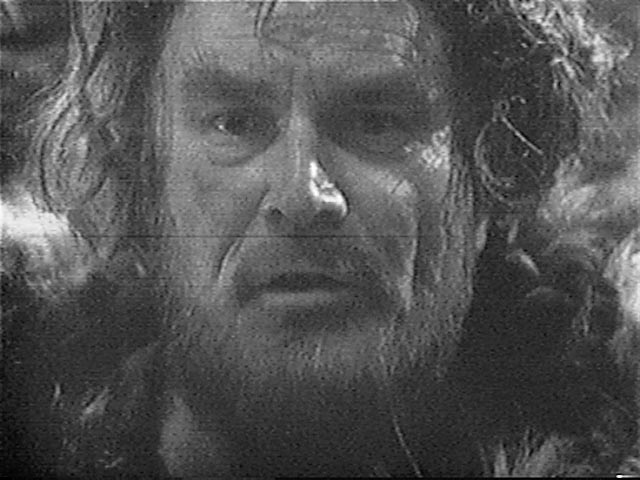
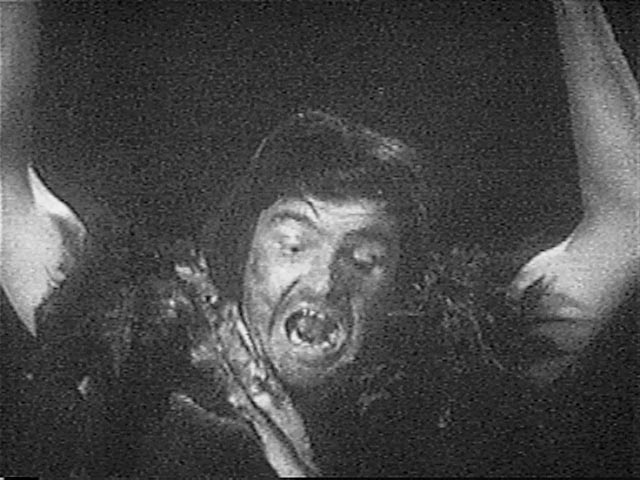
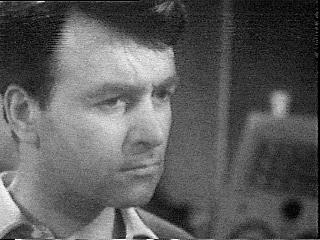
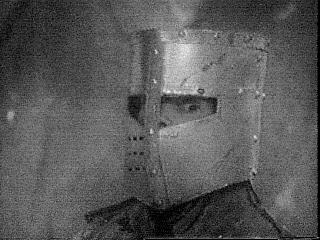
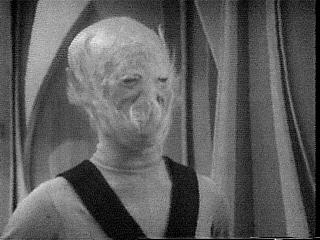
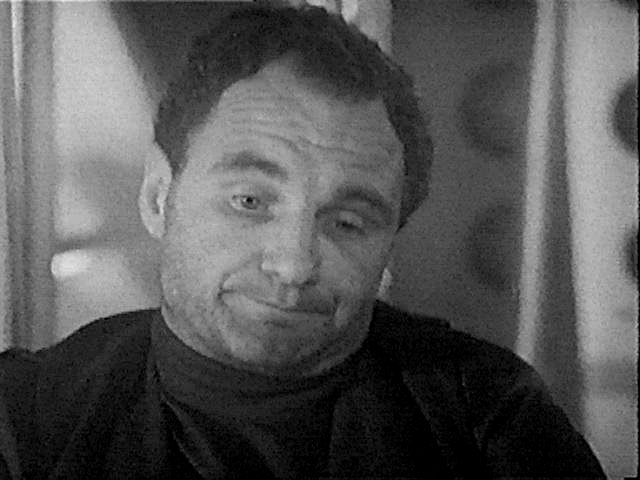
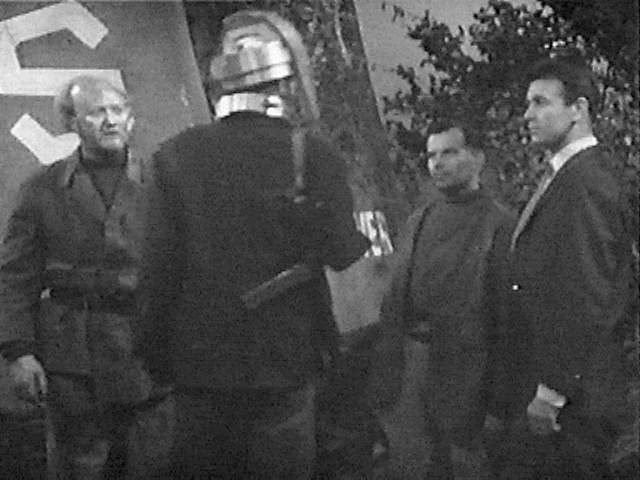
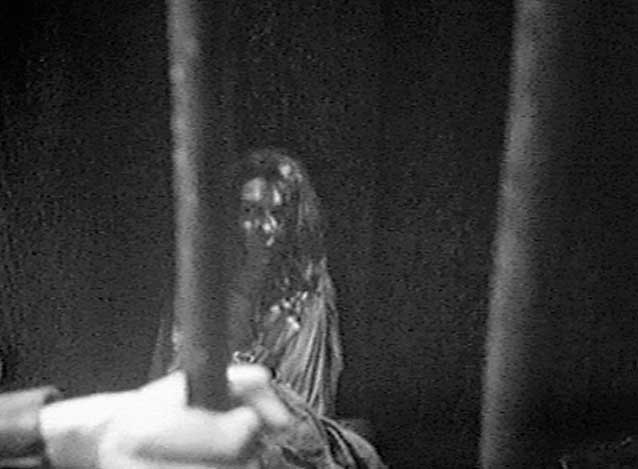
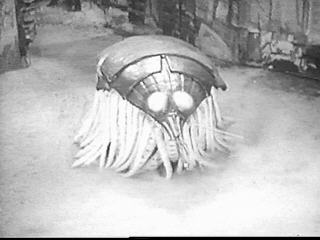
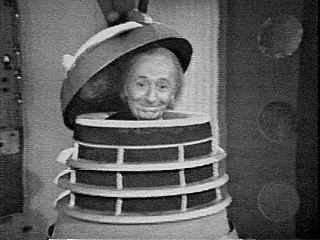
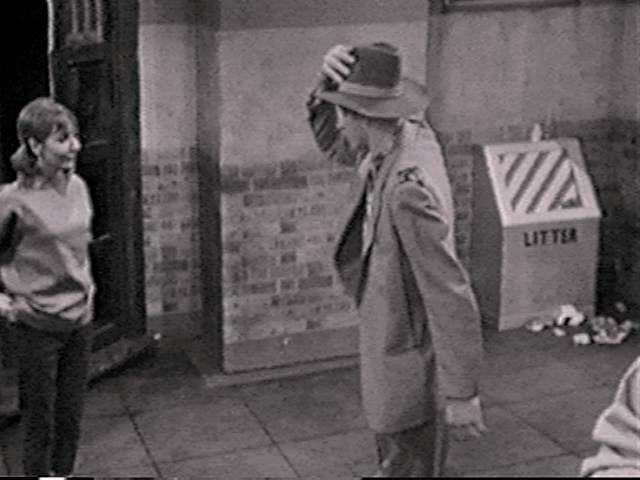
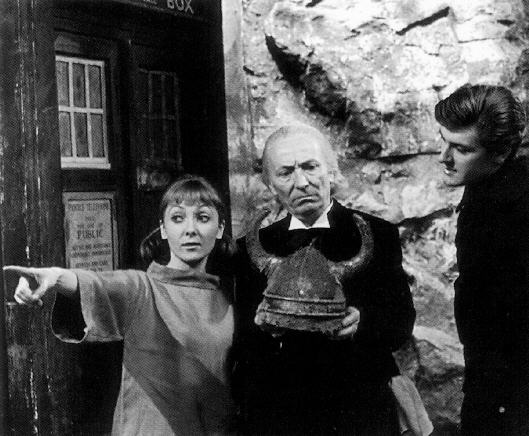
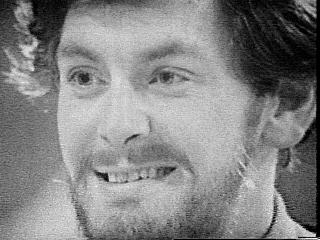
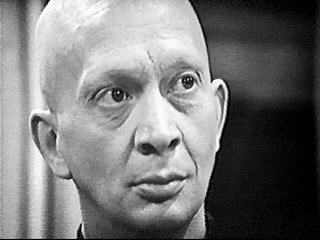
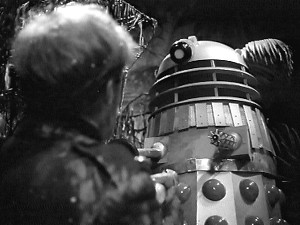
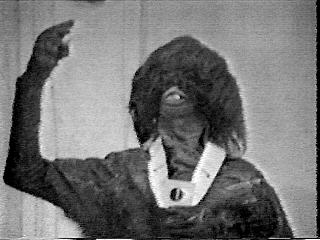
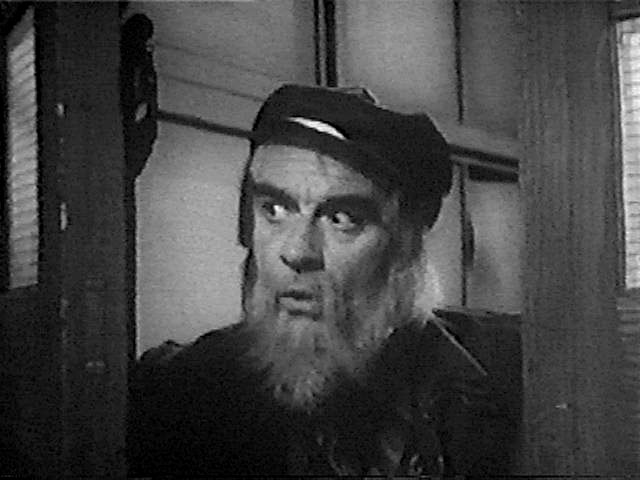
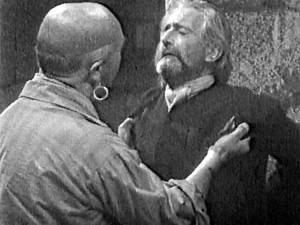
- st--1a13.jpg _60K B&W Kal sees the TARDIS (Jeremy Young) sc
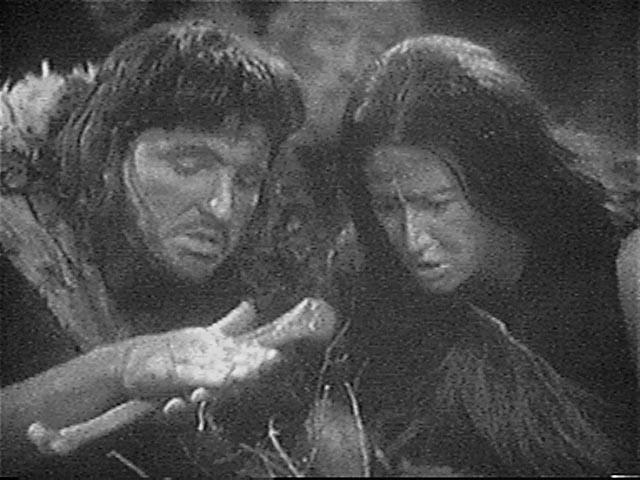
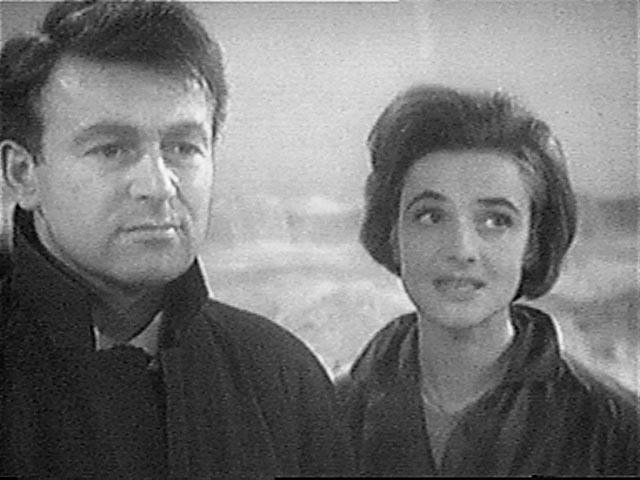
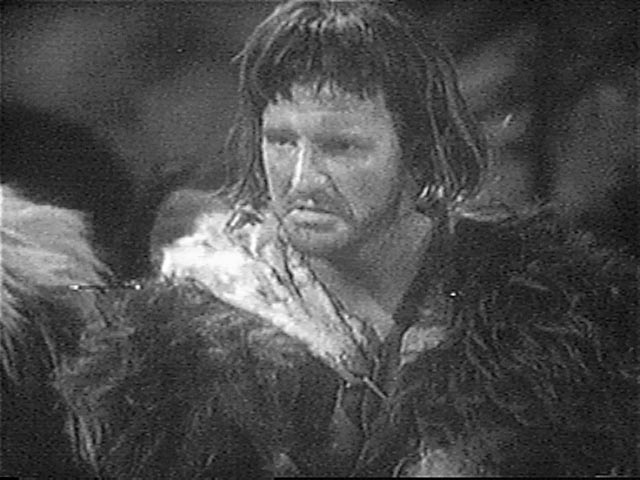
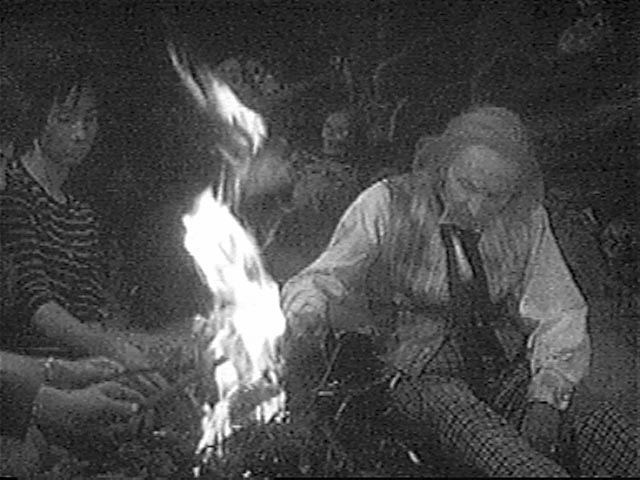
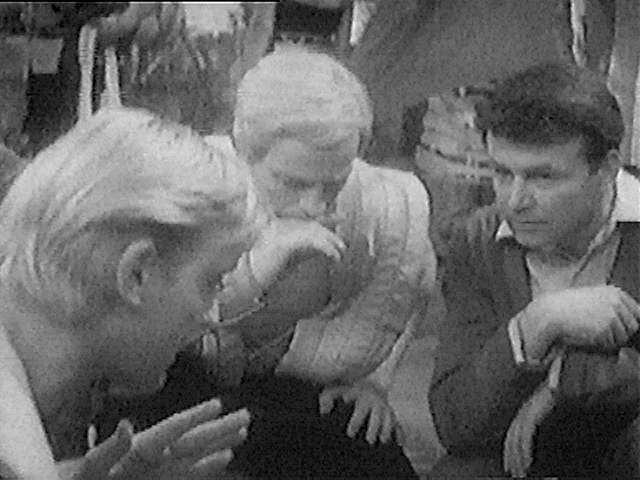
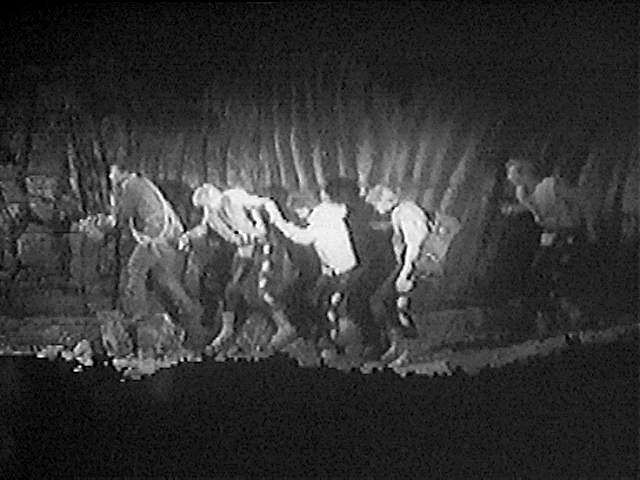
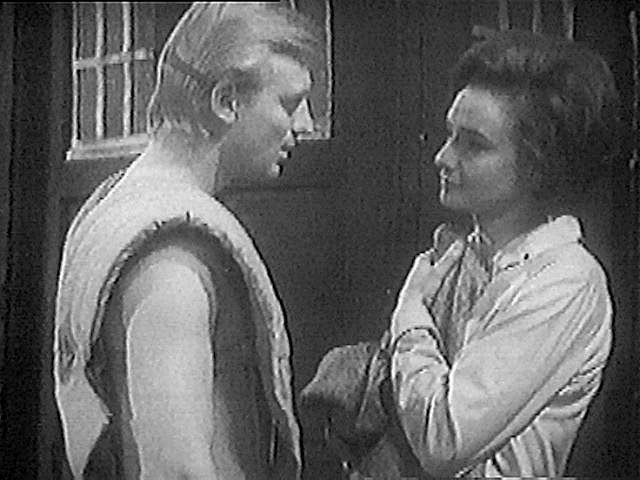
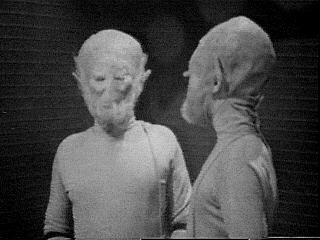
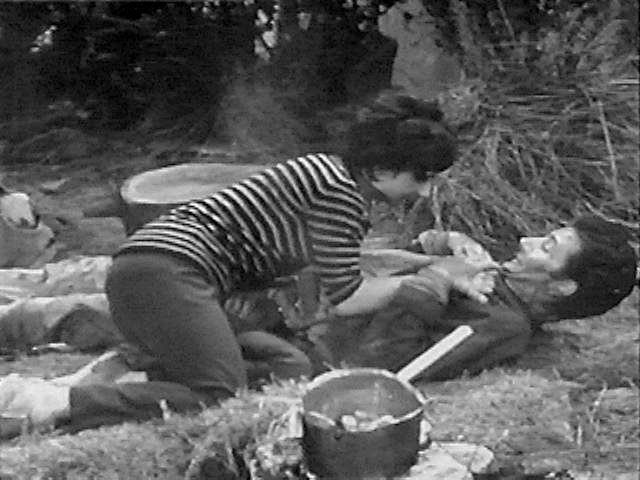
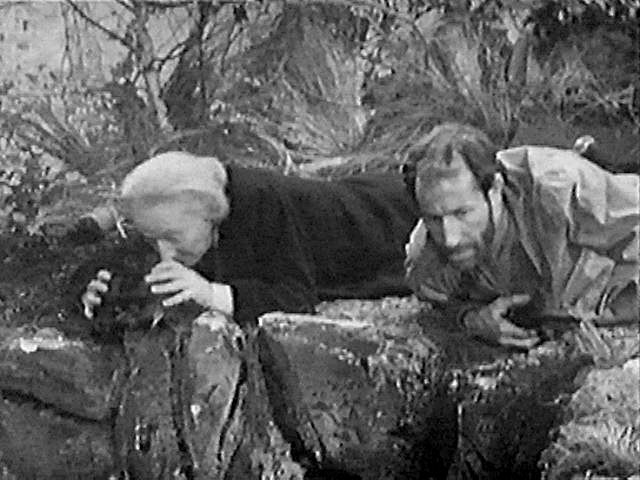
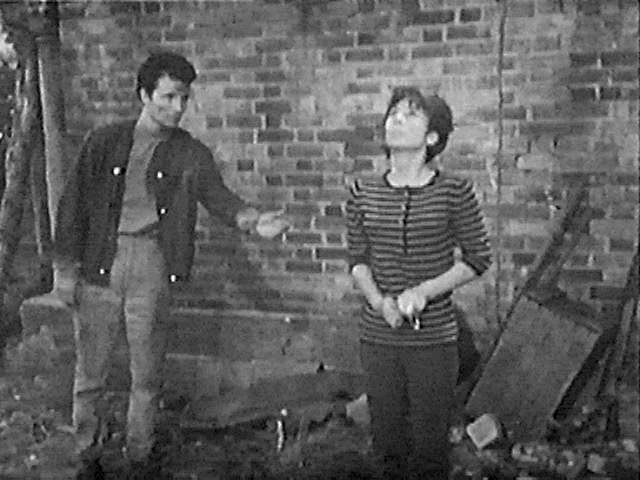
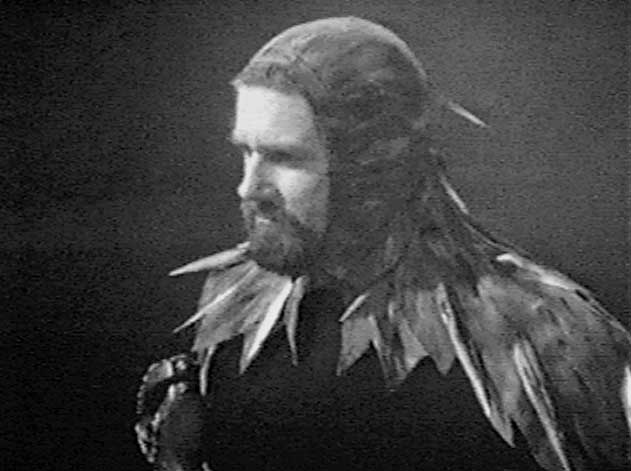
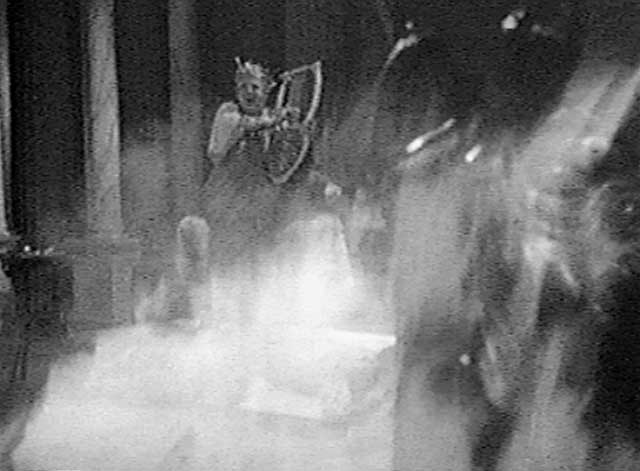
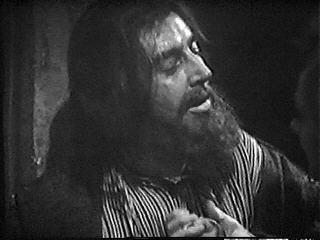
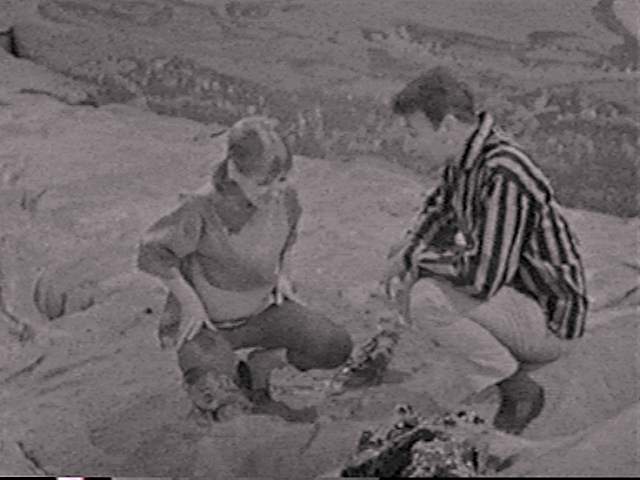
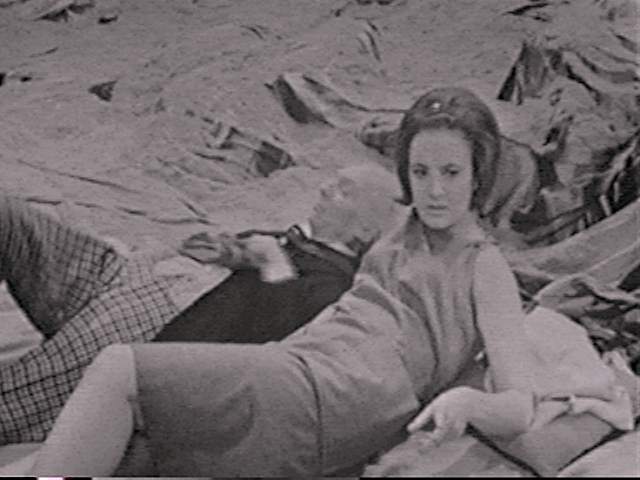
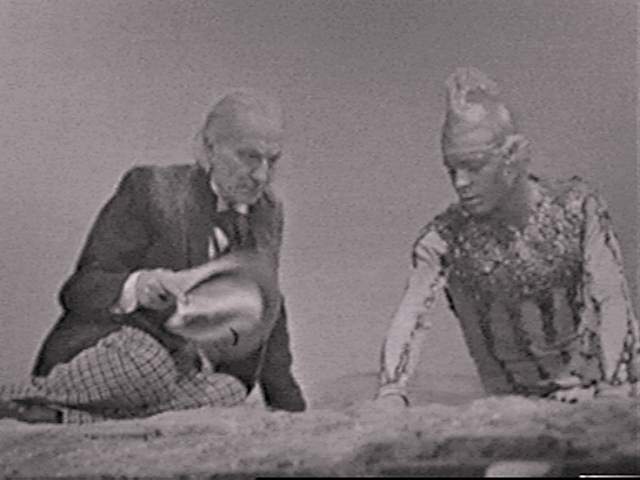
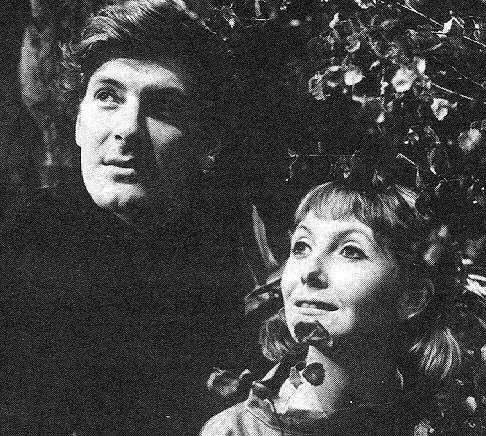
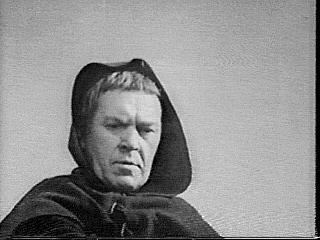
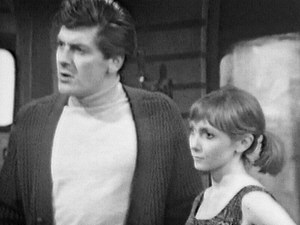
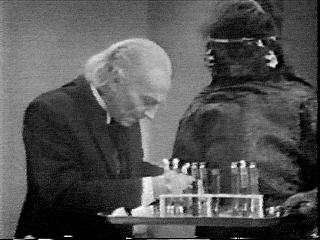
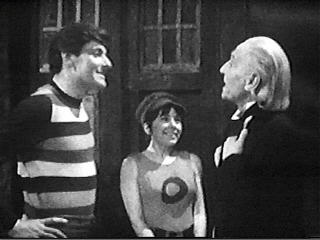
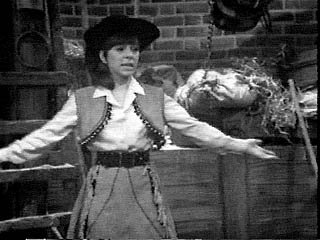
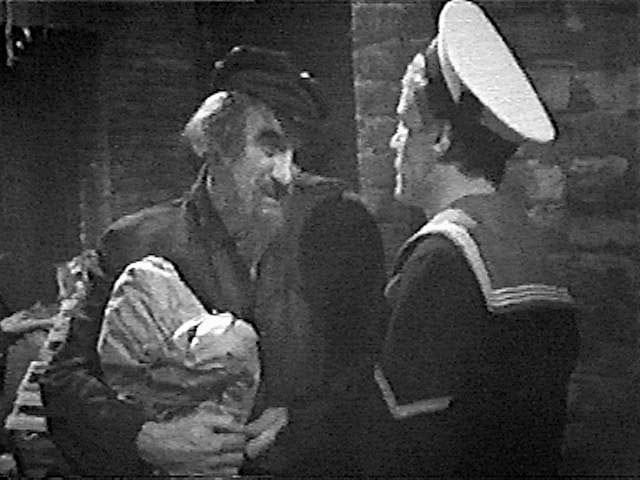
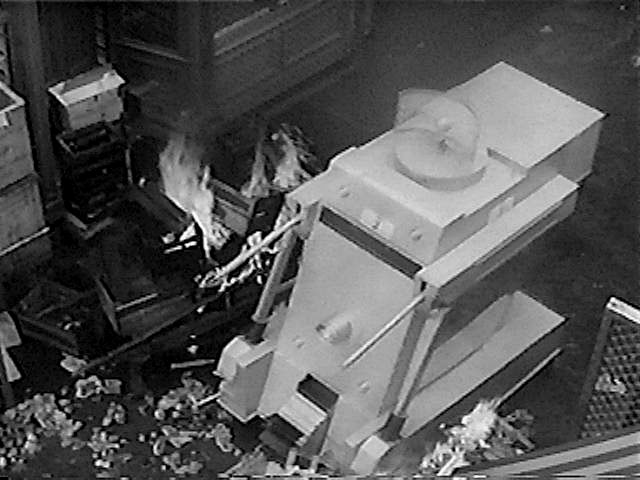
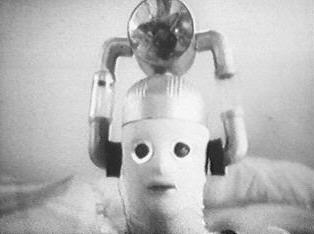
- st--1a14.jpg _61K B&W Za tries to make fire while Hur watches (Derek Newark, Alethea Charlton) sc
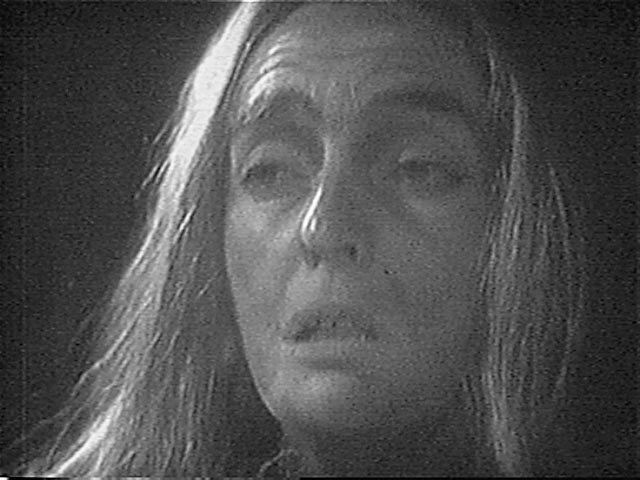
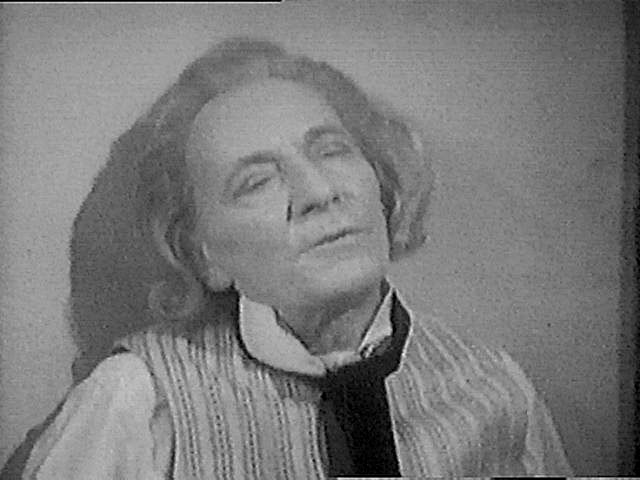
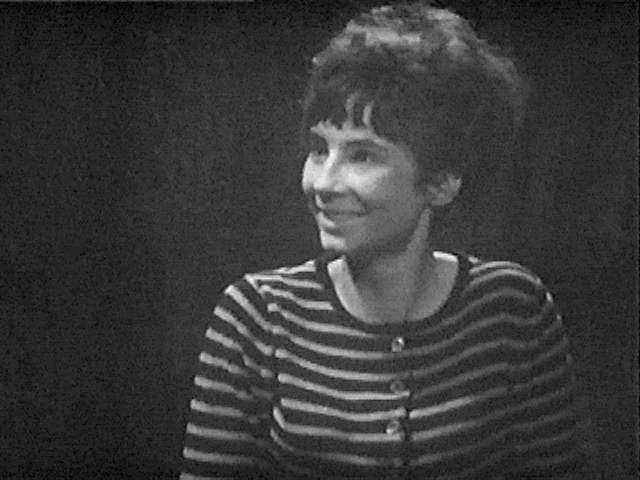
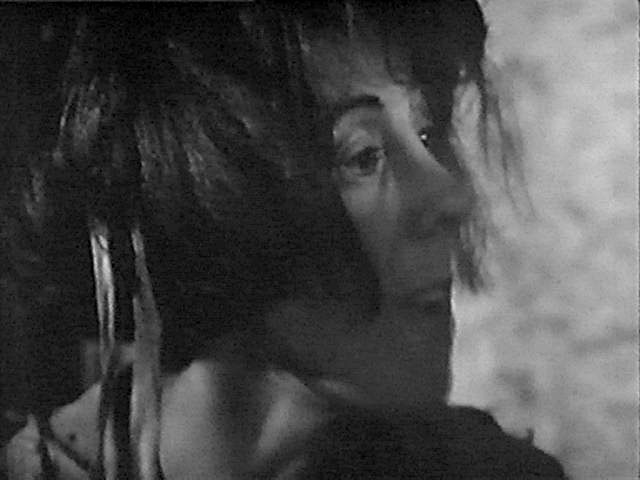
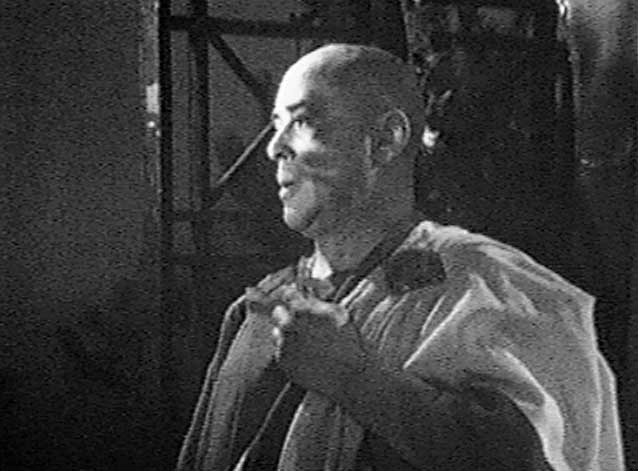
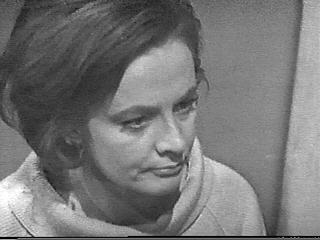
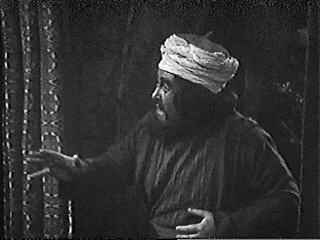
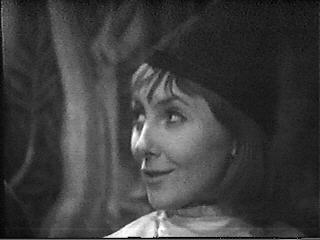
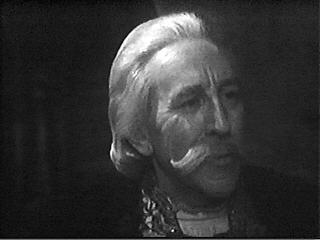
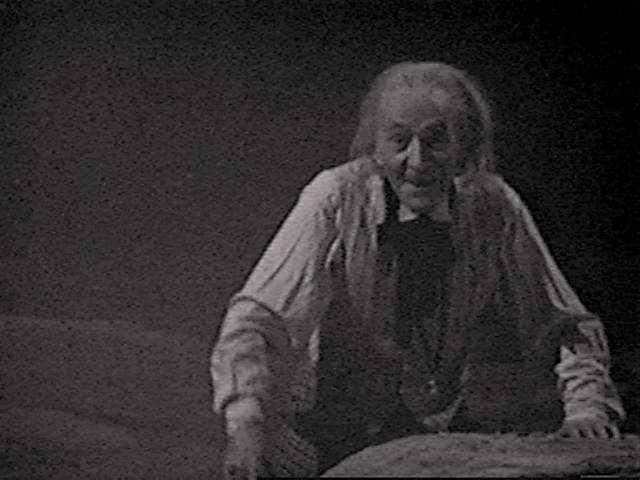
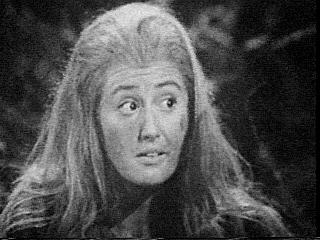
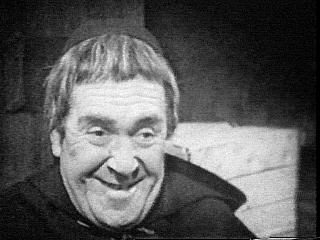
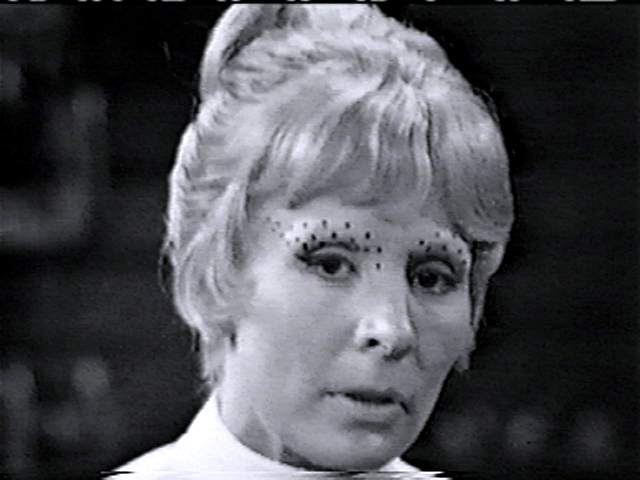
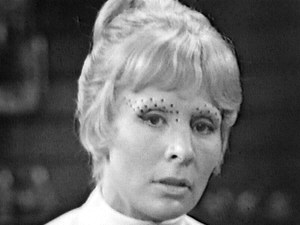
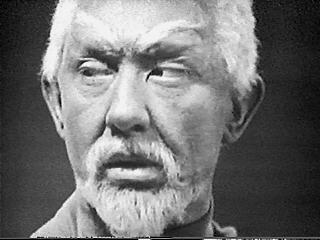
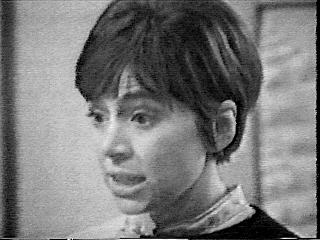
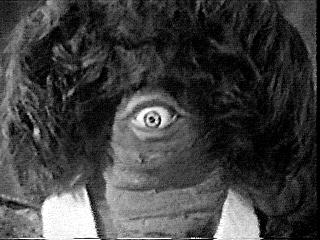
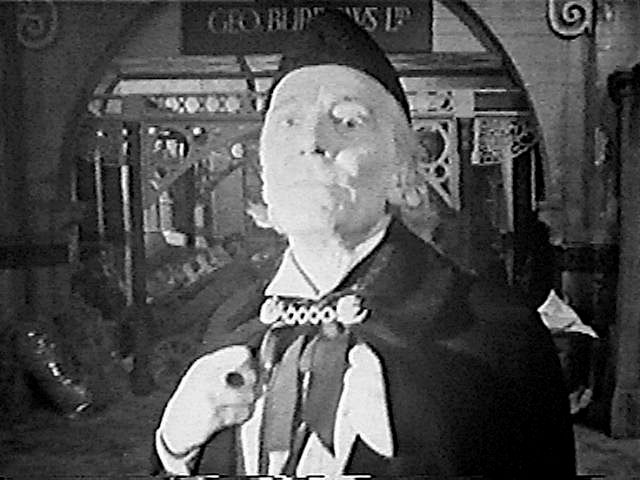
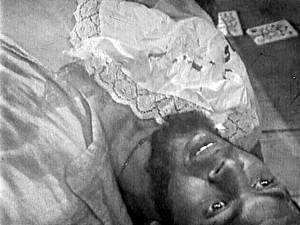
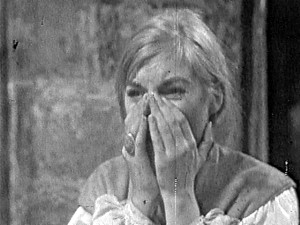
- st--1a15.jpg _56K B&W Old Mother complains about firemaking (Eileen Way) sc
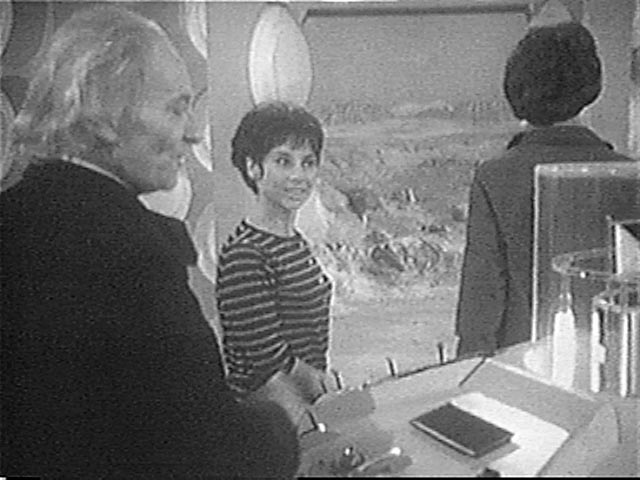
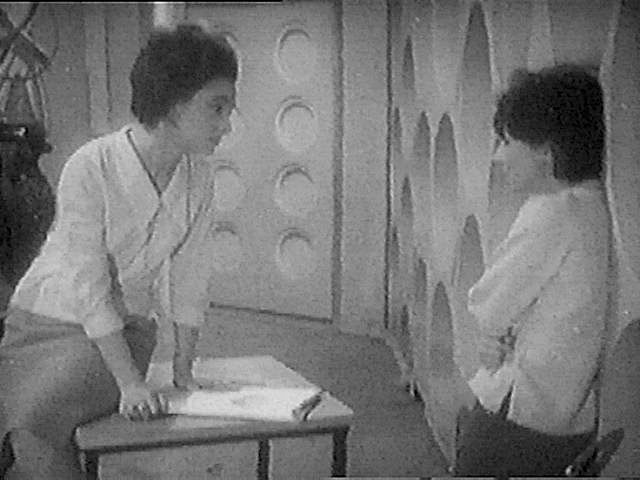
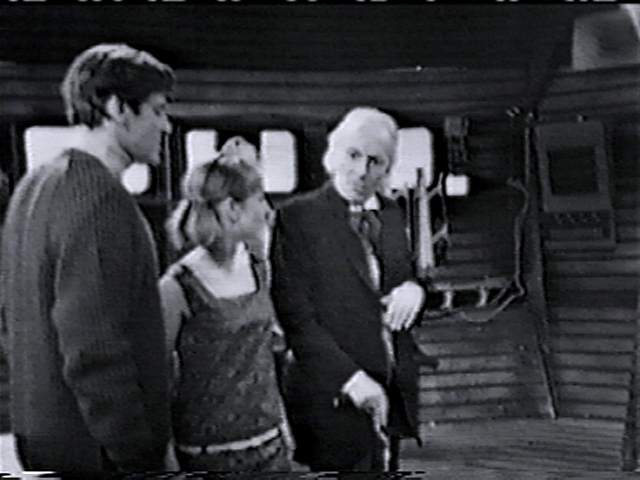
- st--1a16.jpg _58K B&W Ian, Barbara come to inside TARDIS (Russell, JHill) sc
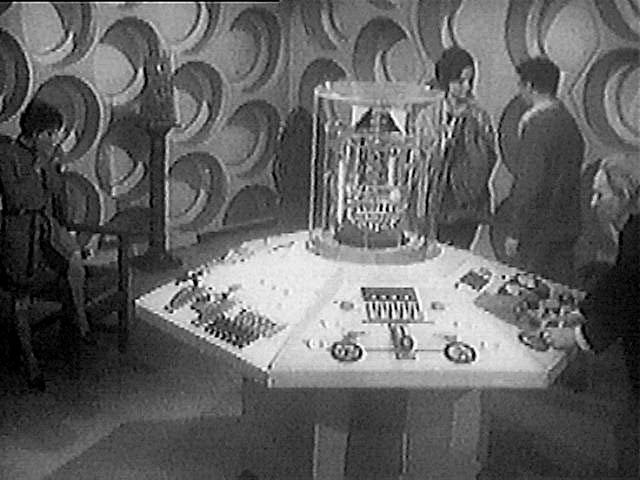
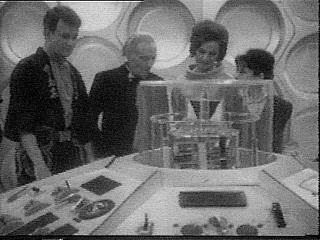
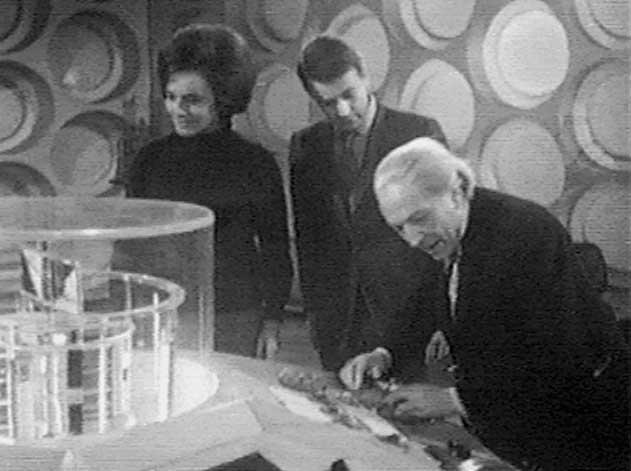
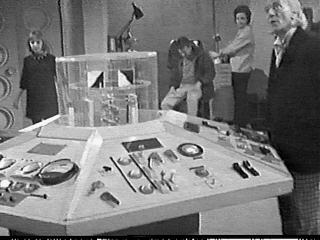
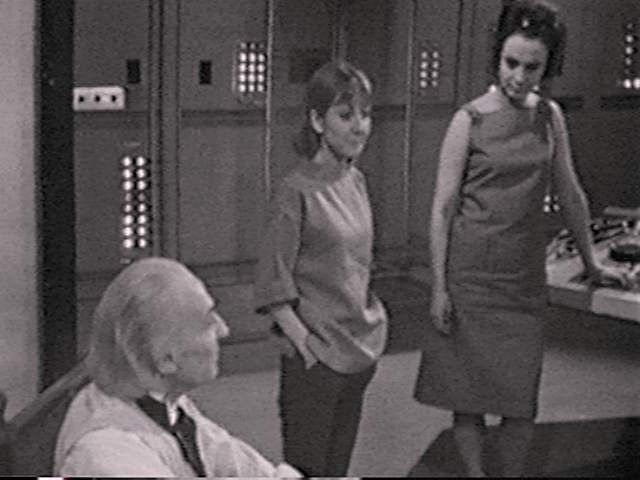
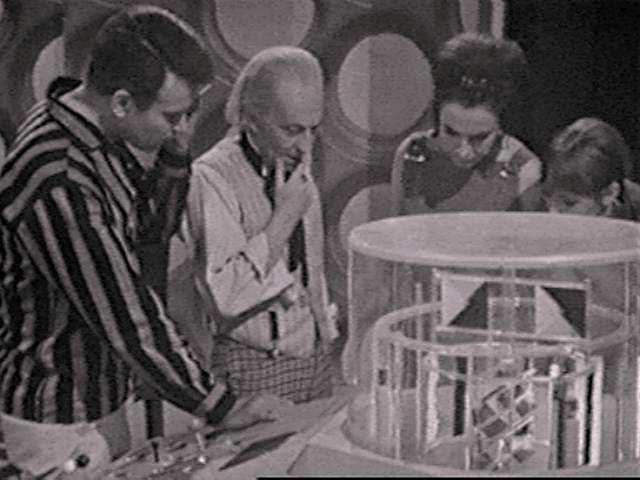
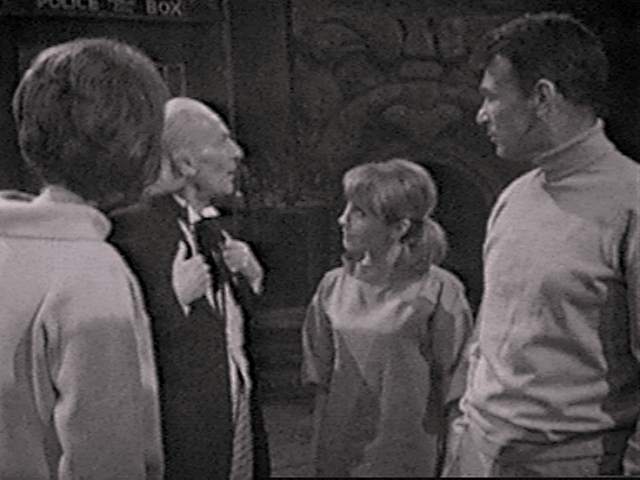
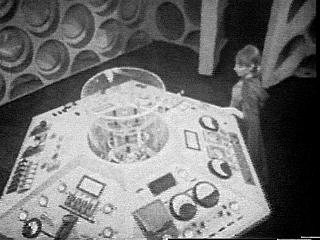
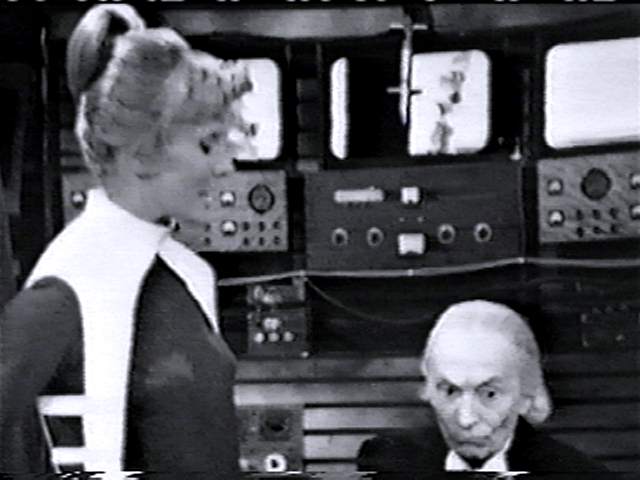
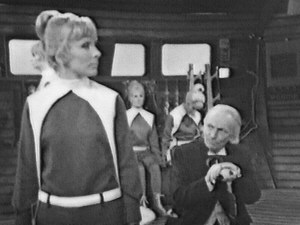
- st--1a17.jpg _62K B&W Susan, Ian, Barbara, Doctor around TARDIS console (Ford, Russell, JHill, Hartnell) sc
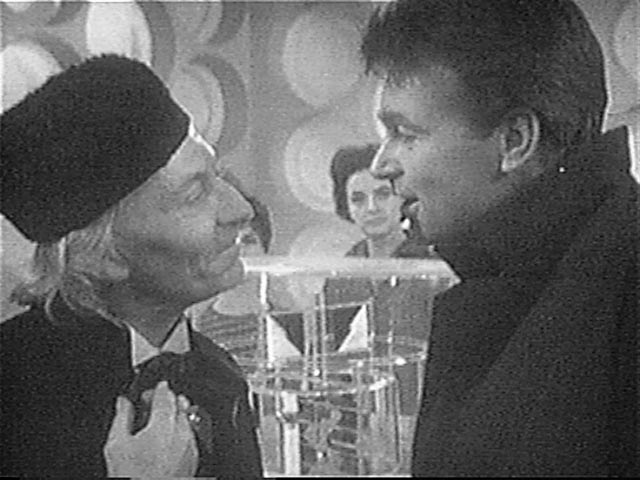
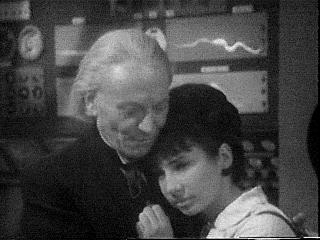
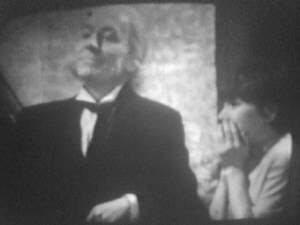
- st--1a18.jpg _58K B&W Doctor (Susan in background): "Hm? Doctor Who? What's he talking about?" (Hartnell, Ford) sc
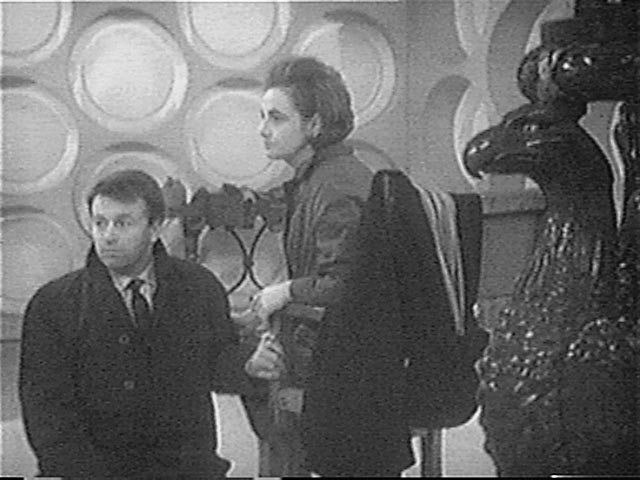
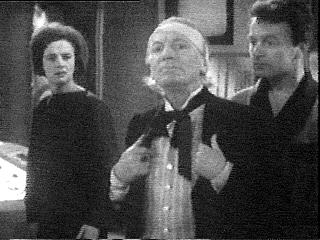
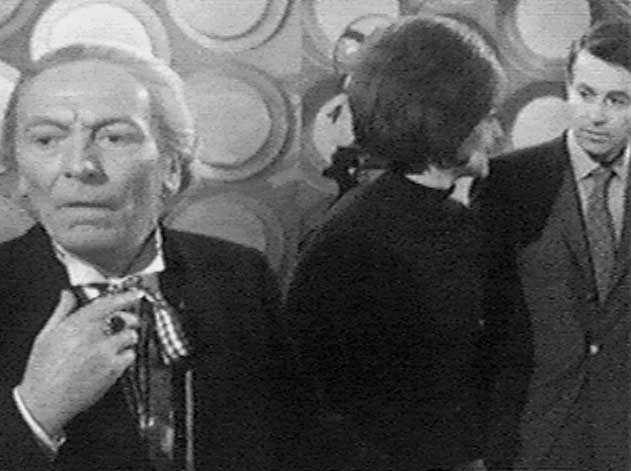
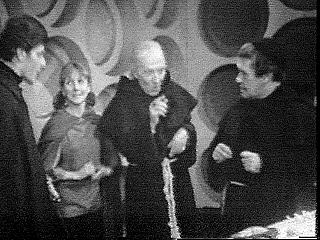
- st--1a19.jpg _58K B&W Doctor, Susan, Barbara, Ian argue inside TARDIS (Hartnell, Ford, JHill, Russell) sc
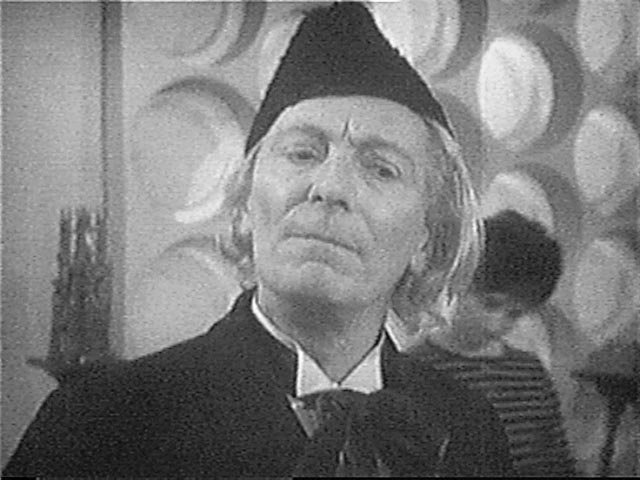
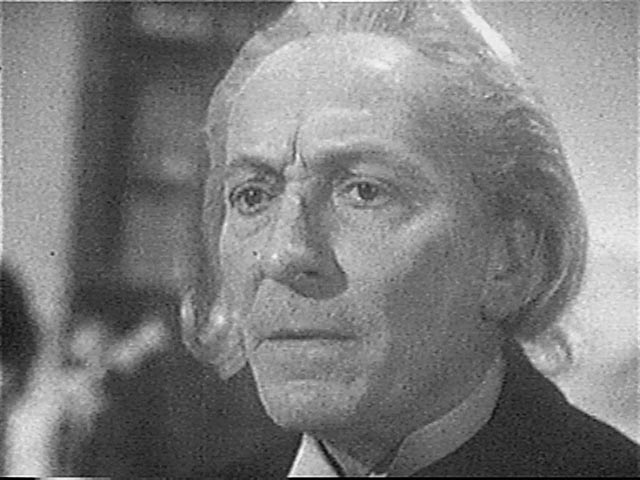
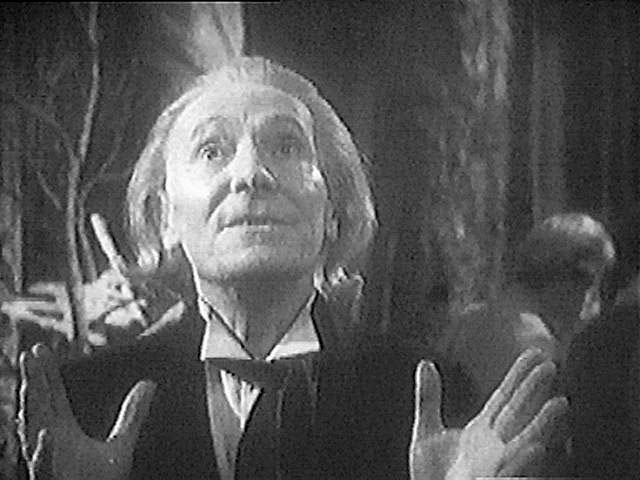
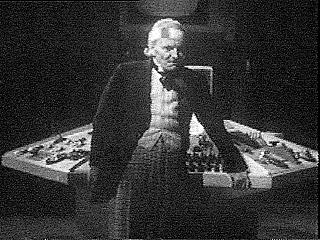
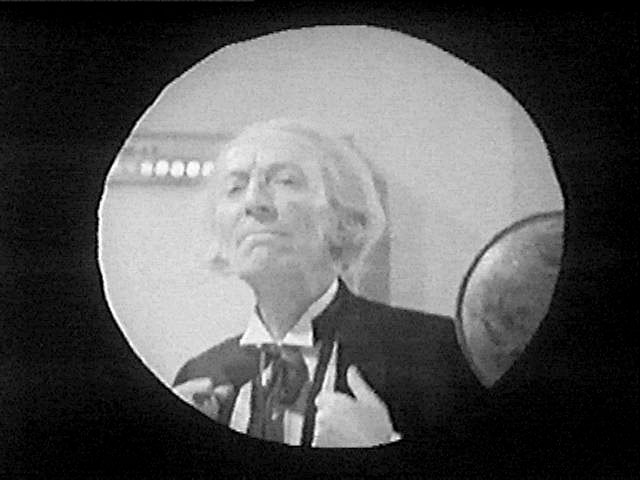
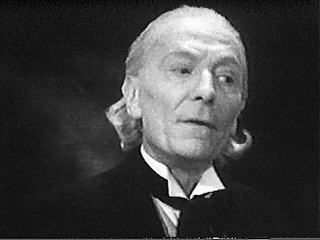
- st--1a20.jpg _56K B&W Doctor (Hartnell) sc
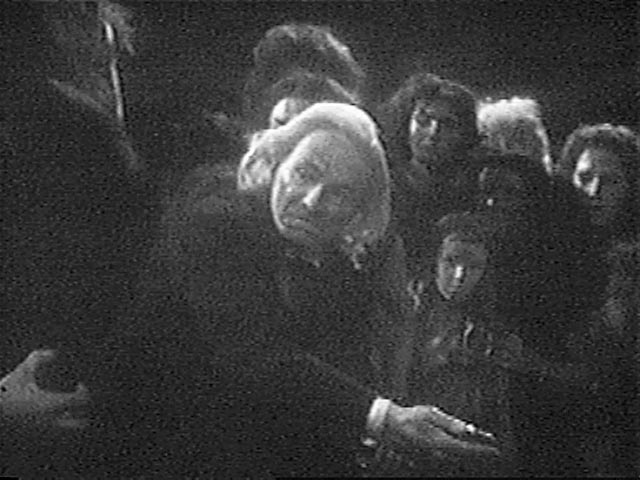
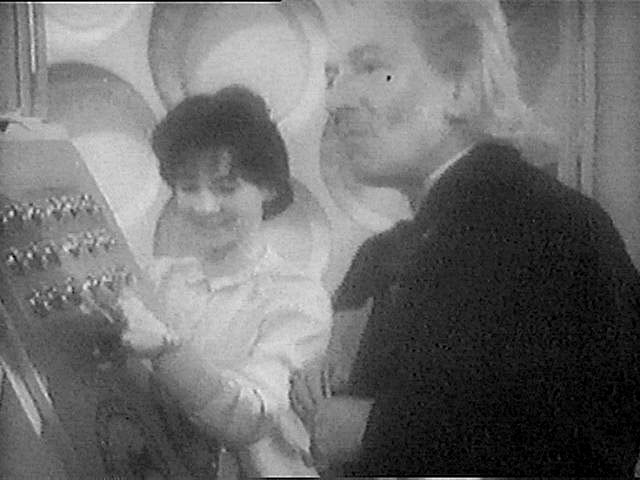
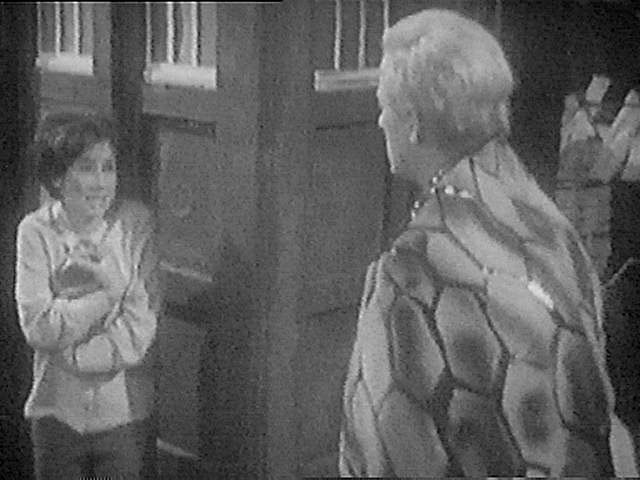
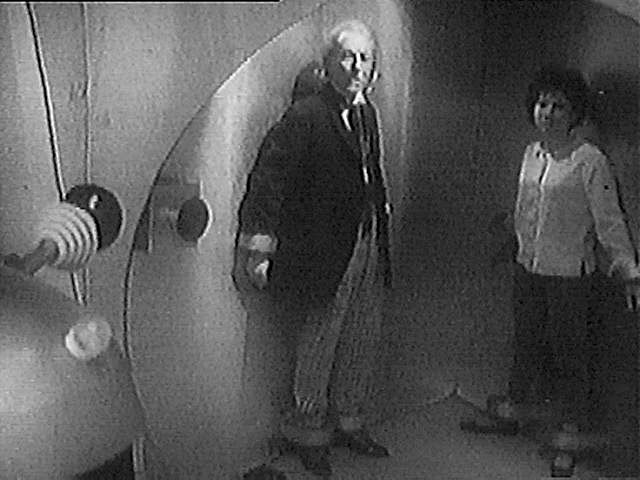
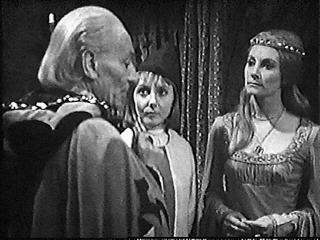
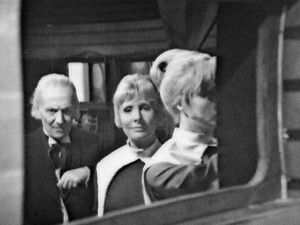
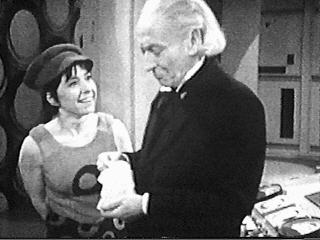
- st--1a21.jpg _57K B&W Doctor, Susan, Barbara look through open doors from inside TARDIS (Hartnell, Ford, JHill) sc
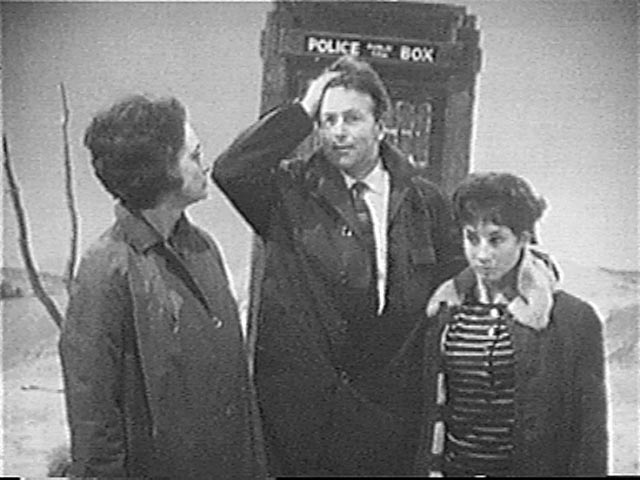
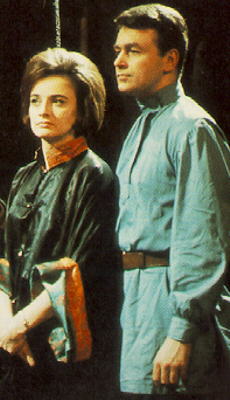
- st--1a22.jpg _55K B&W Barbara, Ian, Susan outside TARDIS (JHill, Russell, Ford) sc
- st--1a23.jpg _57K B&W Doctor: "Why hasn't it changed?" (Hartnell) sc
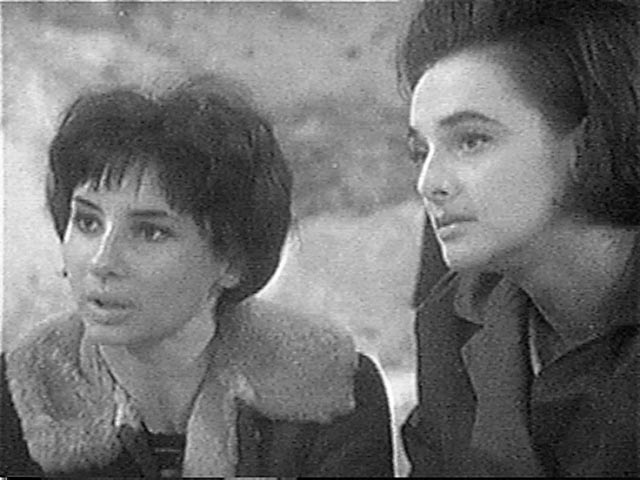
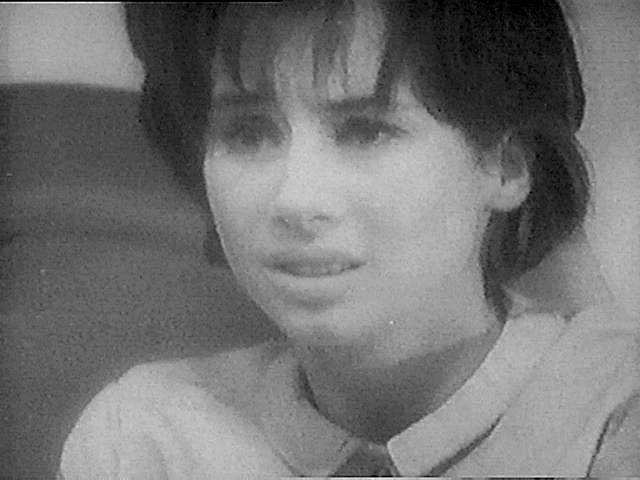
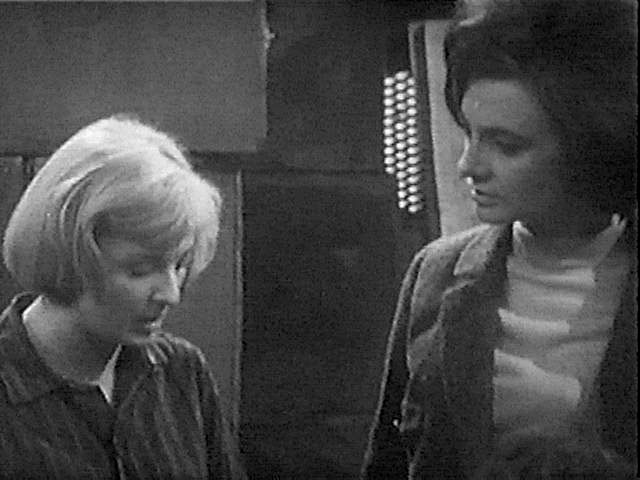
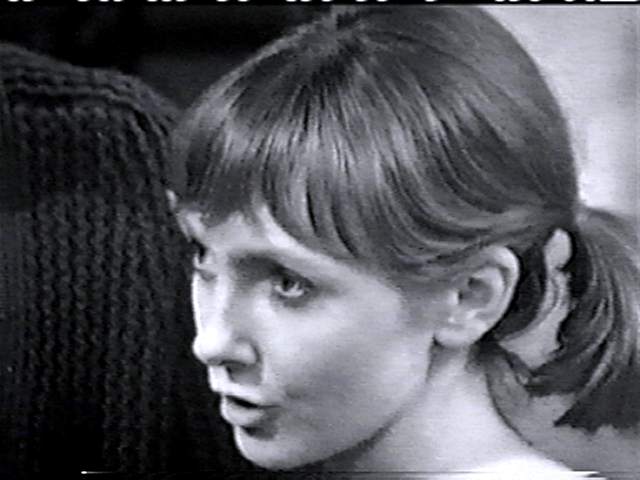
- st--1a24.jpg _56K B&W Susan, Barbara (Ford, JHill) sc
- st--1a25.jpg _54K B&W Ian (Russell) sc
- st--1a26.jpg _53K B&W Ian, Barbara (Russell, JHill) sc
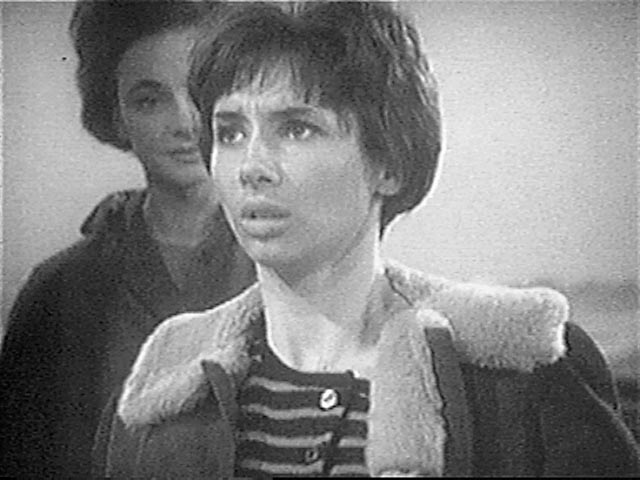
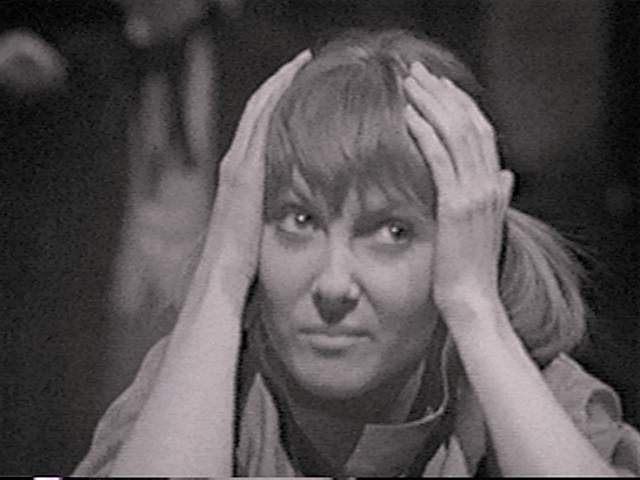
- st--1a27.jpg _55K B&W Barbara behind Susan who is worried (JHill, Ford) sc
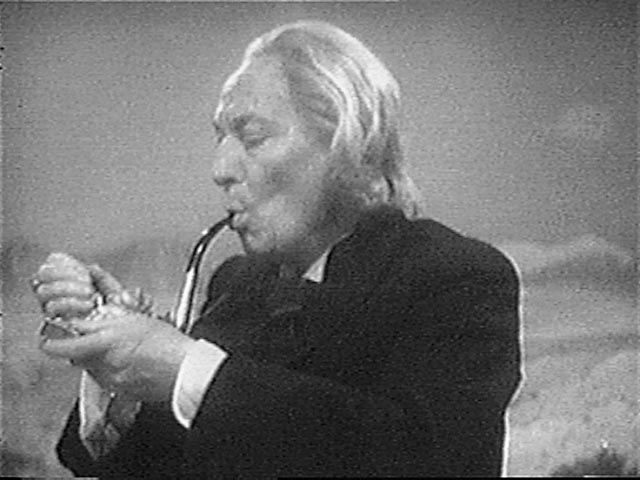
- st--1a28.jpg _54K B&W Doctor lights his pipe (Hartnell) sc
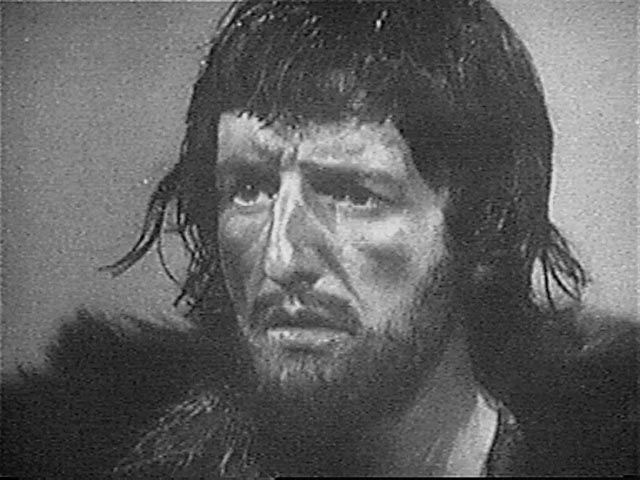
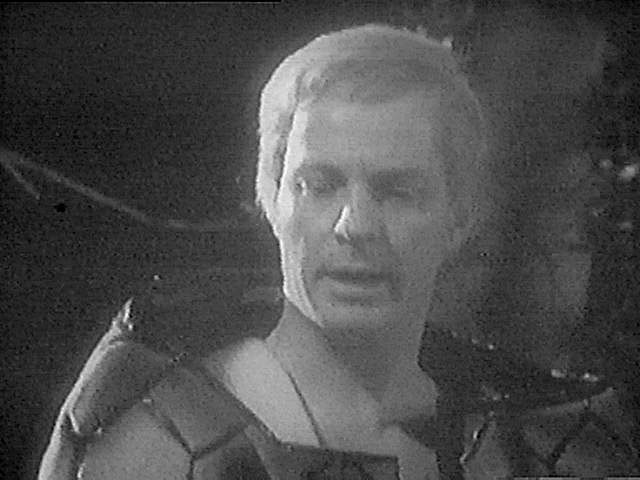
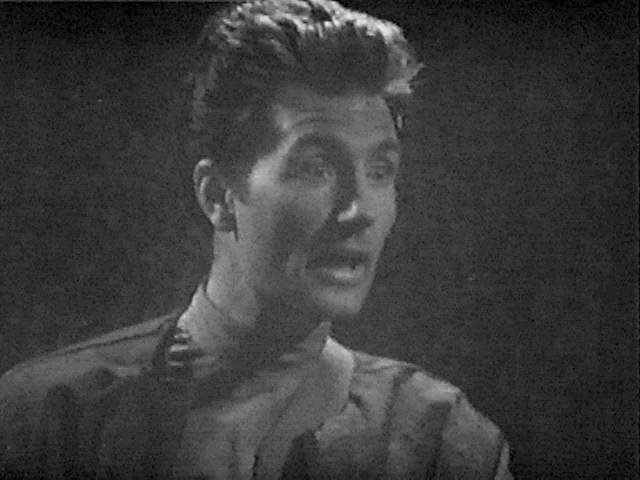
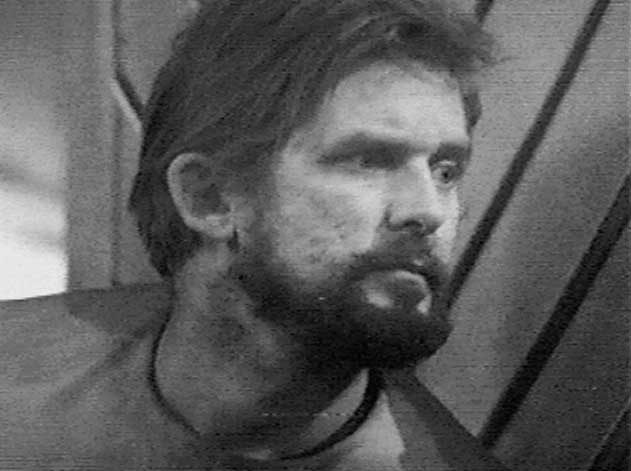
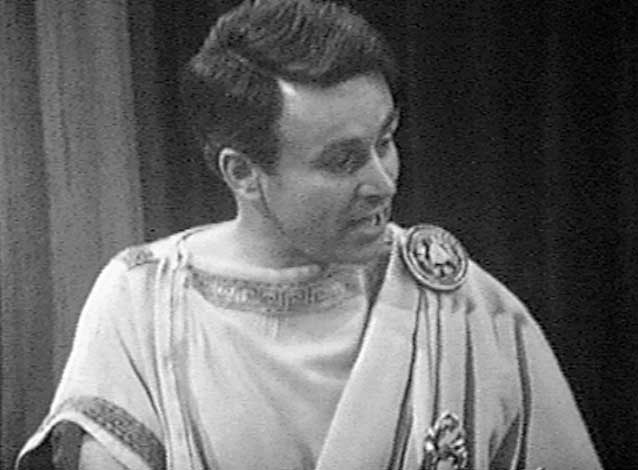
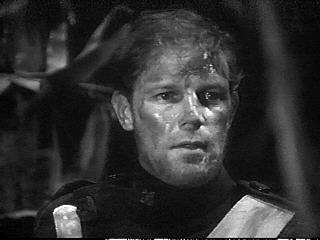
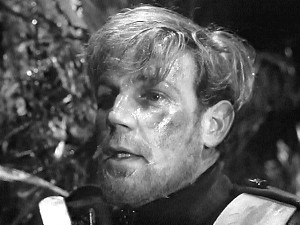
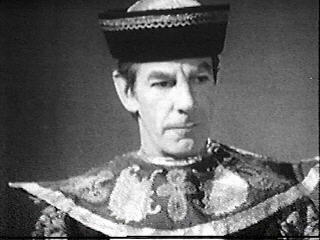
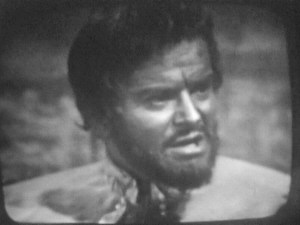
- st--1a29.jpg _59K B&W Za (Derek Newark) sc
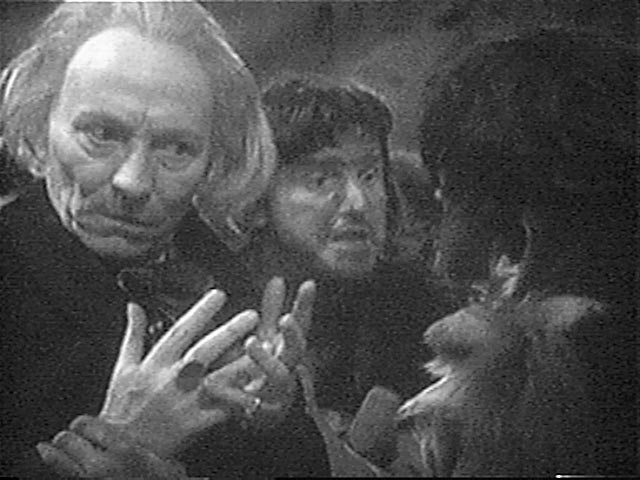
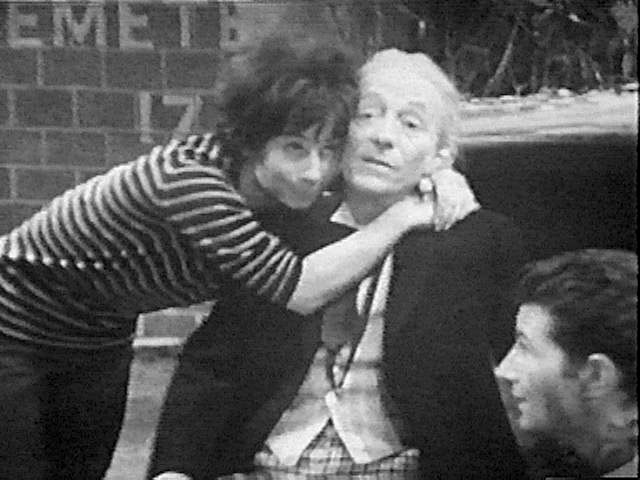
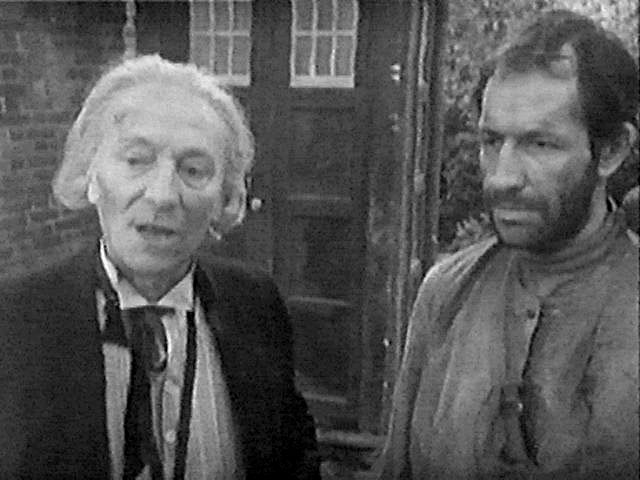
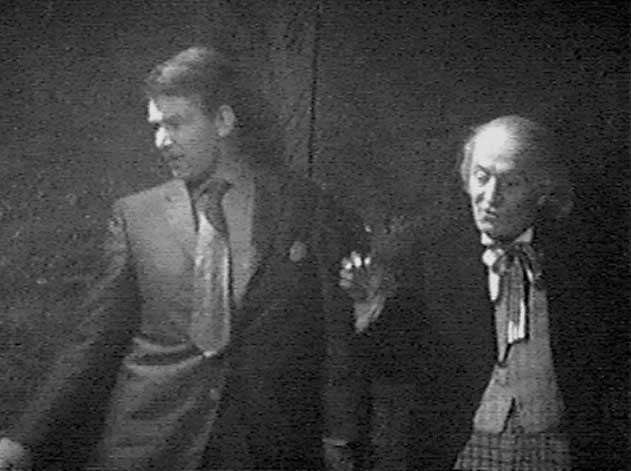
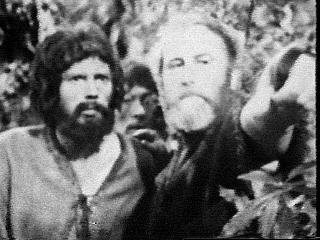
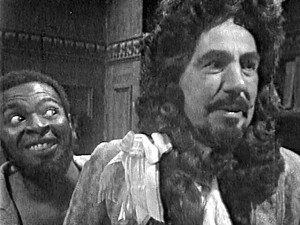
- st--1a30.jpg _62K B&W Za, Doctor, Kal (Derek Newark, Hartnell, Jeremy Young) sc
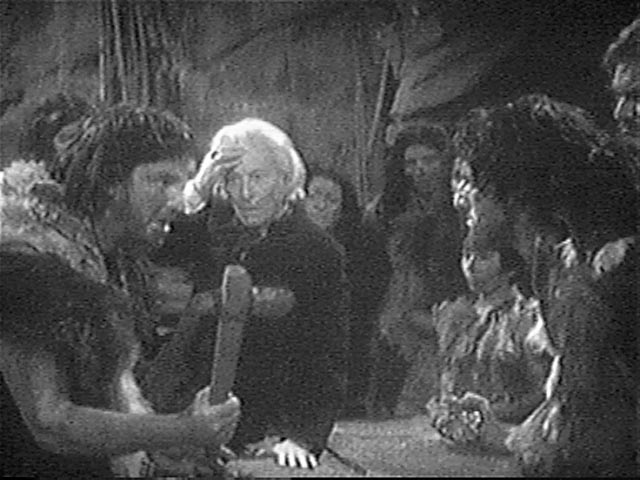
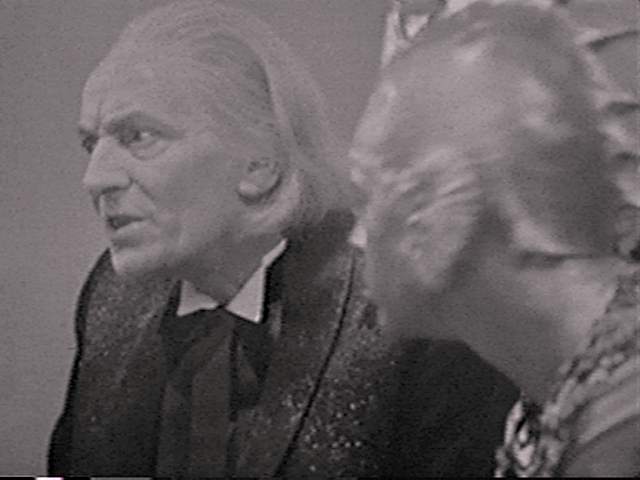
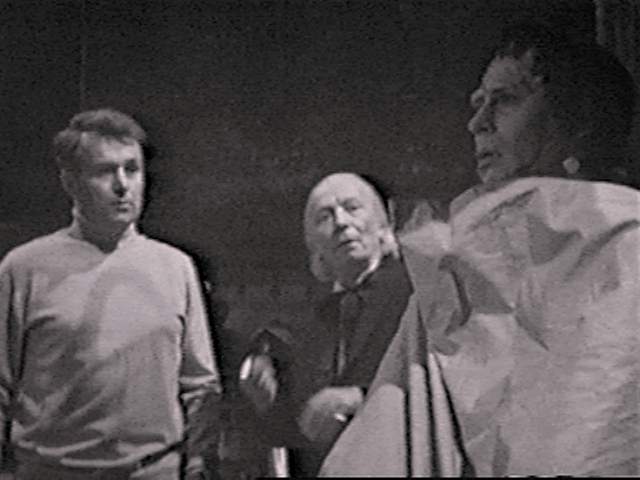
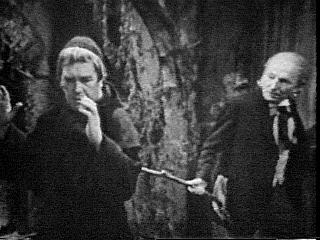
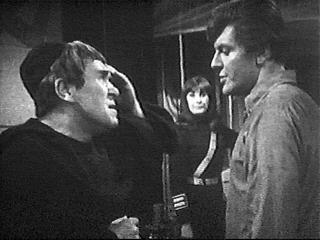
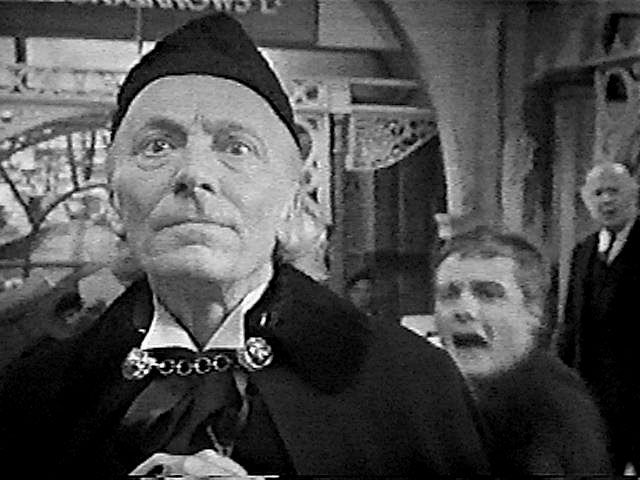
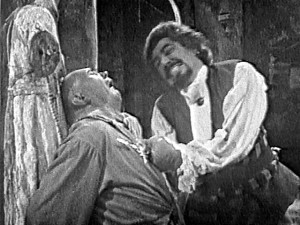
- st--1a31.jpg _58K B&W Doctor, Za, Kal: "I cannot make fire!" (Hartnell, Derek Newark, Jeremy Young) sc
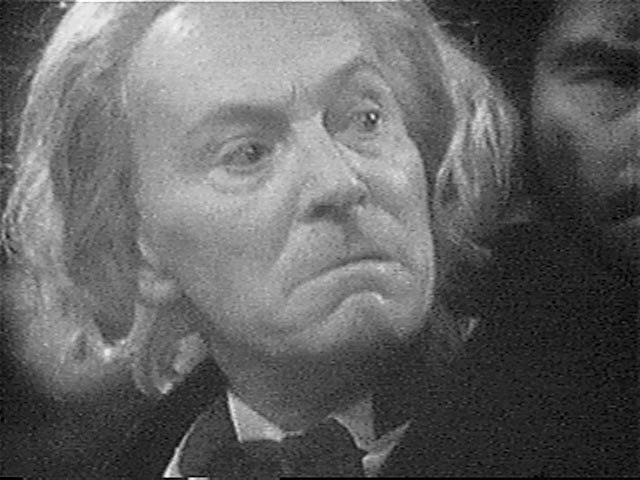
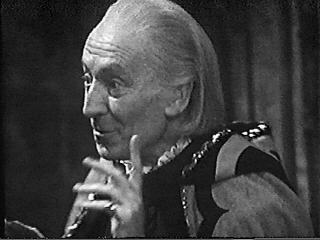
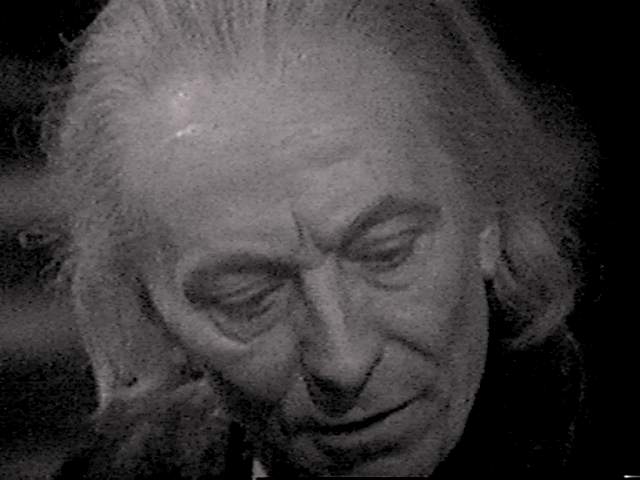
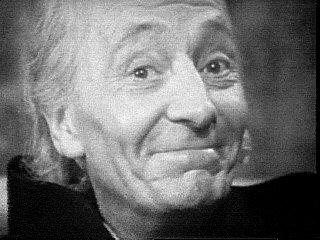
- st--1a32.jpg _57K B&W Doctor (Hartnell) sc
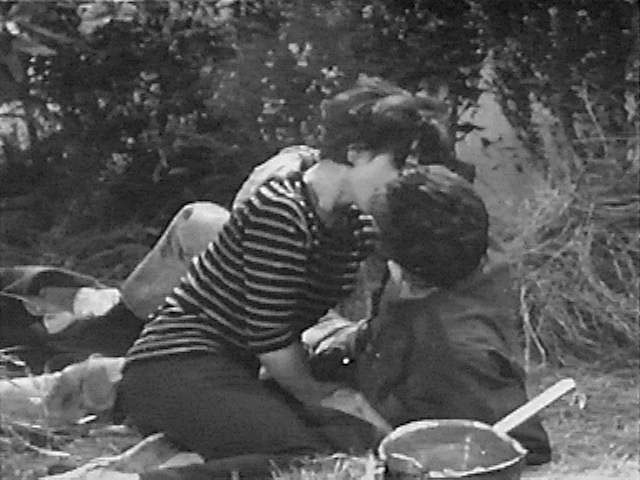
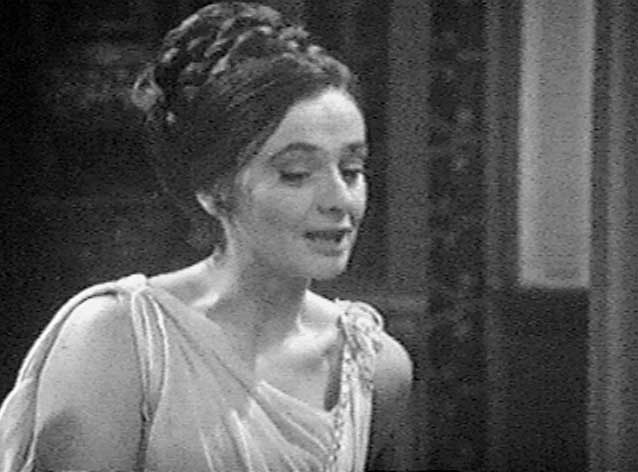
- st--1a33.jpg _53K B&W Za, Hur (Derek Newark, Alethea Charlton) sc
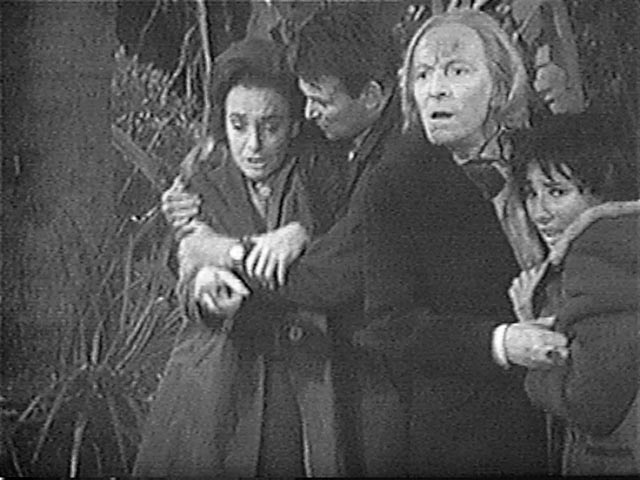
- st--1a34.jpg _60K B&W Barbara, Ian, Doctor, Susan stop in forest (JHill, Russell, Hartnell, Ford) sc
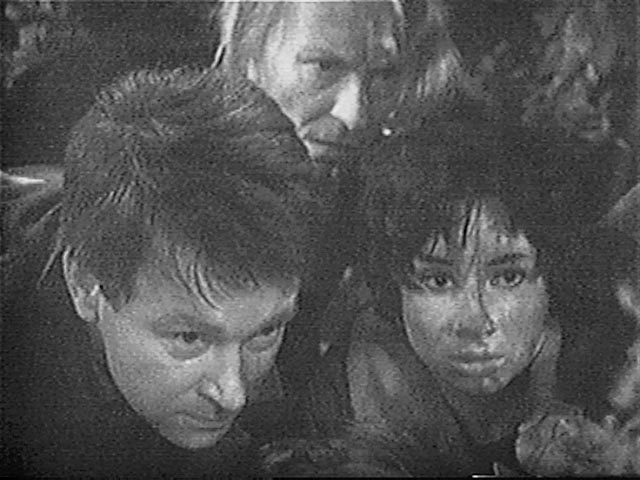
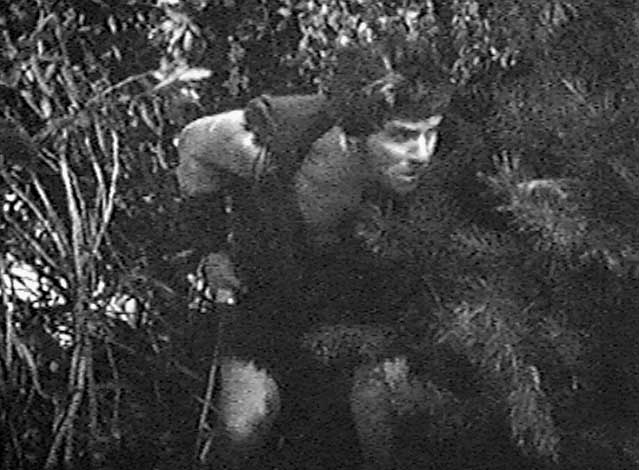
- st--1a35.jpg _60K B&W Ian, Doctor, Susan hiding in bushes (Russell, Hartnell, Ford) sc
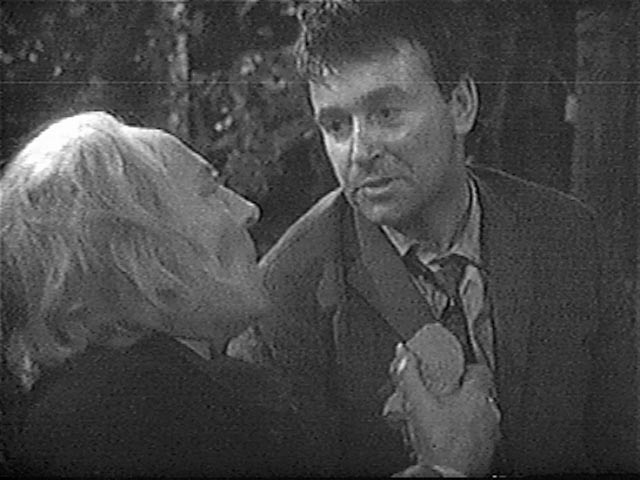
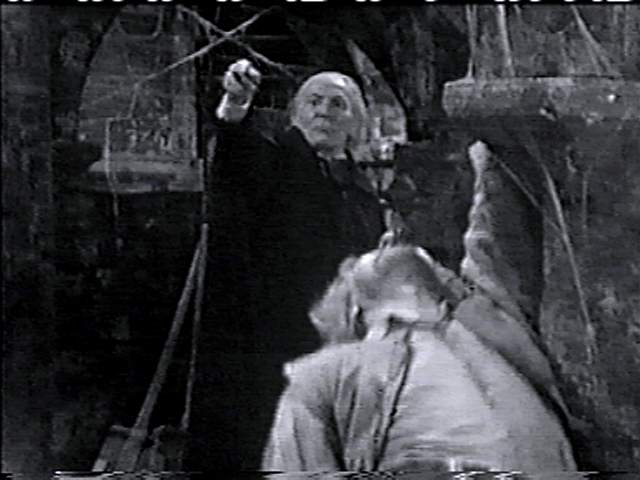
- st--1a36.jpg _54K B&W Doctor caught holding rock by Ian (Hartnell, Russell) sc
- st--1a37.jpg _59K B&W Horg (Howard Lang) sc
- st--1a38.jpg _62K B&W TARDIS blocked by cavemen sc
- st--1a39.jpg _59K B&W Doctor: "This knife has blood on it!" (Hartnell) sc
- st--1a40.jpg _57K B&W Susan watches the fight (Ford) sc
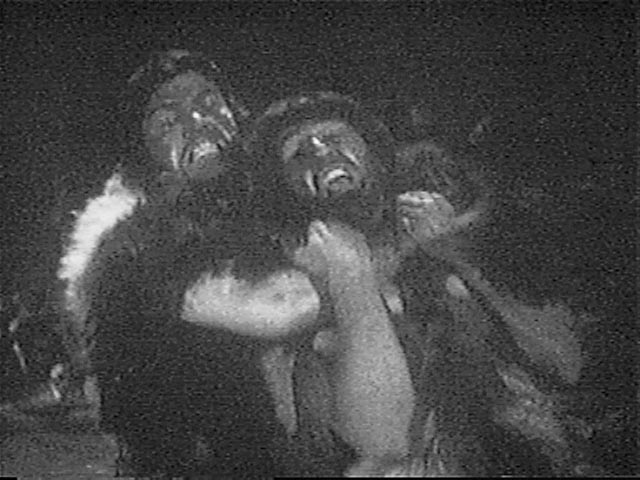
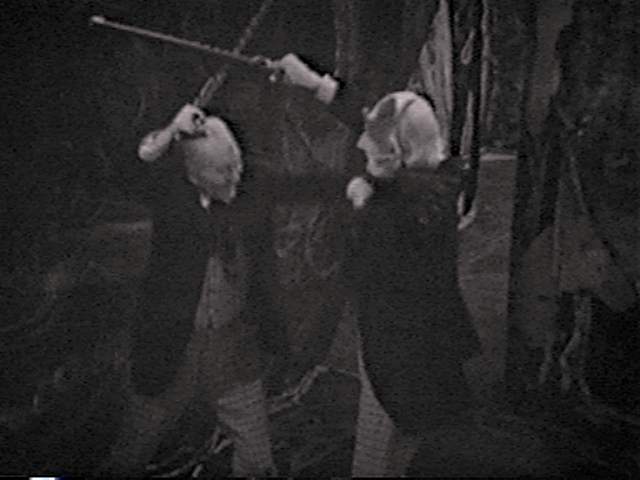
- st--1a41.jpg _61K B&W Za, Kal fighting (Derek Newark, Jeremy Young) sc
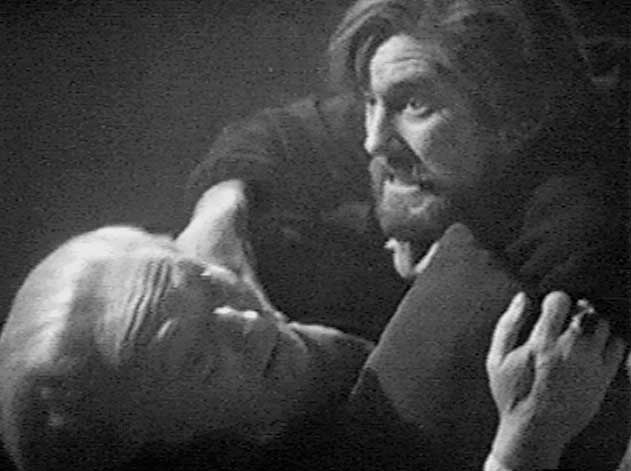
- st--1a42.jpg _63K B&W Za raises rock over head to kill Kal (Derek Newark) sc
- st--1a43.jpg _61K B&W Susan, Doctor cooking over fire (Ford, Hartnell) sc
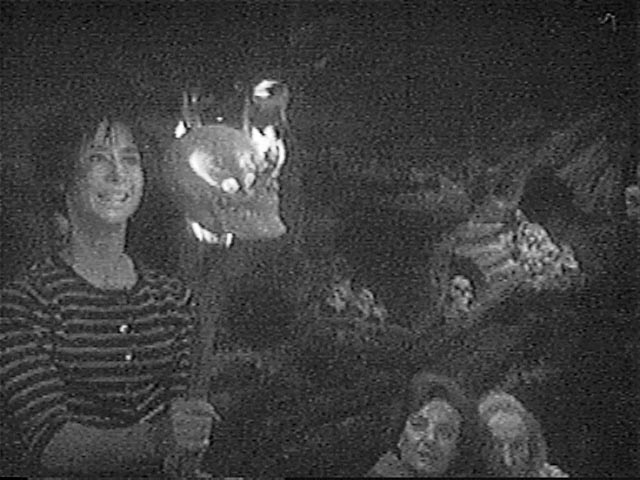
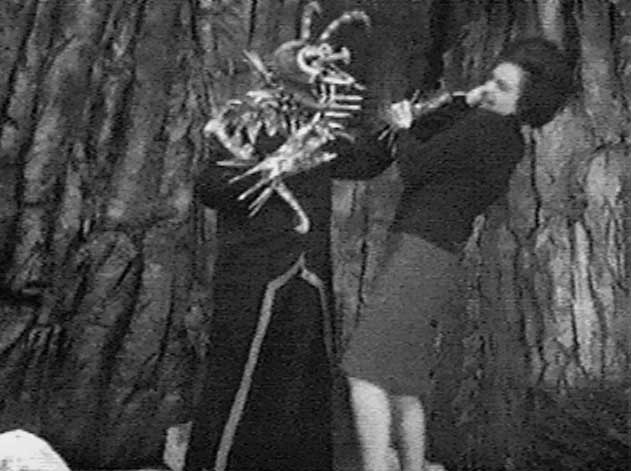
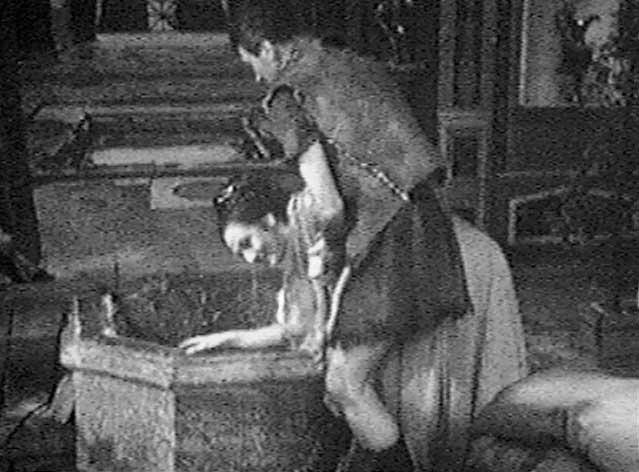
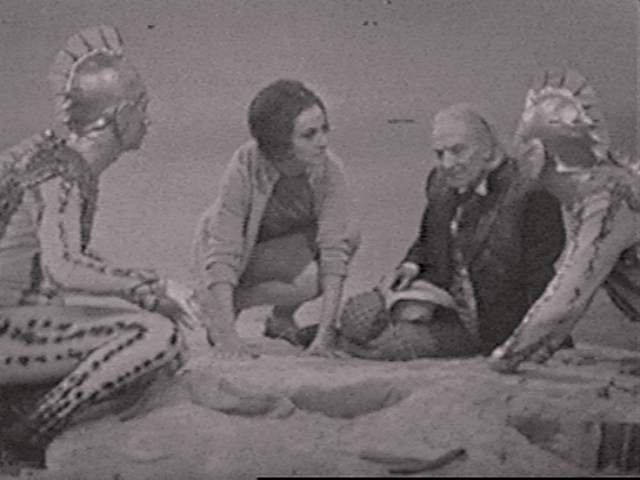
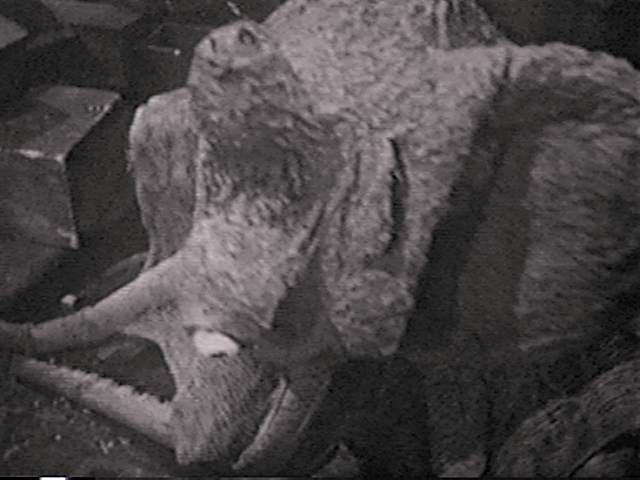
- st--1a44.jpg _64K B&W Susan places skull over torch while Barbara and Doctor watch (Ford, JHill, Hartnell) sc
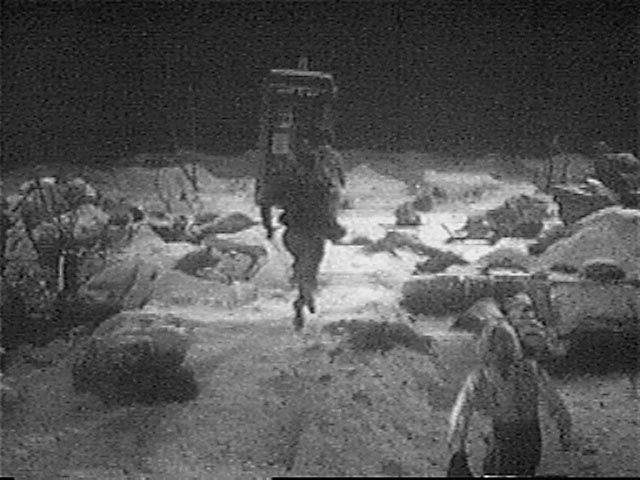
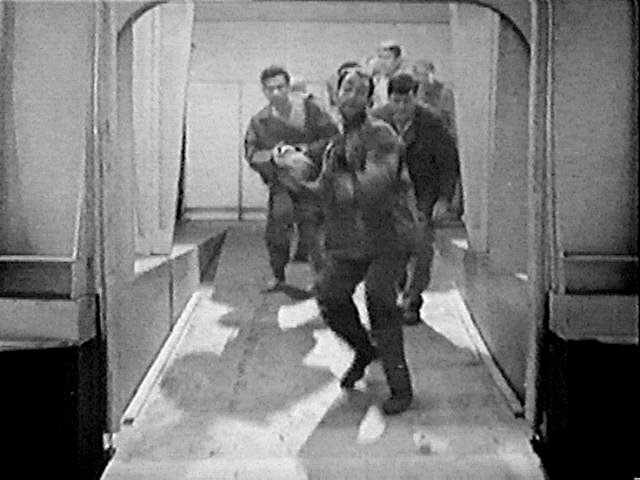
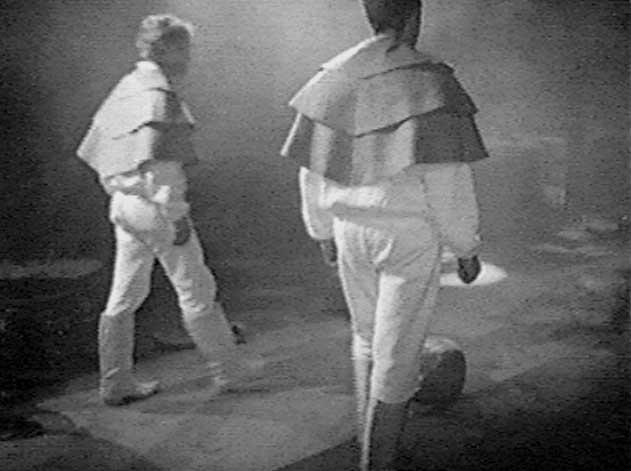
- st--1a45.jpg _61K B&W The travellers run to TARDIS (Russell, Hartnell) sc
- st--1a46.jpg _57K B&W Doctor looks back in door of TARDIS (Hartnell) sc
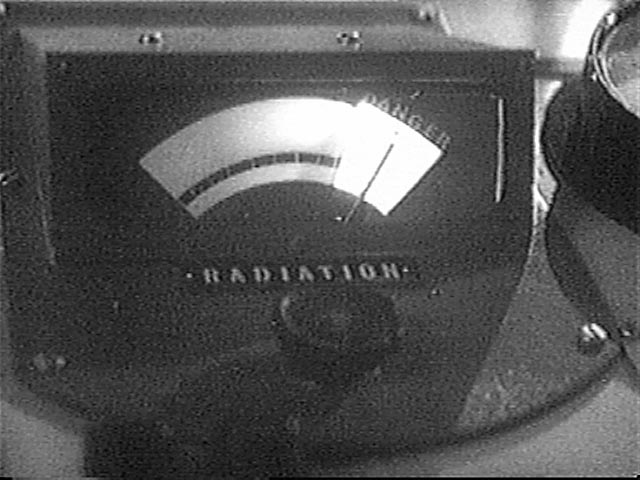
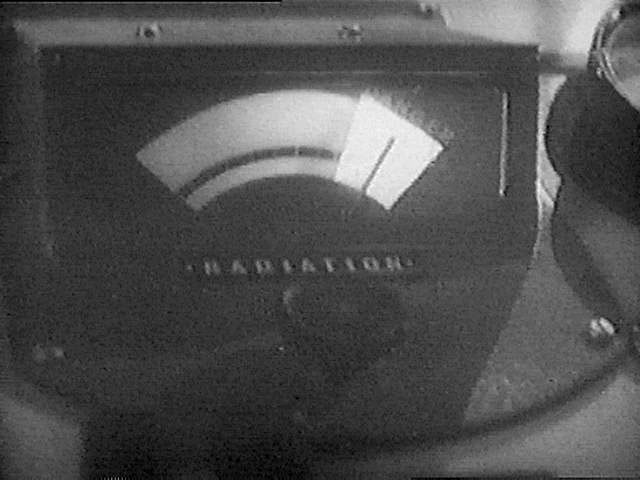
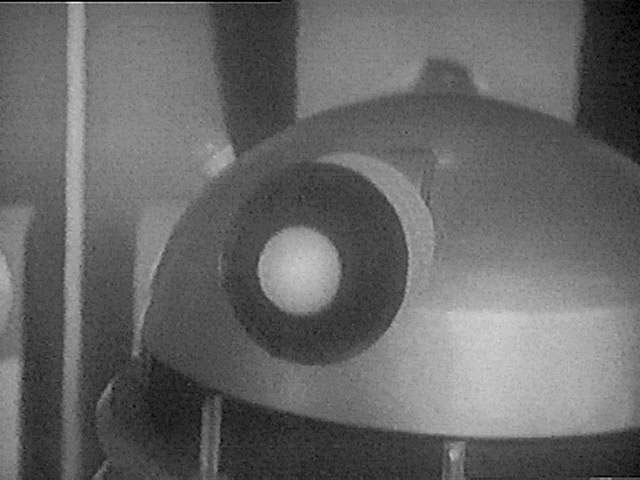
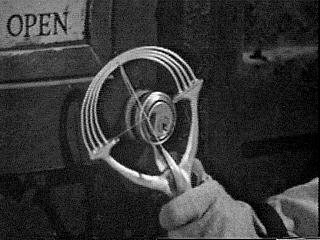
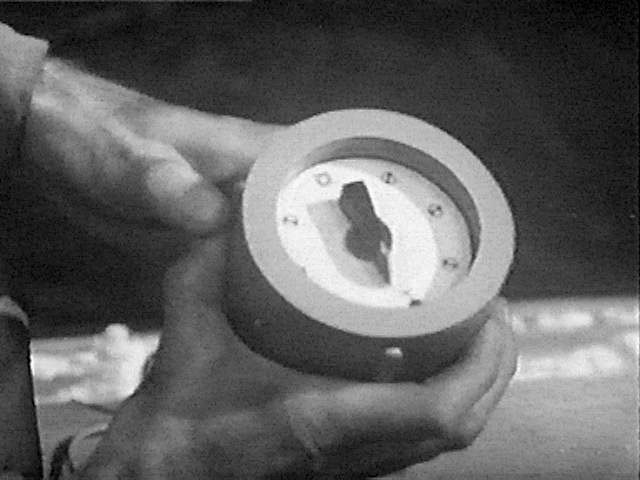
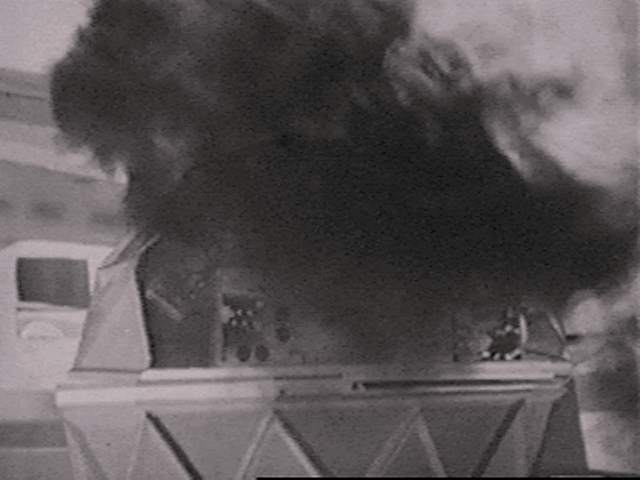
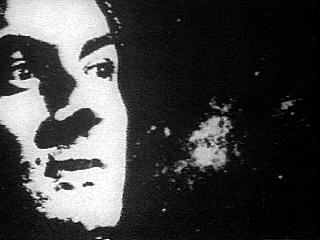
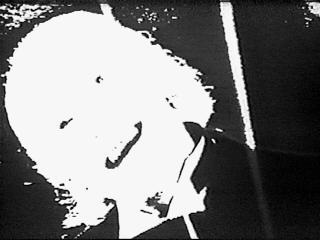
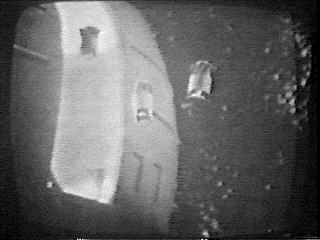
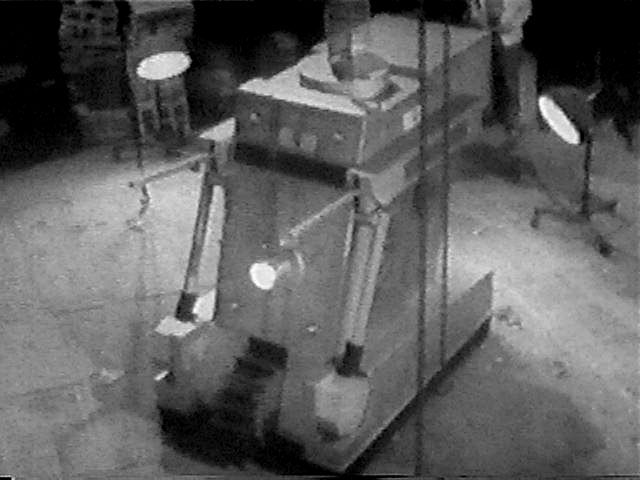
- st--1a47.jpg _58K B&W The radiation detector flashes red, er, white sc
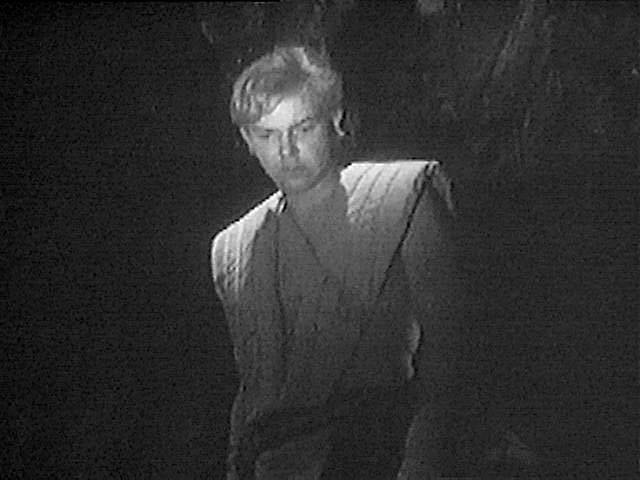
THE DALEKS
Images 2-76 added 14Aug99
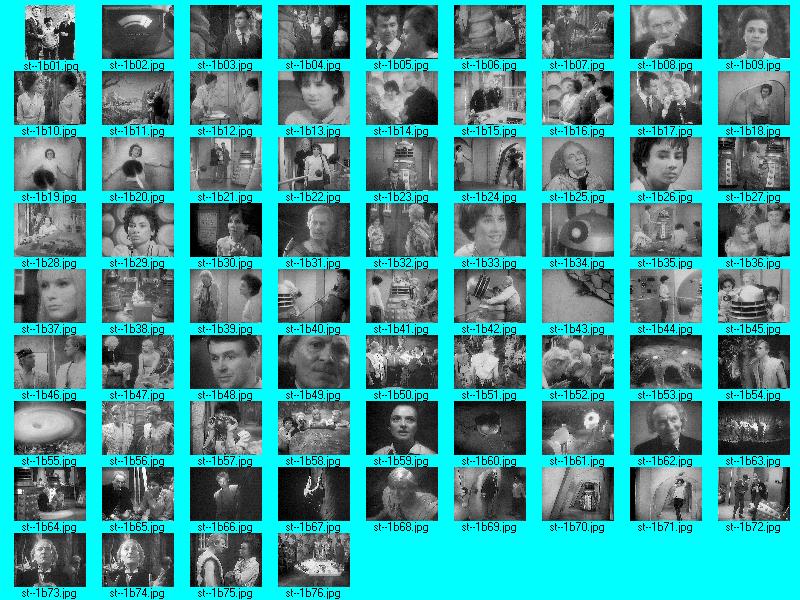
- st--1b-c.jpg 146K The Daleks - CONTACT SHEET
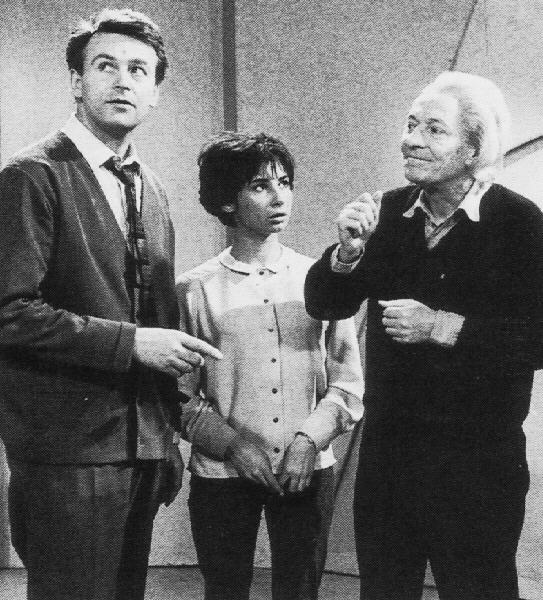
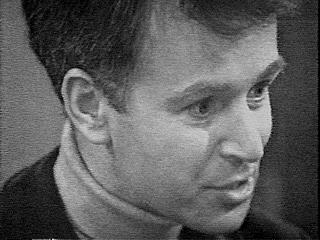
- st--1b01.jpg _77K B&W Ian, Susan, Doctor in rehearsal shot (Russell, Ford, Hartnell)
-
 st--1b02.jpg _46K B&W That pesky radiation detector again sc
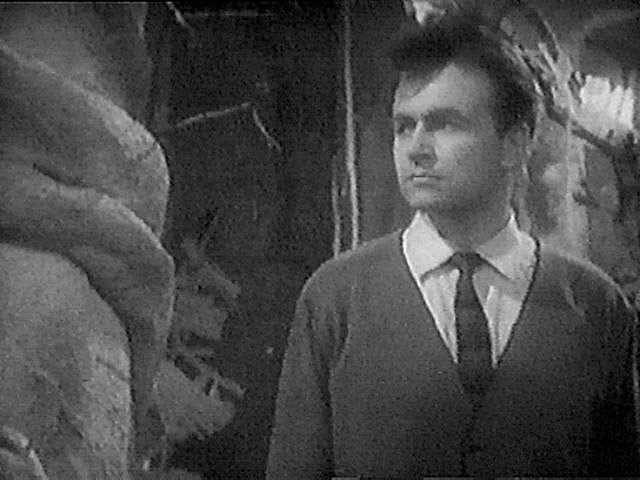
- st--1b03.jpg _53K B&W Ian contemplates the forest (Russell) sc
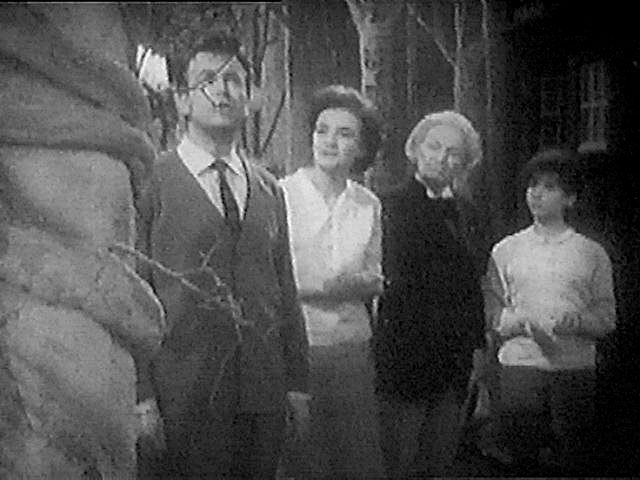
- st--1b04.jpg _54K B&W Ian, Barbara, Doctor, Susan outside the TARDIS (Russell, JHill, Hartnell, Ford)sc
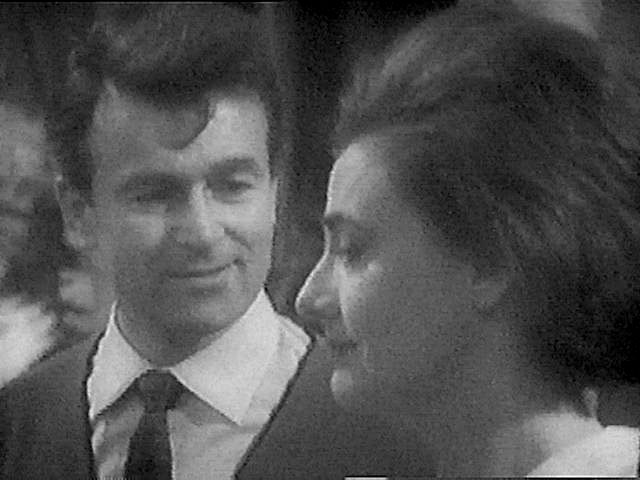
- st--1b05.jpg _48K B&W Ian, Barbara (Russell, JHill) sc
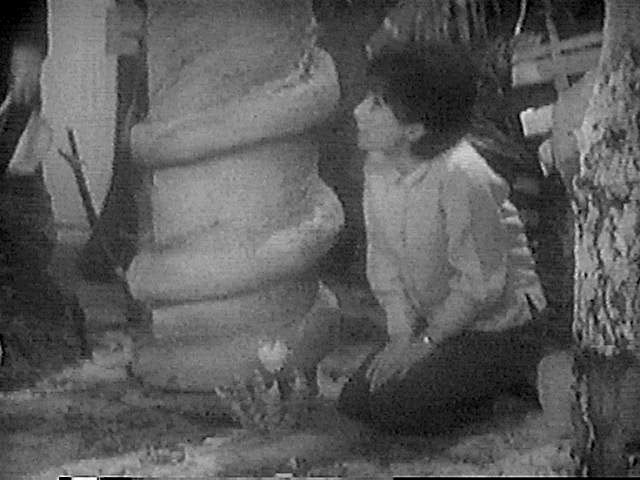
- st--1b06.jpg _55K B&W Susan finds petrified flower (Ford)sc
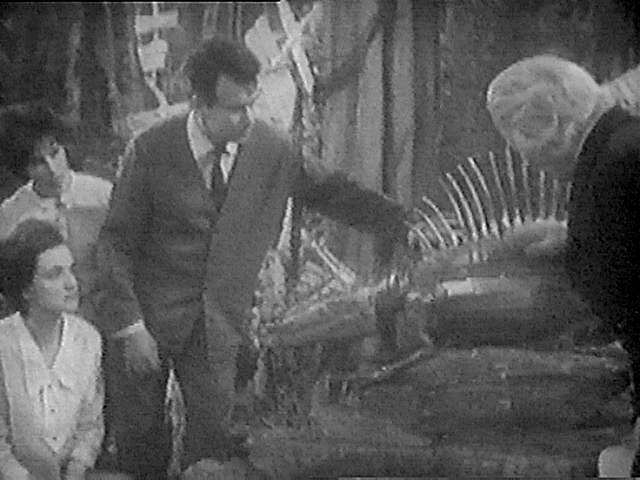
- st--1b07.jpg _54K B&W Susan, Barbara, Ian, Doctor find petrified beastie (Ford, JHill, Russell, Hartnell) sc
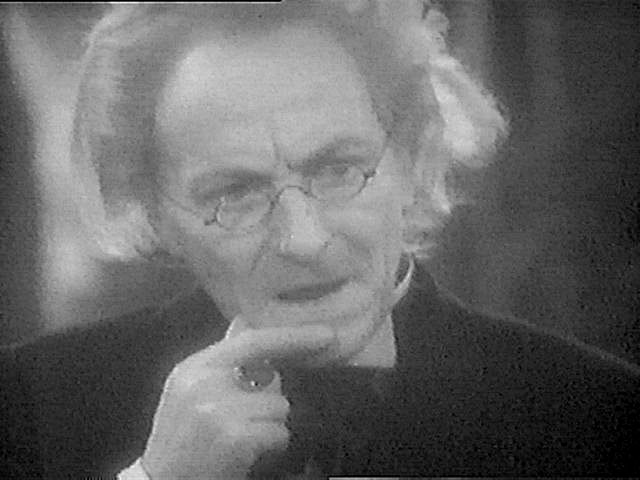
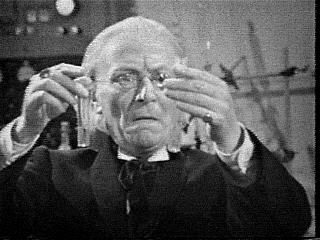
- st--1b08.jpg _45K B&W Doctor wearing glasses (Hartnell) sc
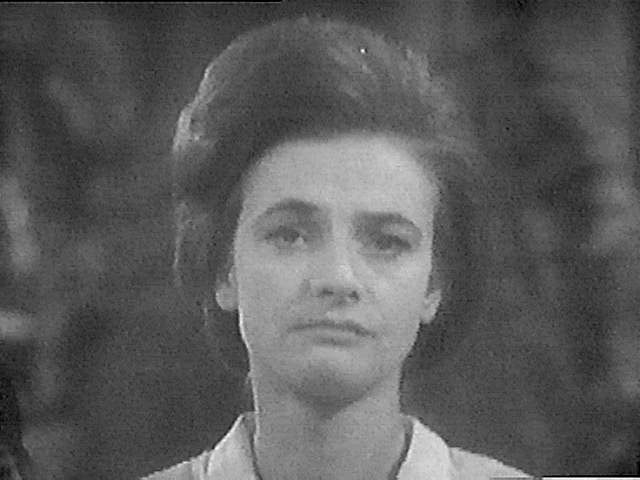
- st--1b09.jpg _45K B&W Barbara (JHill)sc
- st--1b10.jpg _56K B&W Barbara, Susan (JHill, Ford) sc
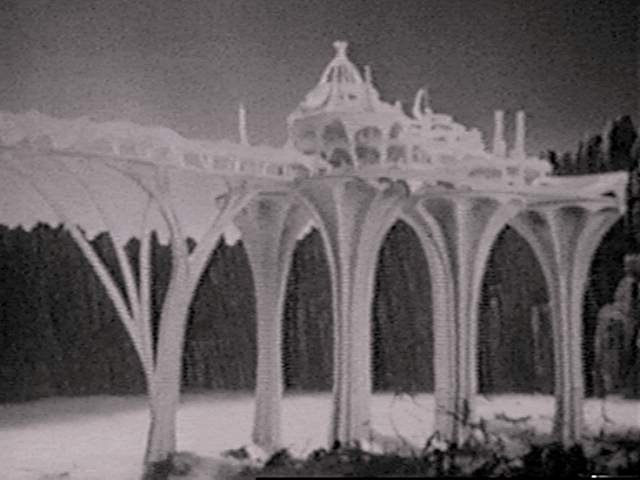
- st--1b11.jpg _56K B&W The travellers find the Dalek city (Russell, JHill, Ford, Hartnell) sc
- st--1b12.jpg _50K B&W Barbara, Susan inside the TARDIS (JHill, Ford) sc
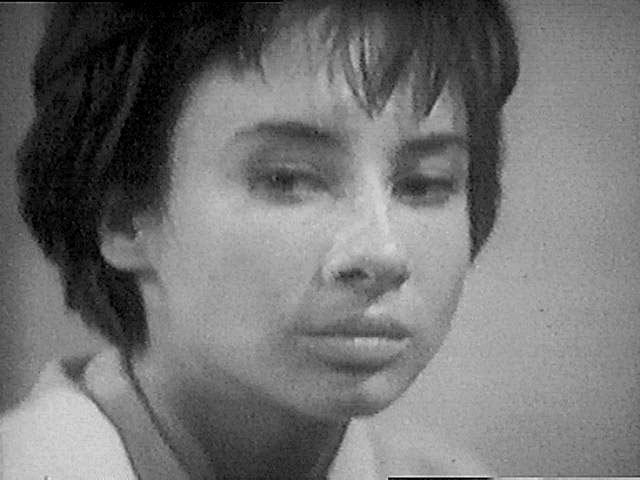
- st--1b13.jpg _44K B&W Susan (Ford) sc
- st--1b14.jpg _49K B&W Susan, Doctor demonstrate the food machine (Ford, Hartnell) sc
- st--1b15.jpg _55K B&W Doctor at TARDIS console (Hartnell) sc
- st--1b16.jpg _54K B&W Barbara, Ian, Susan watch takeoff (JHill, Russell, Ford) sc
- st--1b17.jpg _52K B&W Ian, Doctor discuss fluid link (Russell, Hartnell) sc
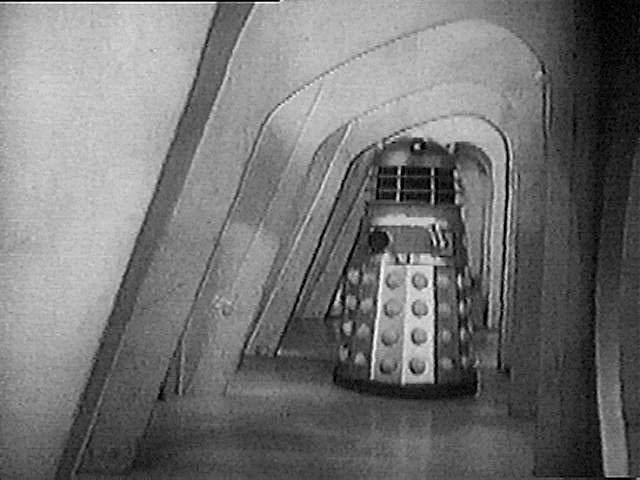
- st--1b18.jpg _44K B&W Barbara wanders Dalek city corridors (JHill) sc
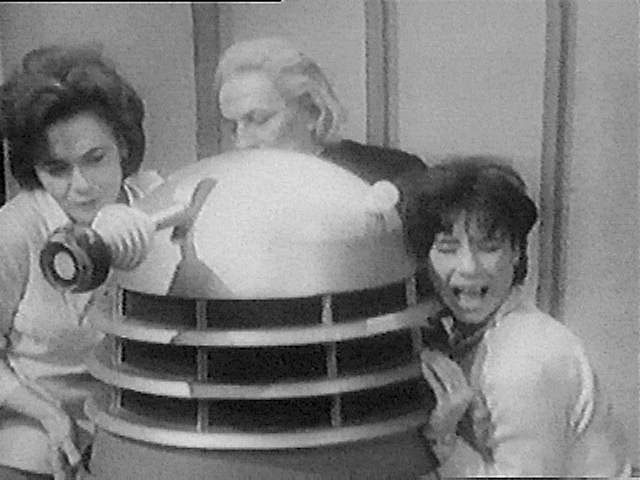
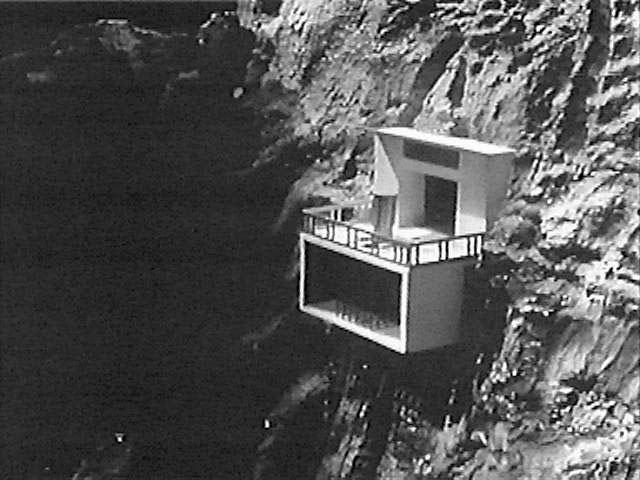
- st--1b19.jpg _45K B&W Barbara's (and the world's) first encounter with a Dalek (JHill) sc
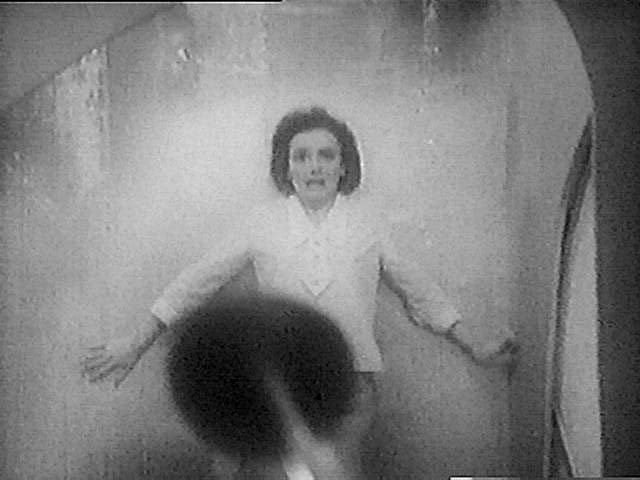
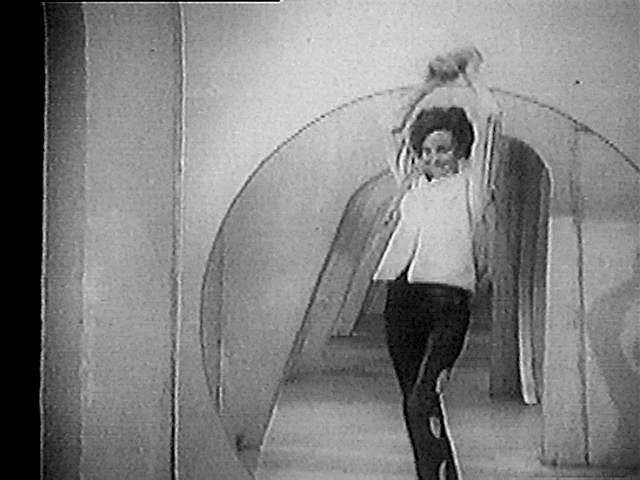
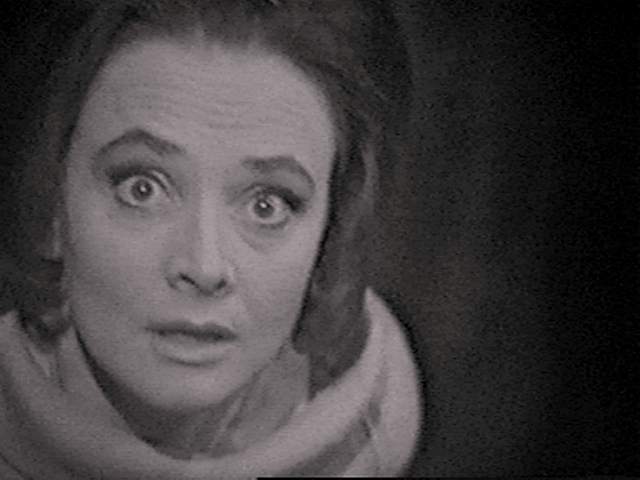
- st--1b20.jpg _46K B&W Barbara terrified of the Dalek (JHill) sc
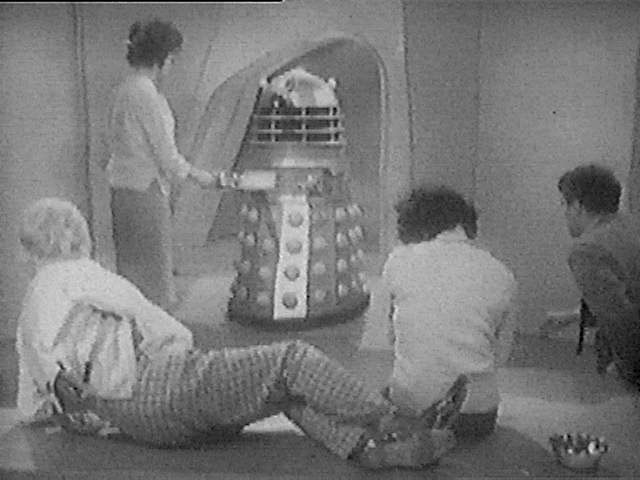
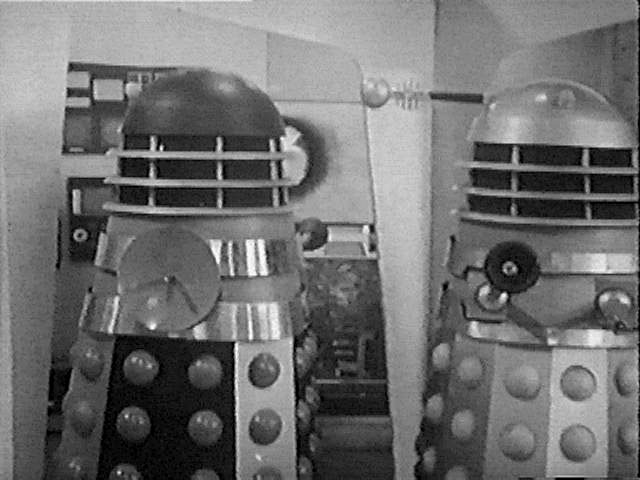
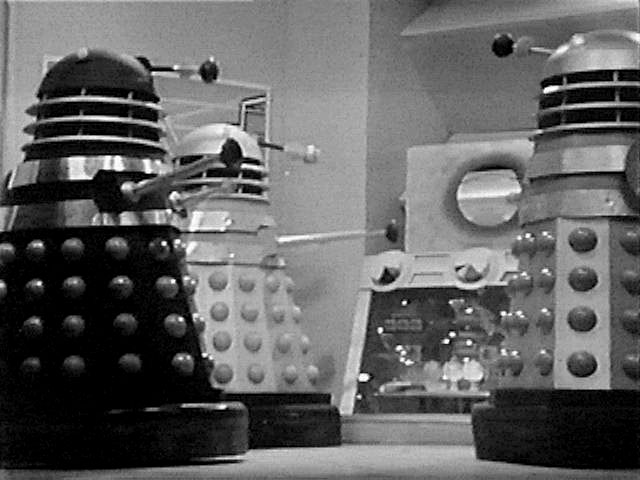
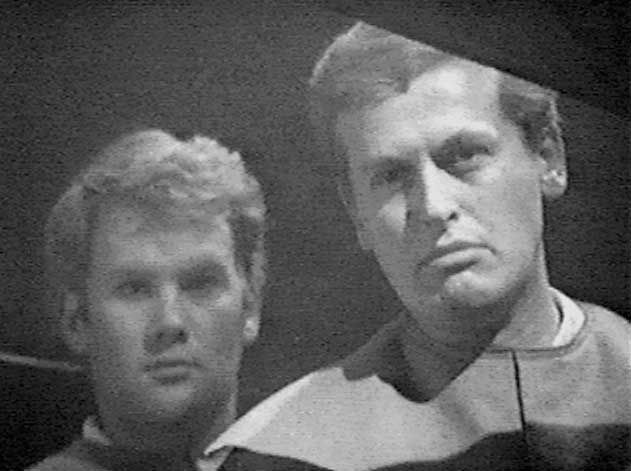
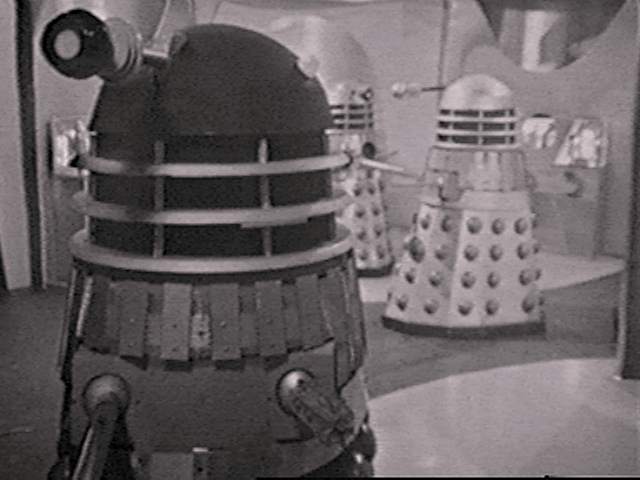
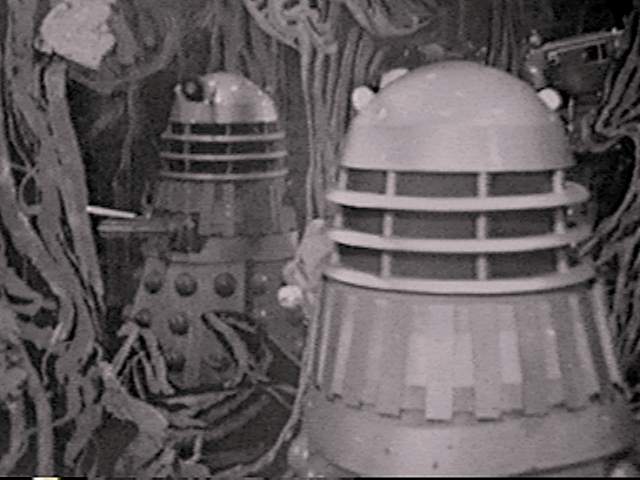
- st--1b21.jpg _49K B&W Doctor, Susan, Ian and the first full view of a Dalek (Hartnell, Ford, Russell) sc
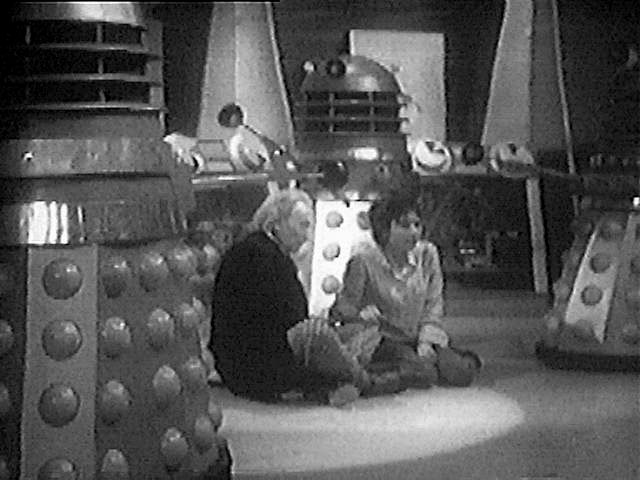
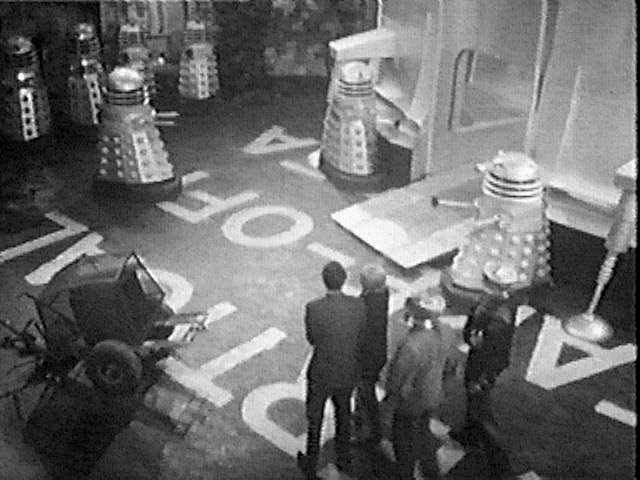
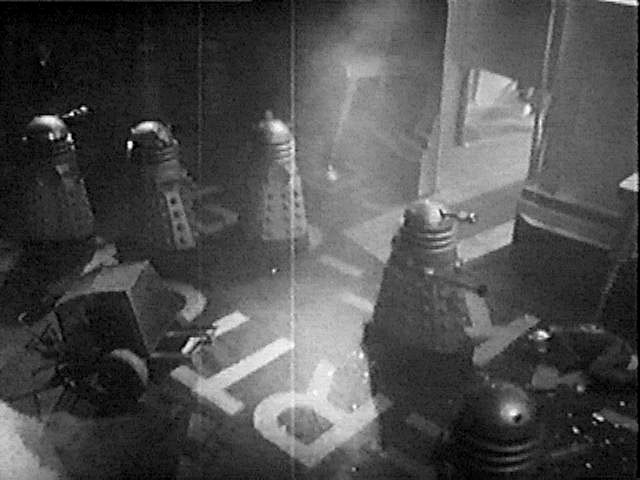
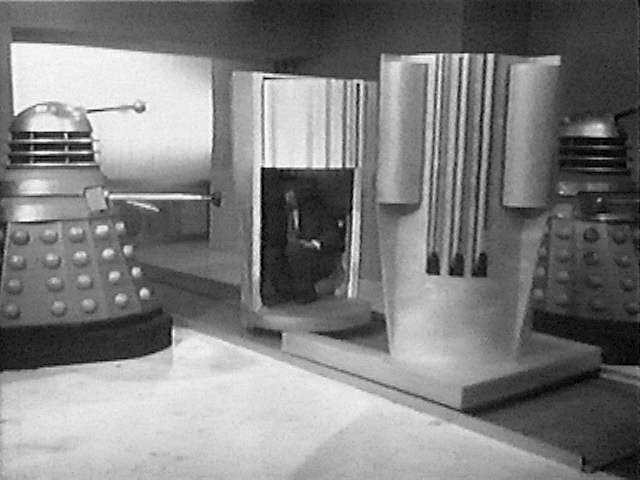
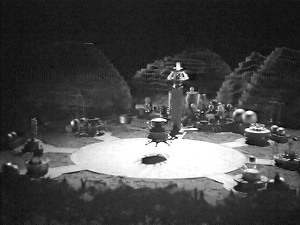
- st--1b22.jpg _53K B&W Doctor, Susan surrounded by Daleks (Hartnell, Ford) sc
- st--1b23.jpg _49K B&W Ian on floor after being shot by Dalek (Russell) sc
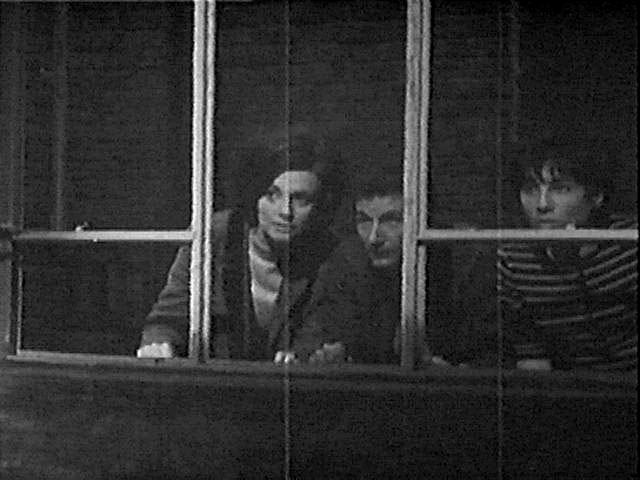
- st--1b24.jpg _51K B&W Barbara hides as Doctor, Ian, Susan enter cell (JHill, Hartnell, Russell, Ford) sc
- st--1b25.jpg _48K B&W Doctor exhausted (Hartnell) sc
- st--1b26.jpg _47K B&W Susan (Ford) sc
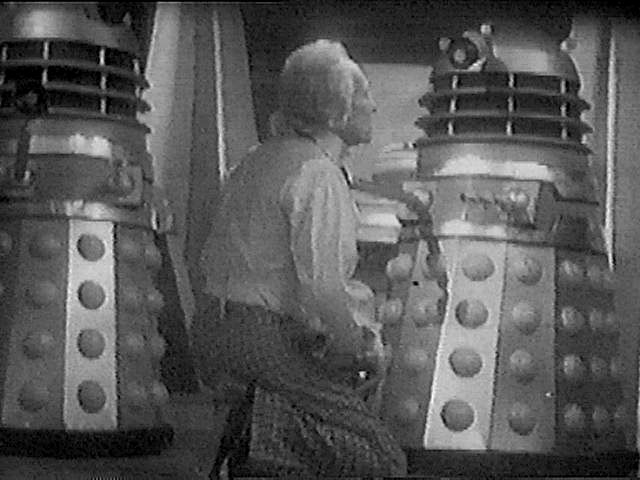
- st--1b27.jpg _56K B&W Doctor kneels in front of Daleks (Hartnell) sc
- st--1b28.jpg _52K B&W Susan makes it to the TARDIS, you can see the forest through the doors (Ford) sc
- st--1b29.jpg _48K B&W Susan inside the TARDIS (Ford) sc
- st--1b30.jpg _48K B&W Susan pauses near exterior door (Ford) sc
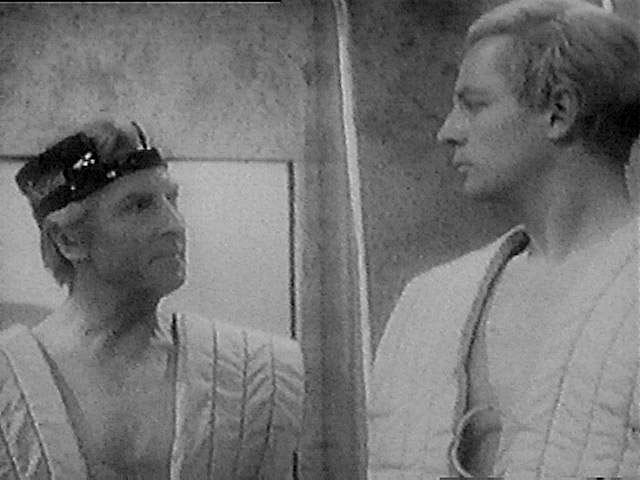
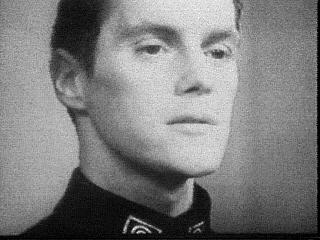
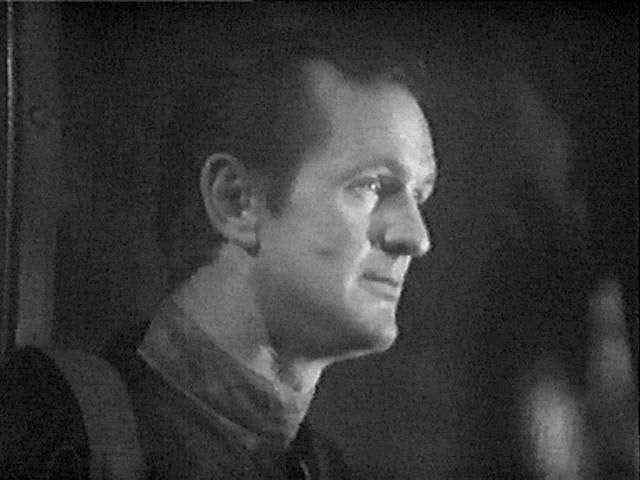
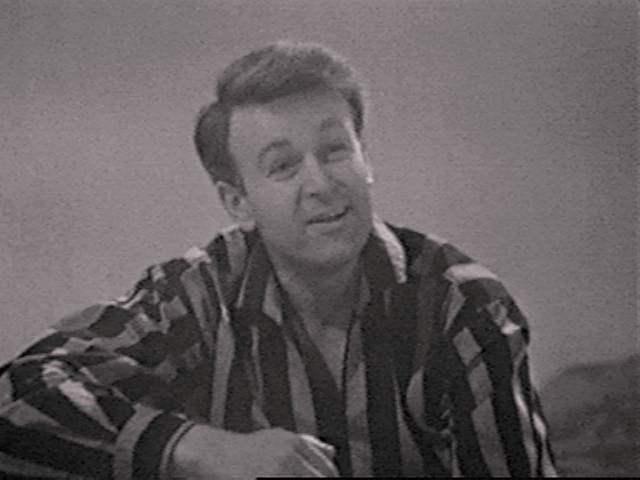
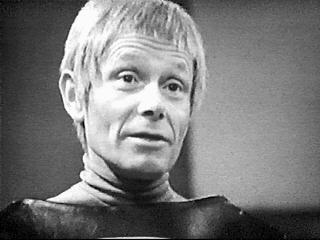
- st--1b31.jpg _50K B&W Alydon says hello (John Lee) sc
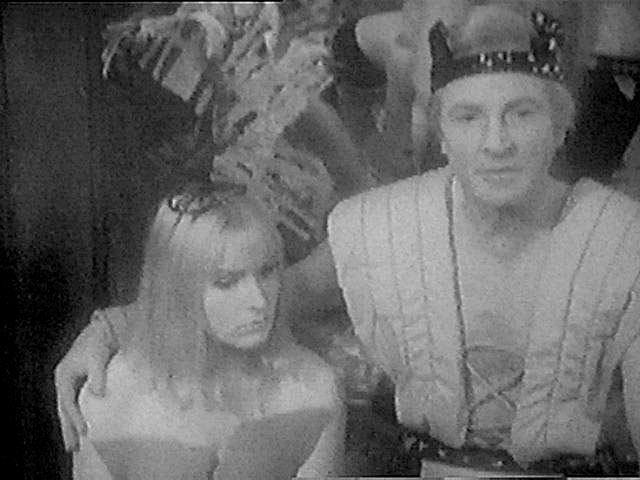
- st--1b32.jpg _53K B&W Susan frightened of Alydon (Ford, John Lee) sc
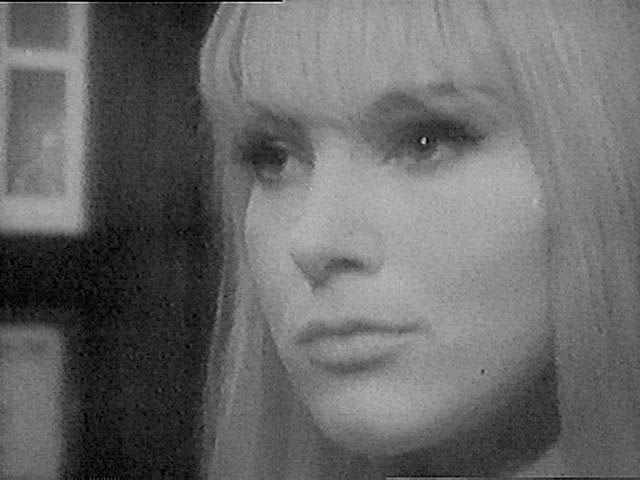
- st--1b33.jpg _45K B&W Susan grins (Ford) sc
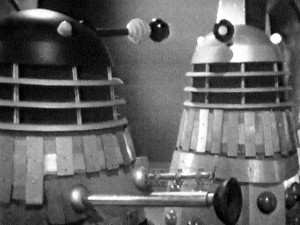
- st--1b34.jpg _44K B&W Dalek closeup sc
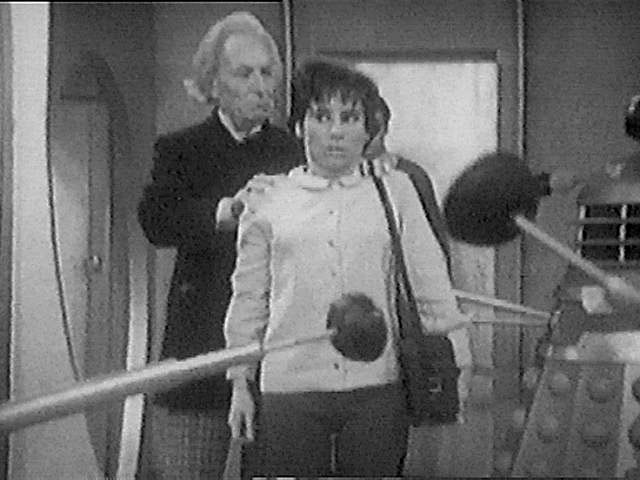
- st--1b35.jpg _48K B&W Doctor, Barbara, Dalek, Susan, Ian (Hartnell, JHill, Ford, Russell) sc
- st--1b36.jpg _50K B&W Dyoni and Temmosus (Virginia Wetherell, Alan Wheatley) sc
- st--1b37.jpg _44K B&W Dyoni (Virginia Wetherell) sc
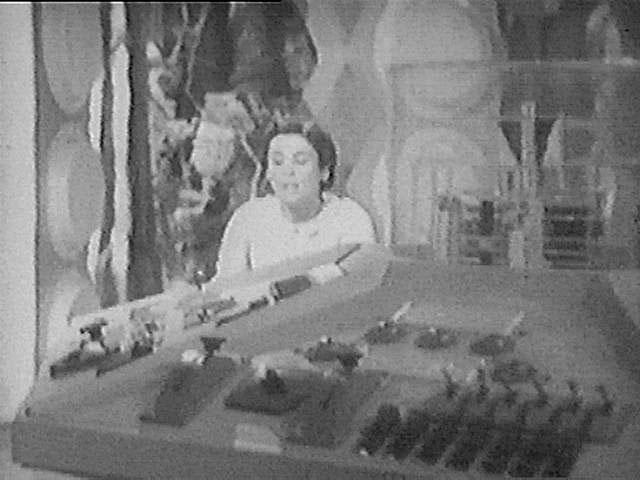
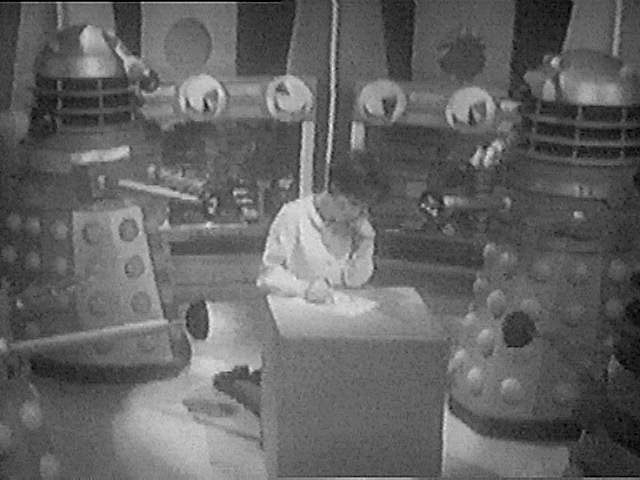
- st--1b38.jpg _51K B&W Susan writes letter for the Daleks (Ford) sc
- st--1b39.jpg _47K B&W Doctor, Barbara (Hartnell, JHill) sc
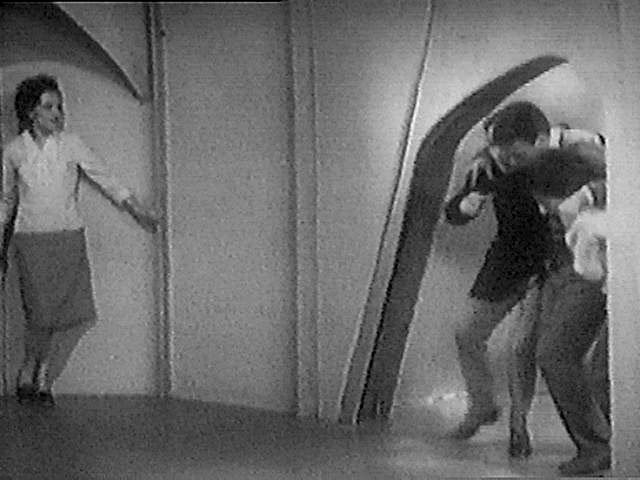
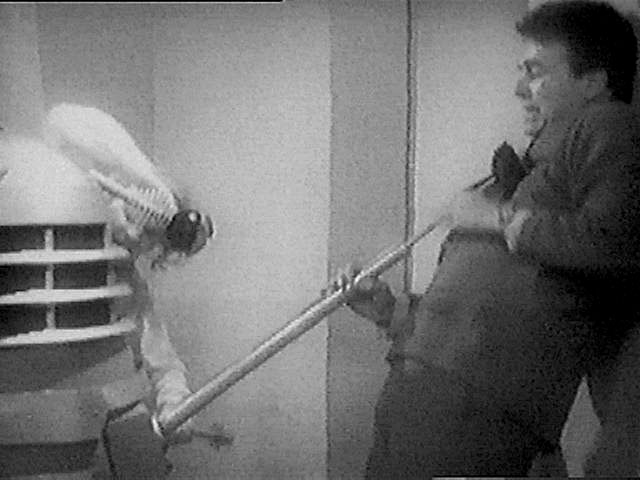
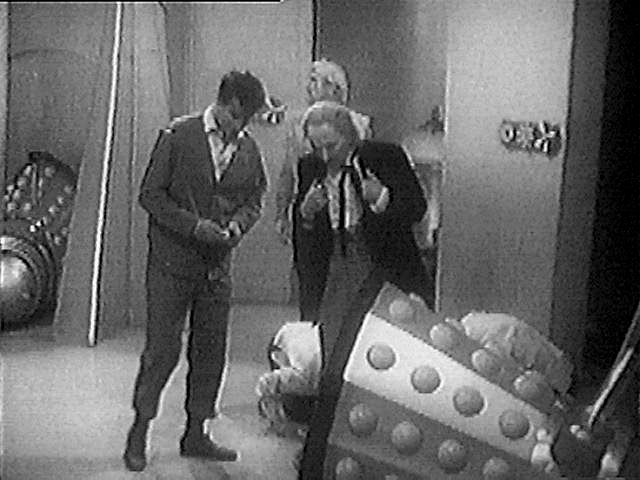
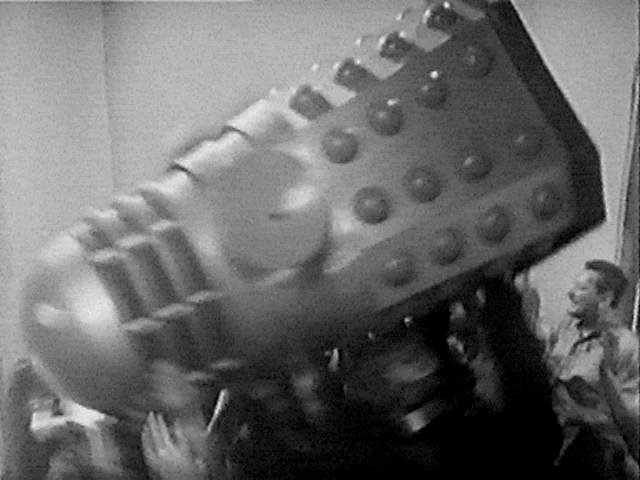
- st--1b40.jpg _48K B&W Doctor, Ian struggle with Dalek (Hartnell, Russell) sc
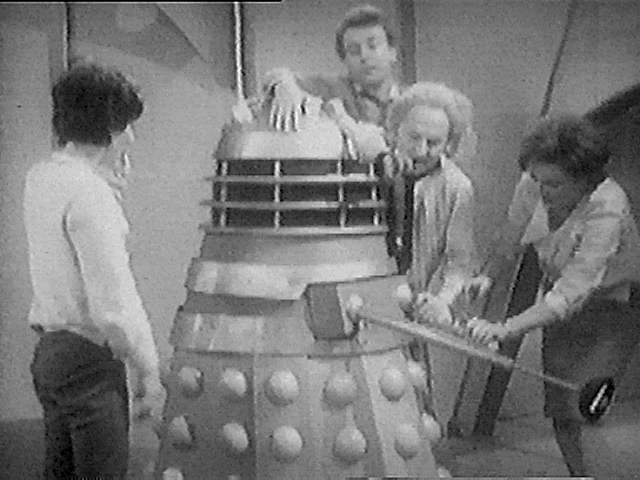
- st--1b41.jpg _53K B&W Susan, Ian, Doctor, Barbara move Dalek (Ford, Russell, Hartnell, JHill) sc
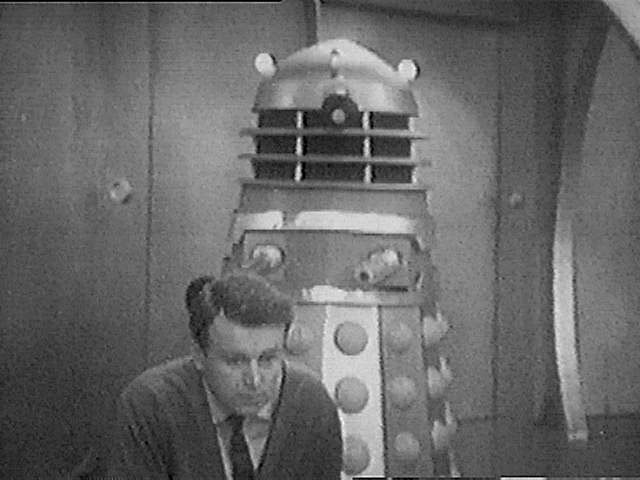
- st--1b42.jpg _51K B&W Ian inside Dalek, Doctor helping (Russell, Hartnell) sc
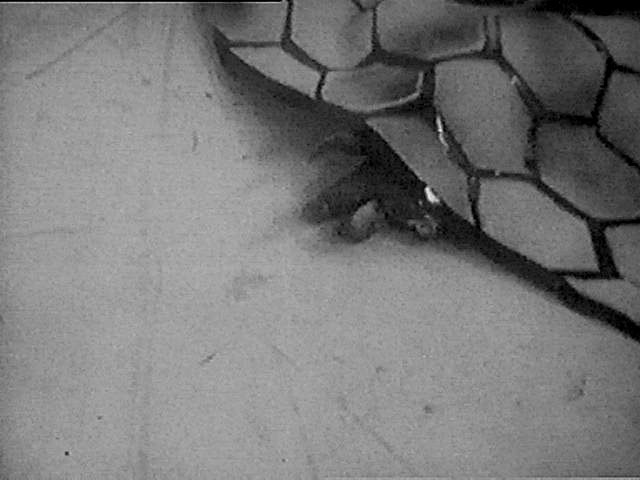
- st--1b43.jpg _44K B&W Dalek claw under Thal cloak sc
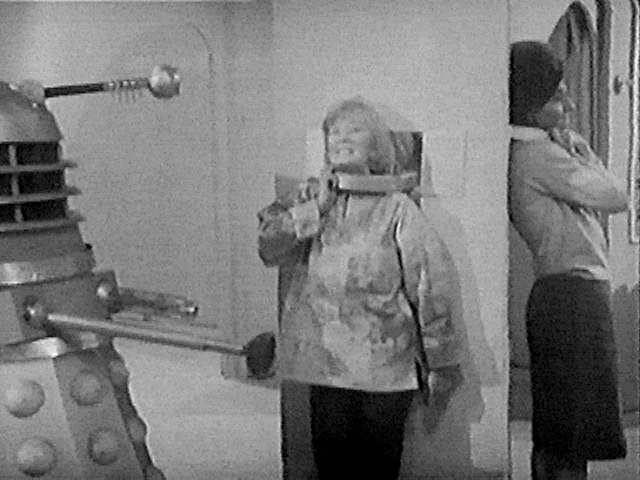
- st--1b44.jpg _47K B&W Susan captured by Dalek and Ian-Dalek (Ford) sc
- st--1b45.jpg _50K B&W Barbara, Doctor, Susan try to reopen Ian-Dalek (JHill, Hartnell, Ford) sc
- st--1b46.jpg _49K B&W Temmosus, Alydon in Dalek city (Alan Wheatley, John Lee) sc
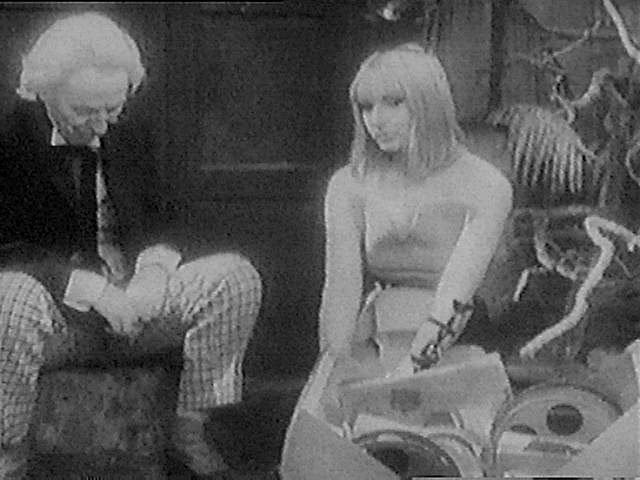
- st--1b47.jpg _55K B&W Doctor, Dyoni at TARDIS (Hartnell, Virginia Wetherell) sc
- st--1b48.jpg _45K B&W Ian realises they must go back (Russell) sc
- st--1b49.jpg _46K B&W Doctor (Hartnell) sc
- st--1b50.jpg _59K B&W Alydon, Thals, Ian holding Thal history (John Lee, Russell) sc
- st--1b51.jpg _61K B&W Dyoni, Alydon, Ian on ground having been slugged (Virginia Wetherell, John Lee, Russell) sc
- st--1b52.jpg _53K B&W Ganatus, Alydon, Ian (Philip Bond, John Lee, Russell) sc
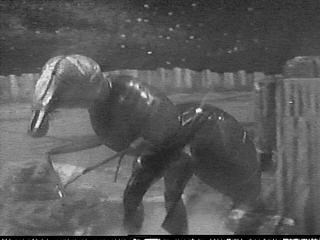
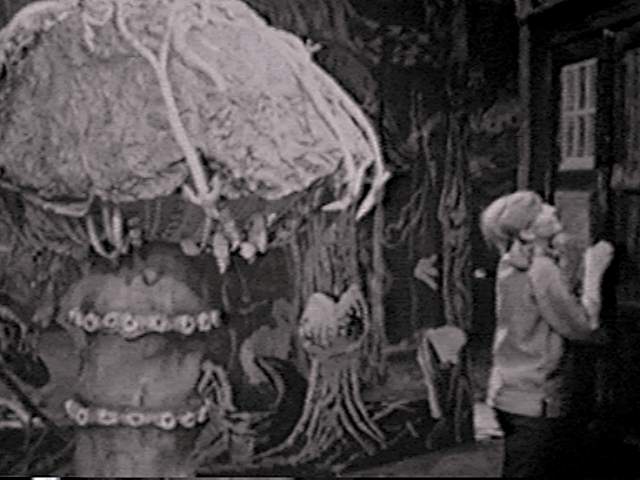
- st--1b53.jpg _51K B&W A creature rises from the water sc
- st--1b54.jpg _54K B&W Kristas stands guard (Jonathan Crane) sc
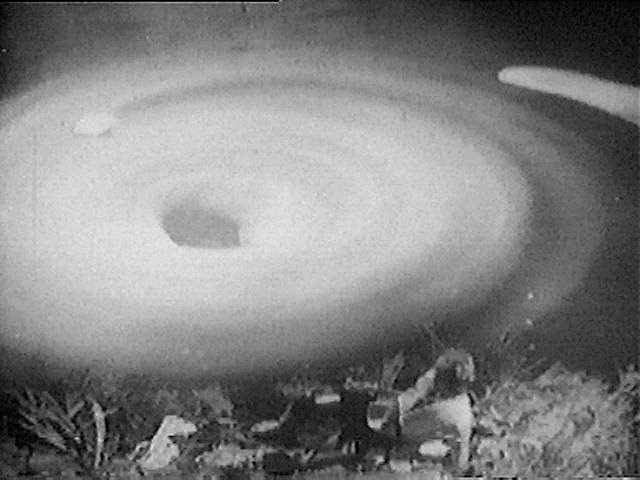
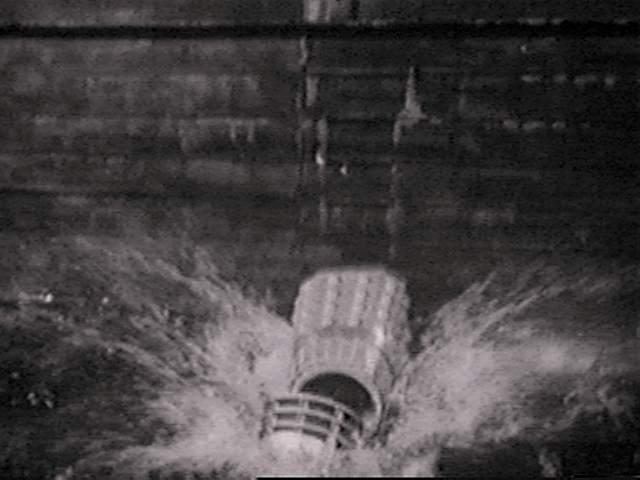
- st--1b55.jpg _46K B&W Elyon caught by whirlpool (Gerald Curtis) sc
- st--1b56.jpg _57K B&W Ganatus, Antodus (Philip Bond, Marcus Hammond) sc
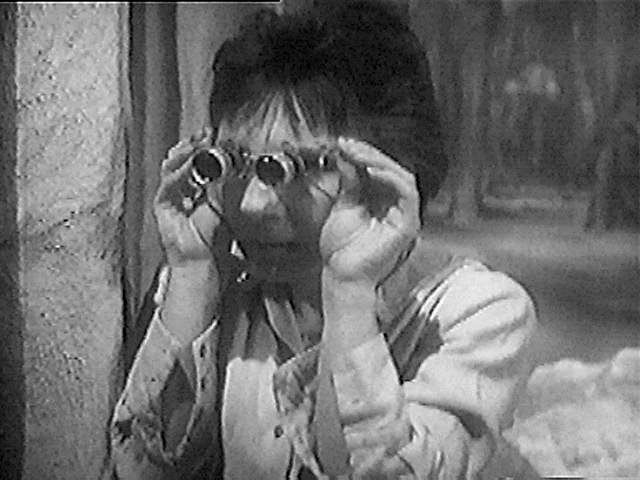
- st--1b57.jpg _56K B&W Susan with binocular glasses (Ford) sc
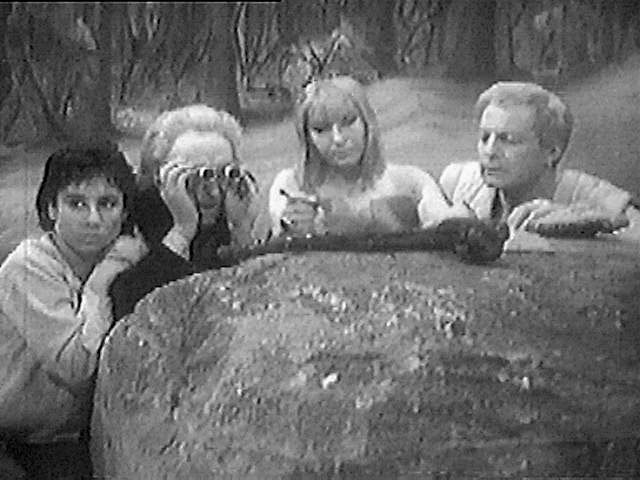
- st--1b58.jpg _60K B&W Susan, Doctor, Dyoni, Alydon (Ford, Hartnell, Virginia Wetherell, John Lee) sc
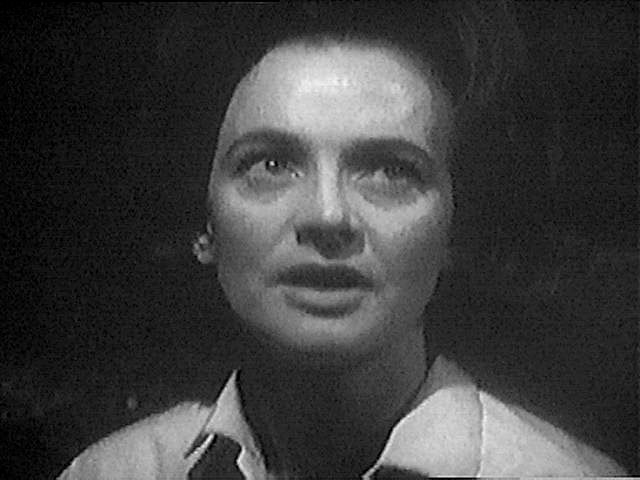
- st--1b59.jpg _47K B&W Barbara (JHill) sc
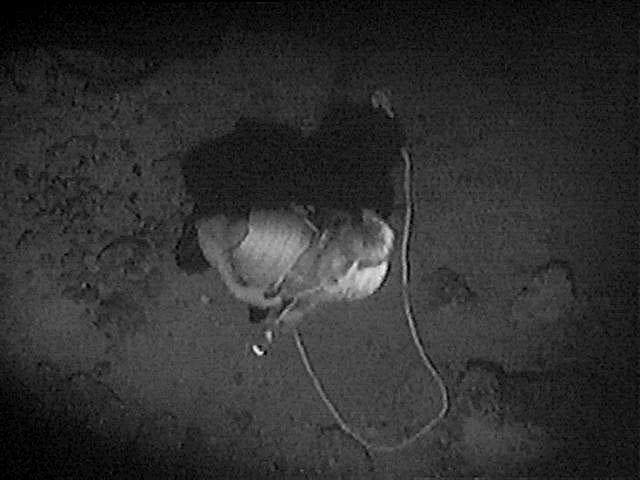
- st--1b60.jpg _47K B&W Ganatus calls from below (Philip Bond) sc
- st--1b61.jpg _49K B&W Thals signalling sc
- st--1b62.jpg _43K B&W Doctor (Hartnell) sc
- st--1b63.jpg _55K B&W Ian, Ganatus, Barbara, Antodus, Kristas (Russell, Philip Bond, JHill, Marcus Hammond, Jonathan Crane) sc
- st--1b64.jpg _57K B&W Doctor, Susan on floor captured by Daleks (Hartnell, Ford) sc
- st--1b65.jpg _58K B&W Doctor, Susan on floor (Hartnell, Ford) sc
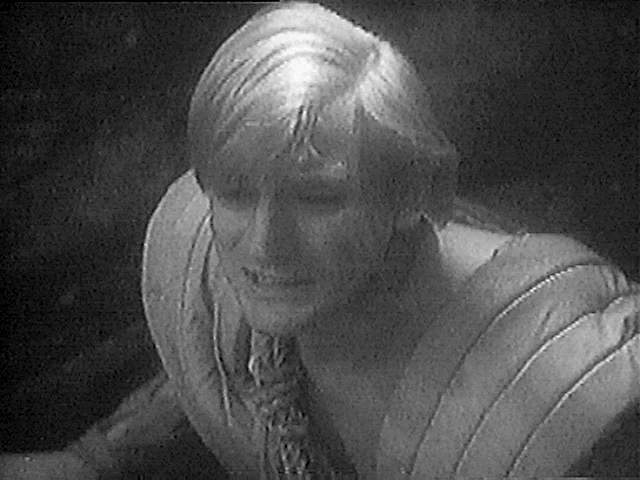
- st--1b66.jpg _46K B&W Antodus scared to leap (Marcus Hammond) sc
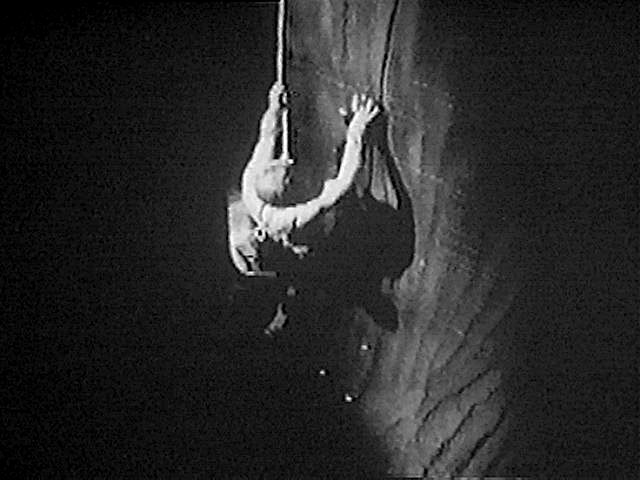
- st--1b67.jpg _50K B&W Antodus dangles (Marcus Hammond) sc
- st--1b68.jpg _52K B&W Ganatus (Philip Bond) sc
- st--1b69.jpg _54K B&W Doctor, Susan bound to wall (Hartnell, Ford) sc
- st--1b70.jpg _53K B&W Dalek in corridor sc
- st--1b71.jpg _49K B&W Barbara throws rock at Dalek (JHill) sc
- st--1b72.jpg _58K B&W Ian, Doctor, Ganatus survey results of battle (Russell, Hartnell, Philip Bond) sc
- st--1b73.jpg _53K B&W Doctor (Hartnell) sc
- st--1b74.jpg _56K B&W Doctor gesturing (Hartnell) sc
- st--1b75.jpg _60K B&W Ganatus and Barbara say goodbye (Philip Bond, JHill) sc
- st--1b76.jpg _63K B&W Susan, Barbara, Ian, Doctor on their way again (Ford, JHill, Russell, Hartnell) sc
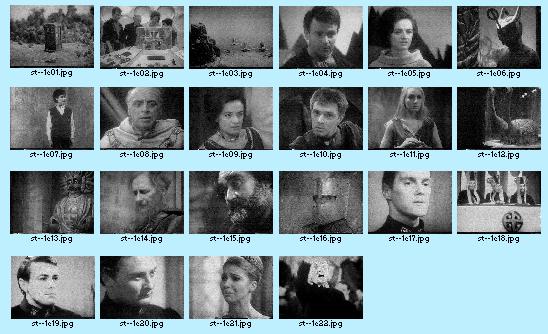
THE EDGE OF DESTRUCTION
All images added 15 Jun 97
- st--1c-c.jpg _24K The Edge of Destruction - CONTACT SHEET
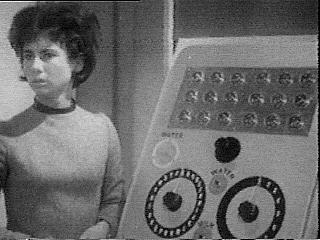
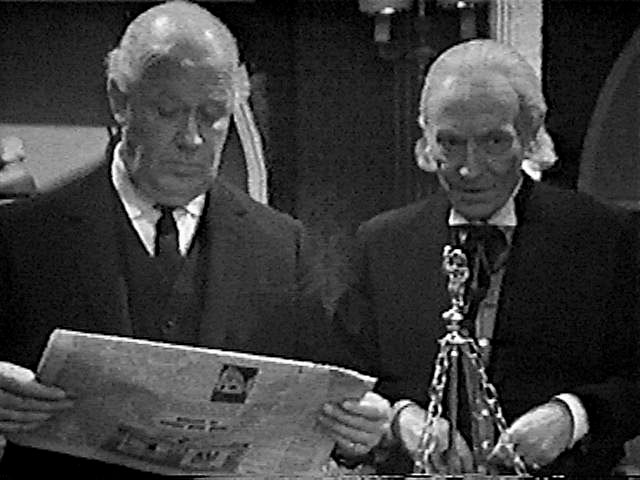
- st--1c01.jpg _24K B&W Barbara, Susan in console room - good view of fault locator (JHill, Ford) sc
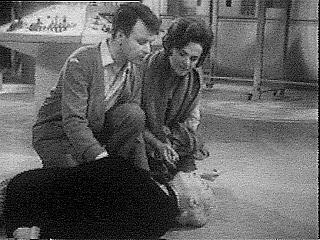
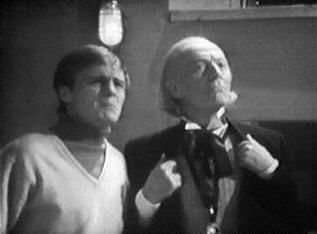
- st--1c02.jpg _23K B&W Ian, Barbara, Doctor on floor (Russell, JHill, Hartnell) sc
- st--1c03.jpg _17K B&W Susan at food machine (Ford) sc
- st--1c04.jpg _23K B&W Susan (Ford) sc
- st--1c05.jpg _23K B&W Ian and Susan with scissors (Russell, Ford) sc
- st--1c06.jpg _14K B&W Doctor with bandage (Hartnell) sc
- st--1c07.jpg _14K B&W Barbara (JHill) sc
- st--1c08.jpg _30K B&W Susan, Doctor, Ian in console room (Ford, Hartnell, Russell) sc
- st--1c09.jpg _17K B&W Ian (Russell) sc
- st--1c10.jpg _18K B&W Barbara, Doctor clutching lapels, Ian (JHill, Hartnell, Russell) sc
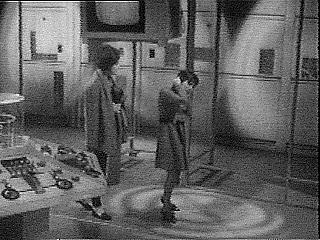
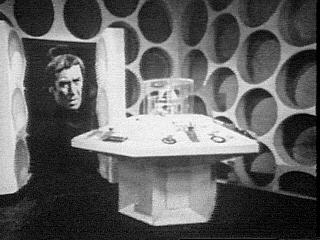
- st--1c11.jpg _26K B&W Doctor in darkened console room (Hartnell) sc
MARCO POLO
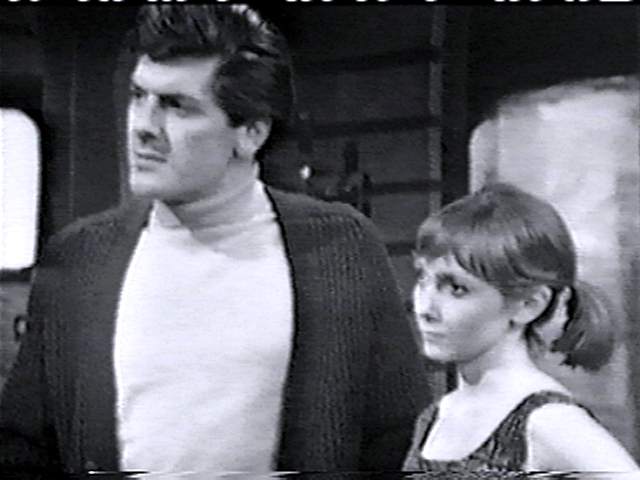
- st--1d01.jpg _21K Ian and Barbara (JHill, Russell)
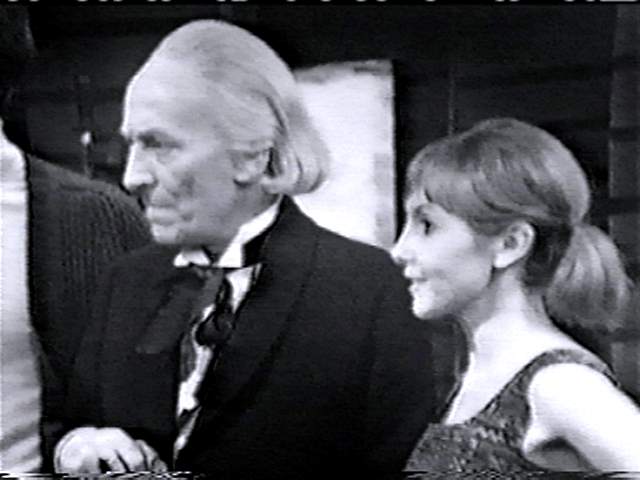
- st--1d02.jpg _19K Doctor and Susan (Hartnell, Ford)
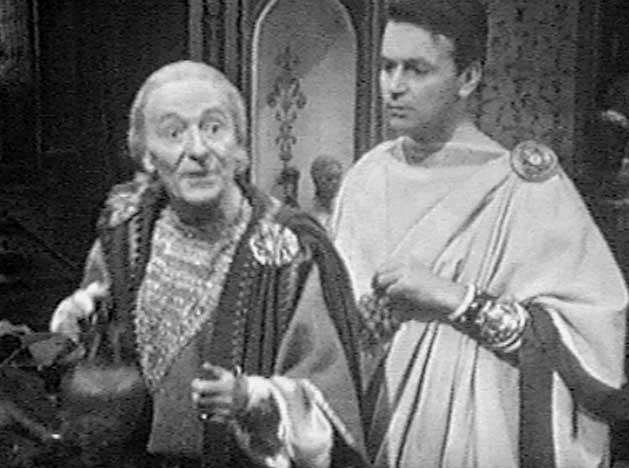
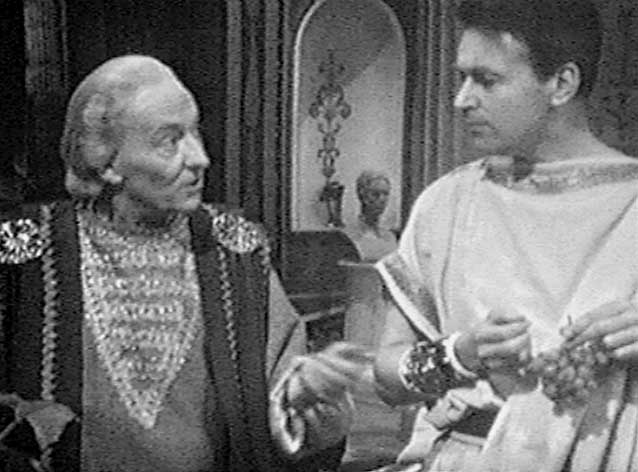
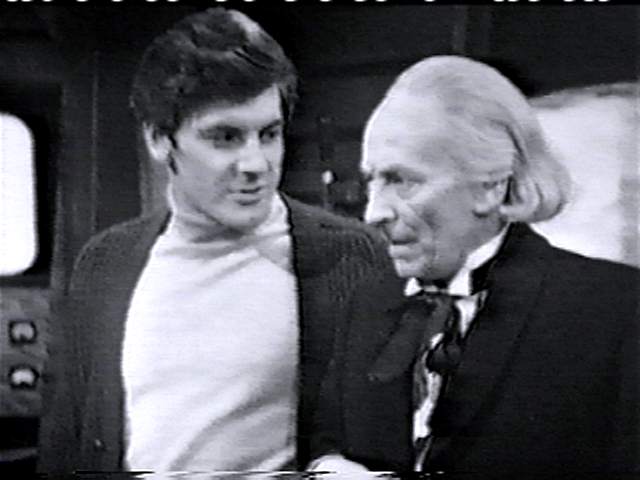
- st--1d03.jpg _77K Doctor, Susan, Ian (Hartnell, Ford, Russell)
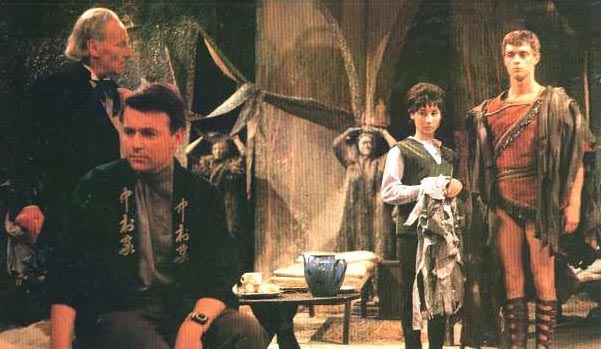
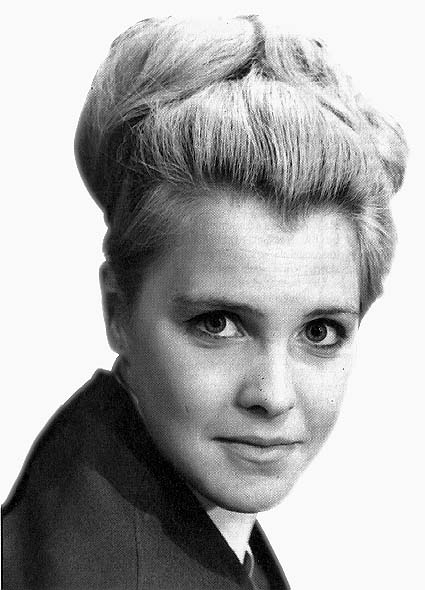
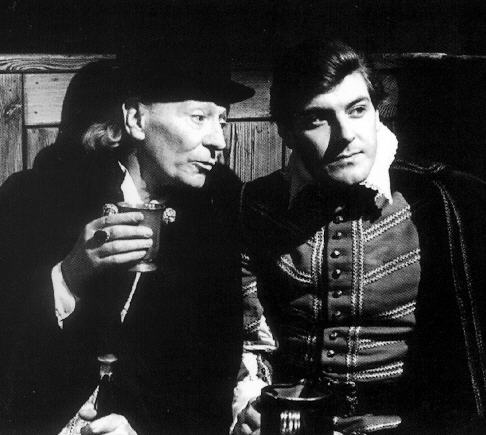
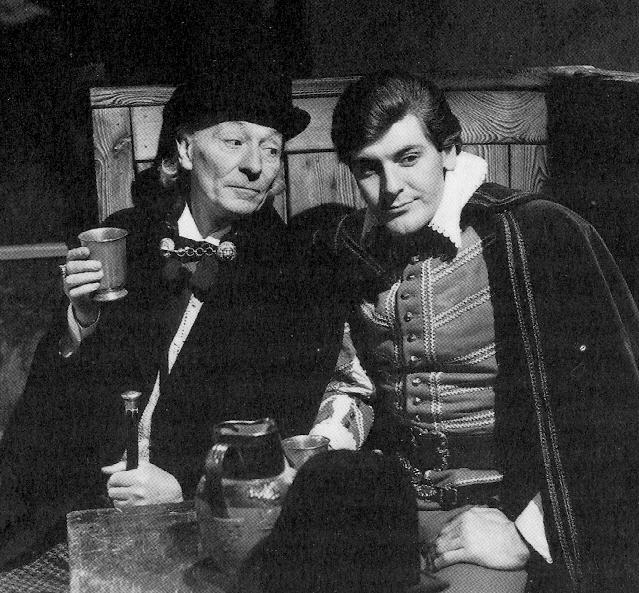
- st--1d04.jpg 121K Marco Polo, Susan, Doctor, Ian (Mark Eden, Ford, Hartnell, Russell) 28Aug98
THE KEYS OF MARINUS
- st--1e-c.jpg _46K The Keys of Marinus - CONTACT SHEET
- st--1e01.jpg _17K B&W TARDIS lands on glass beach sc
- st--1e02.jpg _17K B&W Ian, Doctor, Barbara, Susan behind console (Russell, Hartnell, JHill, Ford) sc
- st--1e03.jpg _14K B&W Three Voord submarines run ashore sc
- st--1e04.jpg _14K B&W Ian (Russell) sc
- st--1e05.jpg _14K B&W Barbara (JHill) sc
- st--1e06.jpg _16K B&W Voord sc
- st--1e07.jpg _15K B&W Susan (Ford) sc
- st--1e08.jpg _16K B&W Arbitan (George Couloris) sc
- st--1e09.jpg _15K B&W Barbara (JHill) sc
- st--1e10.jpg _16K B&W Altos (Robin Phillips) sc
- st--1e11.jpg _15K B&W Sabetha (Katharine Schofield) sc
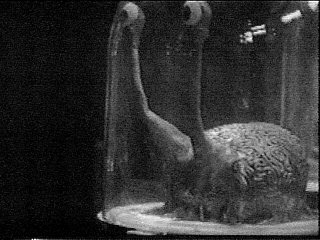
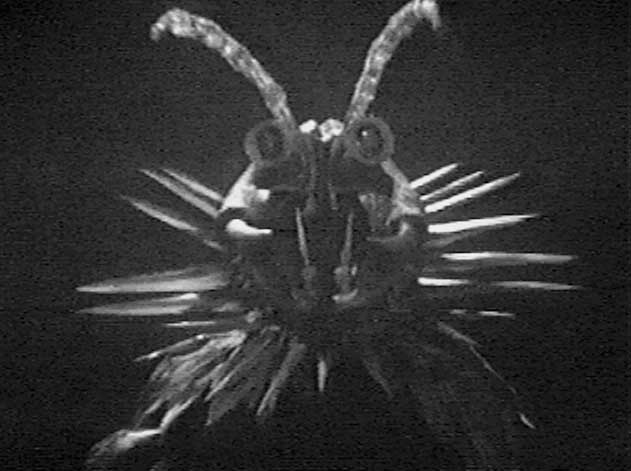
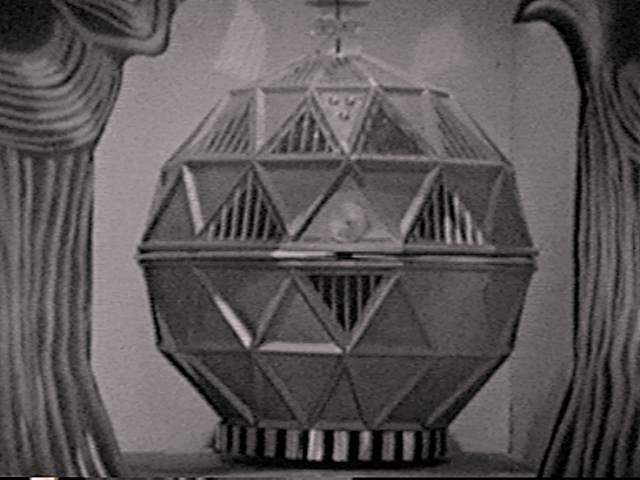
- st--1e12.jpg _22K B&W Morphoton Brain sc
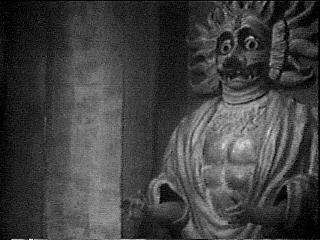
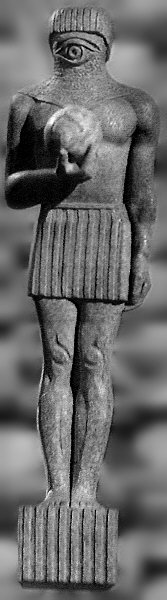
- st--1e13.jpg _16K B&W Stone idol sc
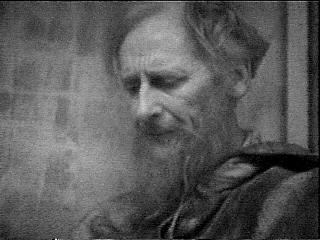
- st--1e14.jpg _14K B&W Darrius (Edmund Warwick) sc
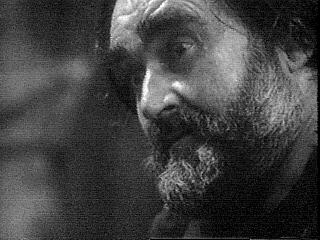
- st--1e15.jpg _17K B&W Vasor (Francis de Wolff) sc
- st--1e16.jpg _19K B&W Ice soldier comes to life sc
- st--1e17.jpg _16K B&W Tarron (Henley Thomas) sc
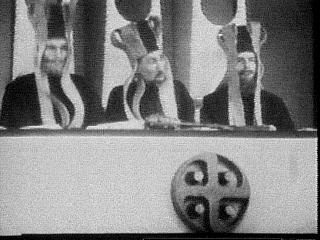
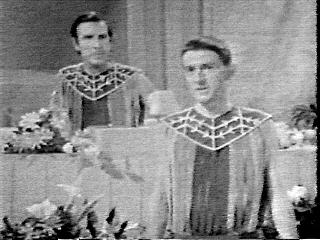
- st--1e18.jpg _18K B&W Judges (Alan James, Raf de la Torre, Peter Stenson) sc
- st--1e19.jpg _16K B&W Aydan (Martin Cort) sc
- st--1e20.jpg _14K B&W Eyesen (Donald Pickering) sc
- st--1e21.jpg _17K B&W Kala (Fiona Walker) sc
- st--1e22.jpg _12K B&W Doctor performing in court (Hartnell) sc
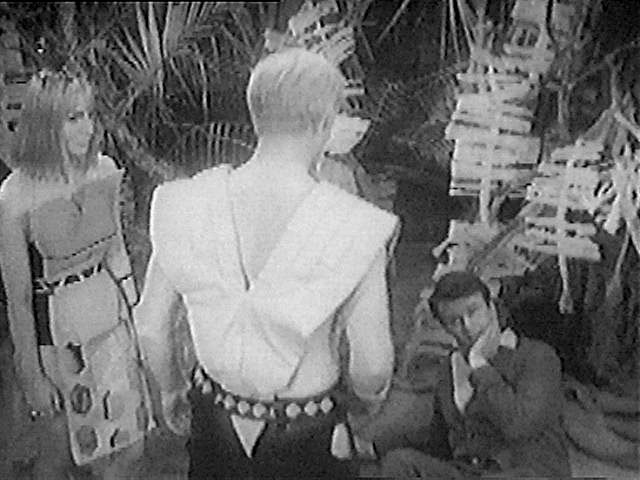
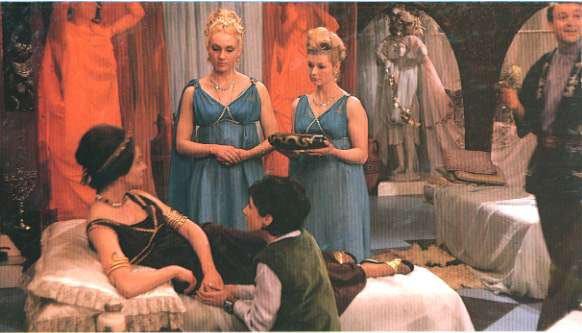
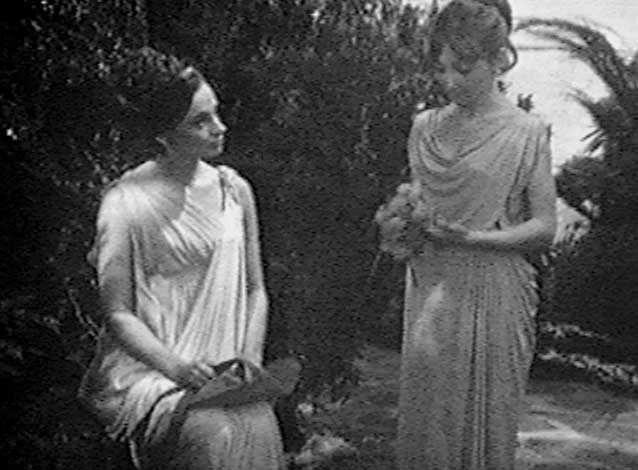
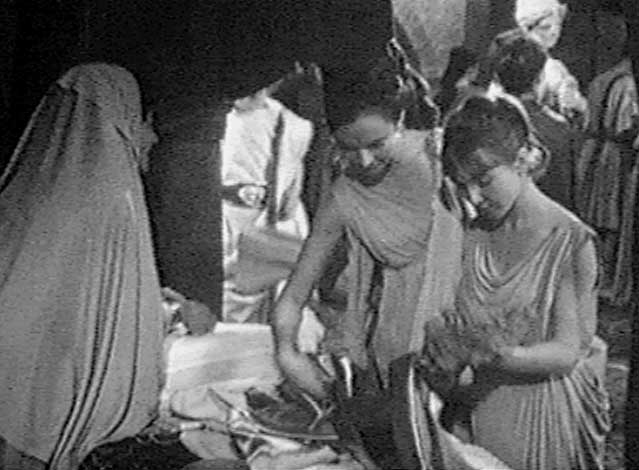
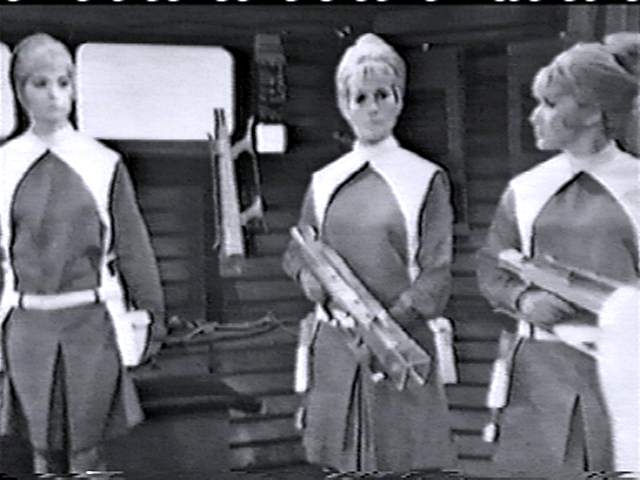
- st--1e23.jpg _41K Barbara, handmaidens, Susan, Ian (JHill, Ford, Russell) 28Aug98
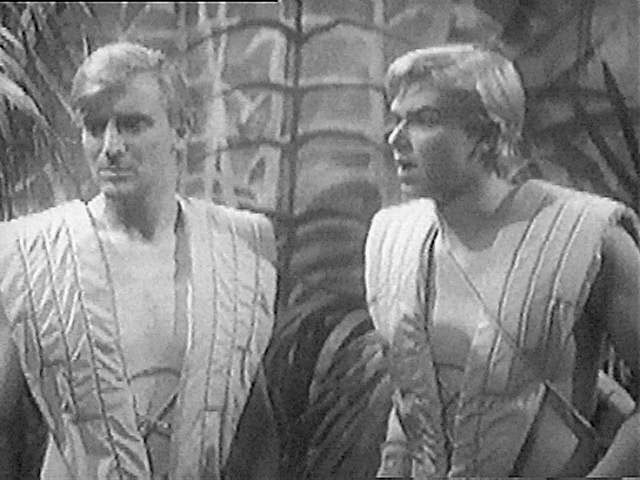
- st--1e24.jpg _52K Doctor, Ian, Susan, Altos (Hartnell, Russell, Ford, Robin Phillips) 28Aug98
THE AZTECS
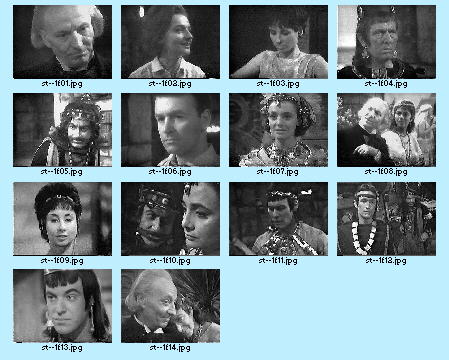
- st--1f-c.jpg _41K The Aztecs - CONTACT SHEET
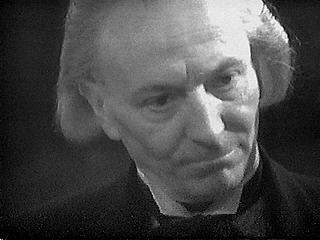
- st--1f01.jpg _12K B&W Doctor (Hartnell) sc
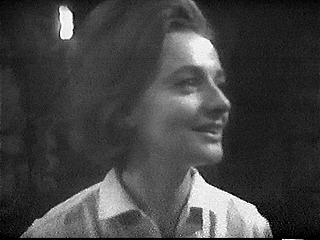
- st--1f02.jpg _12K B&W Barbara (JHill) sc
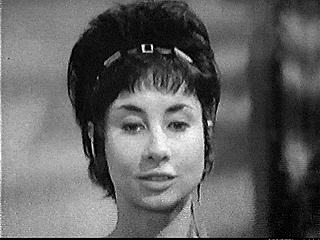
- st--1f03.jpg _13K B&W Susan (Ford) sc
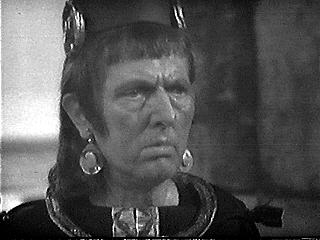
- st--1f04.jpg _13K B&W Autloc (Keith Pyott) sc
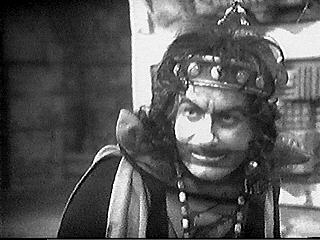
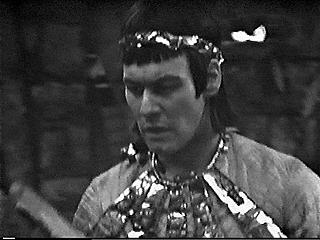
- st--1f05.jpg _17K B&W Tlotoxl (John Ringham) sc
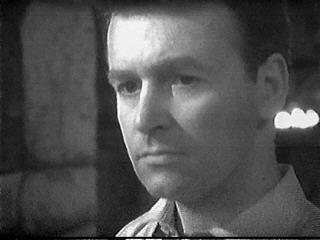
- st--1f06.jpg __9K B&W Ian (Russell) sc
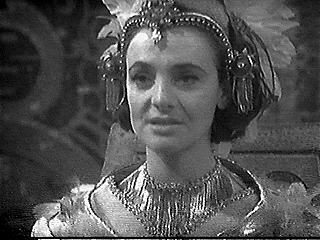
- st--1f07.jpg _19K B&W Barbara in Yetaxa's headdress (JHill) sc
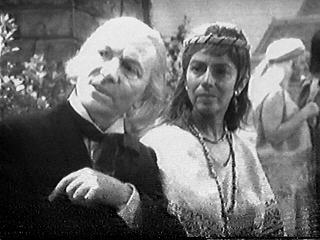
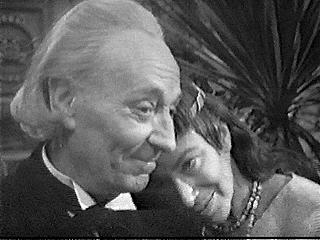
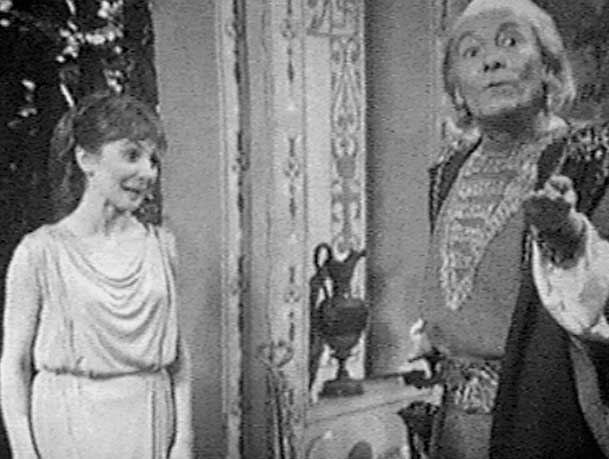
- st--1f08.jpg _16K B&W Doctor, Cameca (Hartnell, Margot van der Burgh) sc
- st--1f09.jpg _14K B&W Susan (Ford) sc
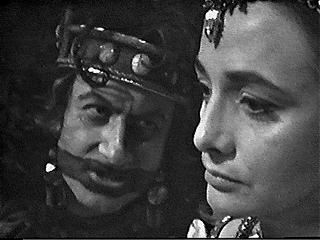
- st--1f10.jpg _14K B&W Tlotoxl threatens Barbara (John Ringham, JHill) sc
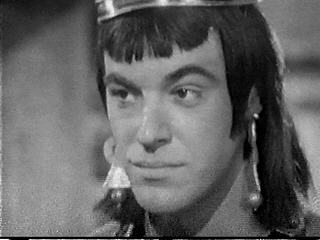
- st--1f11.jpg _15K B&W Ixta (Ian Cullen) sc
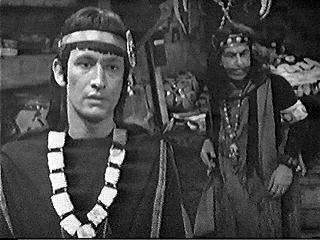
- st--1f12.jpg _18K B&W Tonila, Tlotoxl (Walter Randall, John Ringham) sc
- st--1f13.jpg _11K B&W The Perfect Victim (Andre Boulay) sc
- st--1f14.jpg _15K B&W Doctor, Cameca (Hartnell, Margot van der Burgh) sc
THE SENSORITES
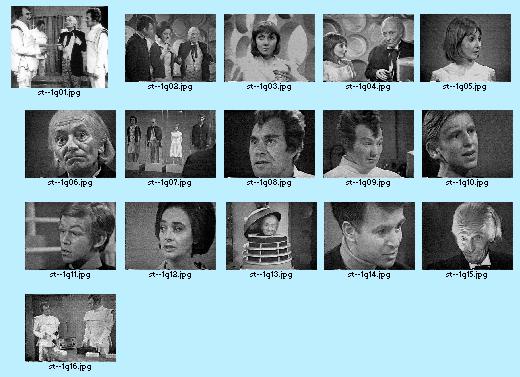
- st--1g-c.jpg _44K The Sensorites - CONTACT SHEET
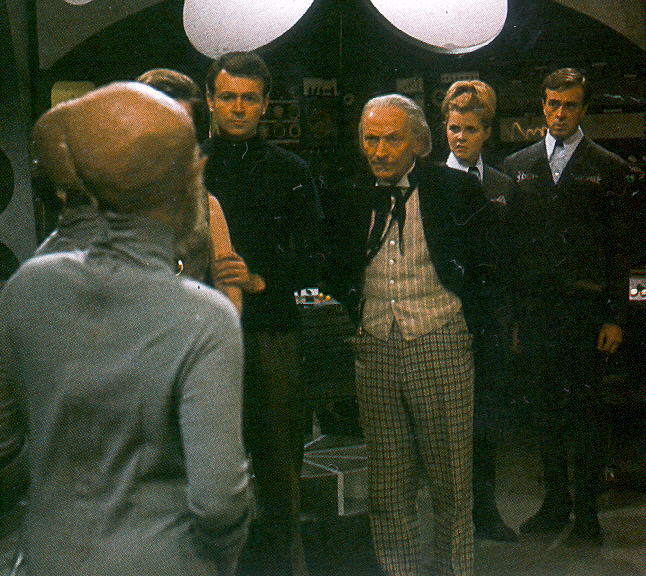
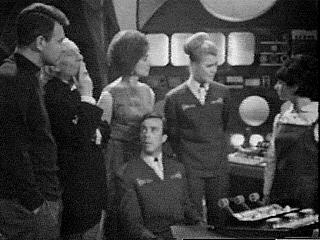
- st--1g01.jpg _91K Sensorites, Ian, Doctor, Carol, Captain Maitland (Russell, Hartnell, Ilona Rodgers, Lorne Cossette)
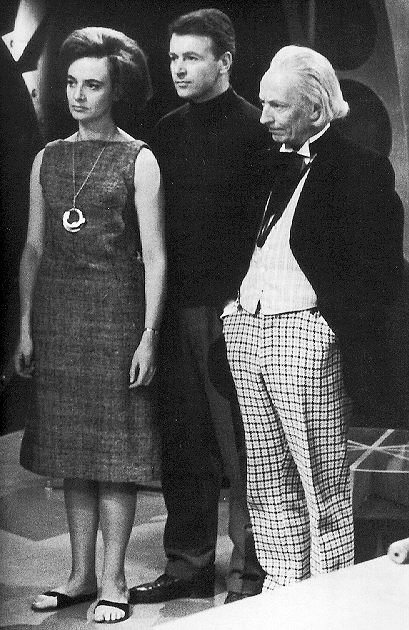
- st--1g02.jpg _77K B&W Barbara, Ian, Doctor (JHill, Russell, Hartnell)
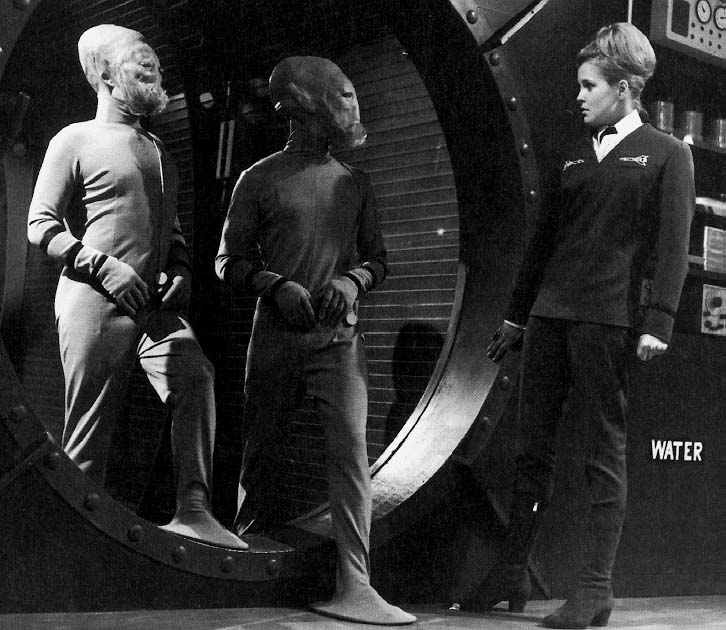
- st--1g03.jpg _72K B&W Sensorites, Carol (Ilona Rodgers) 16Mar97
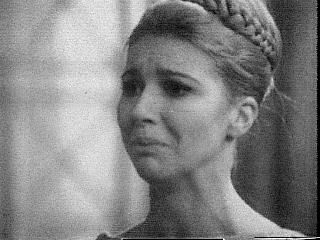
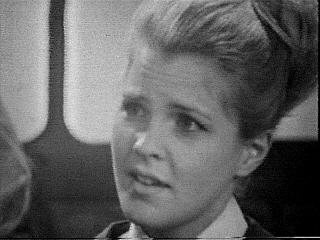
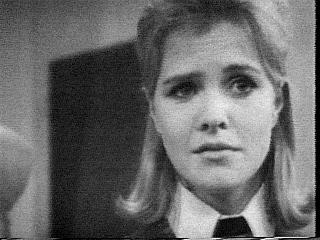
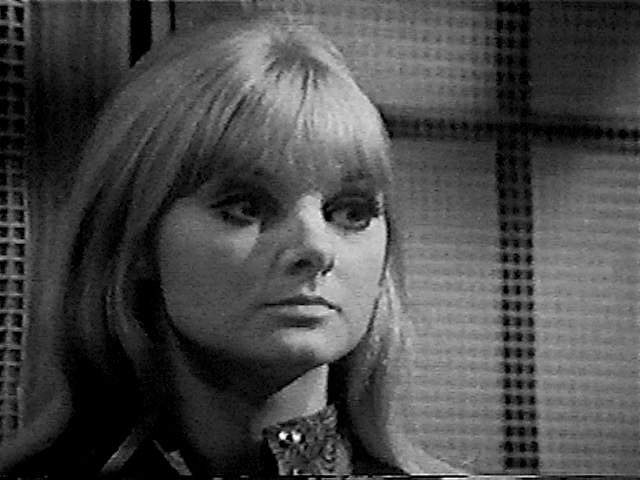
- st--1g04.jpg _44K B&W Carol closeup (Ilona Rodgers) 16Mar97
- st--1g05.jpg _13K B&W Carol (Ilona Rodgers) sc 15Jun97
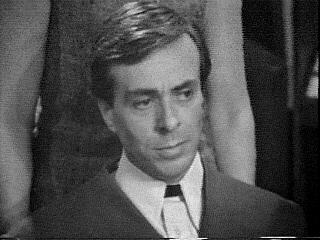
- st--1g06.jpg _15K B&W Captain Maitland (Lorne Cossette) sc 15Jun97
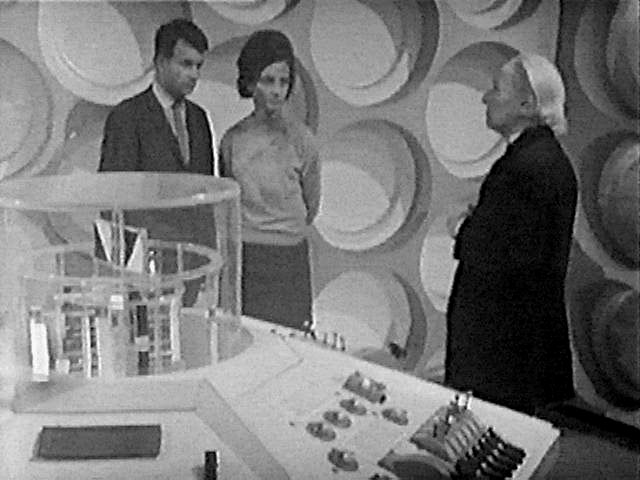
- st--1g07.jpg _18K B&W Ian, Doctor, Barbara, Captain Maitland, Carol, Susan (Russell, Hartnell, JHill, Lorne Cossette, Ilona Rodgers, Ford) sc 15Jun97
- st--1g08.jpg _18K B&W Sensorite stealing TARDIS lock sc 15Jun97
- st--1g09.jpg _15K B&W Carol, Ian (Ilona Rodgers, Russell) sc 15Jun97
- st--1g10.jpg _15K B&W John (Stephen Dartnell) sc 15Jun97
- st--1g11.jpg _14K B&W Ian's first glimpse of a Sensorite (Russell) sc 15Jun97
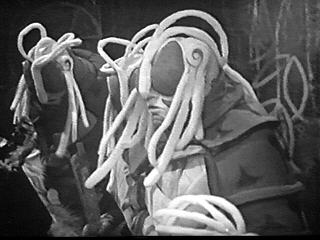
- st--1g12.jpg _14K B&W Sensorites sc 15Jun97
- st--1g13.jpg _12K B&W Susan (Ford) sc 15Jun97
- st--1g14.jpg _14K B&W Doctor (Hartnell) sc 15Jun97
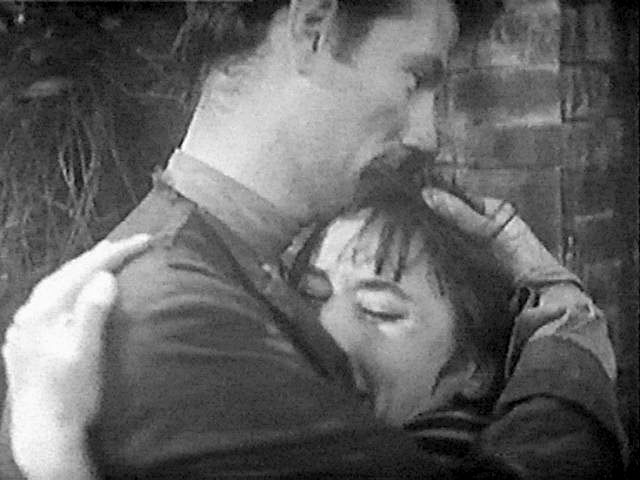
- st--1g15.jpg _15K B&W Doctor hugs Susan (Hartnell, Ford) sc 15Jun97
- st--1g16.jpg _16K B&W First Elder (Eric Francis) sc 15Jun97
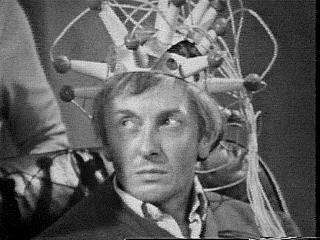
- st--1g17.jpg _17K B&W John wearing mind restorer (Stephen Dartnell) sc 15Jun97
- st--1g18.jpg _17K B&W Doctor working on cure (Hartnell) sc 15Jun97
- st--1g19.jpg _16K B&W Carol (Ilona Rodgers) sc 15Jun97
- st--1g20.jpg _18K B&W Commander (John Bailey) sc 15Jun97
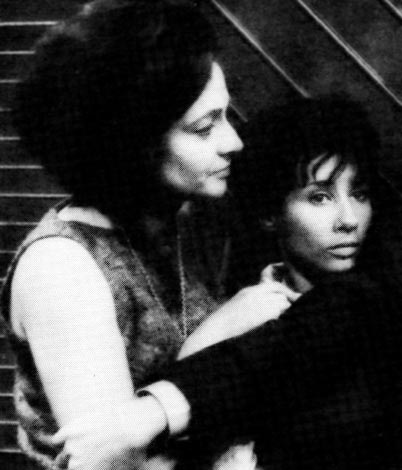
- st--1g21.jpg _31K B&W Barbara, Susan (JHill, Ford) 28Aug98
THE REIGN OF TERROR
-
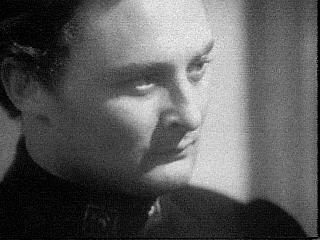
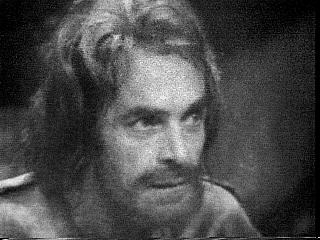
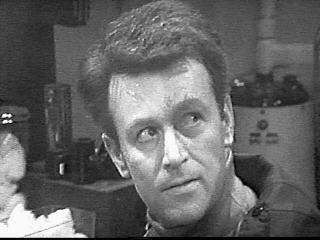
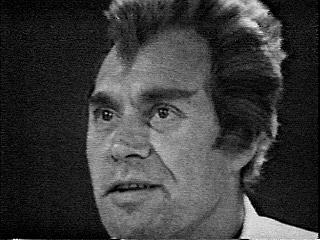
 st--1h01.jpg _12K B&W Doctor (Hartnell) sc 21Mar99
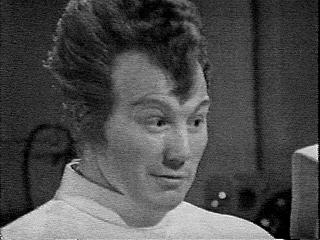
- st--1h02.jpg _12K B&W Ian (Russell) sc 21Mar99
- st--1h03.jpg _14K B&W Doctor (Hartnell) sc 21Mar99
PLANET OF GIANTS
- st--1j-c.jpg _32K Planet of Giants - CONTACT SHEET
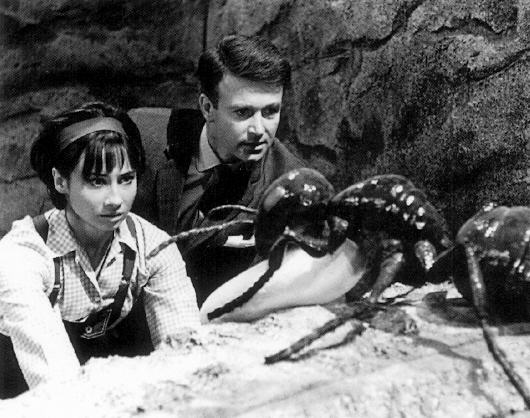
- st--1j01.jpg _48K B&W Susan, Ian, giant ant publicity still (Ford, Russell)
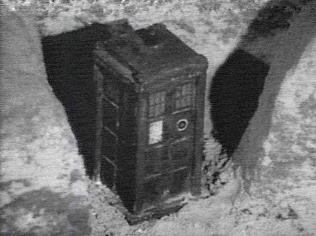
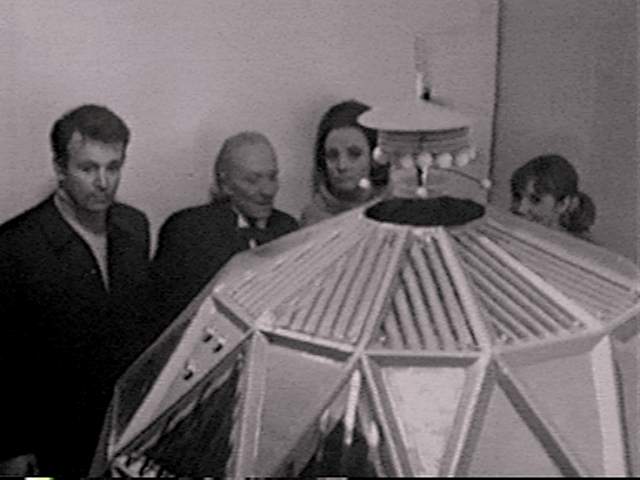
- st--1j02.jpg _15K B&W The miniature TARDIS sc
- st--1j03.jpg _16K B&W Barbara, Doctor, Susan (JHill, Hartnell, Ford) sc
- st--1j04.jpg _14K B&W Susan (Ford) sc
- st--1j05.jpg _15K B&W Doctor (Hartnell) sc
- st--1j06.jpg _15K B&W Barbara, Doctor (JHill, Hartnell) sc
- st--1j07.jpg _18K B&W Ian, Susan (Russell, Ford) sc
- st--1j08.jpg _16K B&W Farrow (Frank Crawshaw) sc
- st--1j09.jpg _16K B&W Ian (Russell) sc
- st--1j10.jpg _14K B&W Smithers (Reginald Barratt) sc
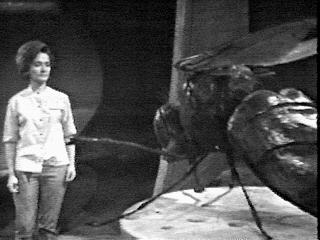
- st--1j11.jpg _14K B&W Barbara and a giant fly (JHill, Seth Brundle) sc
- st--1j12.jpg _15K B&W Forester (Alan Tilvern) sc
- st--1j13.jpg _16K B&W Bert, Hilda (Fred Ferris, Rosemary Johnson) sc
THE DALEK INVASION OF EARTH
All images added 14Aug99
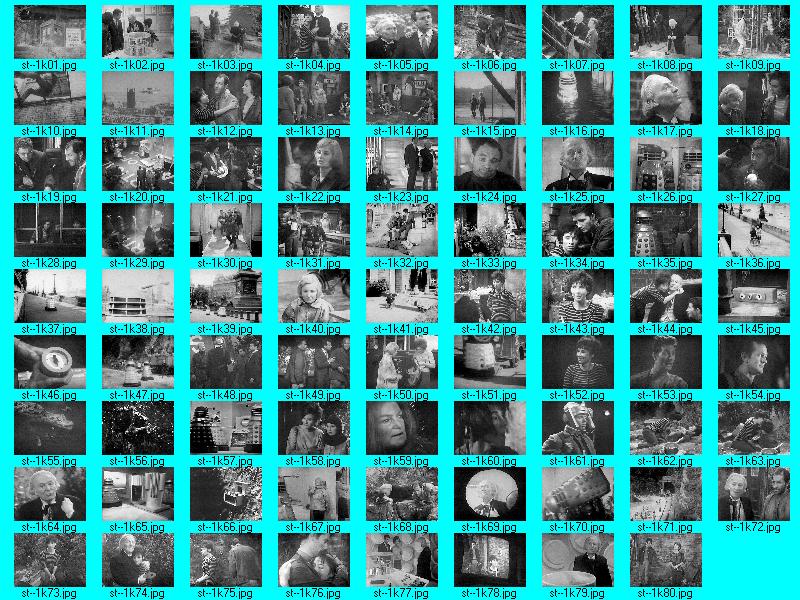
- st--1k-c.jpg 164K The Dalek Invasion of Earth - CONTACT SHEET
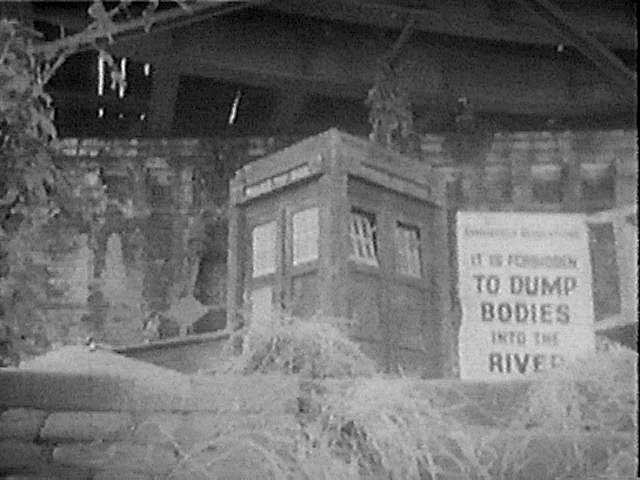
- st--1k01.jpg _53K B&W TARDIS lands near river sc
- st--1k02.jpg _54K B&W Barbara, Ian, Doctor, Susan realise they're on Earth (JHill, Russell, Hartnell, Ford) sc
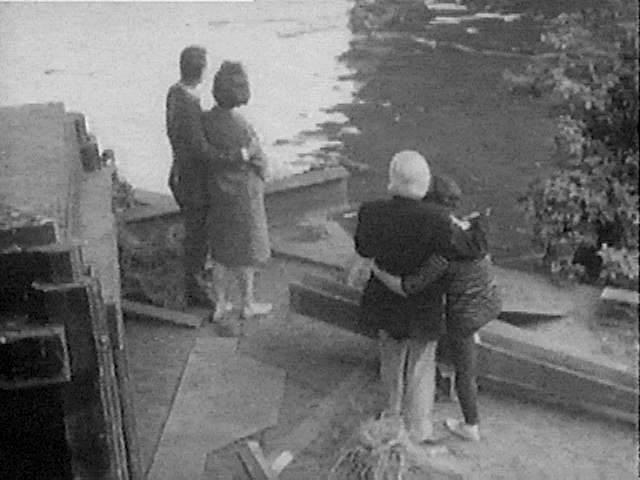
- st--1k03.jpg _51K B&W Ian, Barbara and Doctor, Susan look out over river (Russell, JHill, Hartnell, Ford) sc
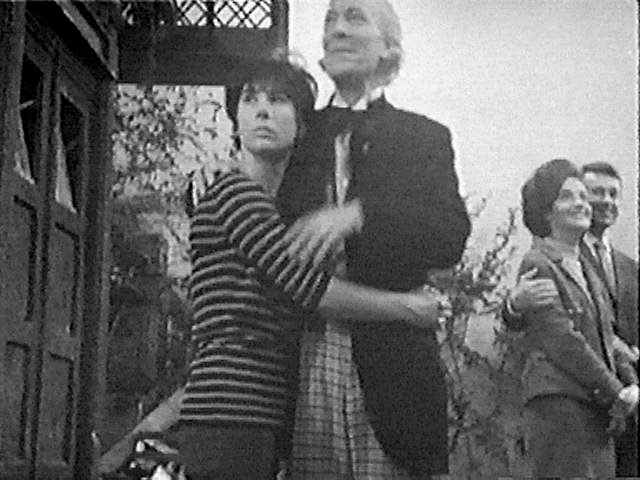
- st--1k04.jpg _61K B&W Susan, Doctor, Barbara, Ian (Ford, Hartnell, JHill, Russell) sc
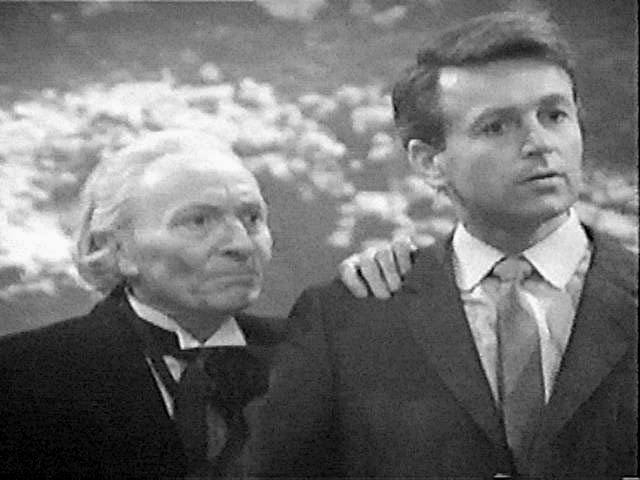
- st--1k05.jpg _50K B&W Doctor, Ian (Hartnell, Russell) sc
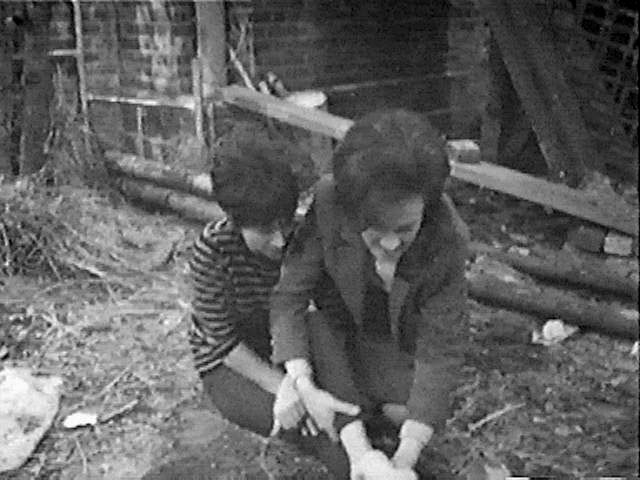
- st--1k06.jpg _61K B&W Susan on ground, Barbara tending to Susan's foot (Ford, JHill) sc
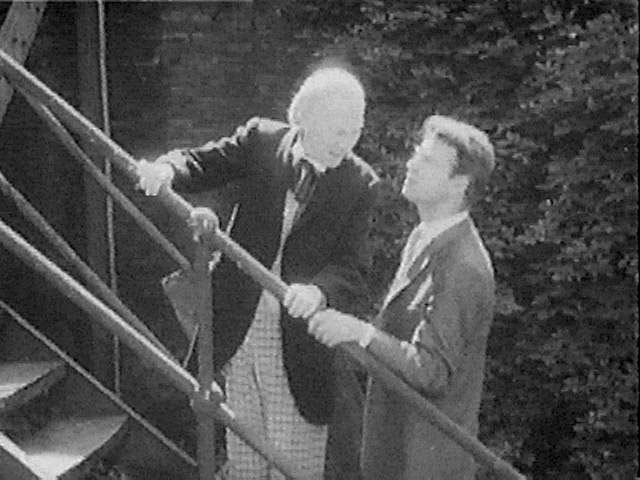
- st--1k07.jpg _59K B&W Doctor, Ian on stairs of warehouse (Hartnell, Russell) sc
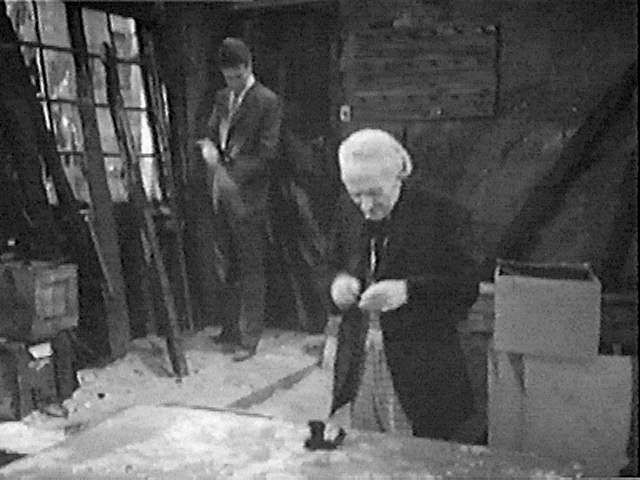
- st--1k08.jpg _54K B&W Ian, Doctor inside warehouse (Russell, Hartnell) sc
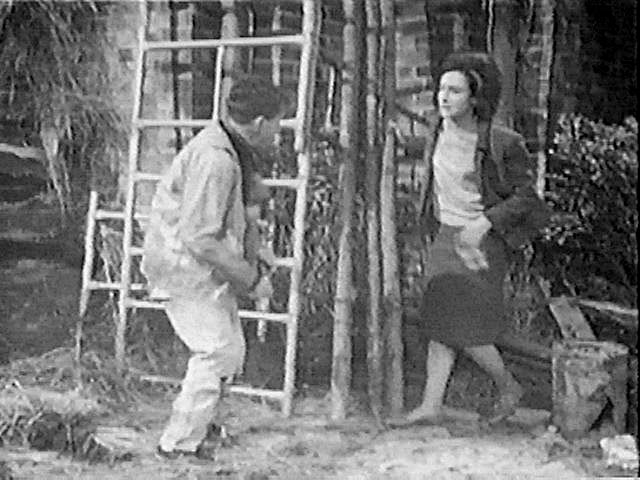
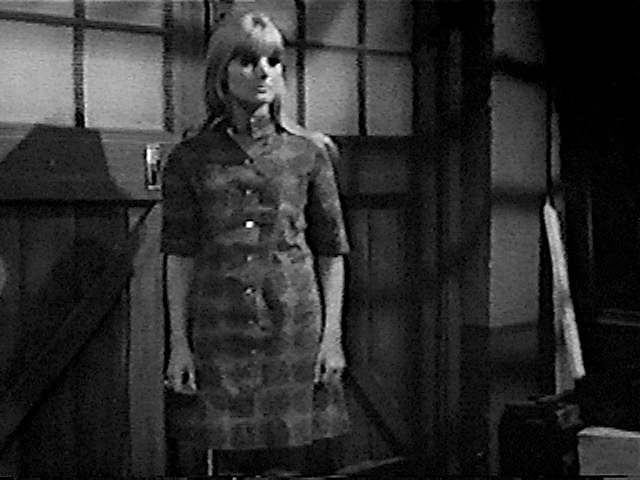
- st--1k09.jpg _69K B&W ?, Barbara (JHill) sc
- st--1k10.jpg _53K B&W Ian falls out of door (Russell) sc
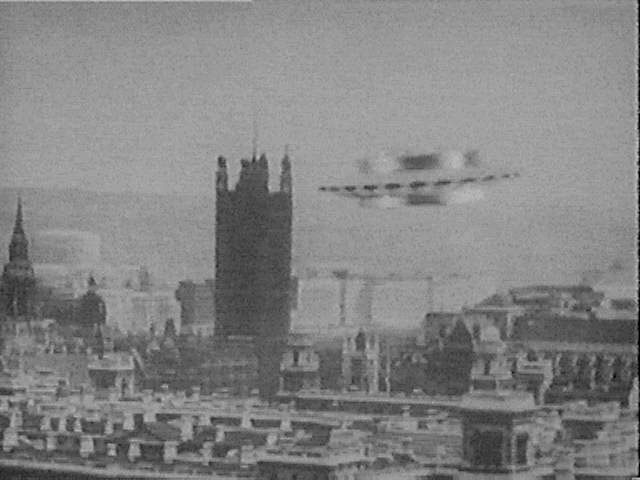
- st--1k11.jpg _46K B&W Saucer over London sc
- st--1k12.jpg _53K B&W Susan carried by Carl Tyler, Barbara (Ford, Bernard Kay, JHill) sc
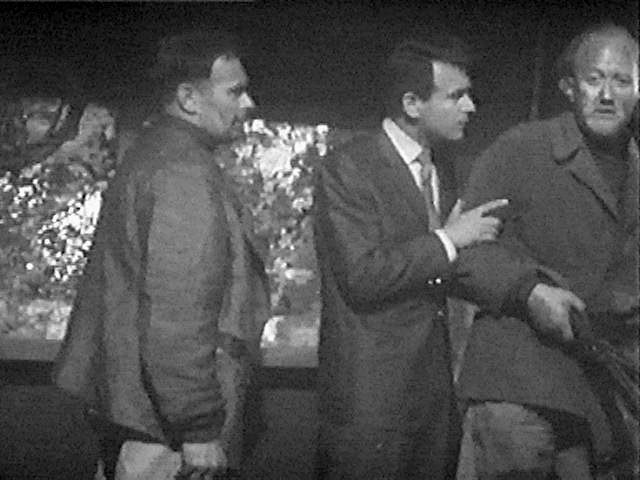
- st--1k13.jpg _53K B&W Barbara, David Campbell, Carl Tyler, Susan (JHill, Peter Fraser, Bernard Kay, Ford) sc
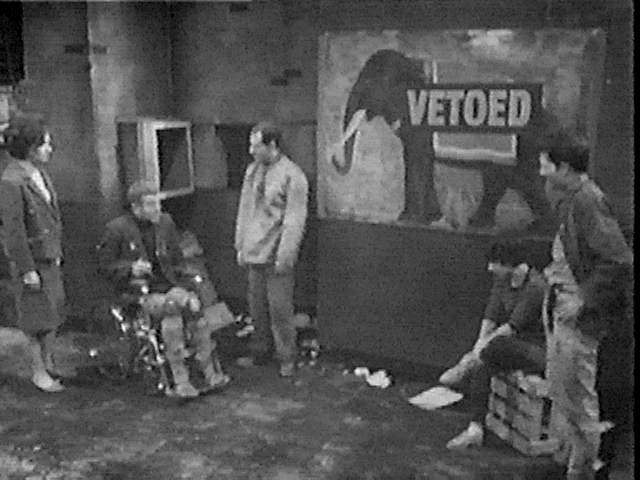
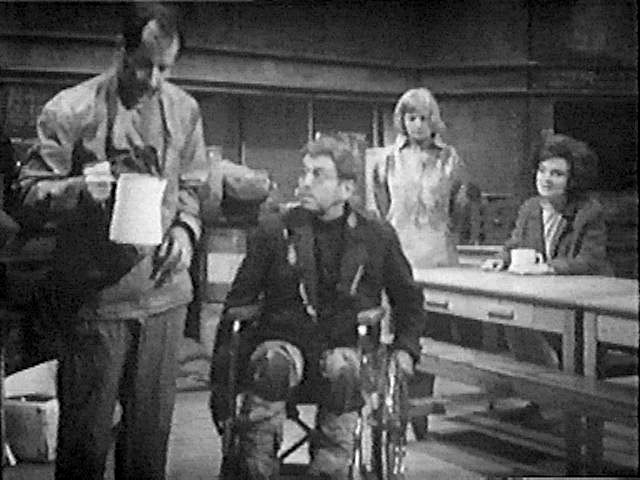
- st--1k14.jpg _55K B&W Barbara, Dortmun, Tyler, Susan, David (JHill, Alan Judd, Bernard Kay, Ford, Peter Fraser) sc
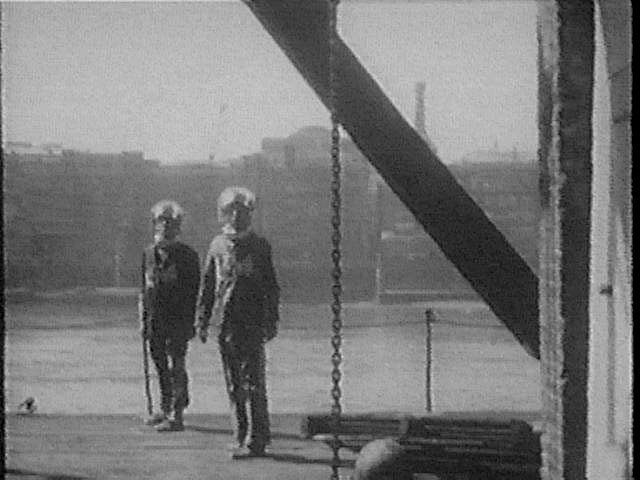
- st--1k15.jpg _50K B&W Two robomen near river (Martyn Huntley, Peter Badger) sc
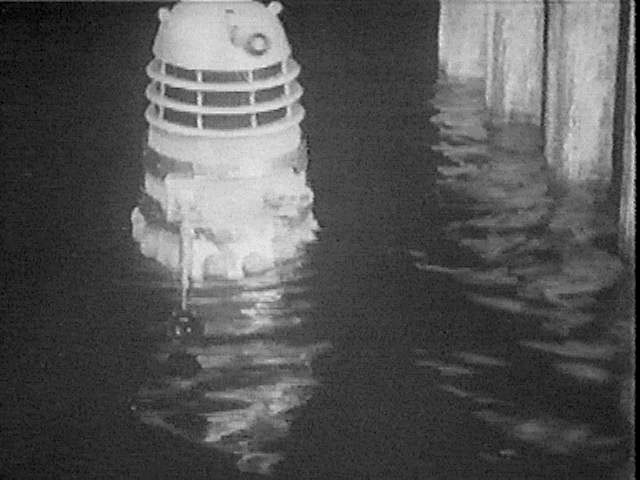
- st--1k16.jpg _49K B&W Dalek rising from river sc
- st--1k17.jpg _49K B&W Doctor tells Daleks they won't be masters of the Earth for long (Hartnell) sc
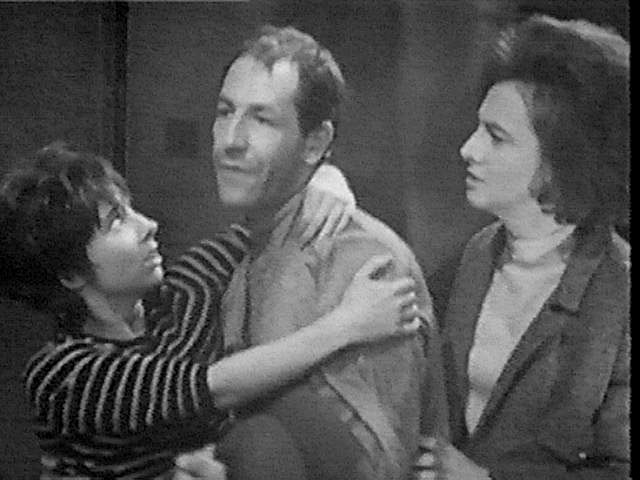
- st--1k18.jpg _50K B&W Jenny, Barbara (Ann Davies, JHill) sc
- st--1k19.jpg _54K B&W Dortmun, Tyler (Alan Judd, Bernard Kay) sc
- st--1k20.jpg _59K B&W Ian, Doctor brought to Dalek ship (Russel, Hartnell) sc
- st--1k21.jpg _56K B&W Susan, Barbara, David, Jenny (Ford, JHill, Peter Fraser, Ann Davies) sc
- st--1k22.jpg _47K B&W Jenny (Ann Davies) sc
- st--1k23.jpg _59K B&W Jack Craddock, Ian, Doctor in Dalek cell (Michael Goldie, Russell, Hartnell) sc
- st--1k24.jpg _47K B&W Craddock (Michael Goldie) sc
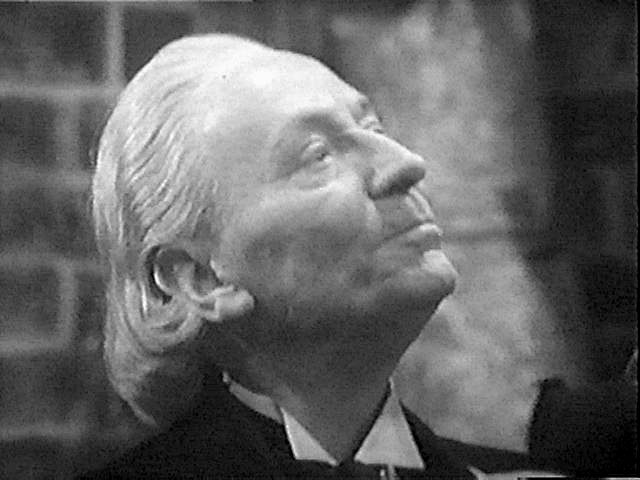
- st--1k25.jpg _50K B&W Doctor (Hartnell) sc
- st--1k26.jpg _54K B&W Daleks (with collector disc visible) in control room sc
- st--1k27.jpg _48K B&W Dortmun with bomb (Alan Judd) sc
- st--1k28.jpg _51K B&W Barbara, David, Susan prepare to attack (JHill, Peter Fraser, Ford) sc
- st--1k29.jpg _51K B&W The battle at the Dalek saucer begins sc
- st--1k30.jpg _51K B&W Tyler leads the rescued humans out of the saucer (Bernard Kay) sc
- st--1k31.jpg _60K B&W Tyler, Dortmun, Jenny, Barbara back at hideout (Bernard Kay, Alan Judd, Ann Davies, JHill) sc
- st--1k32.jpg _62K B&W Larry Madison, Ian and a robotised Craddock (Graham Rigby, Russell, Michael Goldie) sc
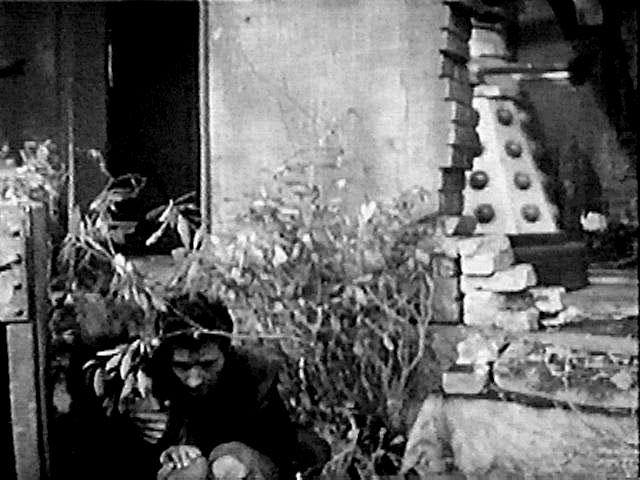
- st--1k33.jpg _66K B&W Susan, David hide from Dalek (Ford, Peter Fraser) sc
- st--1k34.jpg _57K B&W Susan, David listen as a rebel is killed (Ford, Peter Fraser) sc
- st--1k35.jpg _54K B&W Baker is caught fleeing (Richard McNeff) sc
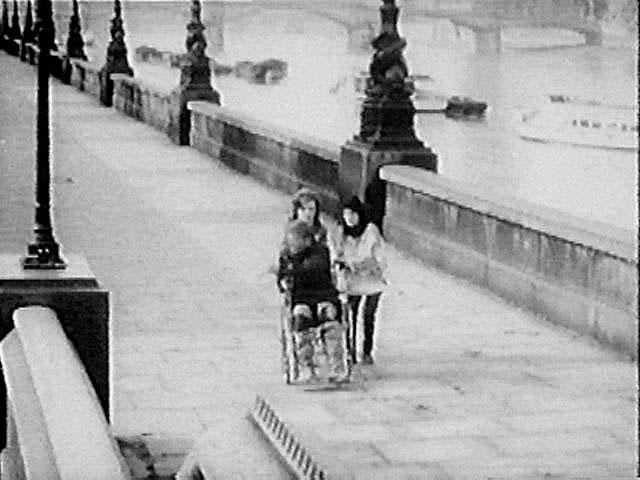
- st--1k36.jpg _54K B&W Barbara, Dortmun, Jenny racing alongside river (JHill, Alan Judd, Ann Davies) sc
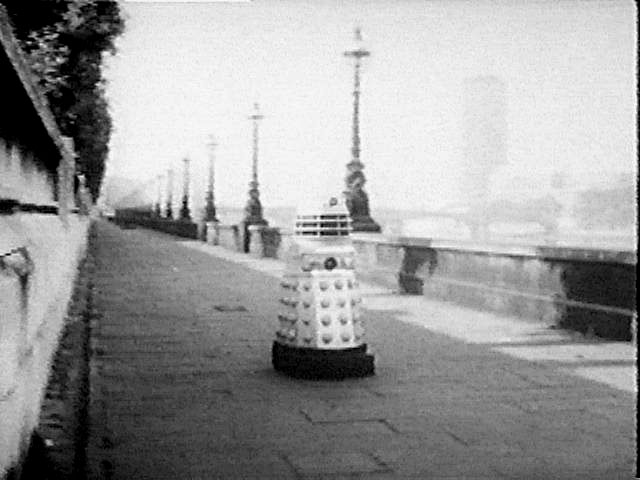
- st--1k37.jpg _49K B&W Dalek on patrol alongside river sc
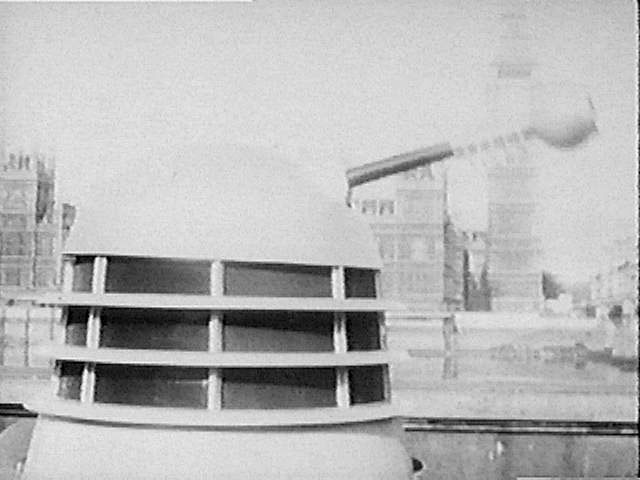
- st--1k38.jpg _44K B&W Dalek with Big Ben in background sc
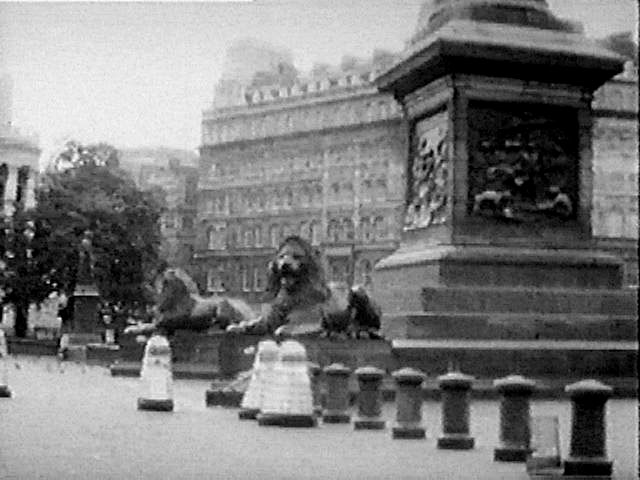
- st--1k39.jpg _57K B&W Daleks in Trafalgar Square sc
- st--1k40.jpg _52K B&W Jenny (Ann Davies) sc
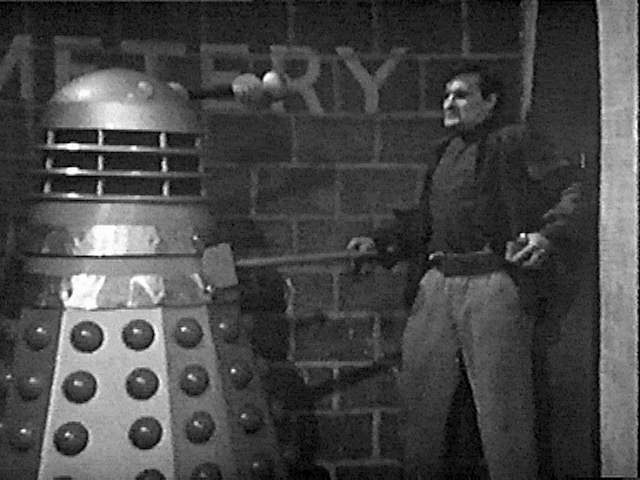
- st--1k41.jpg _57K B&W Dortmun confronts Daleks (Alan Judd) sc
- st--1k42.jpg _64K B&W Doctor, Susan (Hartnell, Ford) sc
- st--1k43.jpg _62K B&W Susan, Doctor in background (Ford, Hartnell) sc
- st--1k44.jpg _56K B&W Susan embracing Doctor next to David (Ford, Hartnell, Peter Fraser) sc
- st--1k45.jpg _49K B&W Dalek bomb sc
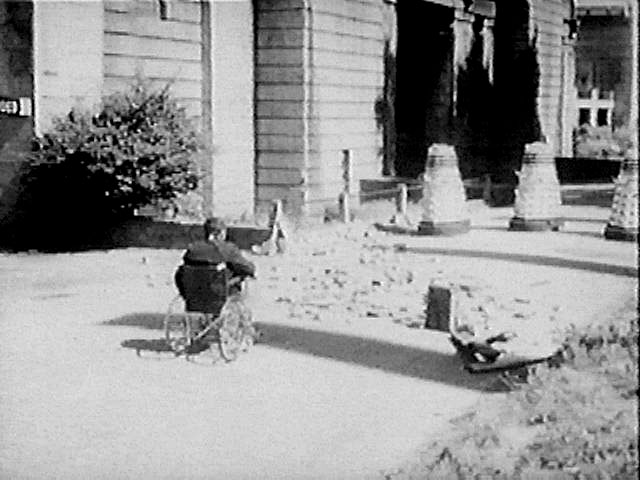
- st--1k46.jpg _46K B&W David defuses Dalek bomb sc
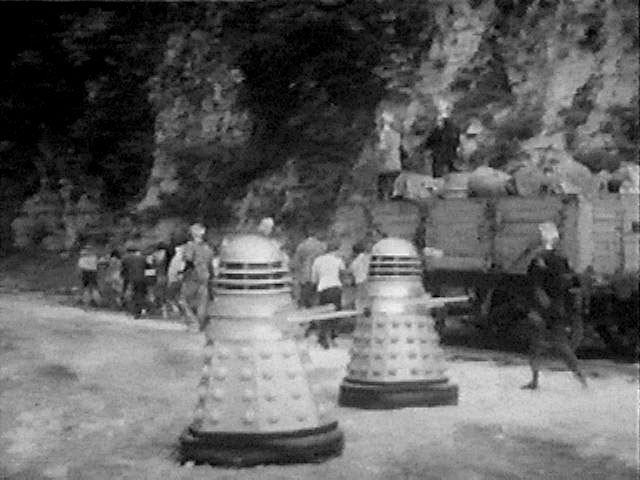
- st--1k47.jpg _55K B&W Daleks overseeing slave work party sc
- st--1k48.jpg _52K B&W Wells, Roboman, Larry, Ian (Nicholas Smith, ?, Graham Rigby, Russell) sc
- st--1k49.jpg _53K B&W Larry, Ian, Wells (Graham Rigby, Russell, Nicholas Smith) sc
- st--1k50.jpg _53K B&W Jenny, Barbara find truck (Ann Davies, JHill) sc
- st--1k51.jpg _49K B&W Dalek in auto accident sc
- st--1k52.jpg _48K B&W Susan smiling (Ford) sc
- st--1k53.jpg _45K B&W David (Peter Fraser) sc
- st--1k54.jpg _46K B&W Ashton the black marketeer (Patrick O'Connell) sc
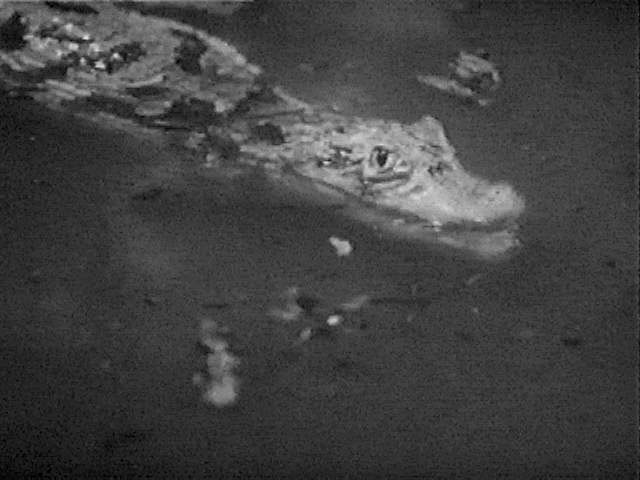
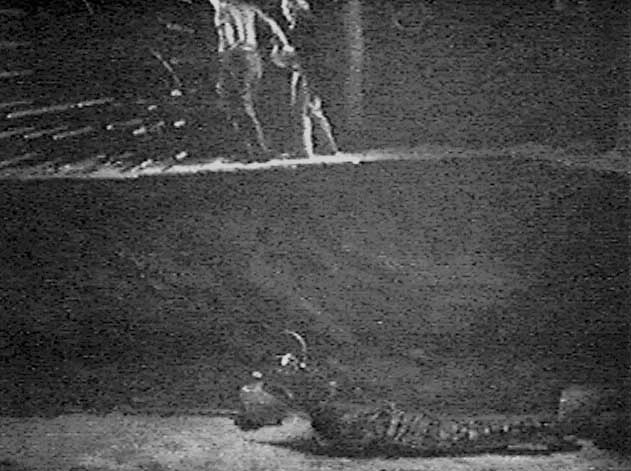
- st--1k55.jpg _47K B&W An alligator in the sewer sc
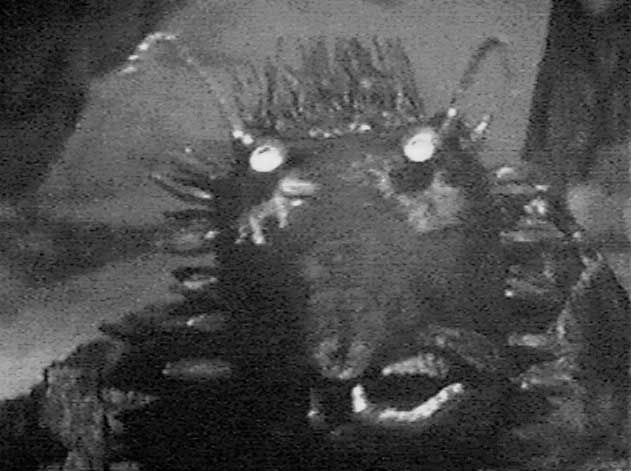
- st--1k56.jpg _70K B&W The Slyther (operated by Nick Evans) sc
- st--1k57.jpg _55K B&W Daleks in control room sc
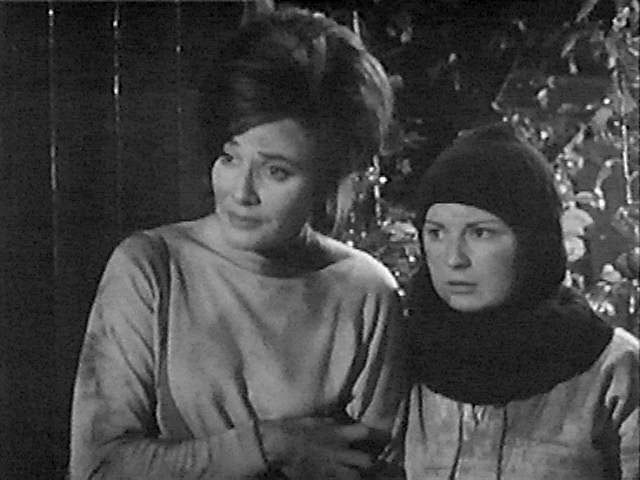
- st--1k58.jpg _50K B&W Barbara, Jenny find cabin (JHill, Ann Davies) sc
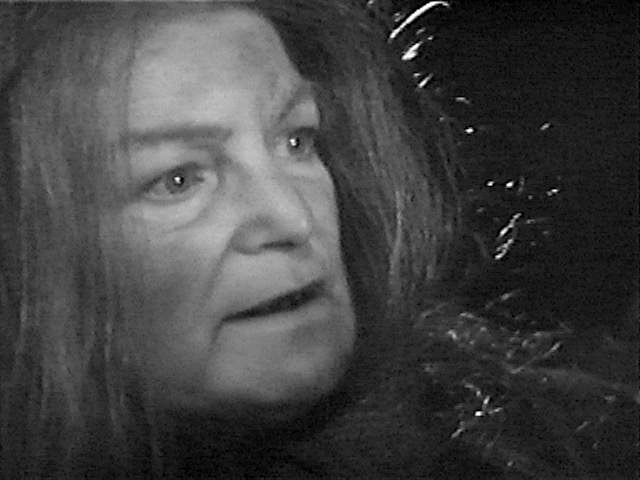
- st--1k59.jpg _42K B&W Old woman (Jean Conroy) sc
- st--1k60.jpg _40K B&W Young woman (Meriel Hobson) sc
- st--1k61.jpg _45K B&W Roboman Phil Madison (Martyn Huntley) sc
- st--1k62.jpg _59K B&W Susan, David playing around (Ford, Peter Fraser) sc
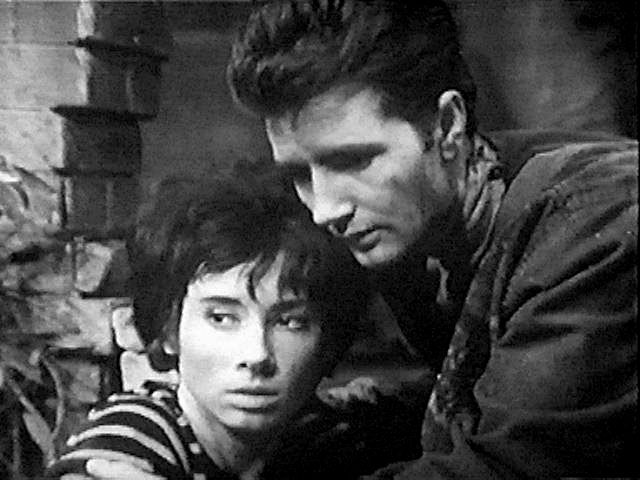
- st--1k63.jpg _56K B&W Susan and David kiss (Ford, Peter Fraser) sc
- st--1k64.jpg _41K B&W Doctor (Hartnell) sc
- st--1k65.jpg _46K B&W Daleks put bomb together - with Ian inside (Russell) sc
- st--1k66.jpg _64K B&W Bomb brought to edge of shaft sc
- st--1k67.jpg _51K B&W Jenny and Barbara clamped to wall (Ann Davies, JHill) sc
- st--1k68.jpg _69K B&W Doctor, Tyler investigate shaft (Hartnell, Bernard Kay) sc
- st--1k69.jpg _46K B&W Doctor from Dalek POV (Hartnell) sc
- st--1k70.jpg _46K B&W Slaves revolt sc
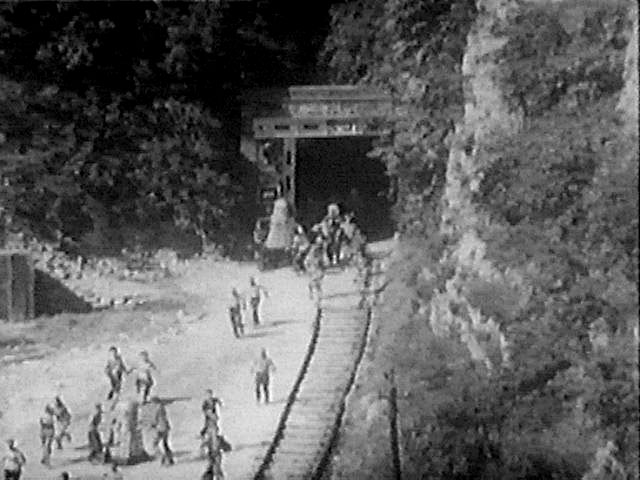
- st--1k71.jpg _62K B&W Slaves pouring out of mine sc
- st--1k72.jpg _54K B&W Doctor, Tyler outside TARDIS (Hartnell, Bernard Kay) sc
- st--1k73.jpg _64K B&W Susan is torn (Ford) sc
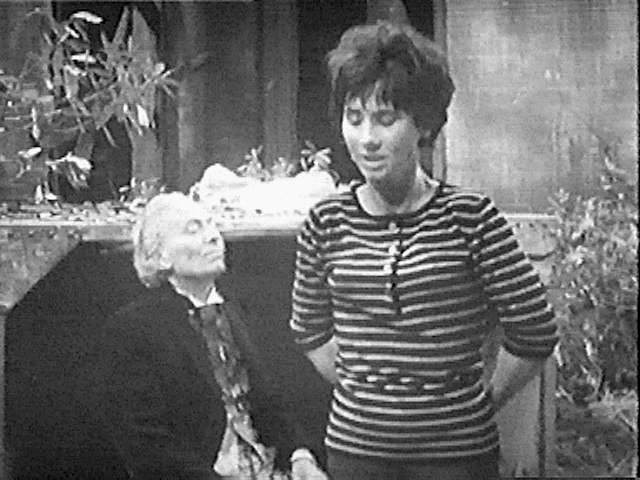
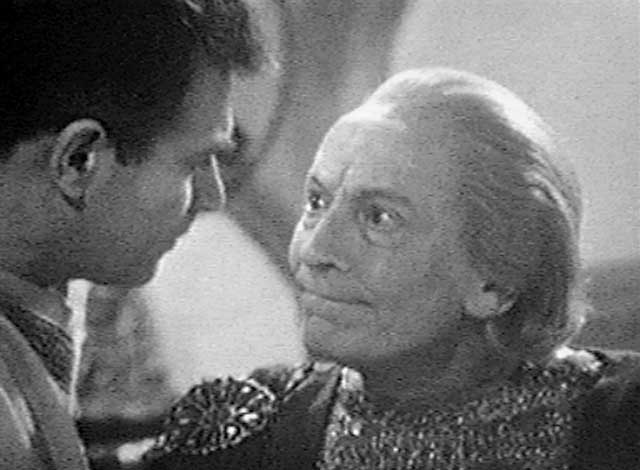
- st--1k74.jpg _61K B&W Doctor embraces Susan (Hartnell, Ford) sc
- st--1k75.jpg _62K B&W Susan, David asking her to stay (Ford, Peter Fraser) sc
- st--1k76.jpg _51K B&W David, Susan confessing her love (Peter Fraser, Ford) sc
- st--1k77.jpg _54K B&W Ian, Barbara, Doctor waiting inside TARDIS (Russell, JHill, Hartnell) sc
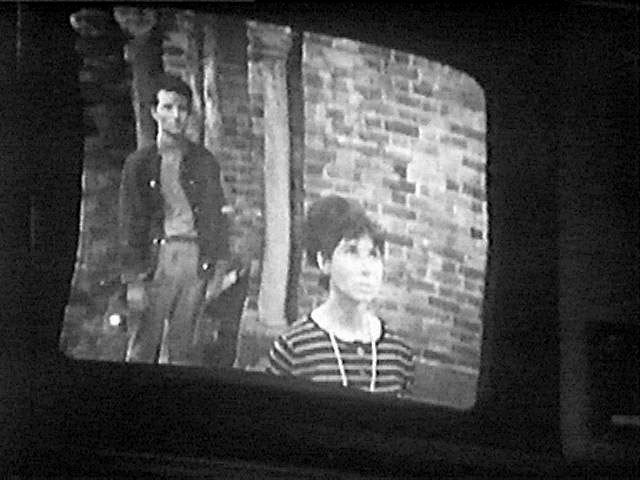
- st--1k78.jpg _55K B&W David, Susan on TARDIS scanner (Peter Fraser, Ford) sc
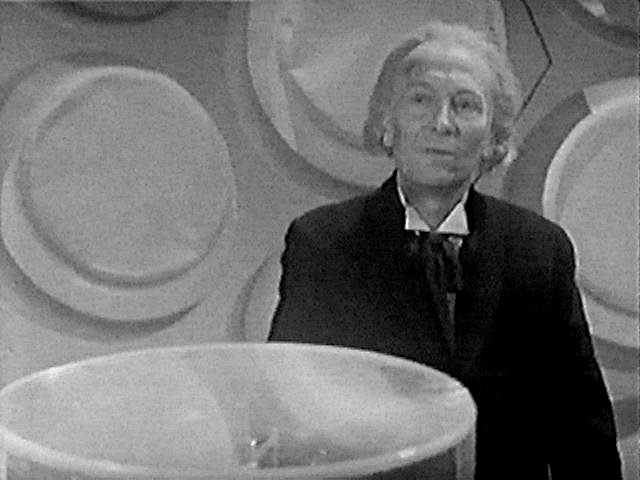
- st--1k79.jpg _45K B&W Doctor saying goodbye to Susan (Hartnell) sc
- st--1k80.jpg _59K B&W David reaches out to Susan (Peter Fraser, Ford) sc
THE RESCUE
Images 2-42 added 22 Mar 99
- st--1l-c.jpg 113K The Rescue - CONTACT SHEET
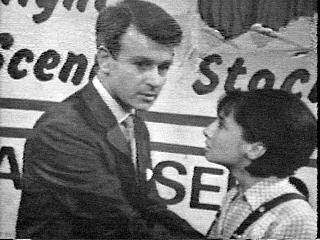
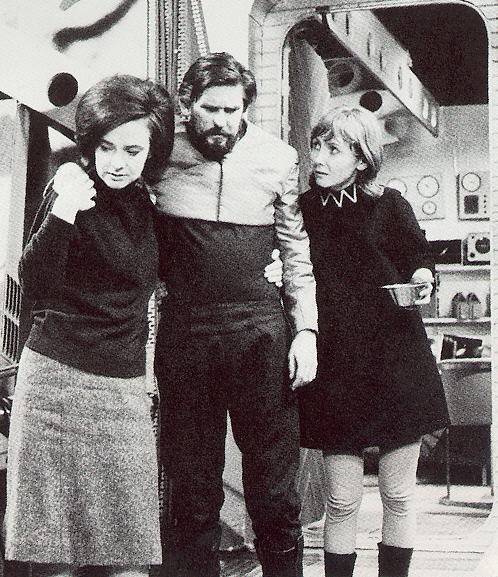
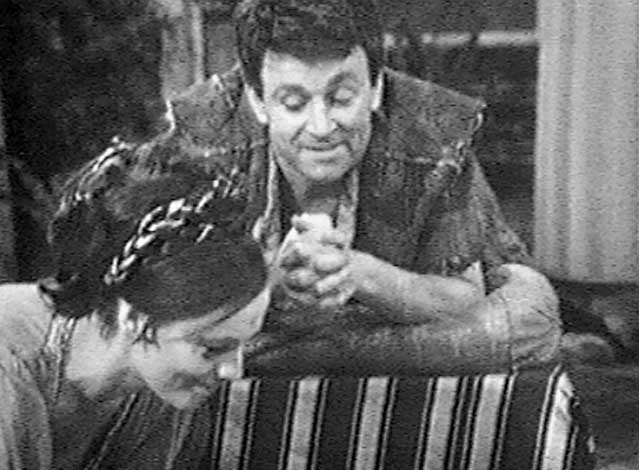
- st--1l01.jpg _86K B&W Barbara, Bennett, Vicki (JHill, Ray Barrett, O'Brien)
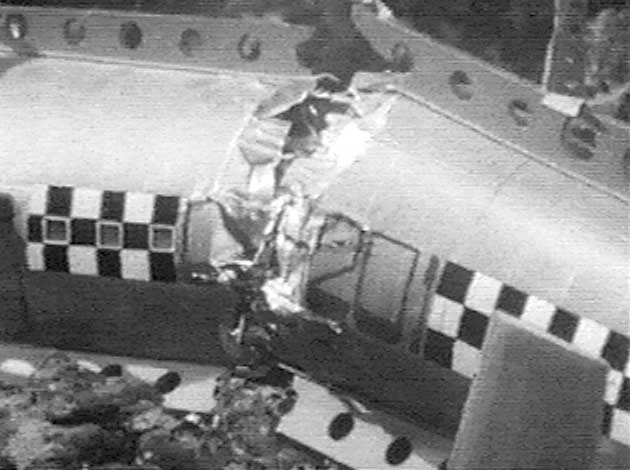
- st--1l02.jpg _37K B&W The crashed spaceship sc
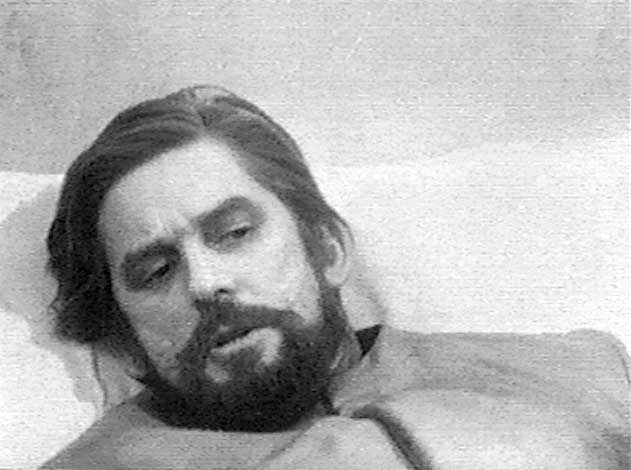
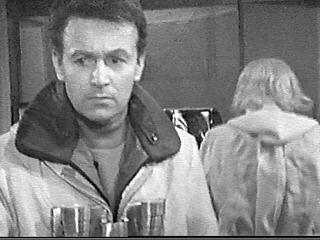
- st--1l03.jpg _32K B&W Bennett (Ray Barrett) sc
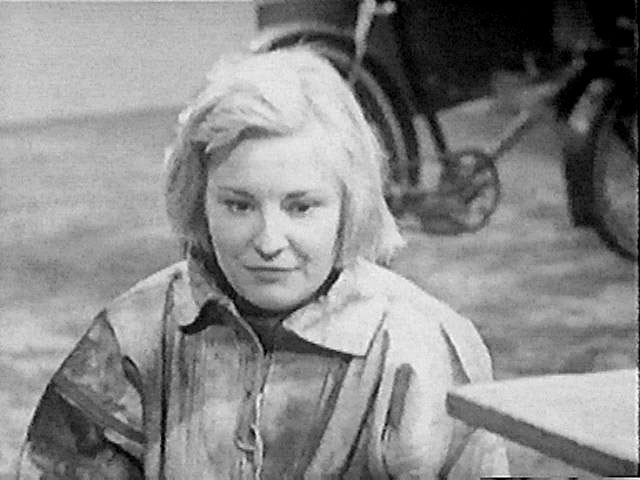
- st--1l04.jpg _32K B&W Vicki (O'Brien) sc
- st--1l05.jpg _32K B&W Bennett talks to Vicki (Ray Barrett, O'Brien) sc
- st--1l06.jpg _32K B&W Vicki worried (O'Brien) sc
- st--1l07.jpg _35K B&W Vicki on radio to rescue ship (O'Brien) sc
- st--1l08.jpg _31K B&W Vicki on radio to rescue ship {O'Brien) sc
- st--1l09.jpg _37K B&W Barbara, Ian at console while Doctor naps (JHill, Russell, Hartnell) sc
- st--1l10.jpg _32K B&W Barbara, Ian, Doctor at console (JHill, Russell, Hartnell) sc
- st--1l11.jpg _33K B&W Doctor calls out for Susan while Barbara and Ian react (Hartnell, JHill, Russell) sc
- st--1l12.jpg _35K B&W Ian, Barbara (Russell, JHill) sc
- st--1l13.jpg _33K B&W Koquilion (Ray Barrett) sc
- st--1l14.jpg _37K B&W Koquilion at TARDIS (Ray Barrett) sc
- st--1l15.jpg _38K B&W Barbara, Ian see crashed spaceship (JHill, Russell) sc
- st--1l16.jpg _41K B&W Koquilion pushes Barbara off ledge (Ray Barrett, JHill) sc
- st--1l17.jpg _38K B&W Doctor (Hartnell) sc
- st--1l18.jpg _31K B&W Doctor (Hartnell) sc
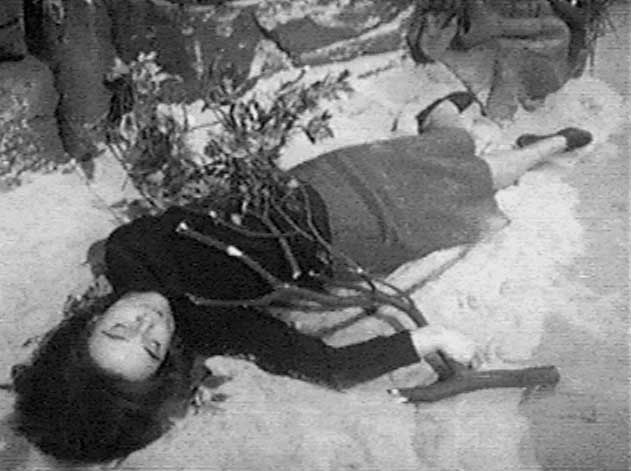
- st--1l19.jpg _38K B&W Barbara lying unconscious on ground (JHill) sc
- st--1l20.jpg _37K B&W Koquilion and Vicki (Ray Barrett, O'Brien) sc
- st--1l21.jpg _30K B&W Vicki, Barbara (O'Brien, JHill) sc
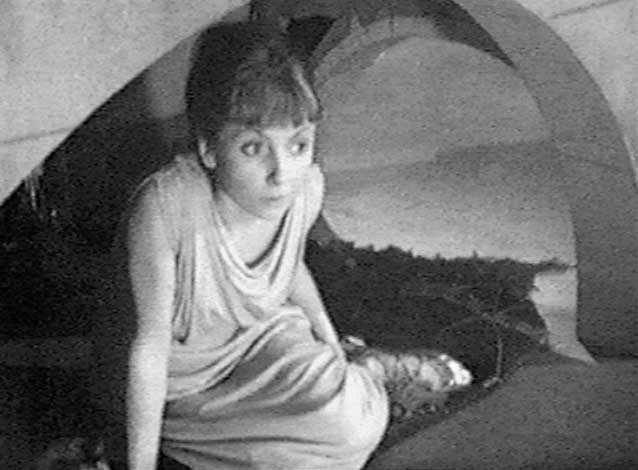
- st--1l22.jpg _30K B&W Vicki (O'Brien) sc
- st--1l23.jpg _30K B&W Vicki (O'Brien) sc
- st--1l24.jpg _30K B&W Barbara (JHill) sc
- st--1l25.jpg _30K B&W Bennett (Ray Barrett) sc
- st--1l26.jpg _33K B&W Ian, Doctor on ledge (Russell, Hartnell) sc
- st--1l27.jpg _38K B&W Sandy sc
- st--1l28.jpg _44K B&W Ian, Doctor by knives on ledge above Sandy (Russell, Hartnell) sc
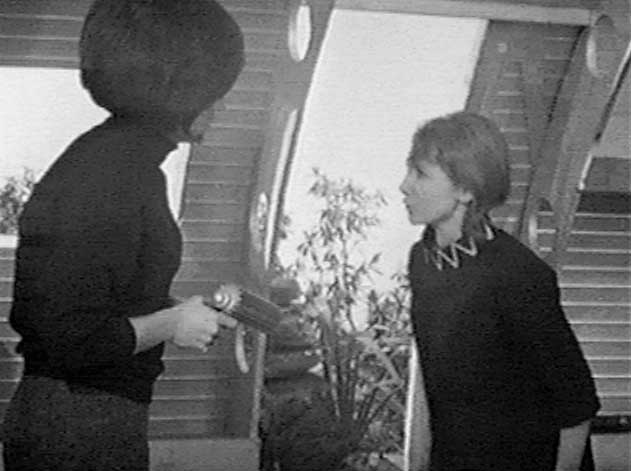
- st--1l29.jpg _31K B&W Barbara holding gun after shooting Sandy, Vicki is upset (JHill, O'Brien) sc
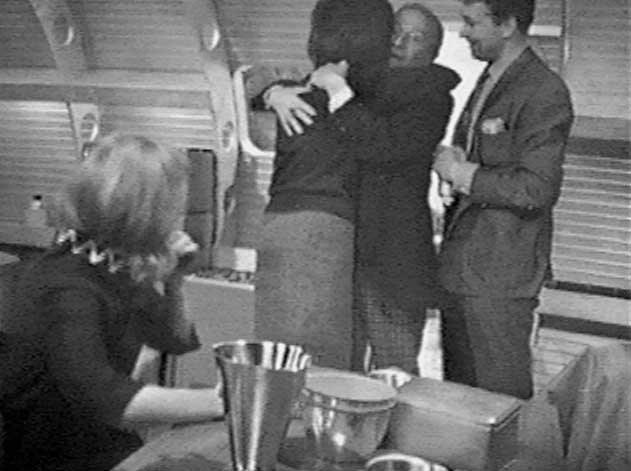
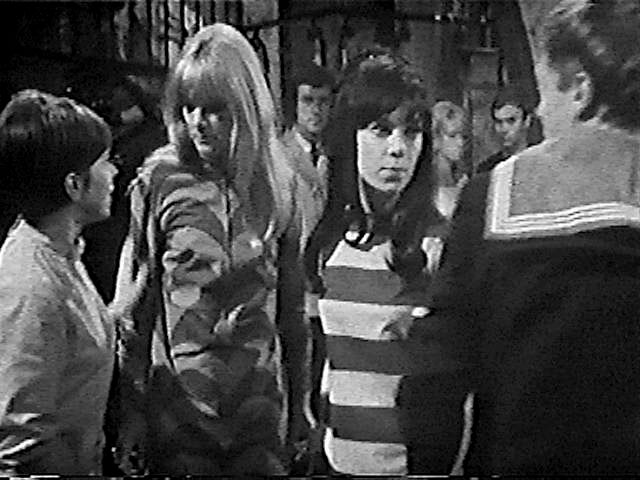
- st--1l30.jpg _33K B&W Vicki looks on as Barbara, Doctor, Ian are reunited (O'Brien, JHill, Hartnell, Russell) sc
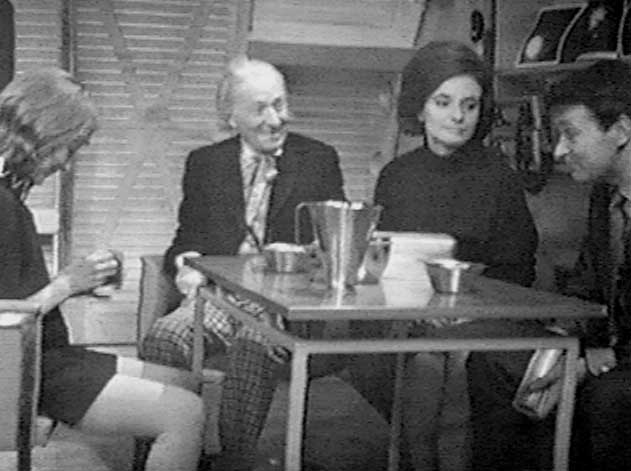
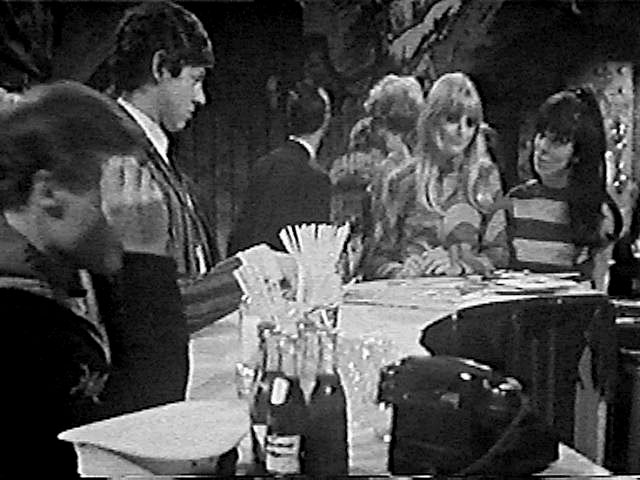
- st--1l31.jpg _35K B&W Vicki, Doctor, Barbara, Ian at table (O'Brien, Hartnell, JHill, Russell) sc
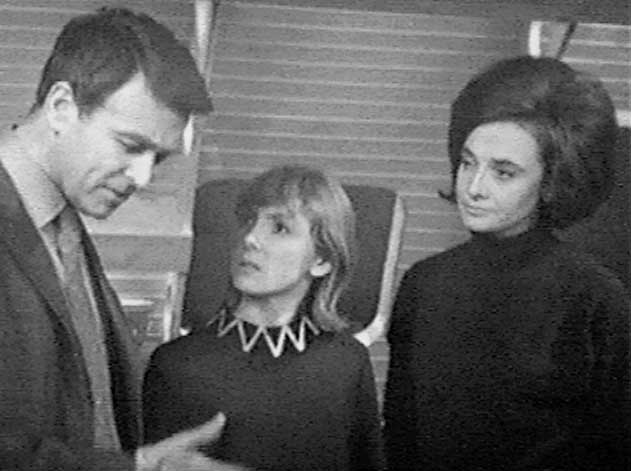
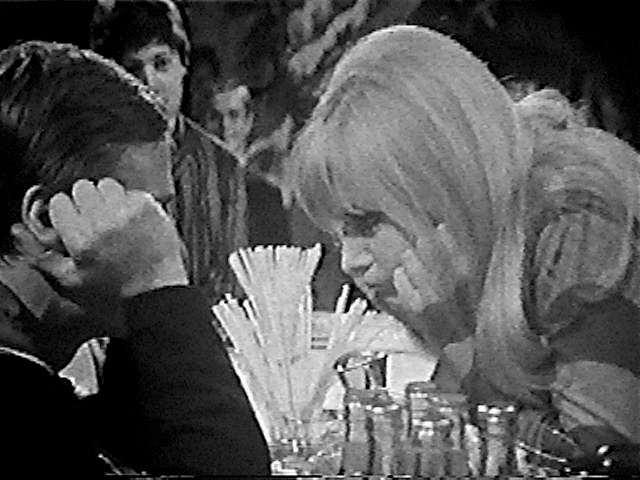
- st--1l32.jpg _32K B&W Ian, Vicki, Barbara (Russell, O'Brien, JHill) sc
- st--1l33.jpg _30K B&W Vicki sticks tongue out as she calculates Barbara's age (O'Brien) sc
- st--1l34.jpg _35K B&W Doctor finds trap door (Hartnell) sc
- st--1l35.jpg _31K B&W Doctor awaits the mysterious Koquilion (Hartnell) sc
- st--1l36.jpg _32K B&W Doctor, Koquilion in the Didonian hall of justice (Hartnell, Ray Barrett) sc
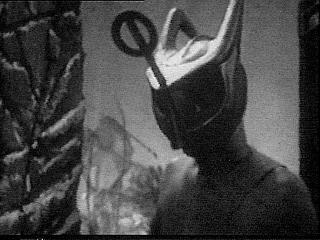
- st--1l37.jpg _32K B&W Koquilion removes his mask (Ray Barrett) sc
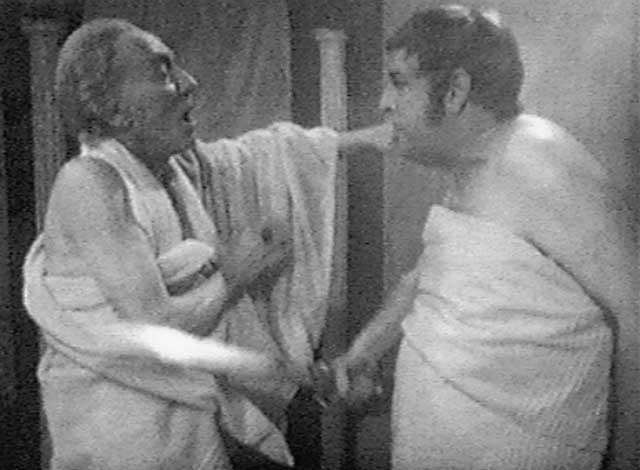
- st--1l38.jpg _30K B&W Doctor, Bennett/Koquilion struggle (Hartnell, Ray Barrett) sc
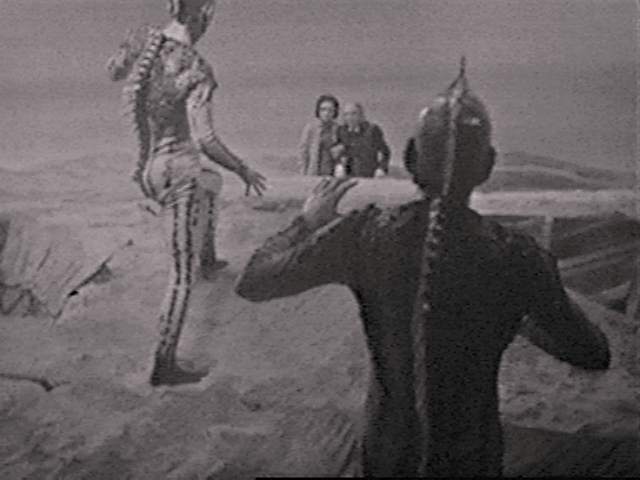
- st--1l39.jpg _30K B&W Didonian survivors advance (John Stuart, Colin Hughes) sc
- st--1l40.jpg _31K B&W Didonians (John Stuart, Colin Hughes) sc
- st--1l41.jpg _35K B&W Vicki, Doctor outside TARDIS (O'Brien, Hartnell) sc
- st--1l42.jpg _31K B&W Vicki (O'Brien) sc
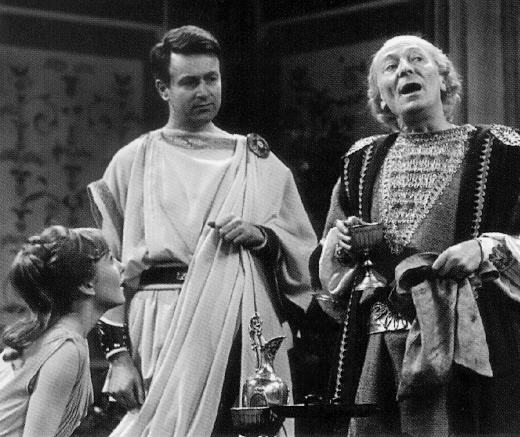
THE ROMANS
Images 2-60 added 22 Mar 99
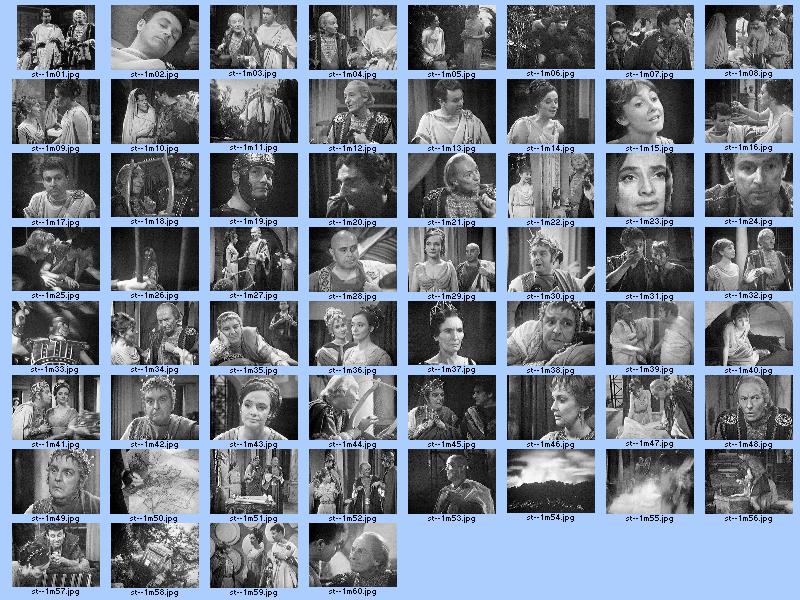
- st--1m-c.jpg 146K The Romans - CONTACT SHEET
- st--1m01.jpg _48K B&W Vicki, Ian, Doctor (O'Brien, Russell, Hartnell)
- st--1m02.jpg _30K B&W Ian rests (Russell) sc
- st--1m03.jpg _39K B&W Doctor waters plants, talking to Ian (Hartnell, Russell) sc
- st--1m04.jpg _42K B&W Doctor, Ian (Hartnell, Russell) sc
- st--1m05.jpg _38K B&W Barbara, Vicki on the road to the market (JHill, O'Brien) sc
- st--1m06.jpg _48K B&W Ascaris the assassin (Barry Jackson) sc
- st--1m07.jpg _42K B&W Didius and Sevcheria (Nicholas Evans, Derek Sydney) sc
- st--1m08.jpg _40K B&W Stall holder, Barbara, Vicki shopping (Margot Thomas, JHill, O'Brien) sc
- st--1m09.jpg _41K B&W Vicki, Barbara discuss bartering (O'Brien, JHill) sc
- st--1m10.jpg _38K B&W Stall holder questioned by Sevcheria (Margot Thomas, Derek Sydney) sc
- st--1m11.jpg _37K B&W Maximus Pettulian (Bart Allison) sc
- st--1m12.jpg _41K B&W Doctor (Hartnell) sc
- st--1m13.jpg _32K B&W Ian (Russell) sc
- st--1m14.jpg _34K B&W Barbara (JHill) sc
- st--1m15.jpg _31K B&W Vicki (O'Brien) sc
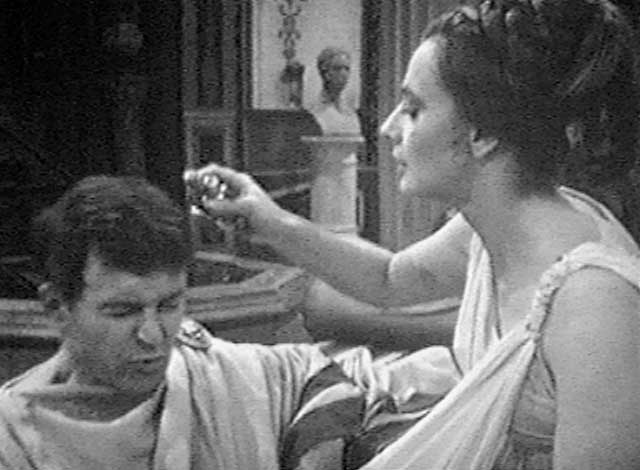
- st--1m16.jpg _36K B&W Ian gets his hair combed by Barbara (Russell, JHill) sc
- st--1m17.jpg _35K B&W Ian hears a noise (Russell) sc
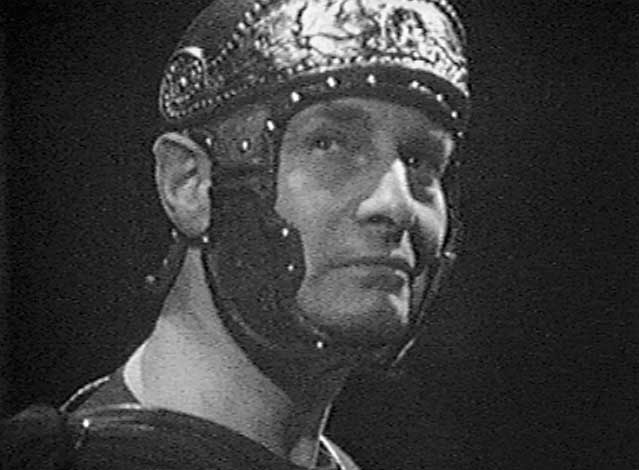
- st--1m18.jpg _44K B&W Doctor with lyre, Centurion (Hartnell, Dennis Edwards) sc
- st--1m19.jpg _35K B&W Centurion (Dennis Edwards) sc
- st--1m20.jpg _37K B&W Slave buyer (Edward Kelsey) sc
- st--1m21.jpg _40K B&W Doctor (Hartnell) sc
- st--1m22.jpg _38K B&W Vicki, Doctor (O'Brien, Hartnell) sc
- st--1m23.jpg _35K B&W Barbara worried (JHill) sc
- st--1m24.jpg _38K B&W Ian (Russell) sc
- st--1m25.jpg _35K B&W Delos and Ian in slave galley (Peter Diamond, Russell) sc
- st--1m26.jpg _28K B&W Woman slave (Dorothy-Rose Gribble) sc
- st--1m27.jpg _41K B&W Vicki with lyre, Doctor (O'Brien, Hartnell) sc
- st--1m28.jpg _32K B&W Tavius (Michael Peake) sc
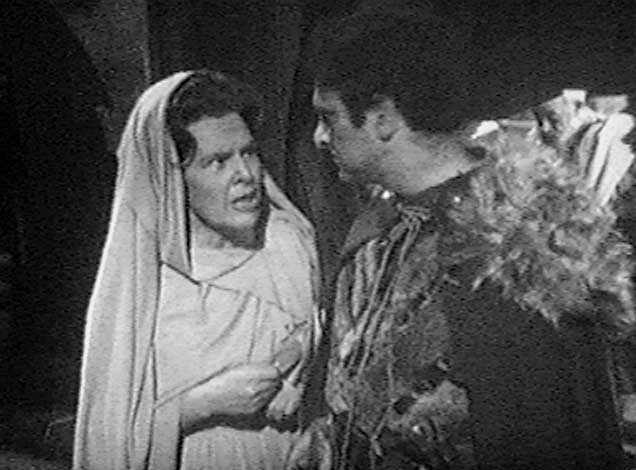
- st--1m29.jpg _35K B&W Barbara, Tavius (JHill, Michael Peake) sc
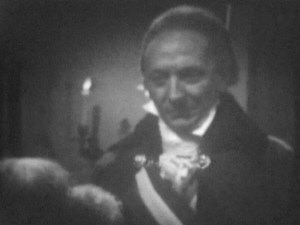
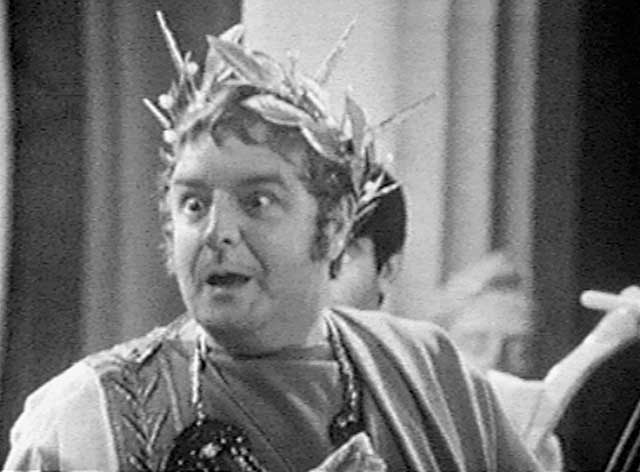
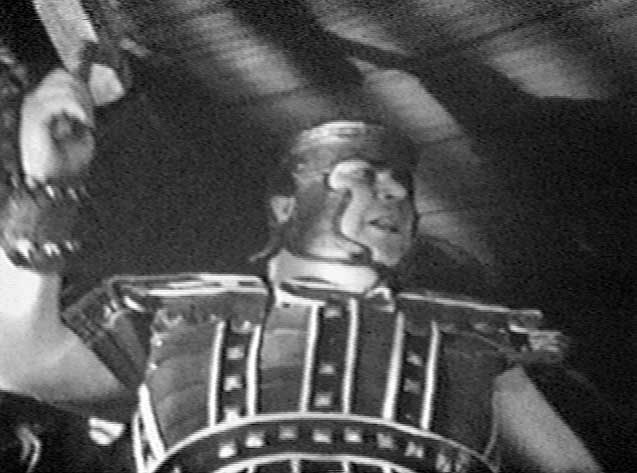
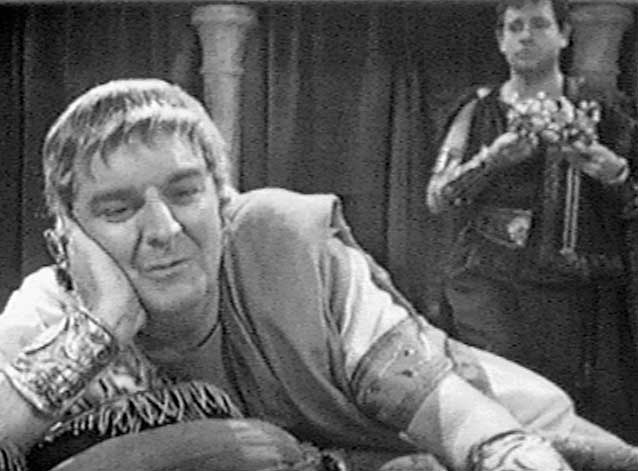
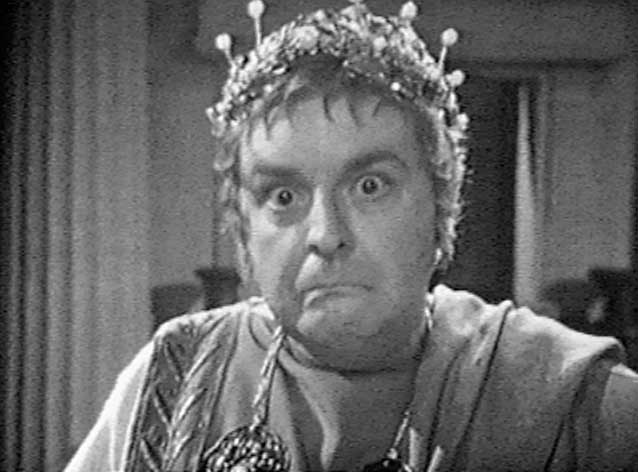
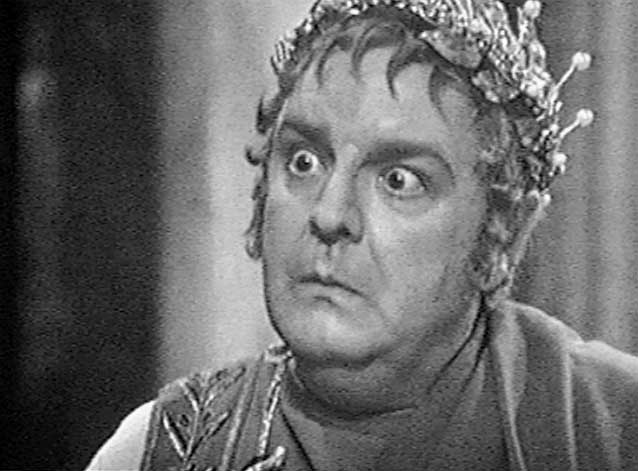
- st--1m30.jpg _35K B&W Emperor Nero (Derek Francis) sc
- st--1m31.jpg _37K B&W Ian, Delos (Russell, Peter Diamond) sc
- st--1m32.jpg _37K B&W Vicki, Doctor (O'Brien, Hartnell) sc
- st--1m33.jpg _38K B&W Galley Master (Gertan Klauber) sc
- st--1m34.jpg _42K B&W Vicki, Doctor (O'Brien, Hartnell) sc
- st--1m35.jpg _39K B&W Nero, Tigilinus (Derek Francis, Brian Proudfoot) sc
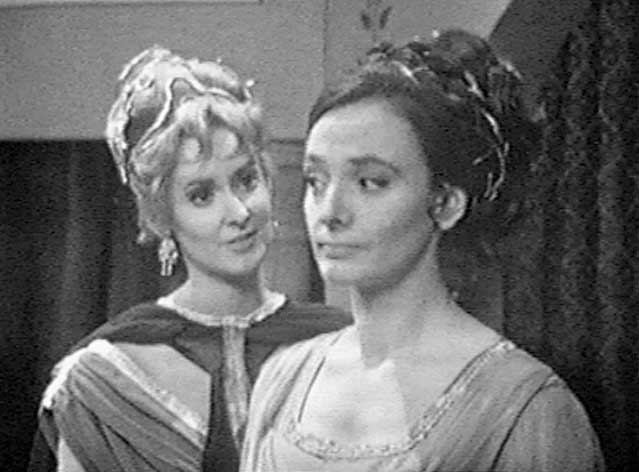
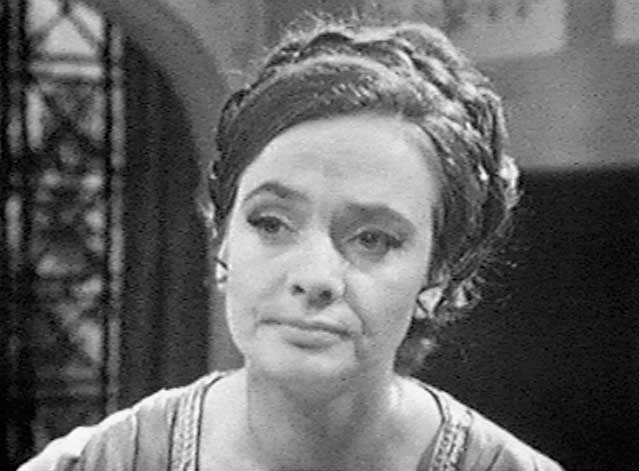
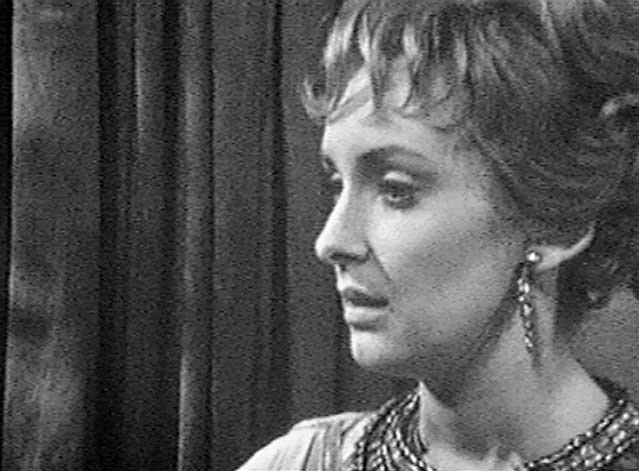
- st--1m36.jpg _35K B&W Poppaea, Barbara (Kay Patrick, JHill) sc
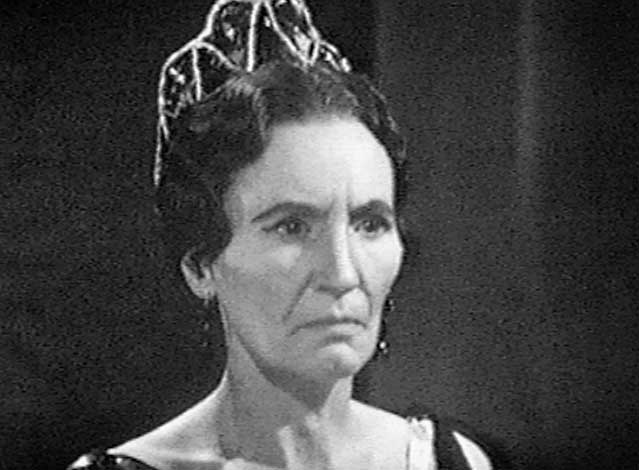
- st--1m37.jpg _34K B&W Locusta (Ann Tirard) sc
- st--1m38.jpg _37K B&W Nero (Derek Francis) sc
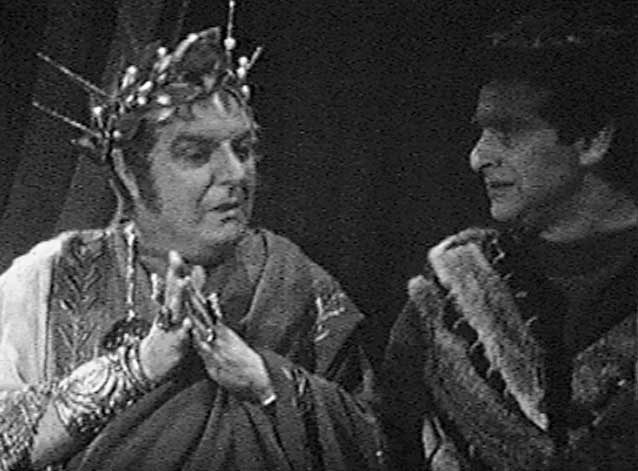
- st--1m39.jpg _33K B&W Doctor, Nero in towels in steam room (Hartnell, Derek Francis) sc
- st--1m40.jpg _33K B&W Vicki eavesdrops on poisoning plan (O'Brien) sc
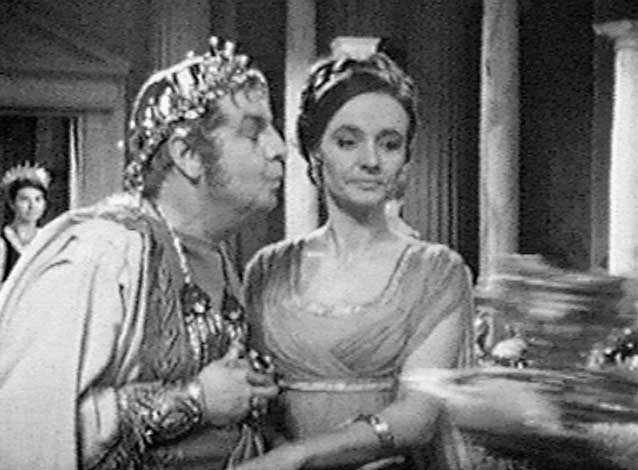
- st--1m41.jpg _40K B&W Nero wants a kiss from Barbara (Derek Francis, JHill) sc
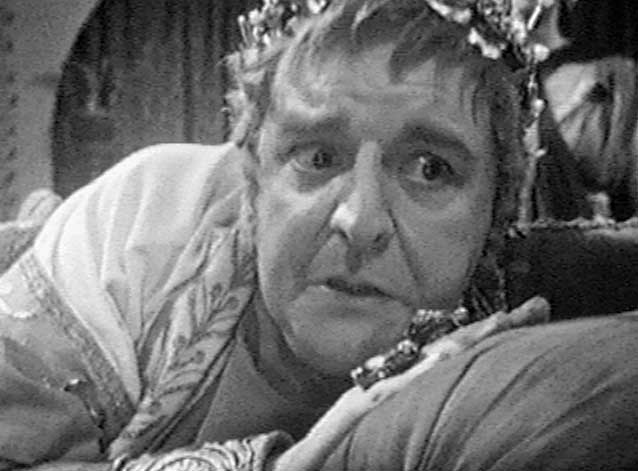
- st--1m42.jpg _37K B&W Nero (Derek Francis) sc
- st--1m43.jpg _35K B&W Barbara (JHill) sc
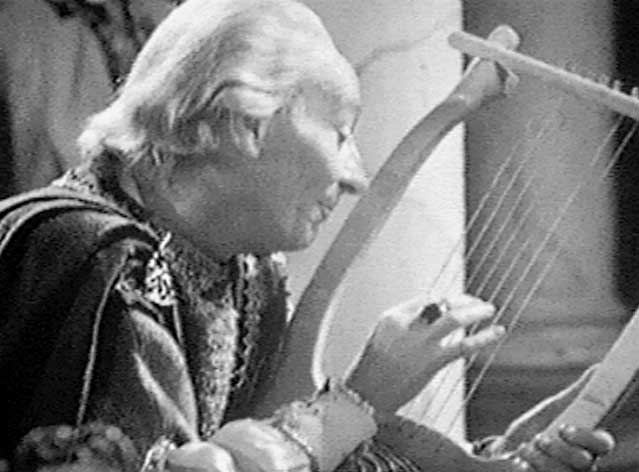
- st--1m44.jpg _36K B&W Doctor plays the lyre (Hartnell) sc
- st--1m45.jpg _41K B&W Nero, Sevcheria (Derek Francis, Derek Sydney) sc
- st--1m46.jpg _39K B&W Poppaea (Kay Patrick) sc
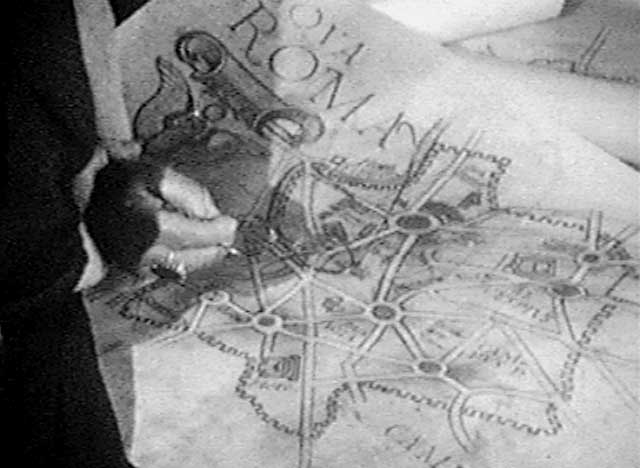
- st--1m47.jpg _42K B&W Vicki, Doctor look at plans for Rome (O'Brien, Hartnell) sc
- st--1m48.jpg _43K B&W Doctor (Hartnell) sc
- st--1m49.jpg _39K B&W Nero (Derek Francis) sc
- st--1m50.jpg _36K B&W Doctor's glasses set fire to Nero's plans sc
- st--1m51.jpg _45K B&W Vicki, Nero, Doctor as plans for Rome burn (O'Brien, Derek Francis, Hartnell) sc
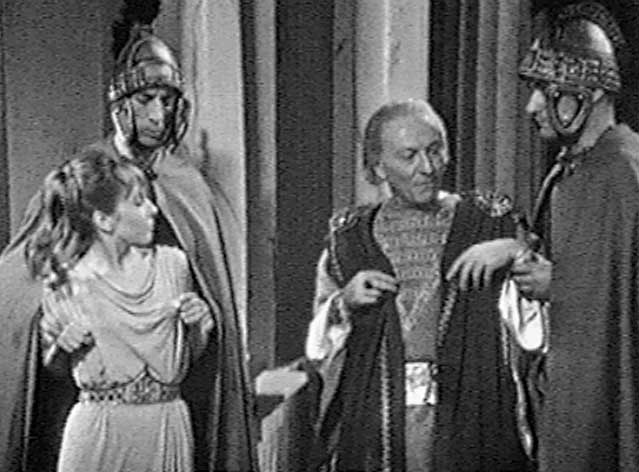
- st--1m52.jpg _44K B&W Vicki and Doctor seized briefly by Centurions (O'Brien, Hartnell) sc
- st--1m53.jpg _37K B&W Tavius with his crucifix (Michael Peake) sc
- st--1m54.jpg _29K B&W Rome burns over the horizon sc
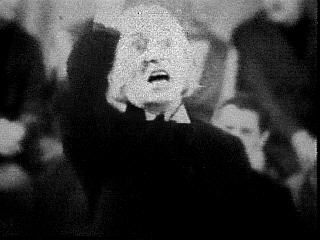
- st--1m55.jpg _33K B&W Nero plays the lyre while Rome burns around him (Derek Francis) sc
- st--1m56.jpg _44K B&W Barbara, Ian engage in a little horseplay (JHill, Russell) sc
- st--1m57.jpg _43K B&W Barbara, Ian (JHill, Russell) sc
- st--1m58.jpg _47K B&W TARDIS, crooked angle sc
- st--1m59.jpg _40K B&W Vicki, Barbara, Ian inside TARDIS in Roman garb (O'Brien, JHill, Russell) sc
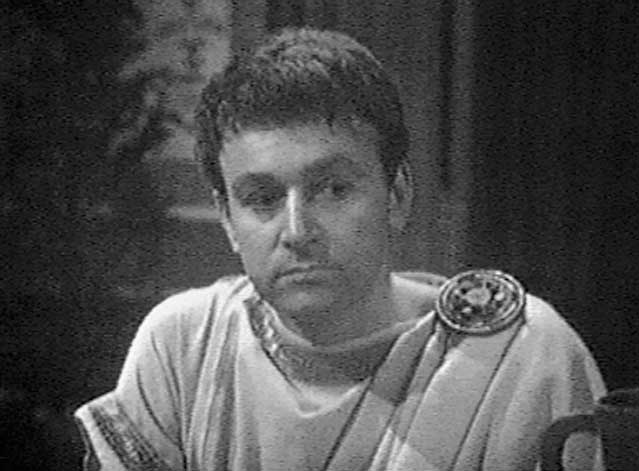
- st--1m60.jpg _34K B&W Ian, Doctor concerned (Russell, Hartnell) sc
THE WEB PLANET
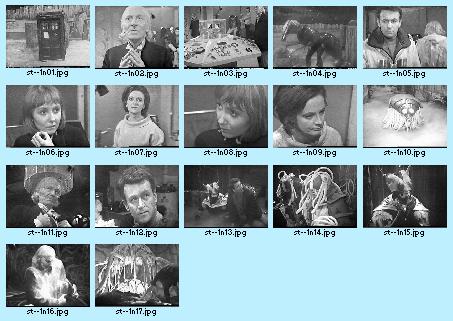
- st--1n-c.jpg _38K The Web Planet - CONTACT SHEET
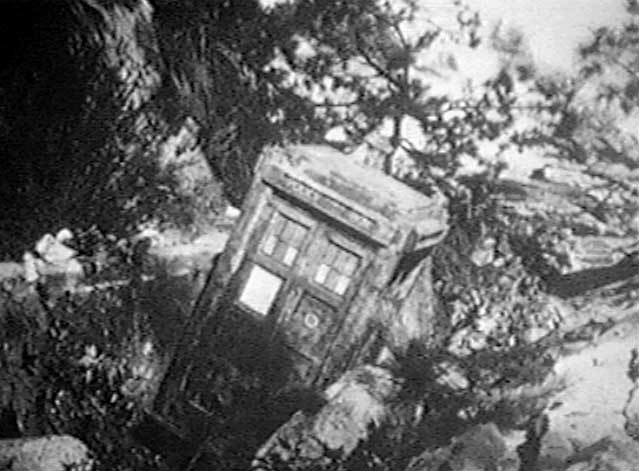
- st--1n01.jpg _15K B&W The TARDIS on Vortis sc
- st--1n02.jpg _13K B&W Doctor (Hartnell) sc
- st--1n03.jpg _16K B&W Vicki, Ian, Barbara, Doctor around TARDIS console (O'Brien, Russell, JHill, Hartnell) sc
- st--1n04.jpg _11K B&W A Zarbi sc
- st--1n05.jpg _14K B&W Ian, Doctor (Russell, Hartnell) sc
- st--1n06.jpg _12K B&W Vicki (O'Brien) sc
- st--1n07.jpg _12K B&W Barbara (JHill) sc
- st--1n08.jpg _10K B&W Vicki (O'Brien) sc
- st--1n09.jpg _11K B&W Barbara (JHill) sc
- st--1n10.jpg _12K B&W A venom grub sc
- st--1n11.jpg _13K B&W Doctor talking to the Animus (Hartnell) sc
- st--1n12.jpg _13K B&W Ian (Russell) sc
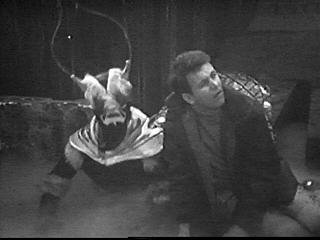
- st--1n13.jpg _10K B&W Vrestin (a Menoptera), Ian (Roslyn de Winter, Russell) sc
- st--1n14.jpg _16K B&W Optera sc
- st--1n15.jpg _12K B&W Vrestin (Roslyn de Winter) sc
- st--1n16.jpg _11K B&W Doctor, Vicki webbed by the Animus (Hartnell, O'Brien) sc
- st--1n17.jpg _16K B&W Vicki bows down before Animus (O'Brien) sc
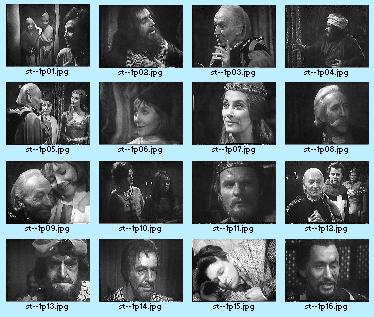
THE CRUSADE
- st--1p-c.jpg _34K The Crusade - CONTACT SHEET
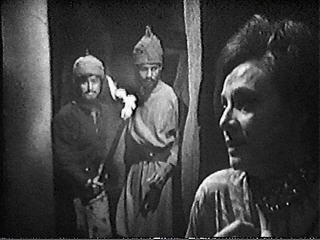
- st--1p01.jpg _15K B&W Two Saracen warriors stalk Barbara (JHill) sc
- st--1p02.jpg _11K B&W Haroun ed Diin (George Little) sc
- st--1p03.jpg _12K B&W Doctor (Hartnell) sc
- st--1p04.jpg _13K B&W Ben Daheer (Reg Pritchard) sc
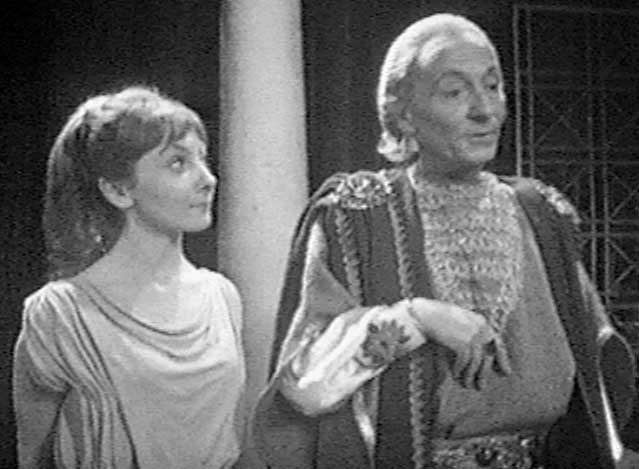
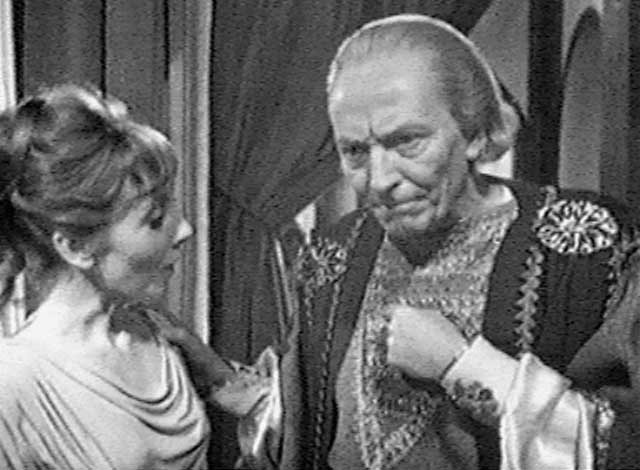
- st--1p05.jpg _17K B&W Doctor, Vicki, Joanna (Hartnell, O'Brien, Jean Marsh) sc
- st--1p06.jpg _10K B&W Vicki (O'Brien) sc
- st--1p07.jpg _12K B&W Joanna (Jean Marsh) sc
- st--1p08.jpg __9K B&W Chamberlain (Robert Lankesheer) sc
- st--1p09.jpg _13K B&W Doctor, Vicki (Hartnell, O'Brien) sc
- st--1p10.jpg _11K B&W Barbara, Safiya (JHill, Petra Markham) sc
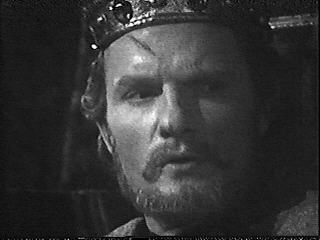
- st--1p11.jpg _10K B&W King Richard the Lionheart (Julian Glover) sc
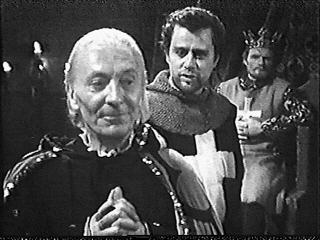
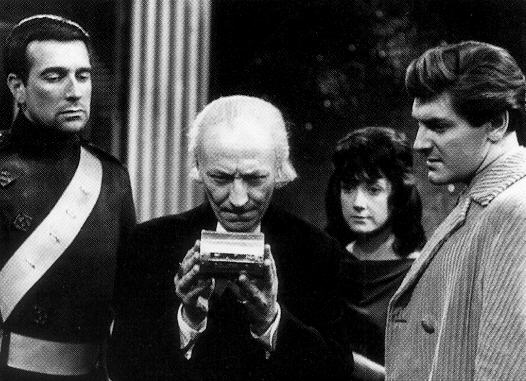
- st--1p12.jpg _17K B&W Doctor, Earl of Leicester, King Richard (Hartnell, John Bay, Julian Glover) sc
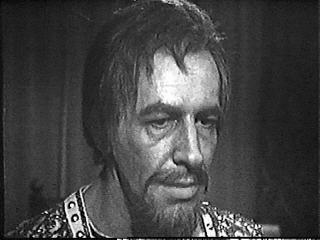
- st--1p13.jpg _13K B&W Saphadin (Roger Avon) sc
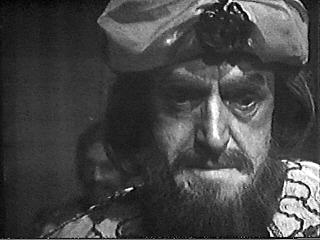
- st--1p14.jpg _12K B&W Saladin (Bernard Kay) sc
- st--1p15.jpg _19K B&W Ian (Russell) sc
- st--1p16.jpg _12K B&W El Akir (Walter Randall) sc
THE SPACE MUSEUM
- st--1q-c.jpg _44K The Space Museum - CONTACT SHEET
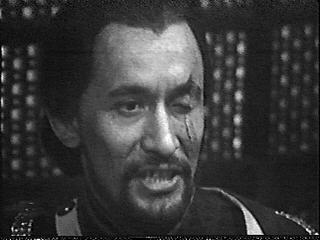
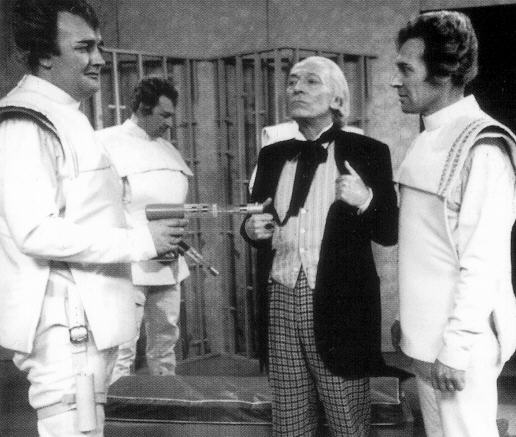
- st--1q01.jpg _40K B&W Doctor captured by Moroks (Hartnell)
- st--1q02.jpg _17K B&W Ian, Barbara, Doctor at console (Russell, JHill, Hartnell) sc 15Jun97
- st--1q03.jpg _15K B&W Vicki with glass of water (O'Brien) sc 15Jun97
- st--1q04.jpg _17K B&W Vicki, Doctor (O'Brien, Hartnell) sc 15Jun97
- st--1q05.jpg _14K B&W Vicki (O'Brien) sc 15Jun97
- st--1q06.jpg _17K B&W Doctor (Hartnell) sc 15Jun97
- st--1q07.jpg _17K B&W Barbara, Doctor, Vicki, Ian in exhibit cases (JHill, Hartnell, O'Brien, Russell) sc 15Jun97
- st--1q08.jpg _16K B&W Governor Lobos (Richard Shaw) sc 15Jun97
- st--1q09.jpg _15K B&W Messenger (Salvin Stewart) sc 15Jun97
- st--1q10.jpg _17K B&W Dako (Peter Craze) sc 15Jun97
- st--1q11.jpg _15K B&W Tor (Jeremy Bulloch) sc 15Jun97
- st--1q12.jpg _16K B&W Barbara (JHill) sc 15Jun97
- st--1q13.jpg _17K B&W Doctor hiding inside Dalek casing (Hartnell) sc 15Jun97
- st--1q14.jpg _15K B&W Ian (Russell) sc 15Jun97
- st--1q15.jpg _16K B&W Doctor (Hartnell) sc 15Jun97
- st--1q16.jpg _20K B&W Ogrok, Lobos (?, Richard Shaw) sc 15Jun97
THE CHASE
All images added 21 Mar 99
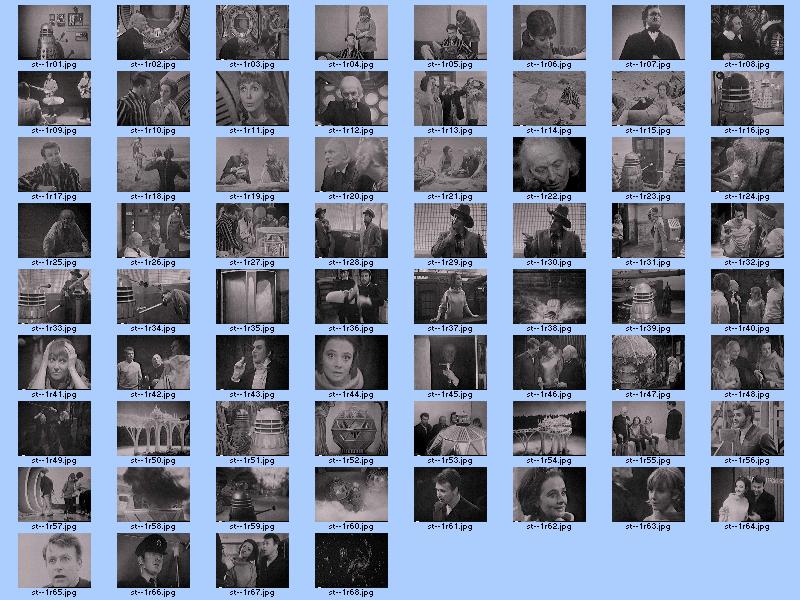
- st--1r-c.jpg 116K The Chase - CONTACT SHEET
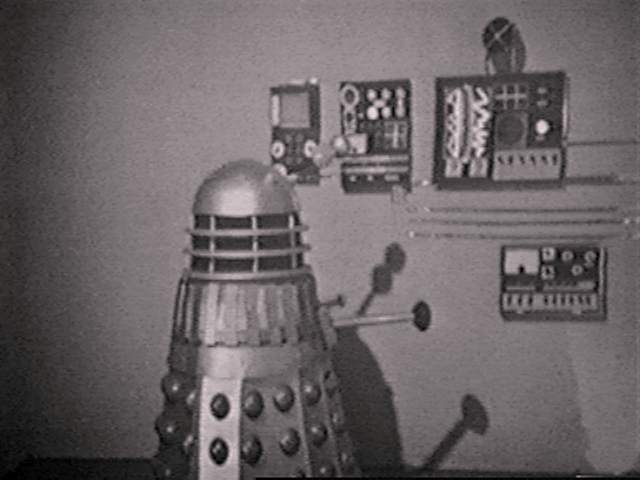
- st--1r01.jpg _31K B&W Dalek in control room sc
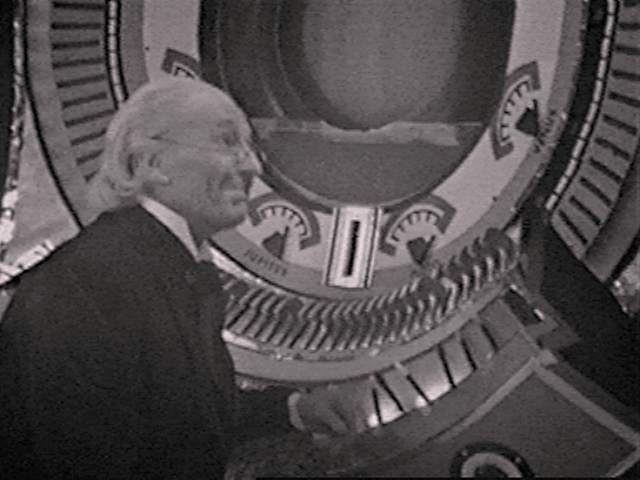
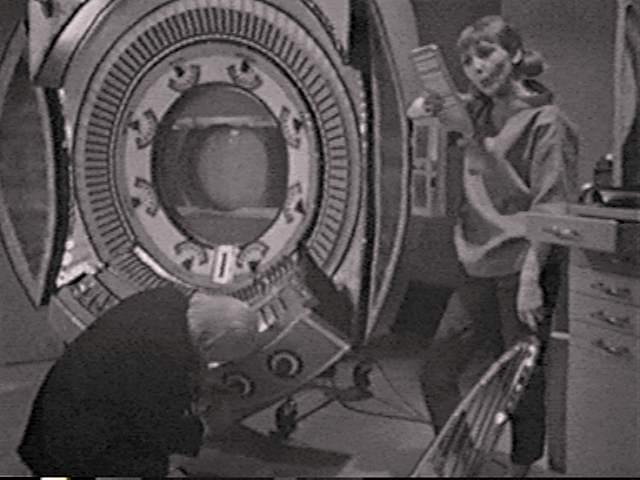
- st--1r02.jpg _35K B&W Doctor in front of Time-Space Visualiser (Hartnell) sc
- st--1r03.jpg _38K B&W Doctor, Vicki (Hartnell, O'Brien) sc
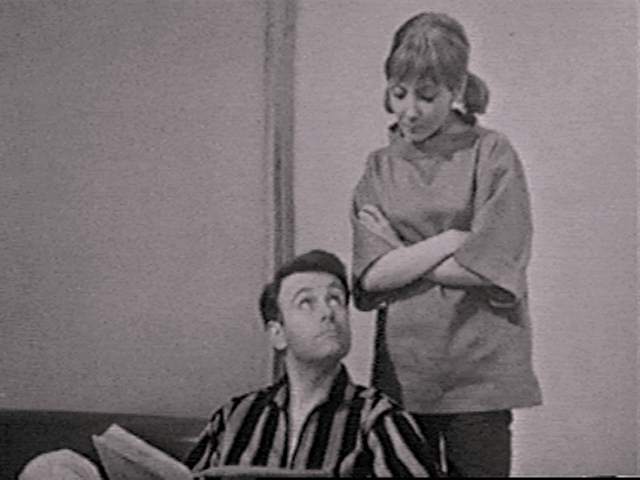
- st--1r04.jpg _29K B&W Ian, Vicki (Russell, O'Brien) sc
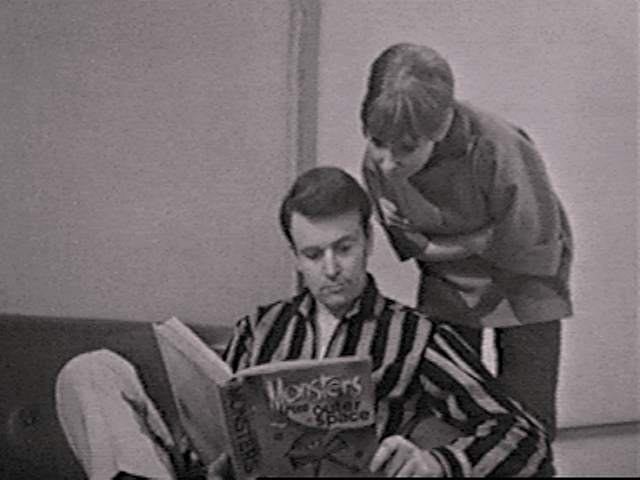
- st--1r05.jpg _30K B&W Ian reading "Monsters From Outer Space", Vicki (Russell, O'Brien) sc
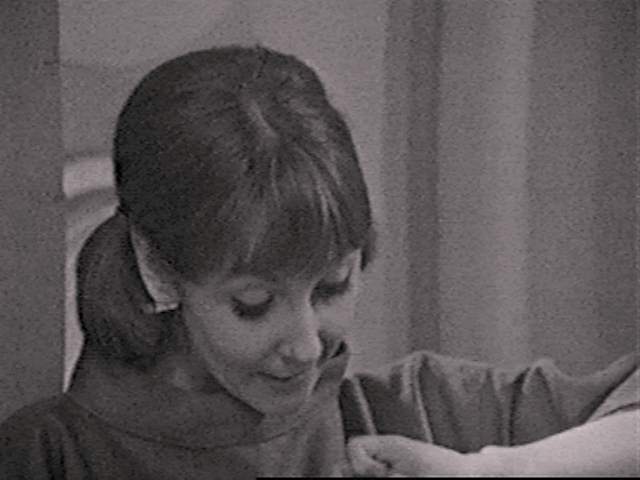
- st--1r06.jpg _30K B&W Vicki (O'Brien) sc
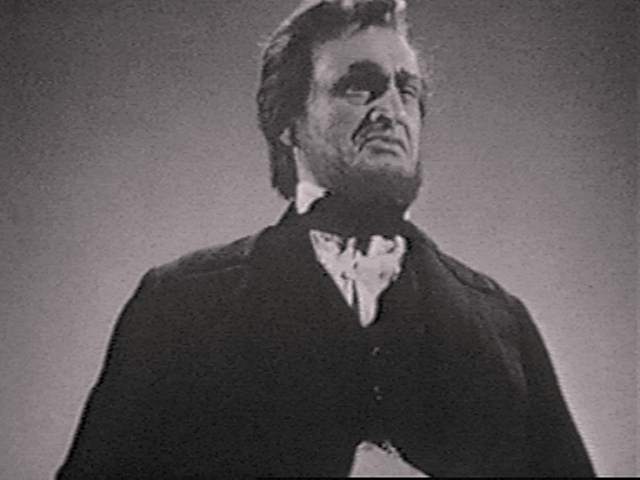
- st--1r07.jpg _27K B&W Abraham Lincoln (Robert Marsden) sc
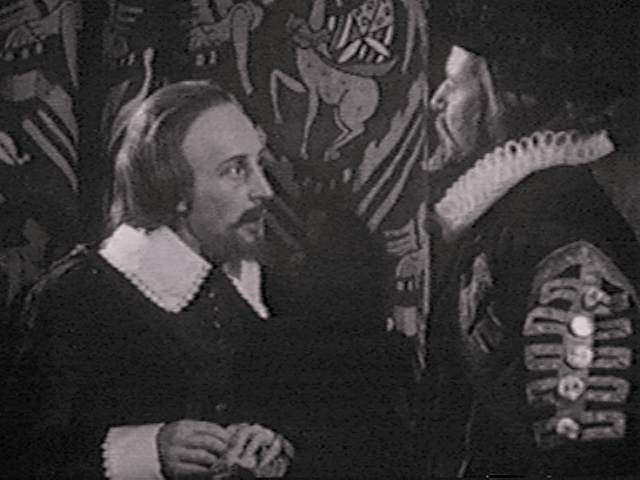
- st--1r08.jpg _34K B&W William Shakespeare, Francis Bacon (Hugh Walters, Roger Hammond)sc
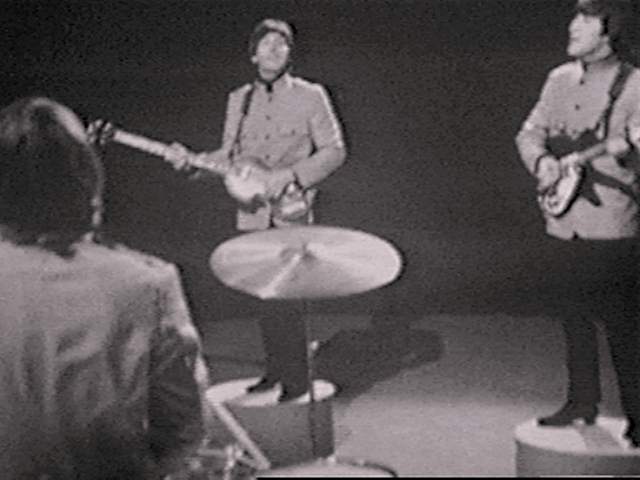
- st--1r09.jpg _31K B&W Beatles (Ringo Starr, Paul McCartney, John Lennon) sc
- st--1r10.jpg _34K B&W Ian, Barbara (Russell, JHill) sc
- st--1r11.jpg _32K B&W Vicki (O'Brien) sc
- st--1r12.jpg _29K B&W Doctor (Hartnell) sc
- st--1r13.jpg _34K B&W Barbara, Doctor, Ian, Vicki shield eyes from twin suns (JHill, Hartnell, Russell, O'Brien) sc
- st--1r14.jpg _34K B&W Vicki, Ian find something in the sand (O'Brien, Russell) sc
- st--1r15.jpg _35K B&W Doctor, Barbara sunbathing (Hartnell, JHill) sc
- st--1r16.jpg _33K B&W Daleks sc
- st--1r17.jpg _28K B&W Ian (Russell) sc
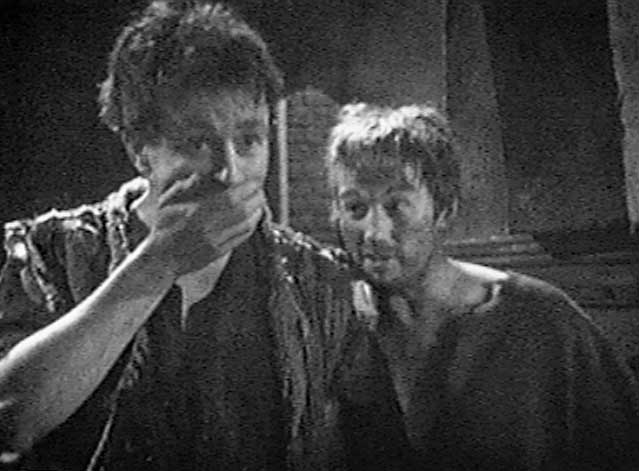
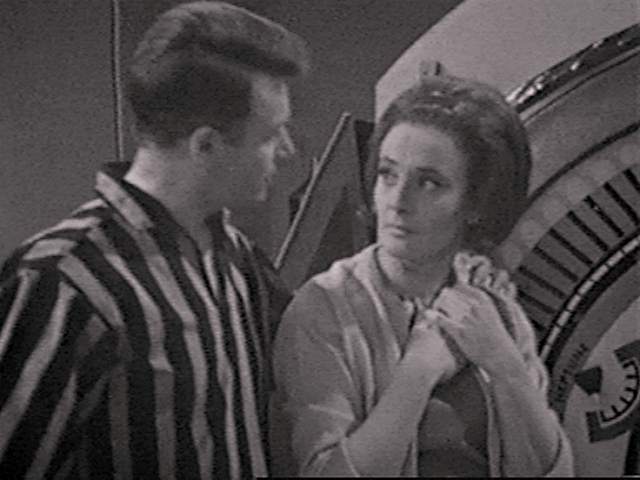
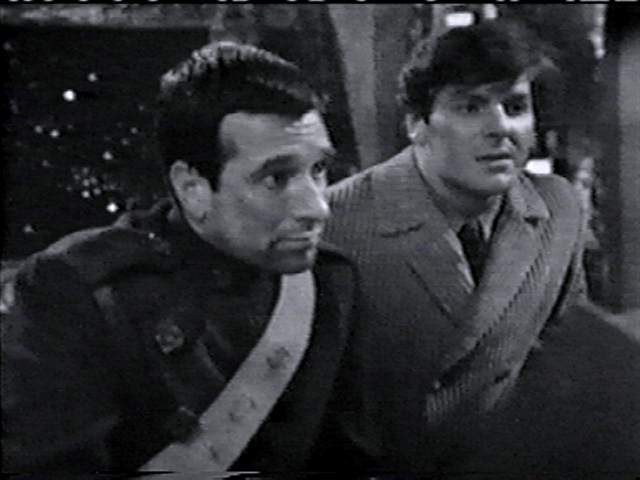
- st--1r18.jpg _30K B&W Aridians confront Barbara and the Doctor (Hywel Bennett, JHill, Hartnell, Ian Thompson) sc
- st--1r19.jpg _30K B&W Doctor, Rynian (Hartnell, Hywell Bennett) sc
- st--1r20.jpg _28K B&W Doctor, Rynian (Hartnell, Hywell Bennett) sc
- st--1r21.jpg _30K B&W Malsan, Barbara, Doctor, Rynian (Ian Thompson, JHill, Hartnell, Hywell Bennett) sc
- st--1r22.jpg _31K B&W Doctor (Hartnell) sc
- st--1r23.jpg _31K B&W Daleks at TARDIS sc
- st--1r24.jpg _34K B&W Mire Beast sc
- st--1r25.jpg _35K B&W Doctor (Hartnell) sc
- st--1r26.jpg _33K B&W Doctor, Vicki, Barbara in console room (Hartnell, O'Brien, JHill) sc
- st--1r27.jpg _39K B&W Ian, Doctor, Barbara, Vicki by console (Russell, Hartnell, JHill, O'Brien) sc
- st--1r28.jpg _33K B&W Morton Dill, Tour Guide (Purves, Arne Gordon) sc
- st--1r29.jpg _39K B&W Morton Dill (Purves) sc
- st--1r30.jpg _36K B&W Morton Dill (Purves) sc
- st--1r31.jpg _34K B&W Vicki meets Morton Dill (O'Brien, Purves) sc
- st--1r32.jpg _34K B&W Barbara, Ian, Morton Dill, Vicki, Doctor (JHill, Russell, Purves, O'Brien, Hartnell) sc
- st--1r33.jpg _36K B&W Daleks meet Morton Dill (Purves) sc
- st--1r34.jpg _35K B&W Morton Dill attempts communication with Dalek (Purves) sc
- st--1r35.jpg _31K B&W Dalek time machine sc
- st--1r36.jpg _32K B&W Captain Benjamin Briggs, Albert C Richardson (David Blake Kelly, Dennis Chinnery) sc
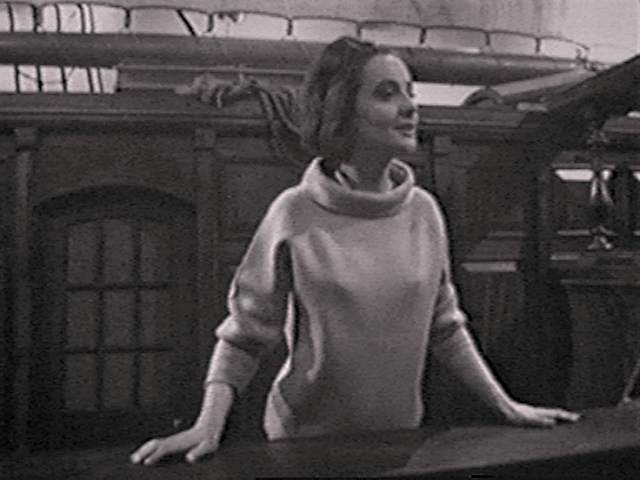
- st--1r37.jpg _33K B&W Barbara on deck of Marie Celeste (JHill) sc
- st--1r38.jpg _32K B&W Dalek falls into ocean sc
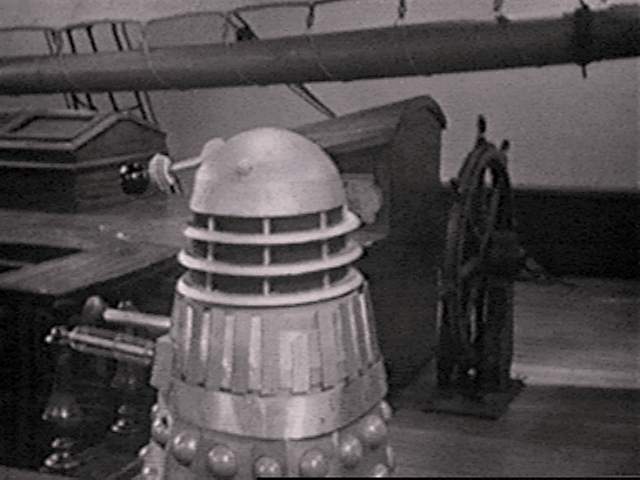
- st--1r39.jpg _34K B&W Dalek on bridge of Marie Celeste sc
- st--1r40.jpg _34K B&W Barbara, Doctor, Vicki, Ian (JHill, Hartnell, O'Brien, Russell) sc
- st--1r41.jpg _31K B&W Vicki doesn't like the house (O'Brien) sc
- st--1r42.jpg _31K B&W Ian, Doctor encounter Frankenstein Monster (Russell, Hartnell, John Maxim) sc
- st--1r43.jpg _31K B&W Count Dracula (Malcolm Rogers) sc
- st--1r44.jpg _28K B&W Barbara scared (JHill) sc
- st--1r45.jpg _30K B&W Doctor's robot double (Edmund Warwick) sc
- st--1r46.jpg _33K B&W Ian, Barbara, Doctor (Russell, JHill, Hartnell) sc
- st--1r47.jpg _38K B&W Living plant about to attack Vicki at TARDIS (O'Brien) sc
- st--1r48.jpg _32K B&W Vicki, robot Doctor, Barbara (O'Brien, Edmund Warwick, JHill) sc
- st--1r49.jpg _30K B&W Doctor fights his robot double (Hartnell, Edmund Warwick) sc
- st--1r50.jpg _33K B&W Mechanoid city sc
- st--1r51.jpg _37K B&W Daleks in jungle with BBC camera in upper right sc
- st--1r52.jpg _36K B&W Mechanoid sc
- st--1r53.jpg _31K B&W Ian, Doctor, Barbara, Vicki in lift with Mechanoid (Russell, Hartnell, JHill, O'Brien) sc
- st--1r54.jpg _32K B&W Mechanoid city (different view) sc
- st--1r55.jpg _32K B&W Doctor, Barbara, Vicki, Ian (Hartnell, JHill, O'Brien, Russell) sc
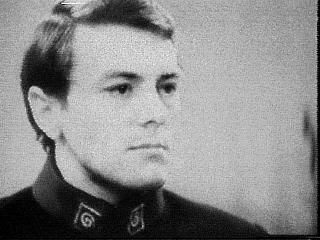
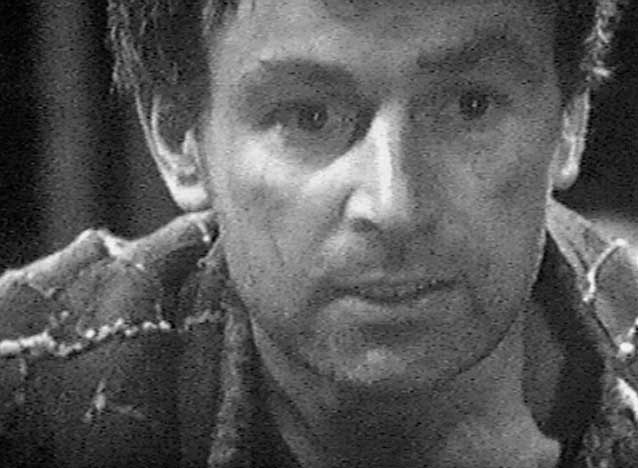
- st--1r56.jpg _34K B&W Steven Taylor (Purves) sc
- st--1r57.jpg _32K B&W Ian, Doctor, Vicki, Steven, Doctor prepare to lower themselves to ground (Russell, Hartnell, O'Brien, Purves, JHill) sc
- st--1r58.jpg _27K B&W Mechanoid-Dalek War sc
- st--1r59.jpg _31K B&W Mechanoid-Dalek War sc
- st--1r60.jpg _29K B&W Mechanoid-Dalek War sc
- st--1r61.jpg _28K B&W Ian (Russell) sc
- st--1r62.jpg _31K B&W Barbara (JHill) sc
- st--1r63.jpg _29K B&W Vicki watches as Ian and Barbara leave (O'Brien) sc
- st--1r64.jpg _31K B&W Barbara, Ian back in London (JHill, Russell) sc
- st--1r65.jpg _23K B&W Ian sees a Police Box (Russell) sc
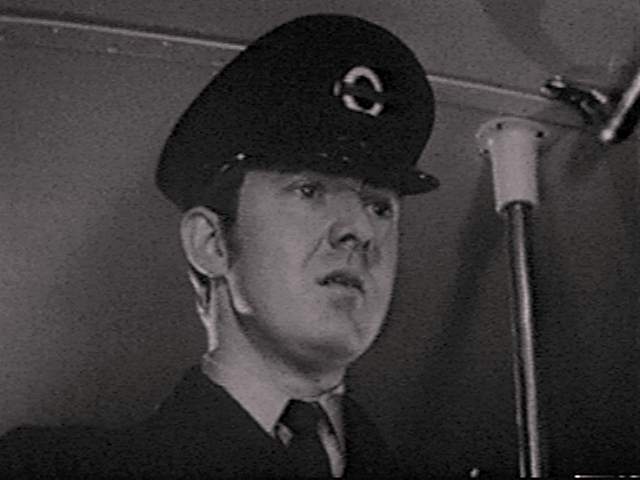
- st--1r66.jpg _29K B&W Bus Conductor (Derek Ware) sc
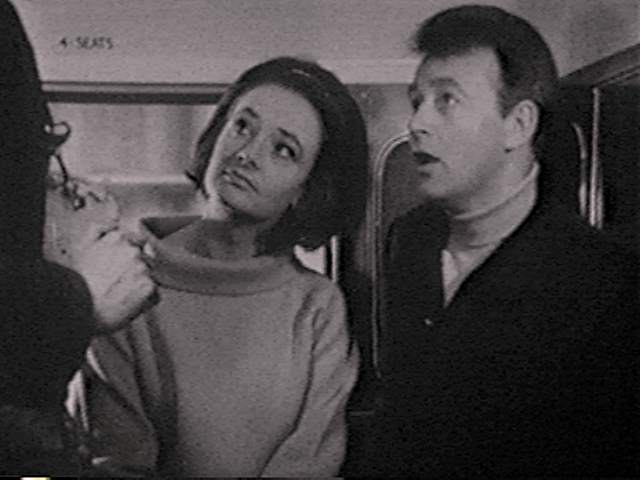
- st--1r67.jpg _31K B&W Barbara, Ian on bus (JHill, Russell) sc
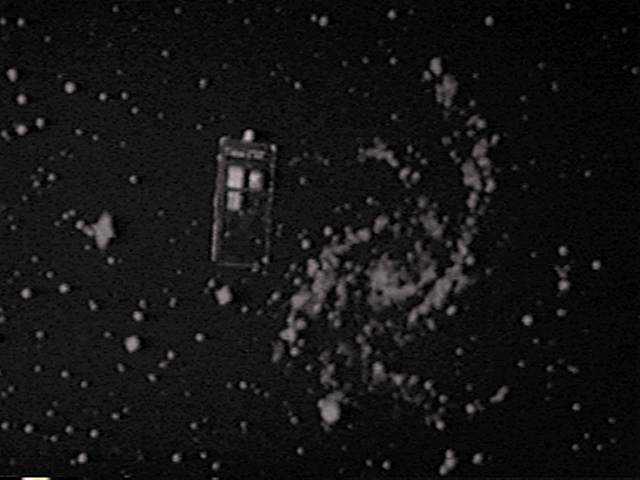
- st--1r68.jpg _31K B&W TARDIS in space sc
THE TIME MEDDLER
- st--1s-c.jpg _56K The Time Meddler - CONTACT SHEET
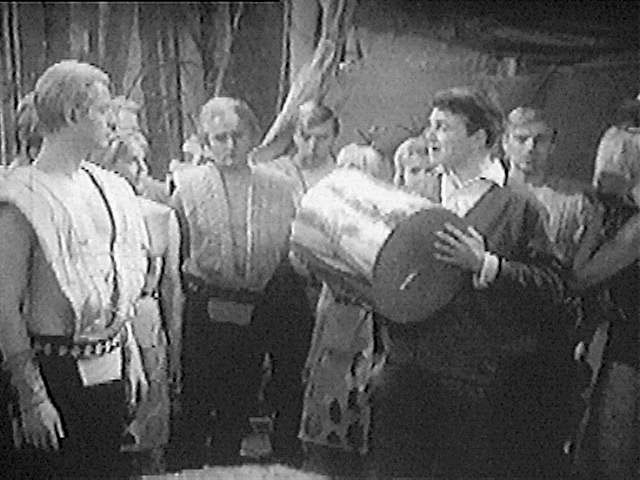
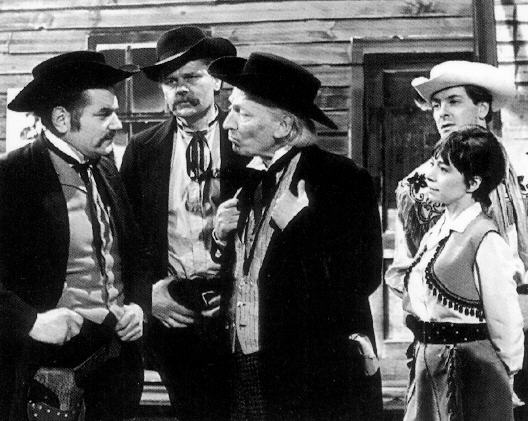
- st--1s01.jpg _45K B&W Vicki, Doctor, Steven and a viking helmet (O'Brien, Hartnell, Purves)
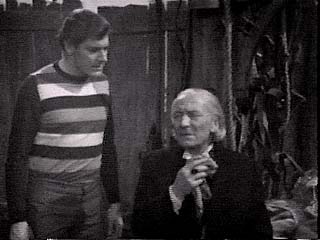
- st--1s02.jpg _71K B&W Steven, Vicki (Purves, O'Brien)
- st--1s03.jpg _18K B&W TARDIS seen from above sc 15Jun97
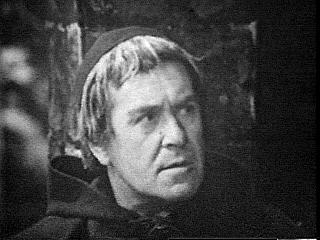
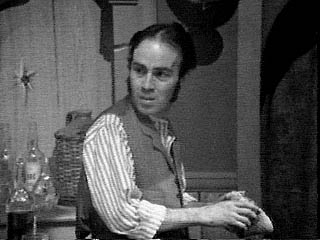
- st--1s04.jpg _14K B&W Meddling Monk (Peter Butterworth) sc 15Jun97
- st--1s05.jpg _17K B&W Doctor (Hartnell) sc 15Jun97
- st--1s06.jpg _17K B&W Steven (Purves) sc 15Jun97
- st--1s07.jpg _17K B&W Edith (Alethea Charlton) sc 15Jun97
- st--1s08.jpg _17K B&W Doctor (Hartnell) sc 15Jun97
- st--1s09.jpg _18K B&W Eldred, Wulnoth (Peter Russell, Michael Miller) sc 15Jun97
- st--1s10.jpg _17K B&W Vicki (O'Brien) sc 15Jun97
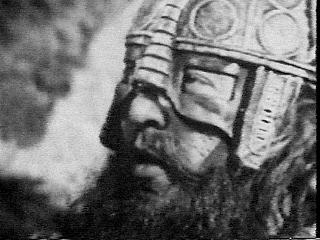
- st--1s11.jpg _17K B&W Viking Leader (Geoffrey Cheshire) sc 15Jun97
- st--1s12.jpg _16K B&W Meddling Monk (Peter Butterworth) sc 15Jun97
- st--1s13.jpg _18K B&W Sven, Ulf (David Anderson, Norman Hartley) sc 15Jun97
- st--1s14.jpg _18K B&W Meddling Monk, Doctor holding him at stickpoint (Peter Butterworth, Hartnell) sc 15Jun97
- st--1s15.jpg _17K B&W Wulnoth (Michael Miller) sc 15Jun97
- st--1s16.jpg _17K B&W Vicki in Meddling Monk's console room (O'Brien) sc 15Jun97
- st--1s17.jpg _17K B&W Meddling Monk, Doctor (Peter Butterworth, Hartnell) sc 15Jun97
- st--1s18.jpg _23K B&W Steven, Vicki, Doctor, Meddling Monk (Purves, O'Brien, Hartnell, Peter Butterworth) sc 15Jun97
- st--1s19.jpg _15K B&W Meddling Monk (Peter Butterworth) sc 15Jun97
- st--1s20.jpg _20K B&W Doctor (Hartnell) sc 15Jun97
- st--1s21.jpg _16K B&W Meddling Monk finds his TARDIS without dimension controller (Peter Butterworth) sc 15Jun97
- st--1s22.jpg _13K B&W Closing Credits: Steven (Purves) sc 15Jun97
- st--1s23.jpg _13K B&W Closing Credits: Vicki (O'Brien) sc 15Jun97
- st--1s24.jpg _14K B&W Closing Credits: Doctor (Hartnell) sc 15Jun97
GALAXY FOUR
Images 2-21 added 21 Mar 99
- st--1t-c.jpg _97K Galaxy Four - CONTACT SHEET
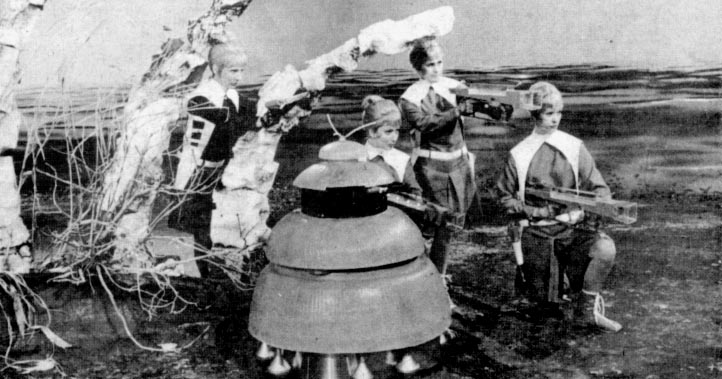
- st--1t01.jpg _69K B&W The Drahvins and a Chumbley 28Aug98
- st--1t02.jpg _33K B&W Vicki, Doctor, Steven run to Drahvin ship (O'Brien, Hartnell, Purves) sc
- st--1t03.jpg _33K B&W Steven, Doctor, Vicki inside ship (Purves, Hartnell, O'Brien) sc
- st--1t04.jpg _35K B&W The Drahvins sc
- st--1t05.jpg _31K B&W Doctor, Vicki (Hartnell, O'Brien) sc
- st--1t06.jpg _29K B&W Steven, Doctor (Purves, Hartnell) sc
- st--1t07.jpg _30K B&W Steven, Vicki (Purves, O'Brien) sc
- st--1t08.jpg _33K B&W Maaga, Doctor (Stephanie Bidmead, Hartnell) sc
- st--1t09.jpg _33K B&W Vicki (O'Brien) sc
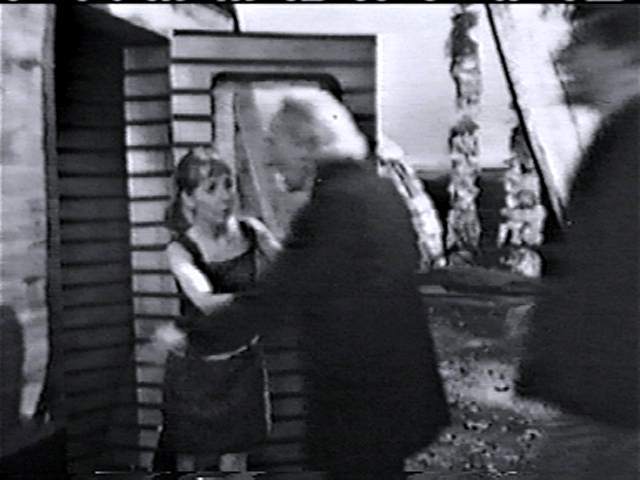
- st--1t10.jpg _33K B&W Maaga, Steven, Vicki (Stephanie Bidmead, Purves, O'Brien) sc
- st--1t11.jpg _27K B&W Steven (Purves) sc
- st--1t12.jpg _28K B&W Maaga (Stephanie Bidmead) sc
- st--1t13.jpg _34K B&W Chumbley outside Drahvin ship sc
- st--1t14.jpg _32K B&W Steven, Vicki, Doctor (Purves, O'Brien, Hartnell) sc
- st--1t15.jpg _30K B&W Chumblie sc
- st--1t16.jpg _22K B&W Drahvin ship sc
- st--1t17.jpg _17K B&W Steven, Vicki (Purves, O'Brien) sc
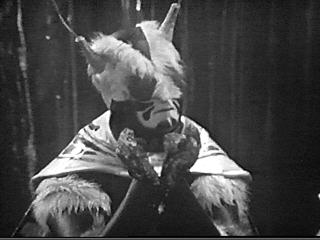
- st--1t18.jpg _19K B&W Maaga, Drahvins, Doctor (Stephanie Bidmead, Hartnell) sc
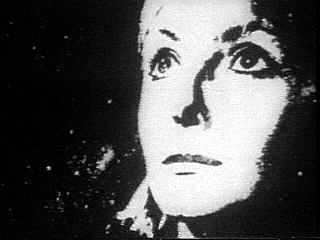
- st--1t19.jpg _16K B&W Maaga (Stephanie Bidmead) sc
- st--1t20.jpg _18K B&W Doctor, Maaga, Drahvin (Hartnell, Stephanie Bidmead) sc
- st--1t21.jpg _18K B&W Chumbley sc
MISSION TO THE UNKNOWN
THE MYTH MAKERS
- st--1u01.jpg _13K B&W Steven, Vicki (Purves, O'Brien) sc 21Mar99
- st--1u02.jpg _13K B&W Vicki CU (O'Brien) sc 21Mar99
- st--1u03.jpg _13K B&W Vicki in dress (O'Brien) sc 21Mar99
THE DALEKS' MASTER PLAN
- st--1v-c.jpg _36K The Dalek Master Plan - CONTACT SHEET
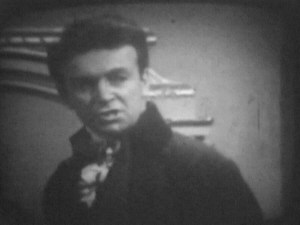
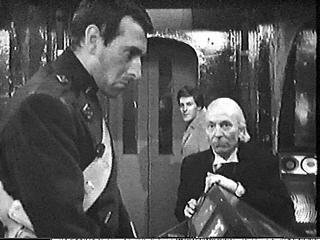
- st--1v01.jpg _16K B&W Bret Vyon, Steven, Doctor (Nicholas Courtney, Purves, Hartnell) sc
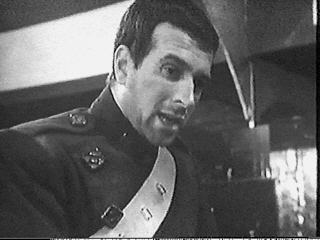
- st--1v02.jpg _12K B&W Bret Vyon (Nicholas Courtney) sc
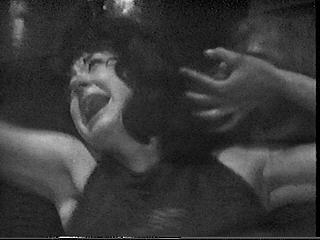
- st--1v03.jpg _10K B&W Katarina struggling to reach switch (AHill) sc
- st--1v04.jpg _12K B&W Doctor (Hartnell) sc
- st--1v05.jpg _13K B&W Sara Kingdom (Marsh) sc
- st--1v06.jpg _11K B&W Doctor in blinding flash (Hartnell) sc
- st--1v07.jpg _12K B&W Rhynmal (John Herrington) sc
- st--1v08.jpg _13K B&W Froyn, Karlton (Bill Meiler, Maurice Browning) sc
- st--1v09.jpg _12K B&W Karlton (Maurice Browning) sc
- st--1v10.jpg _13K B&W Mavic Chen (Kevin Stoney) sc
- st--1v11.jpg _12K B&W Doctor (Hartnell) sc
- st--1v12.jpg _13K B&W Meddling Monk, Sara Kingdom, Steven (Peter Butterworth, Marsh, Purves) sc
- st--1v13.jpg _11K B&W Meddling Monk (Peter Butterworth) sc
- st--1v14.jpg _12K B&W Steven (Purves) sc
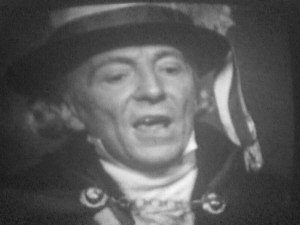
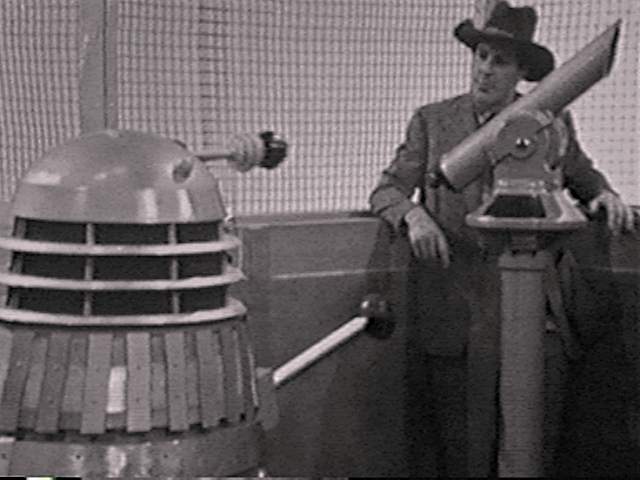
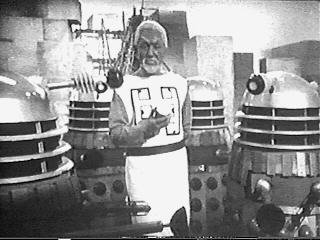
- st--1v15.jpg _16K B&W Doctor in white hat (Hartnell) sc
- st--1v16.jpg _13K B&W Doctor in white hat (Hartnell) sc
- st--1v17.jpg _17K B&W Mavic Chen and Daleks (Kevin Stoney) sc
- st--1v18.jpg _15K B&W Sara Kingdom, Steven, Doctor in TARDIS (Marsh, Purves, Hartnell) sc
- st--1v19.jpg _11K B&W Kert Gantry (Brian Cant) sc
- st--1v20.jpg _44K B&W Bret Vyon, Doctor, Katarina, Steven (Courtney, Hartnell, AHill, Purves)
- st--1v21.jpg _22K B&W Kert Gantry (Brian Cant) sc 21Mar99
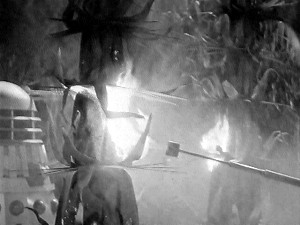
- st--1v22.jpg _21K B&W Kert Gantry encounters a Dalek (Brian Cant) sc 21Mar99
- st--1v23.jpg _25K B&W TARDIS materialises on Kembel sc 21Mar99
- st--1v24.jpg _22K B&W Daleks sc 21Mar99
- st--1v25.jpg _19K B&W Spaceship lands on platform sc 21Mar99
- st--1v26.jpg _24K B&W Daleks activate flame throwers sc 21Mar99
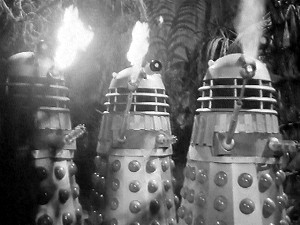
- st--1v27.jpg _19K B&W Daleks burning vegetation sc 21Mar99
- st--1v28.jpg _23K B&W Bret Vyon, Steven (Nicholas Courtney, Purves) sc 21Mar99
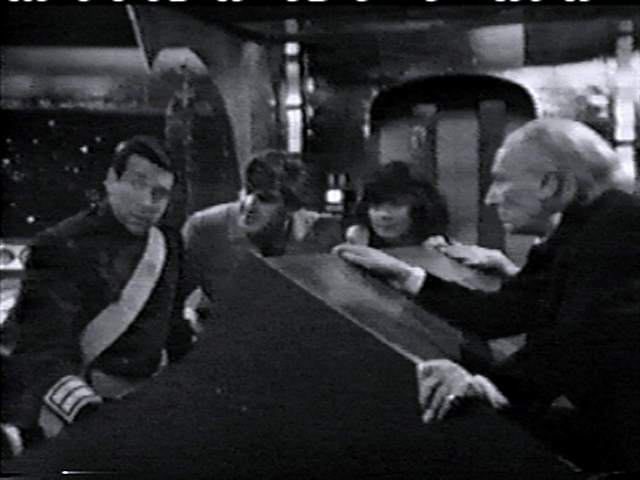
- st--1v29.jpg _30K B&W Bret Vyon, Steven, Katarina, Doctor (Nicholas Courtney, Purves, AHill, Hartnell) sc 21Mar99
- st--1v30.jpg _29K B&W Bret Vyon, Steven, Katarina, Doctor (Nicholas Courtney, Purves, AHill, Hartnell) sc 21Mar99
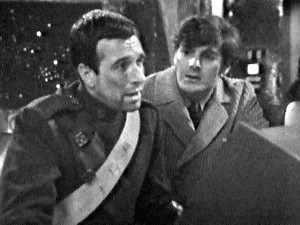
- st--1v31.jpg _29K B&W Bret Vyon, Steven (Nicholas Courtney, Purves) sc 21Mar99
- st--1v32.jpg _26K B&W Doctor (Hartnell) sc 21Mar99
THE MASSACRE
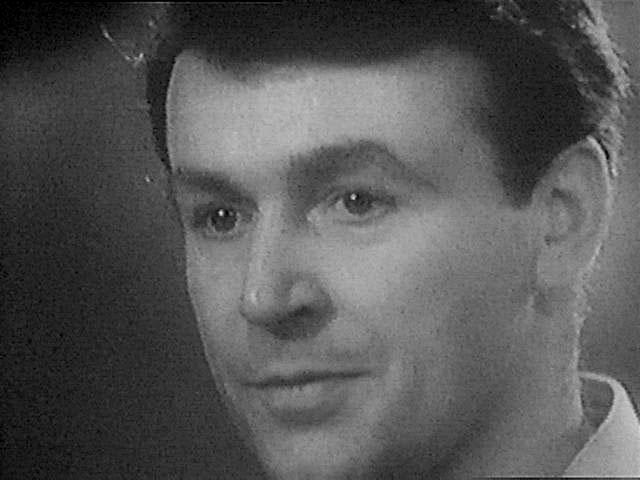
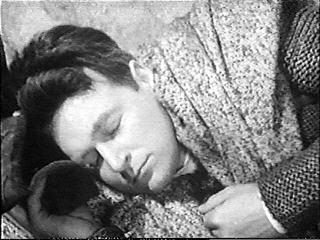
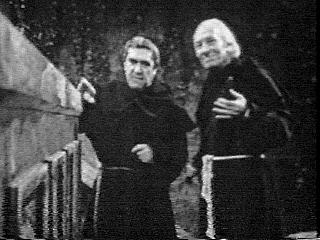
- st--1w01.jpg _33K B&W Doctor and Steven (Hartnell, Purves)
- st--1w02.jpg _90K B&W Doctor and Steven (Hartnell, Purves)
THE ARK
- st--1x-c.jpg _47K The Ark - CONTACT SHEET
- st--1x01.jpg _64K B&W Dodo, Doctor, Steven (Lane, Hartnell, Purves)
- st--1x02.jpg _16K B&W Dodo sneezes (Lane) sc 15Jun97
- st--1x03.jpg _17K B&W Steven (Purves) sc 15Jun97
- st--1x04.jpg _16K B&W Commander (Eric Elliott) sc 15Jun97
- st--1x05.jpg _14K B&W Mellium (Kate Newman) sc 15Jun97
- st--1x06.jpg _16K B&W Zentos (Inigo Jackson) sc 15Jun97
- st--1x07.jpg _16K B&W Dodo (Lane) sc 15Jun97
- st--1x08.jpg _18K B&W Doctor (Hartnell) sc 15Jun97
- st--1x09.jpg _15K B&W Steven (Purves) sc 15Jun97
- st--1x10.jpg _15K B&W Doctor assisted by Monoid (Hartnell) sc 15Jun97
- st--1x11.jpg _17K B&W Monoid statue seen from below sc 15Jun97
- st--1x12.jpg _13K B&W Dodo, Doctor both thinking (Lane, Hartnell) sc 15Jun97
- st--1x13.jpg _15K B&W Number One Monoid (Edmund Coulter) sc 15Jun97
- st--1x14.jpg _16K B&W Dodo (Lane) sc 15Jun97
- st--1x15.jpg _18K B&W Monoid close-up sc 15Jun97
- st--1x16.jpg _12K B&W Landing pods leaving the Ark sc 15Jun97
- st--1x17.jpg _16K B&W Maharis (Terence Woodfield) sc 15Jun97
- st--1x18.jpg _14K B&W Venussa (Eileen Helsby) sc 15Jun97
- st--1x19.jpg _18K B&W Dassuk (Brian Wright) sc 15Jun97
- st--1x20.jpg _15K B&W Dodo (Lane) sc 15Jun97
- st--1x21.jpg _18K B&W Dodo in next story's clothes (Lane) sc 15Jun97
- st--1x22.jpg _25K B&W Monoid statue [miniature] (composite capture of seven frames) sc 15Jun97
- st--1x23.jpg _18K B&W Zentos, Manyak (Inigo Jackson, Michael Sheard) sc 15Jun97
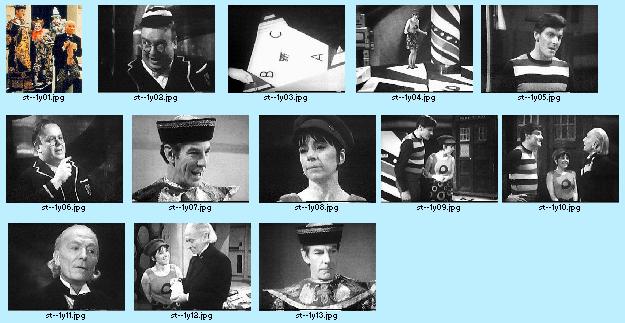
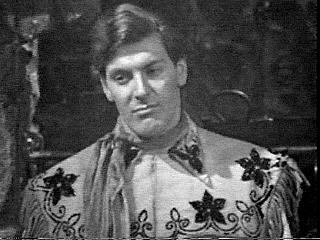
THE CELESTIAL TOYMAKER
- st--1y-c.jpg _47K The Celestial Toymaker - CONTACT SHEET
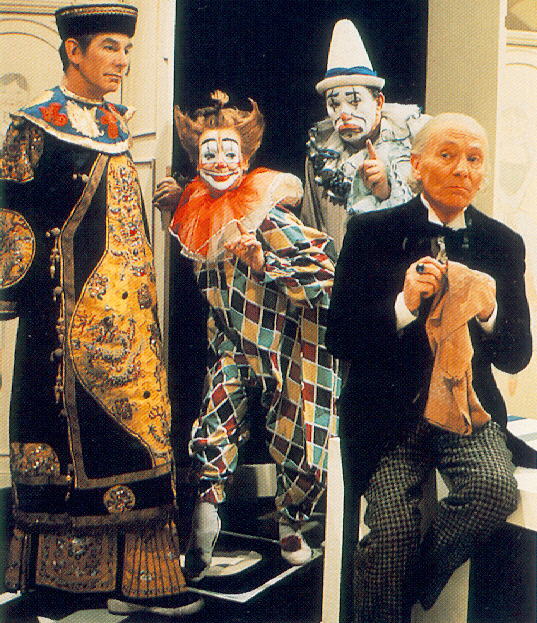
- st--1y01.jpg 109K Toymaker, Clara, Joey, Doctor (Michael Gough, Carmen Silvera, Campbell Singer, Hartnell)
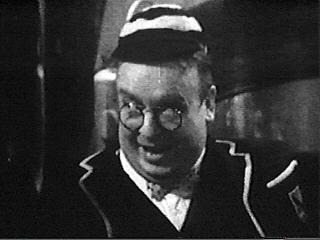
- st--1y02.jpg _12K B&W Cyril (Peter Stephens) sc
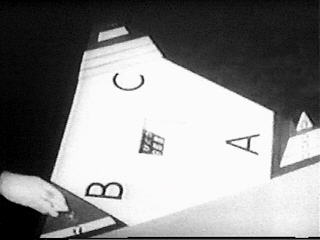
- st--1y03.jpg __9K B&W The trilogic game sc
- st--1y04.jpg _16K B&W Dodo (Lane) sc
- st--1y05.jpg _12K B&W Steven (Purves) sc
- st--1y06.jpg _13K B&W Cyril (Peter Stephens) sc
- st--1y07.jpg _15K B&W Toymaker (Michael Gough) sc
- st--1y08.jpg _11K B&W Dodo (Lane) sc
- st--1y09.jpg _15K B&W Steven, Dodo (Purves, Lane) sc
- st--1y10.jpg _14K B&W Steven, Dodo, Doctor (Purves, Lane, Hartnell) sc
- st--1y11.jpg _10K B&W Doctor (Hartnell) sc
- st--1y12.jpg _14K B&W Dodo, Doctor (Hartnell) sc
- st--1y13.jpg _15K B&W Toymaker (Michael Gough) sc
- st--1y14.jpg _44K Dodo, Steven, Doctor inspect toy train (Lane, Purves, Hartnell) 16Mar97
- st--1y15.jpg _92K B&W Doctor gestures while Toymaker looks (Hartnell, Michael Gough) 28Aug98
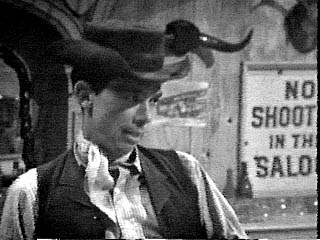
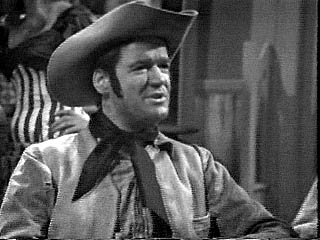
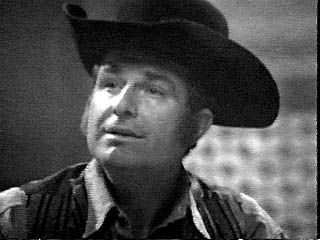
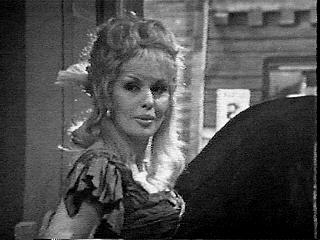
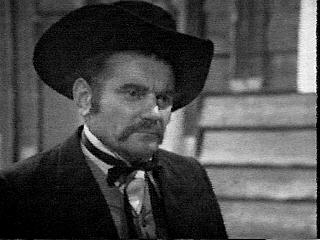
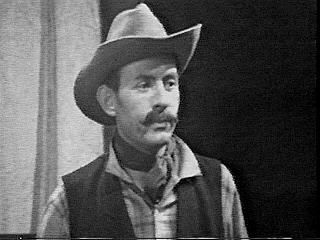
THE GUNFIGHTERS
- st--1z-c.jpg _76K The Gunfighters - CONTACT SHEET
- st--1z01.jpg _47K B&W Doctor, Steven, Dodo at gunpoint (Hartnell, Purves, Lane)
- st--1z02.jpg _18K B&W Steven, Doctor (Purves, Hartnell) sc 19Jun97
- st--1z03.jpg _19K B&W Charlie the bartender (David Graham) sc 19Jun97
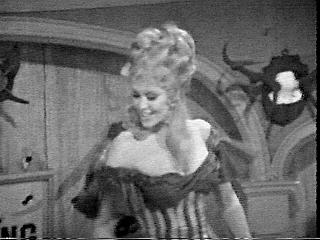
- st--1z04.jpg _23K B&W Dodo [aka Miss Dodo Dupont] (Lane) sc 19Jun97
- st--1z05.jpg _22K B&W Steven [aka Steven Regret], Dodo (Purves, Lane) sc 19Jun97
- st--1z06.jpg _22K B&W Steven, Doctor (Purves, Hartnell) sc 19Jun97
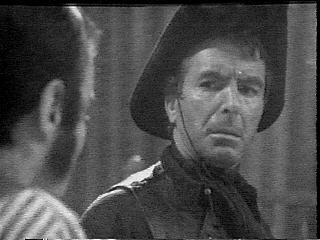
- st--1z07.jpg _19K B&W Wyatt Earp (John Alderson) sc 19Jun97
- st--1z08.jpg _18K B&W Dodo (Lane) sc 19Jun97
- st--1z09.jpg _25K B&W Billy Clanton (David Cole) sc 19Jun97
- st--1z10.jpg _23K B&W Seth Harper (Shane Rimmer) sc 19Jun97
- st--1z11.jpg _19K B&W Phineas Clanton (Maurice Good) sc 19Jun97
- st--1z12.jpg _16K B&W Kate Elder (Sheena Marshe) sc 19Jun97
- st--1z13.jpg _14K B&W Bat Masterson (Richard Beale) sc 19Jun97
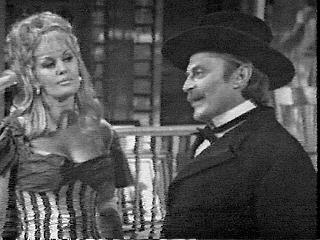
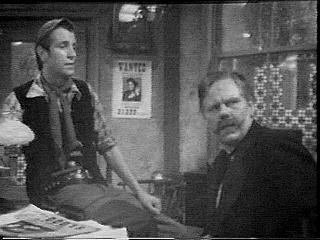
- st--1z14.jpg _17K B&W Kate Elder and Doc Holliday (Sheena Marshe, Anthony Jacobs) sc 19Jun97
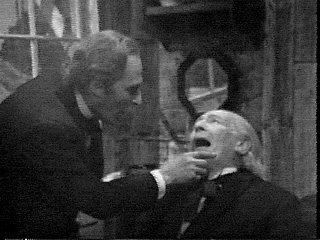
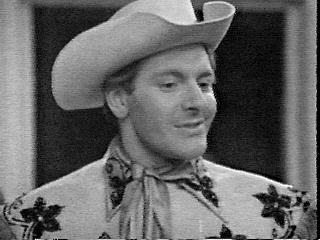
- st--1z15.jpg _20K B&W Doc Holliday, Doctor (Anthony Jacobs, Hartnell) sc 19Jun97
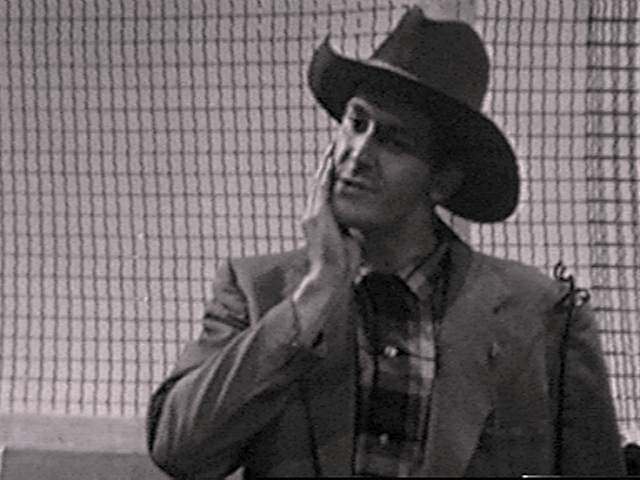
- st--1z16.jpg _15K B&W Doctor (Hartnell) sc 19Jun97
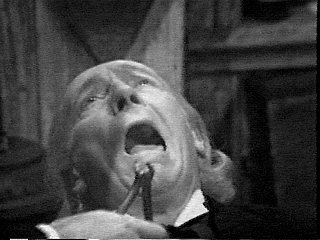
- st--1z17.jpg _19K B&W Doctor about to get his tooth pulled (Hartnell) sc 19Jun97
- st--1z18.jpg _13K B&W Ike Clanton (William Hurndell) sc 19Jun97
- st--1z19.jpg _15K B&W Kate Elder (Sheena Marshe) sc 19Jun97
- st--1z20.jpg _15K B&W Doctor (Hartnell) sc 19Jun97
- st--1z21.jpg _15K B&W Dodo (Lane) sc 19Jun97
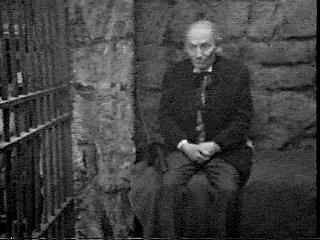
- st--1z22.jpg _16K B&W Doctor in the slammer (Hartnell) sc 19Jun97
- st--1z23.jpg _15K B&W Steven (Purves) sc 19Jun97
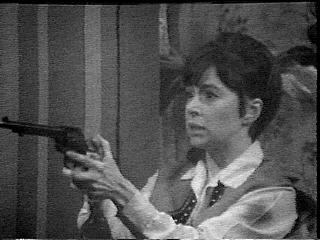
- st--1z24.jpg _15K B&W Dodo with gun (Lane) sc 19Jun97
- st--1z25.jpg _14K B&W Charlie, Johnny Ringo (David Graham, Laurence Payne) sc 19Jun97
- st--1z26.jpg _16K B&W Warren Earp, Wyatt Earp (Martyn Huntley, John Alderson) sc 19Jun97
- st--1z27.jpg _14K B&W Virgil Earp (Victor Carin) sc 19Jun97
- st--1z28.jpg _15K B&W Pa Clanton (Reed de Rouen) sc 19Jun97
- st--1z29.jpg _21K B&W Doctor (Hartnell) sc 19Jun97
- st--1z30.jpg _18K B&W Steven (Purves) sc 19Jun97
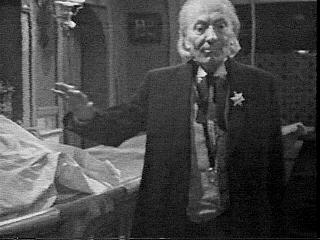
- st--1z31.jpg _14K B&W Doctor is the law (Hartnell) sc 19Jun97
- st--1z32.jpg _15K B&W Dodo (Lane) sc 19Jun97
THE SAVAGES
- st--2a01.jpg _13K B&W Jano (Frederick Jaeger) sc 21Mar99
- st--2a02.jpg _13K B&W Dodo, Doctor hugging (Lane, Hartnell) sc 21Mar99
- st--2a03.jpg _13K B&W Doctor, Dodo (Hartnell, Lane) sc 21Mar99
- st--2a04.jpg _11K B&W Steven (Purves) sc 21Mar99
THE WAR MACHINES
All images added 14Aug99
- st--2b-c.jpg 143K The War Machines - CONTACT SHEET
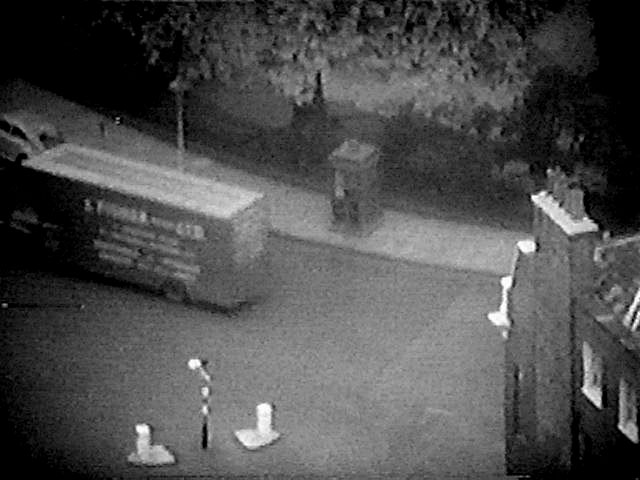
- st--2b01.jpg _52K B&W TARDIS lands in London sc
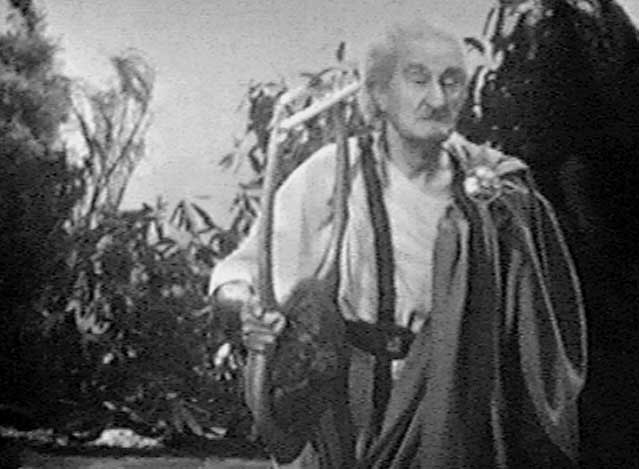
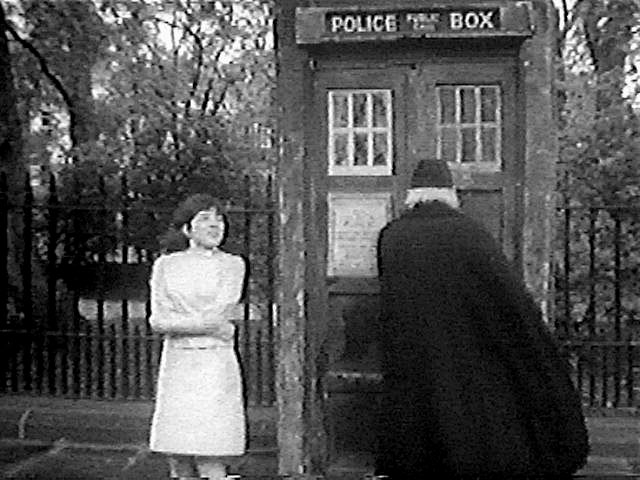
- st--2b02.jpg _71K B&W Dodo, Doctor outside TARDIS (Lane, Hartnell) sc
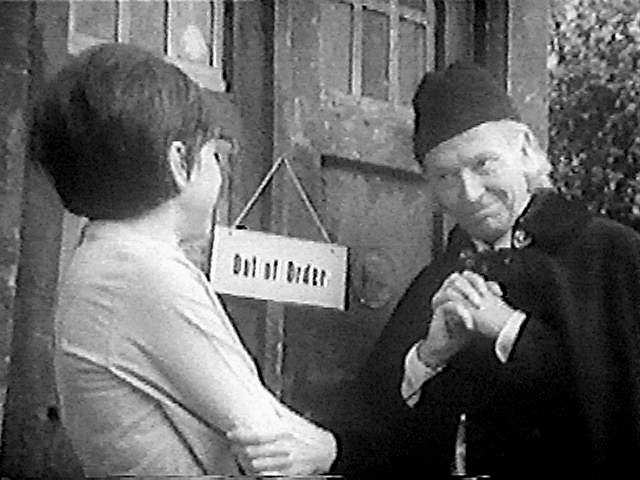
- st--2b03.jpg _59K B&W Dodo, Doctor and an "Out of Order" sign on TARDIS (Lane, Hartnell) sc
- st--2b04.jpg _50K B&W Doctor (Hartnell) sc
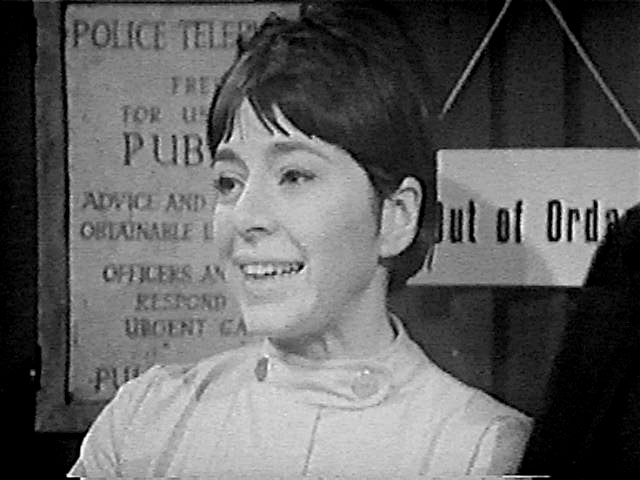
- st--2b05.jpg _51K B&W Dodo (Lane) sc
- st--2b06.jpg _56K B&W Dodo, Doctor (Lane, Hartnell) sc
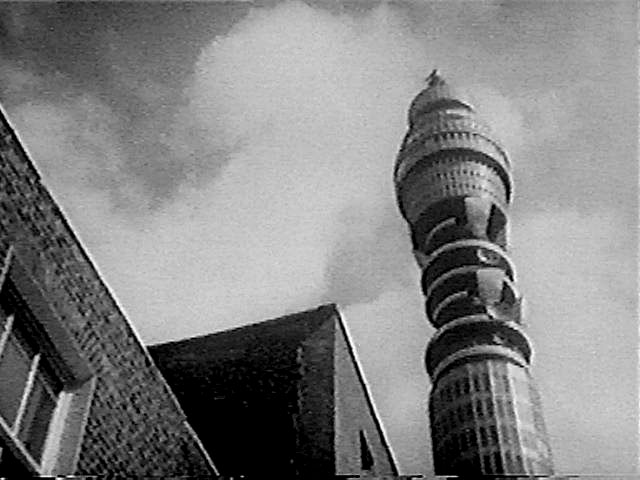
- st--2b07.jpg _52K B&W Post Office Tower sc
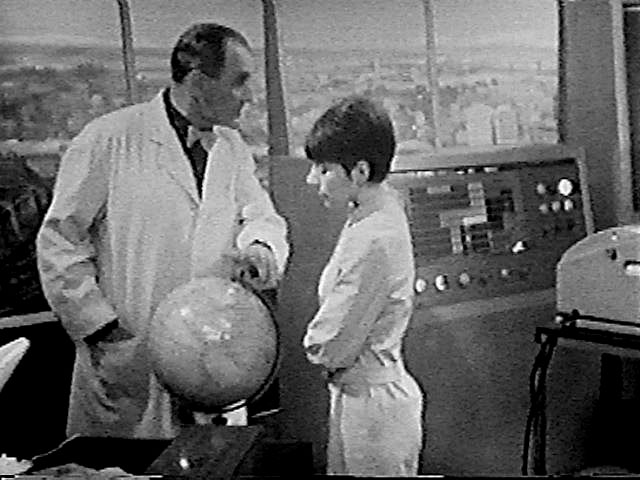
- st--2b08.jpg _61K B&W Professor Brett, Dodo (John Harvey, Lane) sc
- st--2b09.jpg _47K B&W Dodo (Lane) sc
- st--2b10.jpg _49K B&W Professor Brett (John Harvey) sc
- st--2b11.jpg _53K B&W Dodo is a bit dazed (Lane) sc
- st--2b12.jpg _52K B&W Dodo talks to Polly with Doctor, Professor Brett in background (Lane, Hartnell, John Harvey, Wills) sc
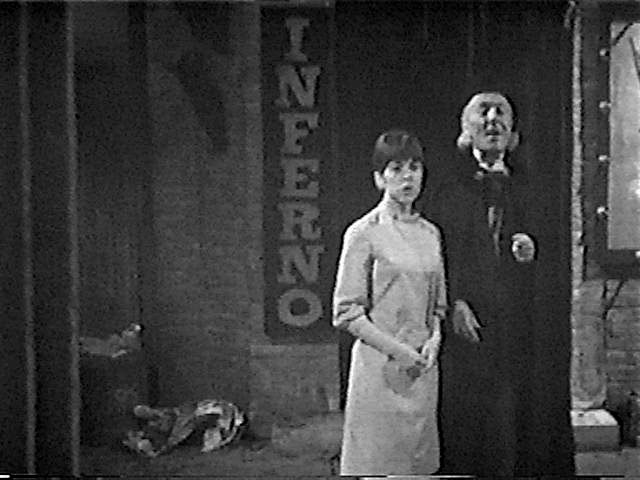
- st--2b13.jpg _52K B&W Polly, Dodo in Inferno (Wills, Lane) sc
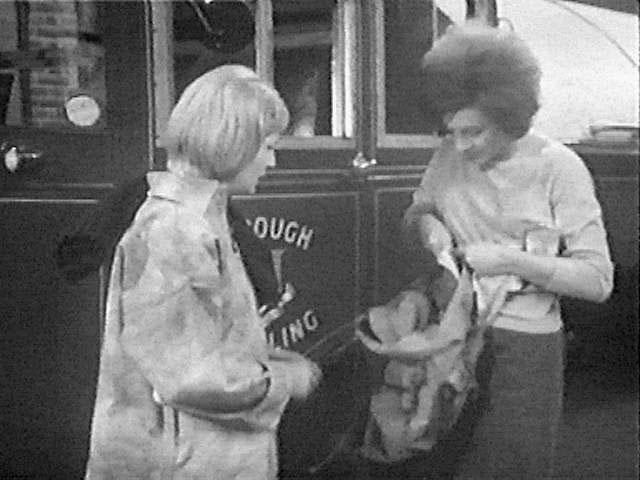
- st--2b14.jpg _63K B&W Ben Jackson, Flash, Polly and Kitty (Craze, Ewan Proctor, Wills, Sandra Bryant) sc
- st--2b15.jpg _61K B&W Ben, Dodo, Polly (Craze, Lane, Wills) sc
- st--2b16.jpg _58K B&W Ben, Flash, Polly (Craze, Ewan Proctor, Wills) sc
- st--2b17.jpg _55K B&W Ben explains his gloom (Craze) sc
- st--2b18.jpg _63K B&W Dodo, Polly, Kitty, Ben after the fight with Flash (Lane, Wills, Sandra Bryant, Craze) sc
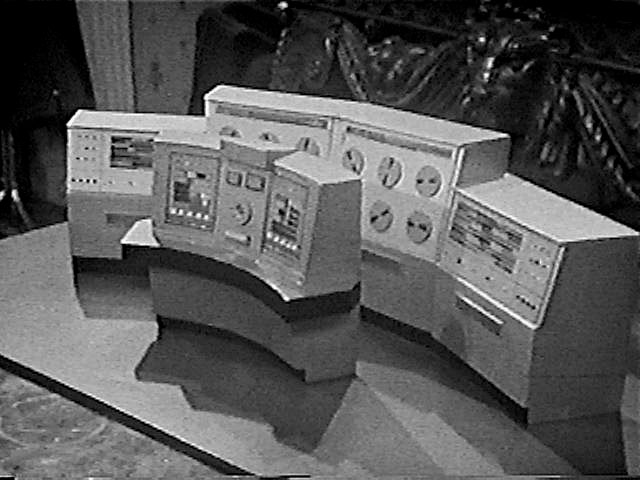
- st--2b19.jpg _59K B&W The model of WOTAN, not the Forbin project sc
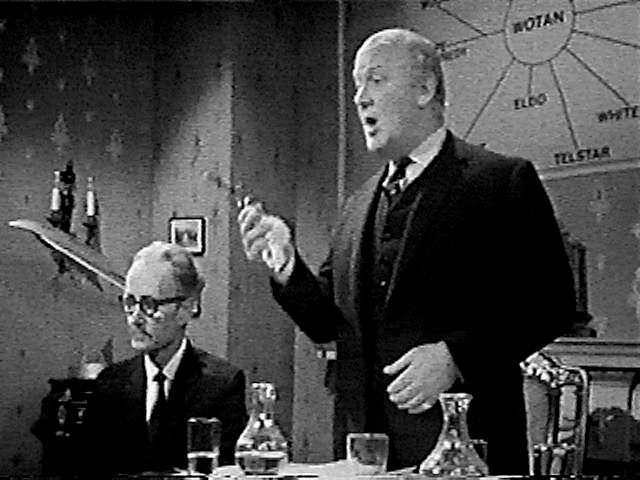
- st--2b20.jpg _58K B&W Sir Charles Summer at news conference (William Mervyn) sc
- st--2b21.jpg _55K B&W American journalist Roy Stone (Ric Felgate) sc
- st--2b22.jpg _54K B&W Professor Brett, Major Green (John Harvey, Alan Curtis) sc
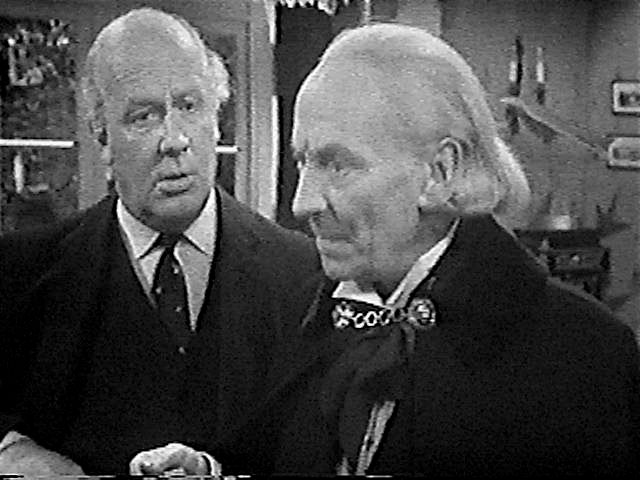
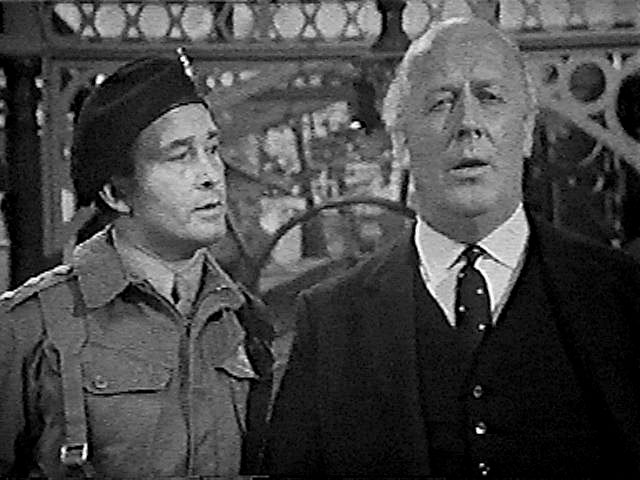
- st--2b23.jpg _59K B&W Sir Charles Summer, Doctor (William Mervyn, Hartnell) sc
- st--2b24.jpg _51K B&W Doctor (Hartnell) sc
- st--2b25.jpg _62K B&W Dodo takes phone call from WOTAN (Lane) sc
- st--2b26.jpg _52K B&W Professor Brett, Professor Krimpton, Major Green (John Harvey, John Cater, Alan Curtis) sc
- st--2b27.jpg _48K B&W Professor Krimpton (John Cater) sc
- st--2b28.jpg _50K B&W Professor Brett (John Harvey) sc
- st--2b29.jpg _47K B&W Major Green (Alan Curtis) sc
- st--2b30.jpg _49K B&W Dodo (Lane) sc
- st--2b31.jpg _52K B&W Dodo, Doctor outside Inferno nightclub (Lane, Hartnell) sc
- st--2b32.jpg _56K B&W Tramp, Ben (Roy Godfrey, Craze) sc
- st--2b33.jpg _46K B&W Tramp spies on WOTAN workers (Roy Godfrey) sc
- st--2b34.jpg _56K B&W Professor Brett (John Harvey) sc
- st--2b35.jpg _57K B&W Sir Charles Summer, Doctor see newspaper story about tramp (William Mervyn, Hartnell) sc
- st--2b36.jpg _48K B&W Polly (Wills) sc
- st--2b37.jpg _49K B&W Dodo (Lane) sc
- st--2b38.jpg _53K B&W Doctor, Dodo after a WOTAN phone call (Hartnell, Lane) sc
- st--2b39.jpg _56K B&W Polly, Sir Charles Summer, Dodo waiting, Doctor (Wills, William Mervyn, Lane, Hartnell) sc
- st--2b40.jpg _59K B&W Dodo under hypnosis (Lane) sc
- st--2b41.jpg _50K B&W Doctor hypnotising with his ring (Hartnell) sc
- st--2b42.jpg _49K B&W Ben (Craze) sc
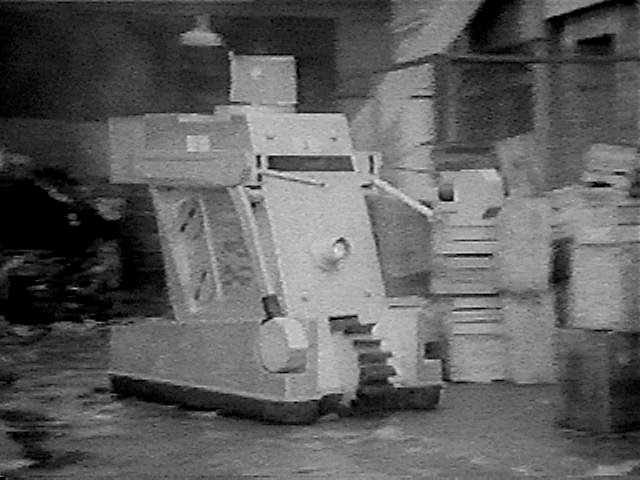
- st--2b43.jpg _47K B&W War Machine sc
- st--2b44.jpg _49K B&W Polly (Wills) sc
- st--2b45.jpg _50K B&W Polly (Wills) sc
- st--2b46.jpg _48K B&W Ben (Craze) sc
- st--2b47.jpg _61K B&W Captain (John Rolfe) sc
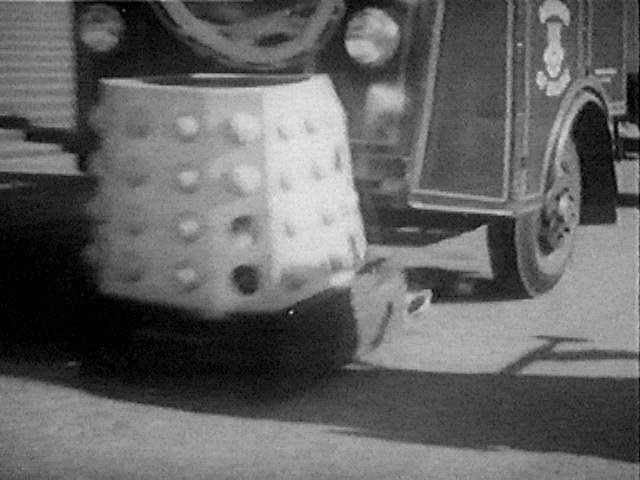
- st--2b48.jpg _55K B&W War Machine sc
- st--2b49.jpg _60K B&W Doctor (Hartnell) sc
- st--2b50.jpg _58K B&W Doctor stands his ground while Ben and Sir Charles Summer look on (Hartnell, Craze, William Mervyn) sc
- st--2b51.jpg _82K B&W Sir Charles Summer, Doctor arrive to catch a War Machine (William Mervyn, Hartnell) sc
- st--2b52.jpg _63K B&W War Machine trapped sc
- st--2b53.jpg _60K B&W The Minister (George Cross) sc
- st--2b54.jpg _50K B&W Doctor: "Temper, temper!" (Hartnell) sc
- st--2b55.jpg _52K B&W Doctor, Polly, Ben outside TARDIS (Hartnell, Wills, Craze) sc
- st--2b56.jpg _57K B&W Ben, Polly watch Doctor enter TARDIS (Craze, Wills) sc
- st--2b57.jpg _70K B&W TARDIS on street sc
- st--2b58.jpg _60K B&W War Machine (from remastering credits) sc
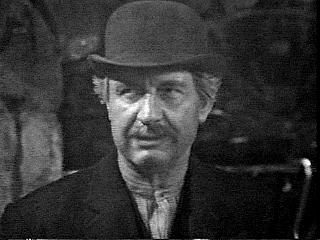
THE SMUGGLERS
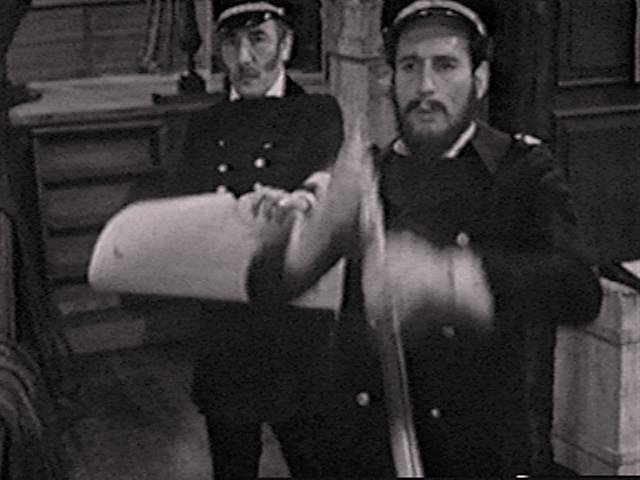
- st--2c01.jpg _23K B&W Cherub threatens Churchwarden Joseph Longfoot (George A Cooper, Terence De Marney) sc 21Mar99
- st--2c02.jpg _24K B&W Jamaica, Captain Pike (Elroy Josephs, Michael Godfrey) sc 21Mar99
- st--2c03.jpg _25K B&W Jamaica lies dead (Elroy Josephs) sc 21Mar99
- st--2c04.jpg _22K B&W Polly screams (Wills) sc 21Mar99
- st--2c05.jpg _27K B&W Captain Pike stabs Cherub (Michael Godfrey, George A Cooper) sc 21Mar99
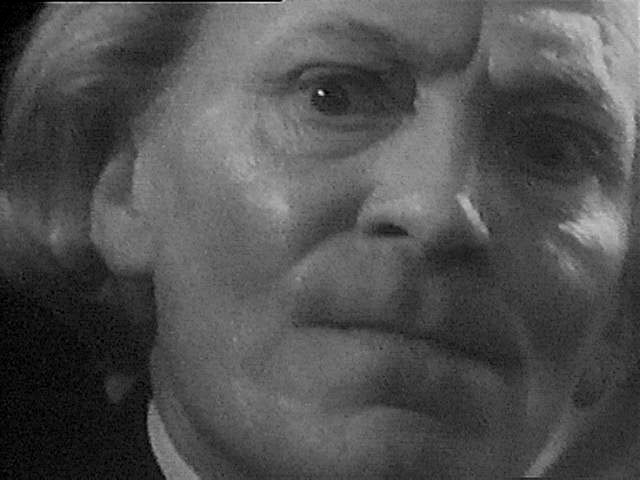
- st--2c06.jpg _35K B&W Doctor (Hartnell) sc 21Mar99
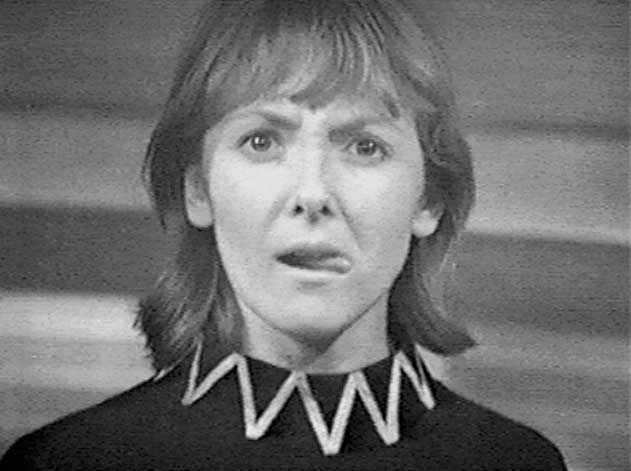
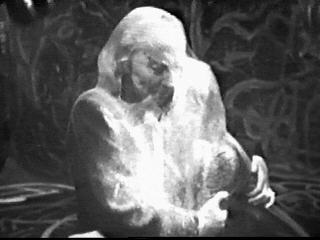
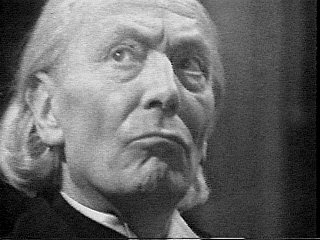
THE TENTH PLANET
- st--2d01.jpg __9K B&W Ben, Doctor (Craze, Hartnell) sc
- st--2d02.jpg __9K B&W Cyberleader Krang sc
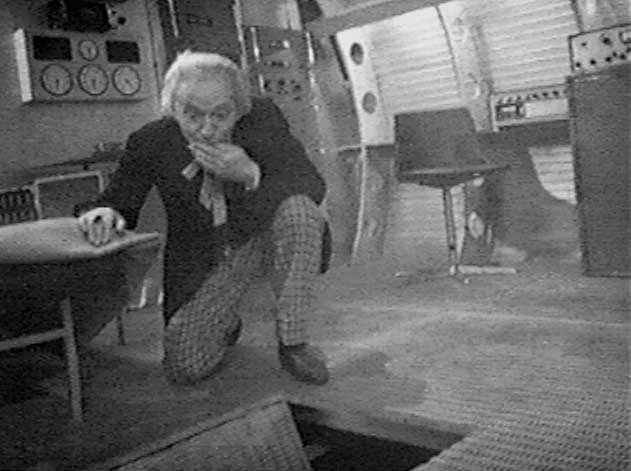
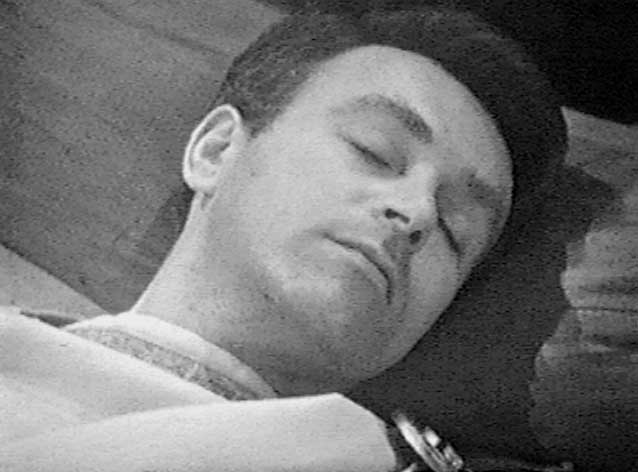
- st--2d03.jpg _21K B&W Doctor lying on floor prior to regeneration (Hartnell) sc 11Jun97
- st--2d04.jpg _15K B&W Doctor closeup beginning regeneration (Hartnell) sc 11Jun97
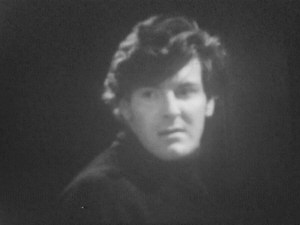
- st--2d05.jpg _17K B&W Doctor closeup after regeneration (Troughton) sc 11Jun97
- st--2d06.jpg _14K B&W Polly, Doctor (Wills, Hartnell) sc 21Mar99
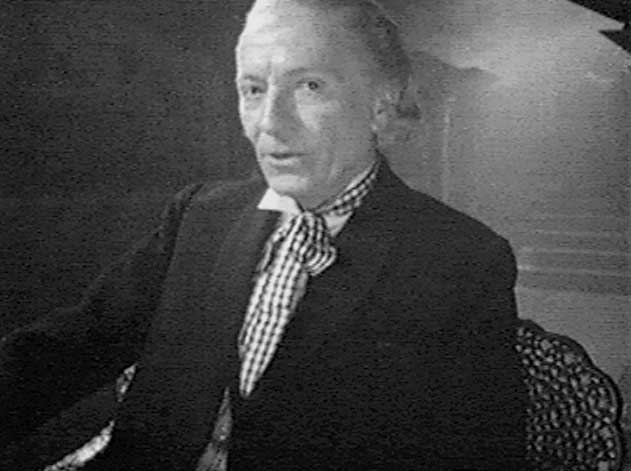
- st--2d07.jpg _15K B&W Doctor CU (Hartnell) sc 21Mar99
- st--2d08.jpg _15K B&W Doctor CU (Hartnell) sc 21Mar99
- st--2d09.jpg _18K B&W Doctor at console just before collapse (Hartnell) sc 21Mar99
- st--2d10.jpg _16K B&W Doctor CU (Hartnell) sc 21Mar99
- st--2d11.jpg _14K B&W Doctor CU (Hartnell) sc 21Mar99
- st--2d12.jpg _19K B&W Doctor collapses to floor, Polly attends (Hartnell, Wills) sc 21Mar99
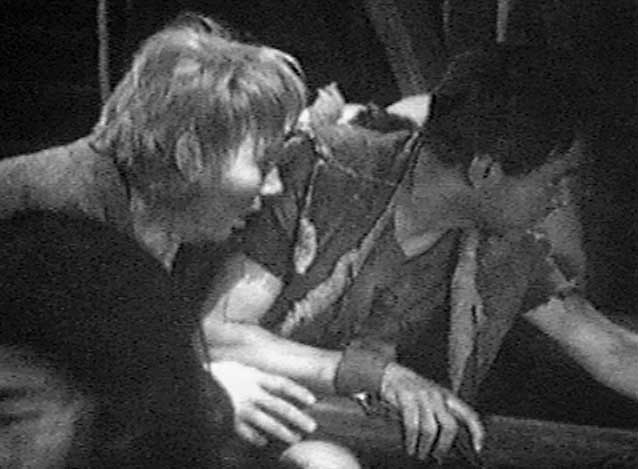
- st--2d13.jpg _20K B&W Doctor in middle of regeneration (Hartnell/Troughton) sc 21Mar99

